[wc_box color="inverse" text_align="center" margin_top="" margin_bottom="" class=""]
The $100 Room Challenge is back! Find out what I have planned for my small master bedroom makeover.
[/wc_box]
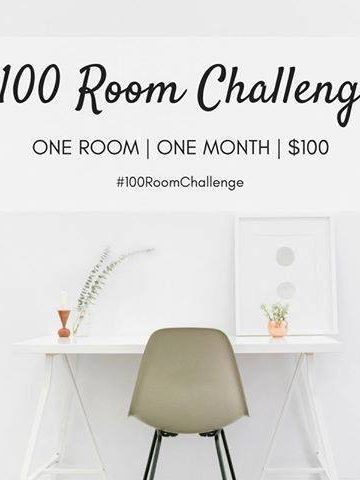
Here we are, it's September already! Are you ready for another $100 Room Challenge?
For those who are new here, the $100 Room Challenge is a challenge initiated by Erin from Lemons, Lavender and Laundry where bloggers who participate has to complete the renovation of a room, in 1 month for a maximum of $100.
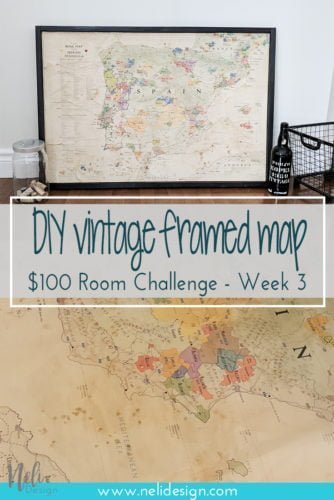
This is my fourth time in the $100 Room Challenge. You can see what I did the previous times I participated:
Note here that $100 is written with a dollar sign in front of the 100. 😛 Which means that for me, the poor Canadian girl, it will be 130 $ CAD!! After a comparison with my American friends, it's only fair, don't you think?
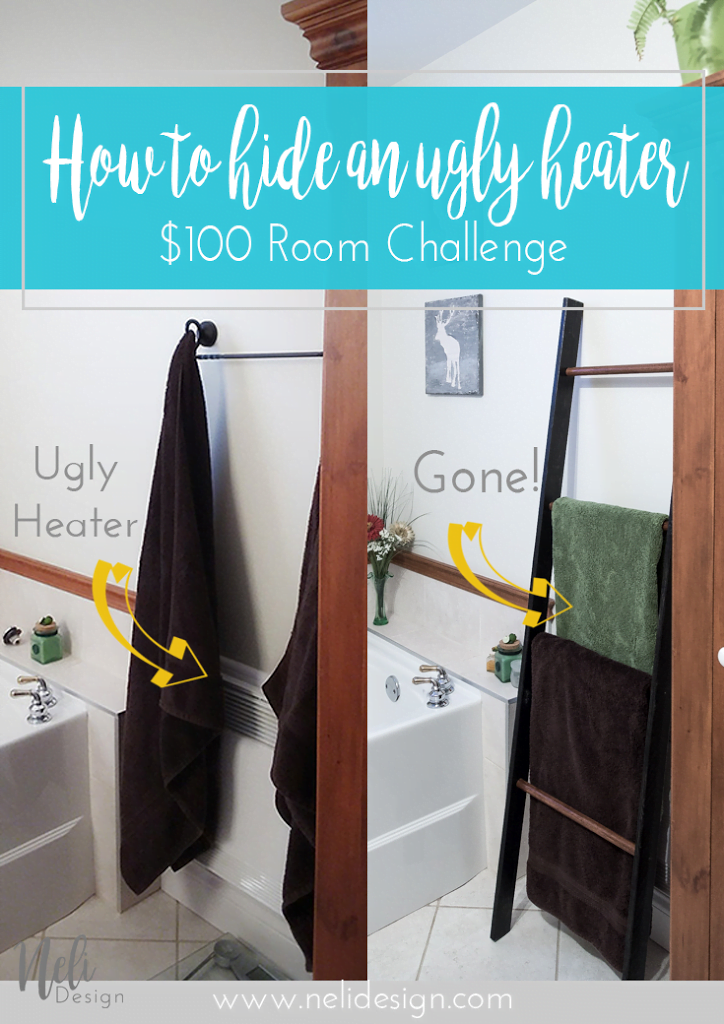
The initial plan
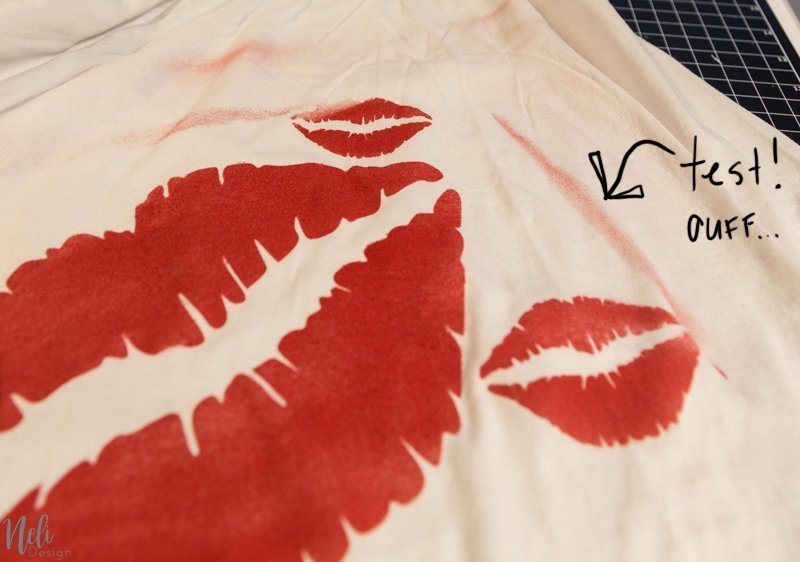
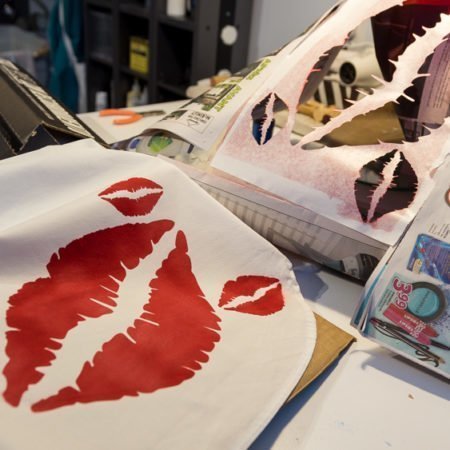
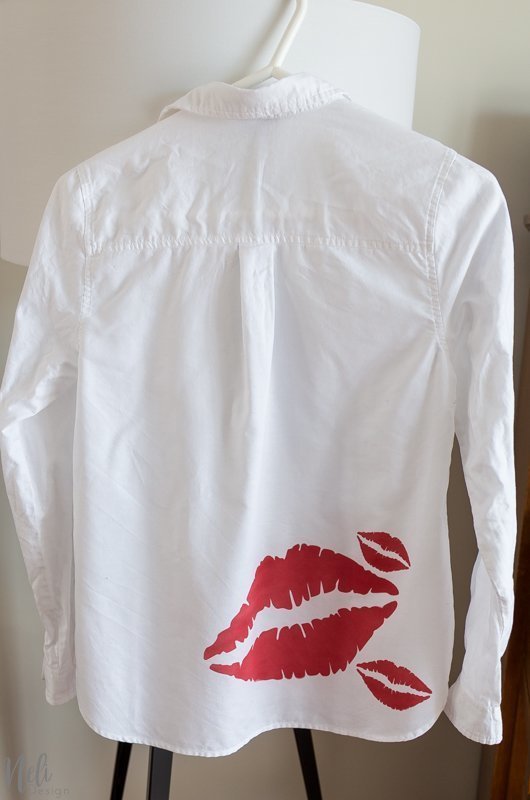
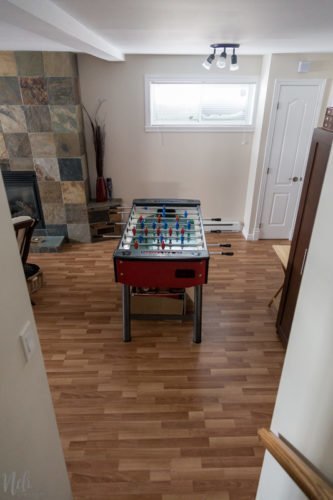
If you've followed my Instagram account this summer (if not, you should!), I was thinking of making over the staircase that leads to the basement. I had a lot planned that included stencilling a wall. Then it hit me: that wall is sooo high! Is it a great idea to stencil for the first time that high up? How am I going to get up there safely considering that I'm not really great with hights?
Needless to say, I work really well under pressure because I suddenly had the greatest ideas for my bedroom, using the same stencil! That was, two weeks ago! lol
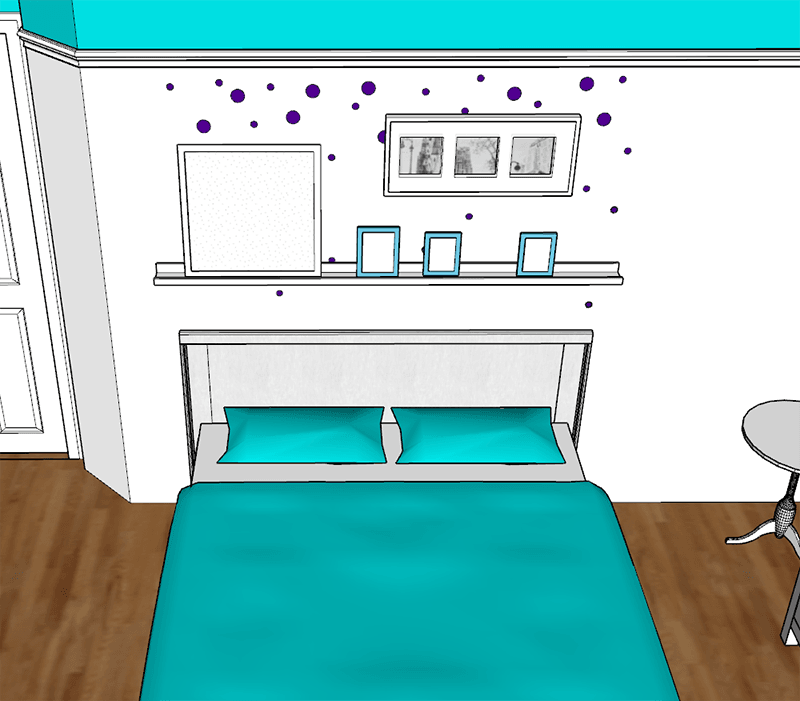
Master Bedroom Makeover
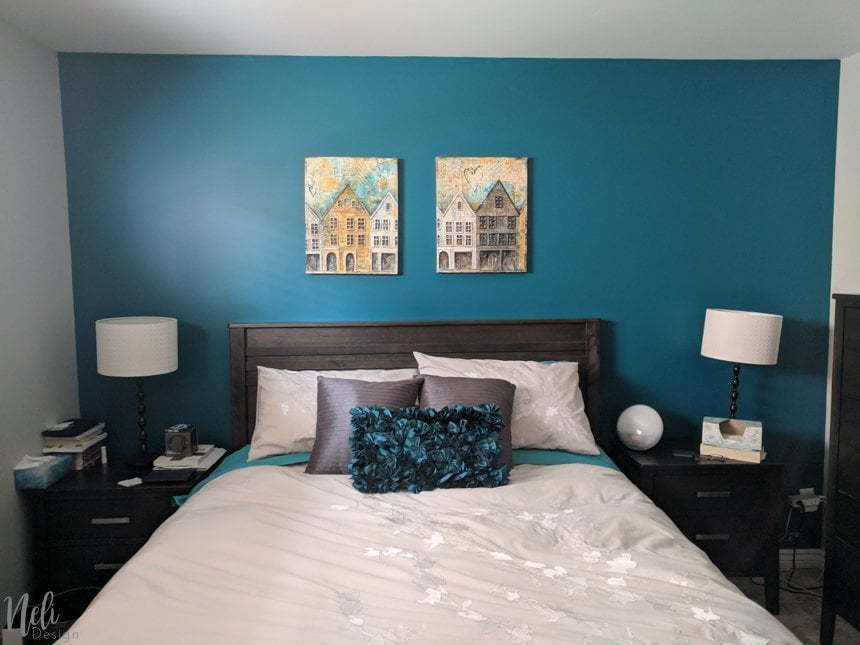
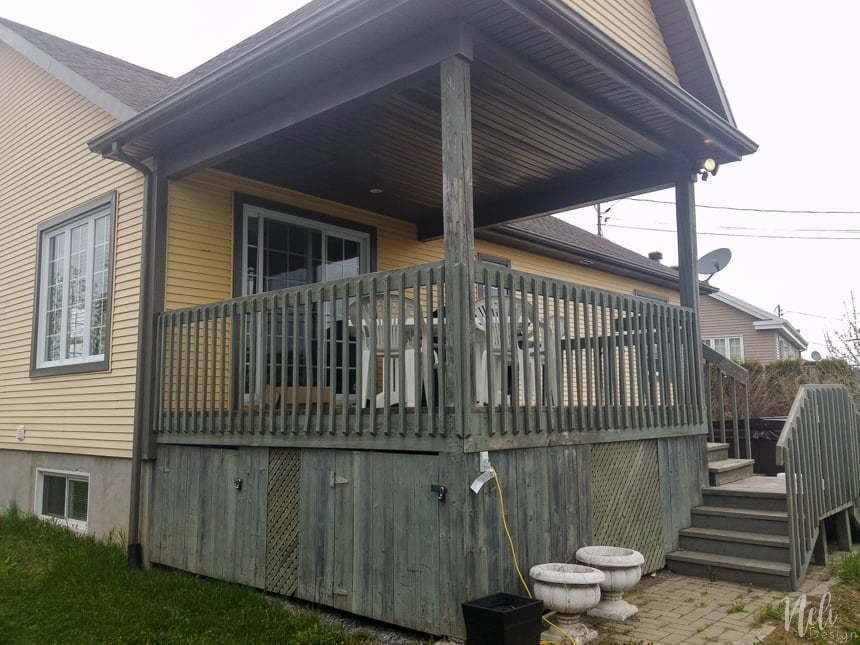
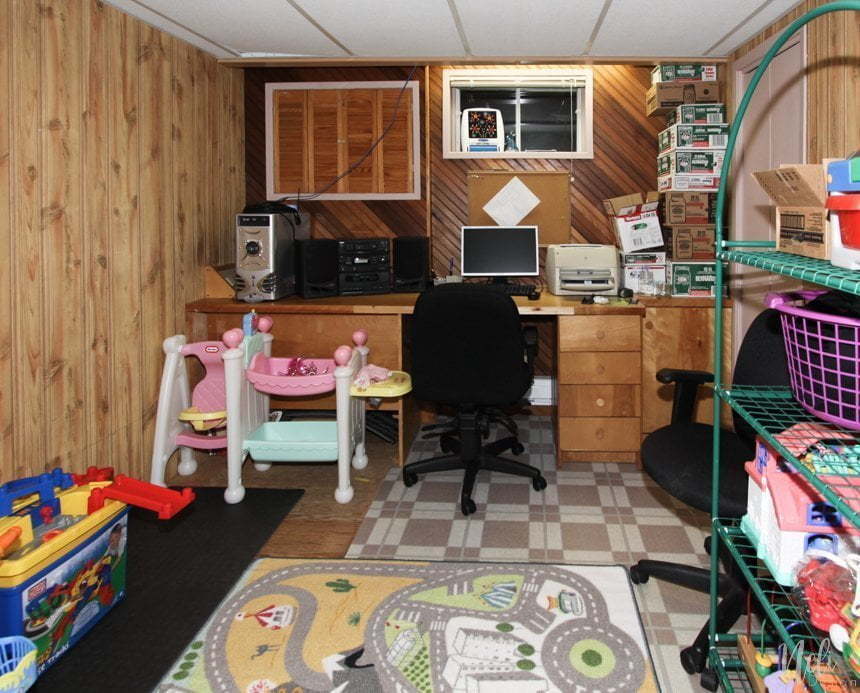
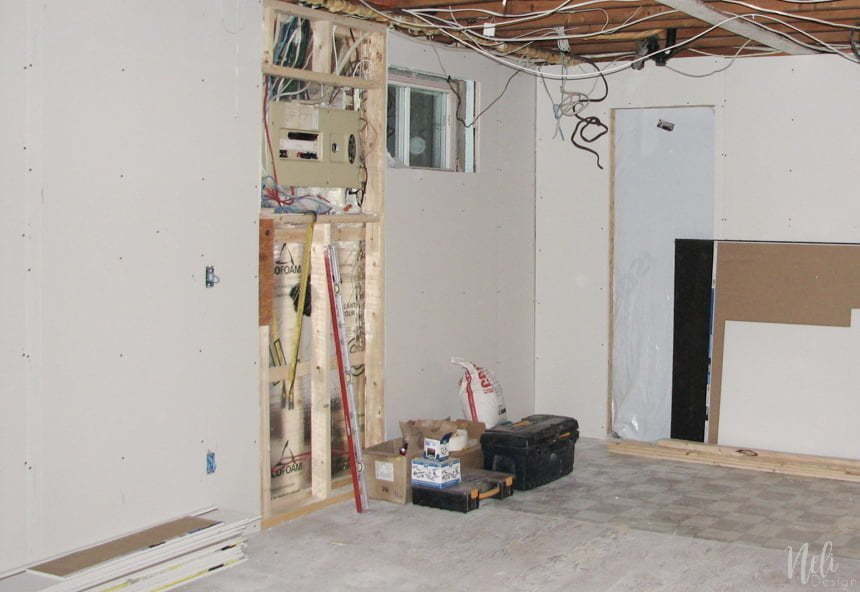
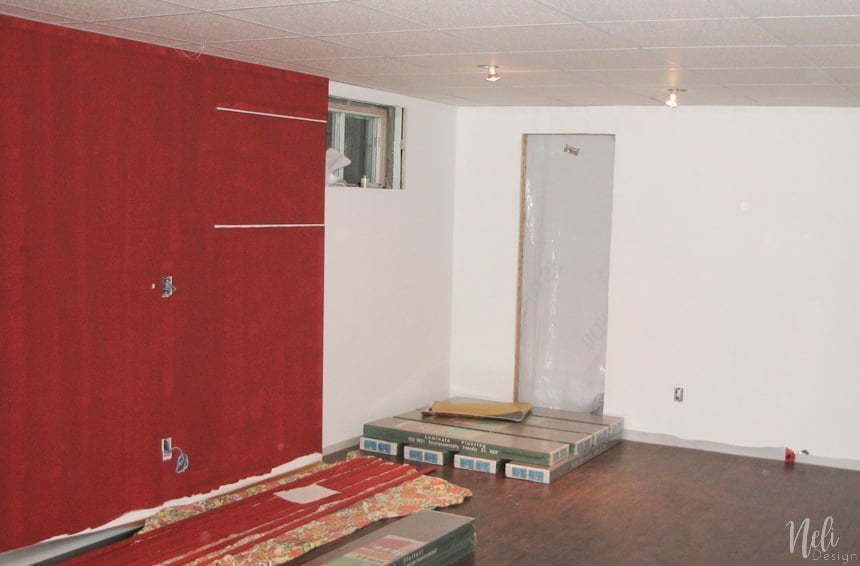
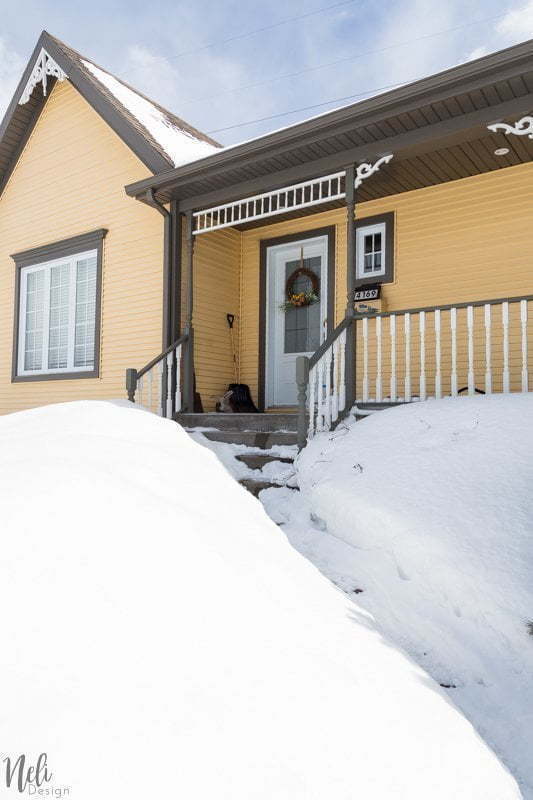
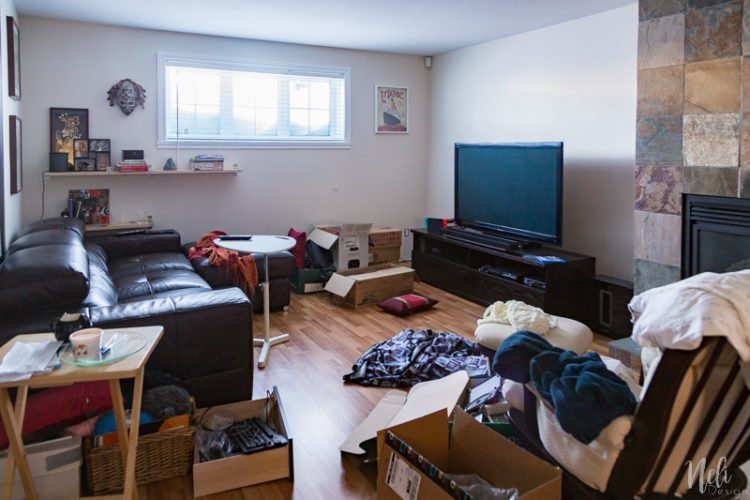
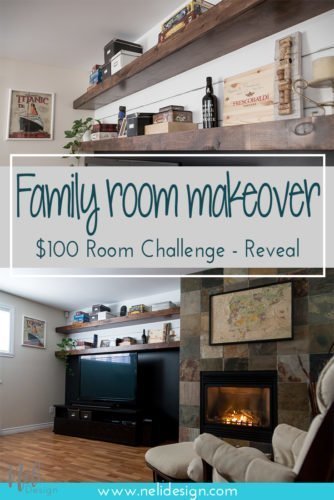
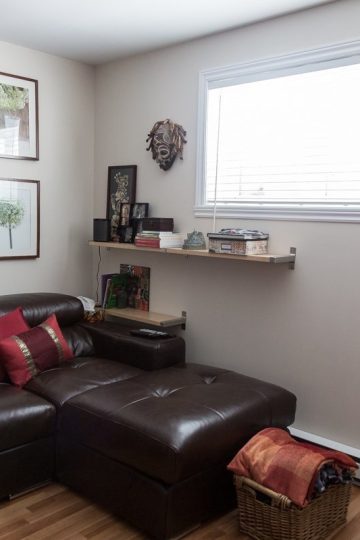
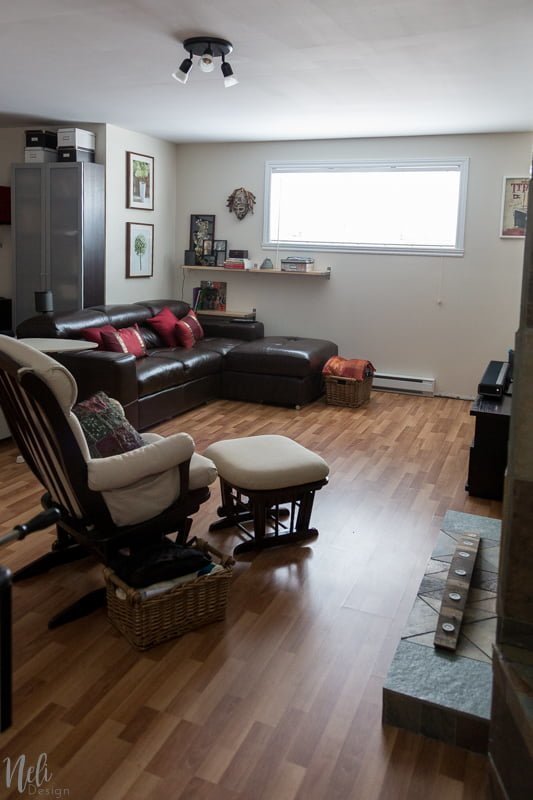
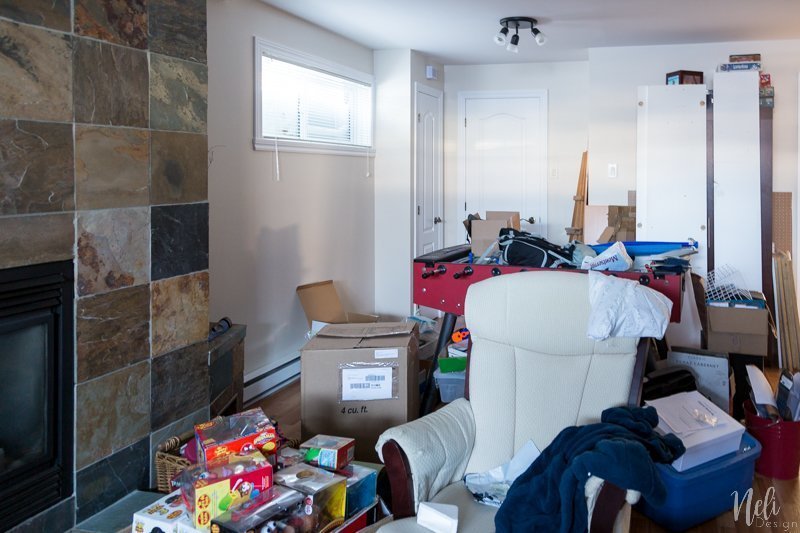
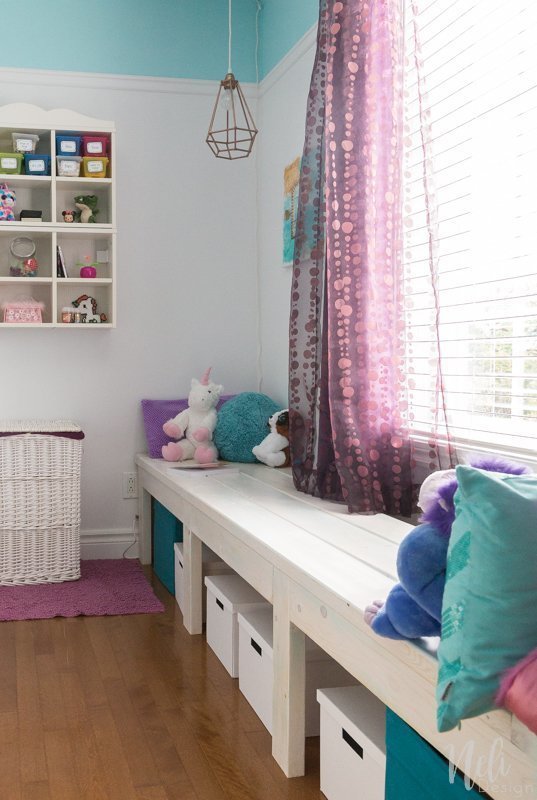
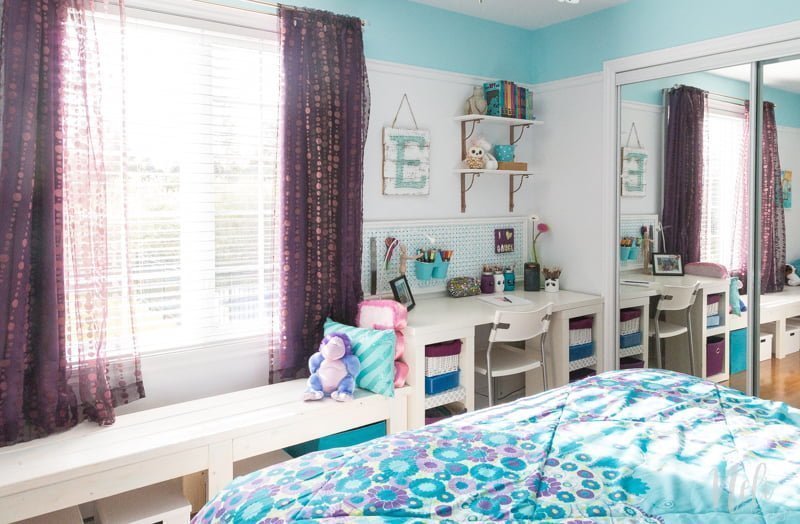
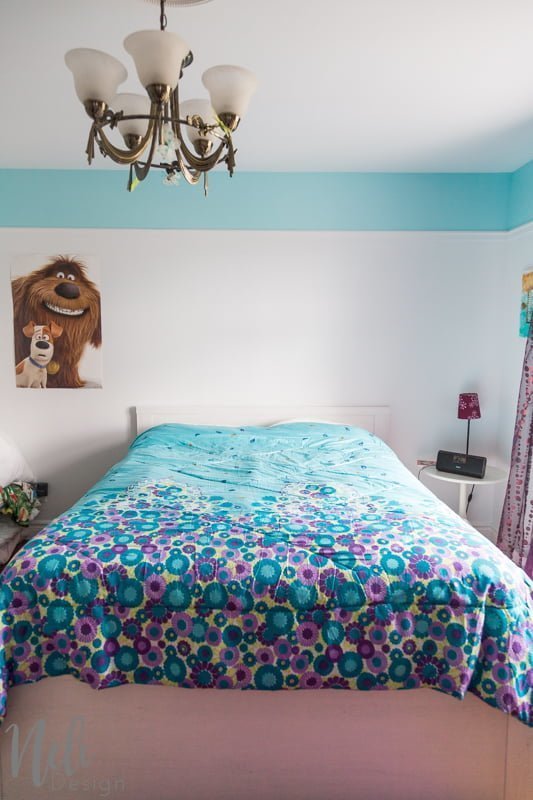
We own a small house. It only has a ground floor and a basement. While the kid's bedrooms are on the ground floor, ours is in the basement, right next to the family room that got the $100 Room Challenge last time! I like to call it the parent's lair. 😉
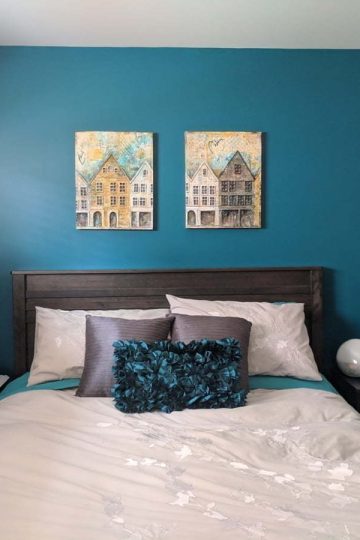
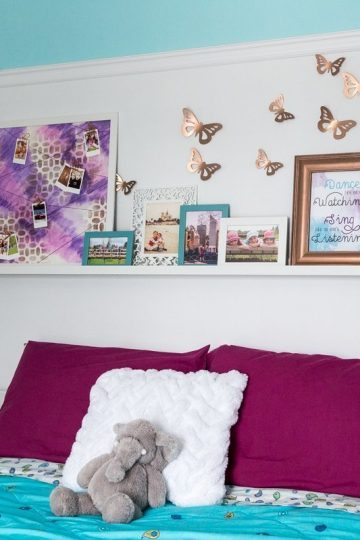
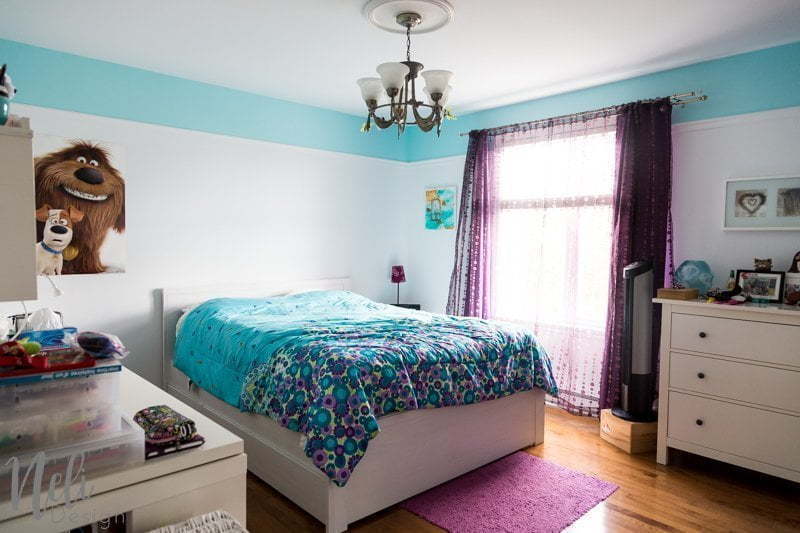
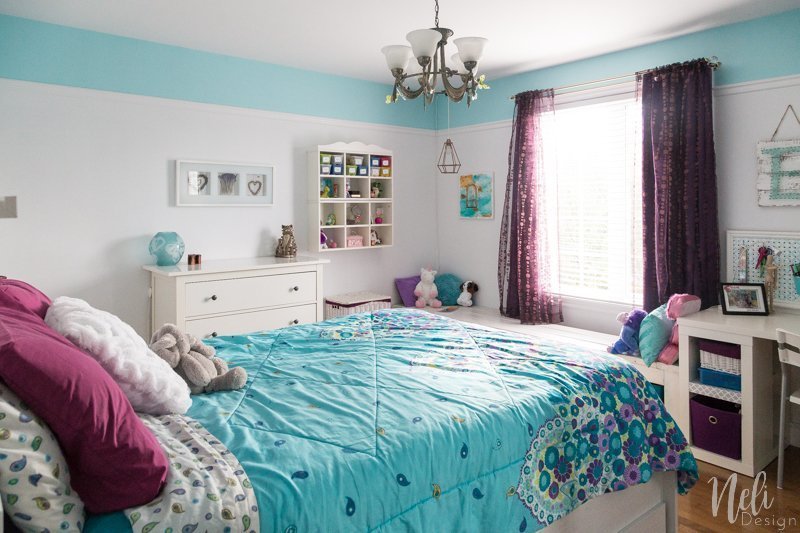
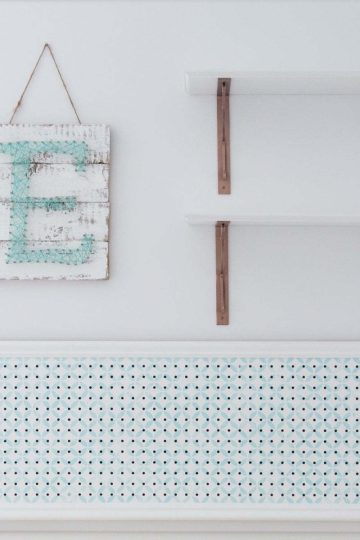
Of course, my bedroom is teal! 😀 with a touch of yellow (kind of like my blog!!!).

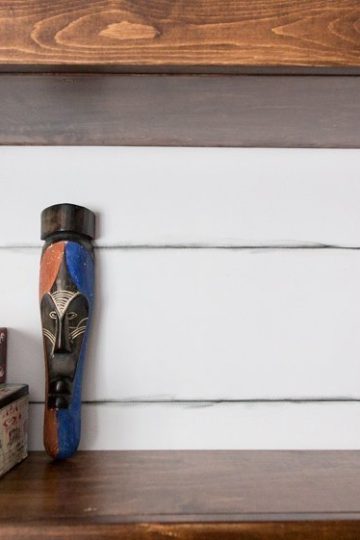
I made these paintings myself and they are inspired by the houses by the water in Bergen, Norway. One day, I'll have the tutorial to share with you! 😉
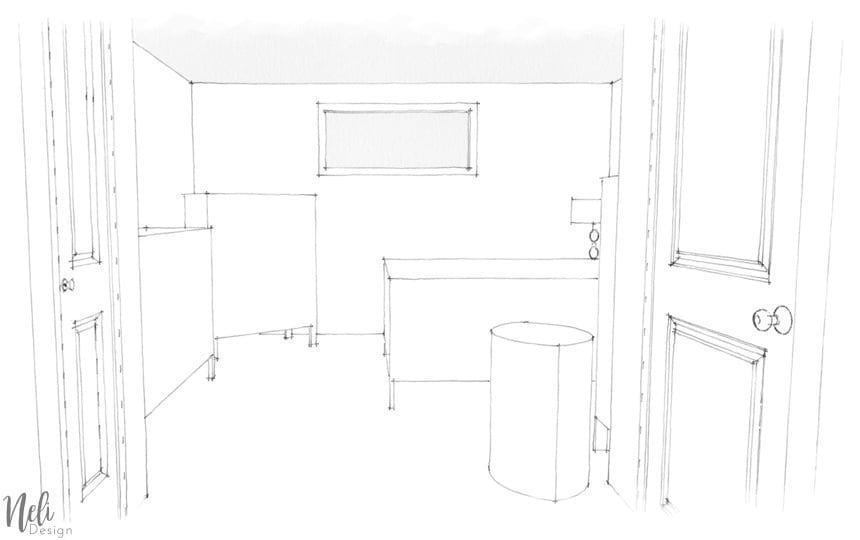
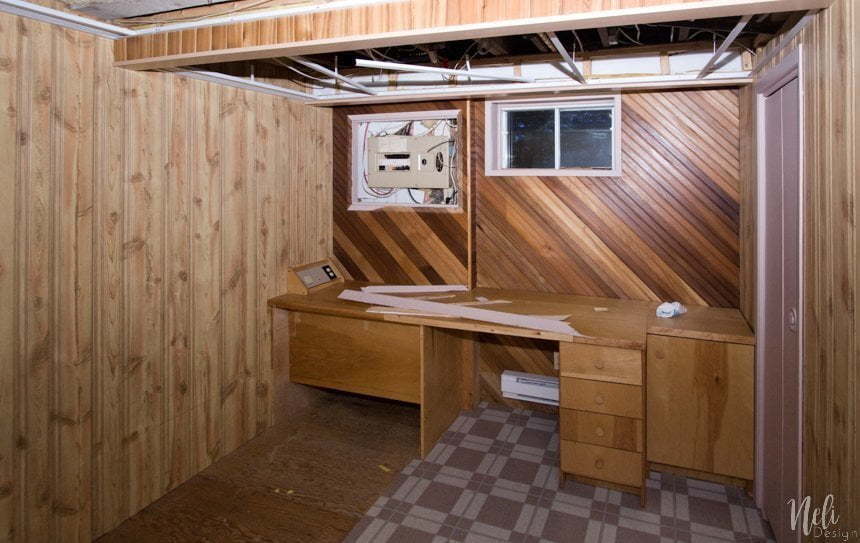
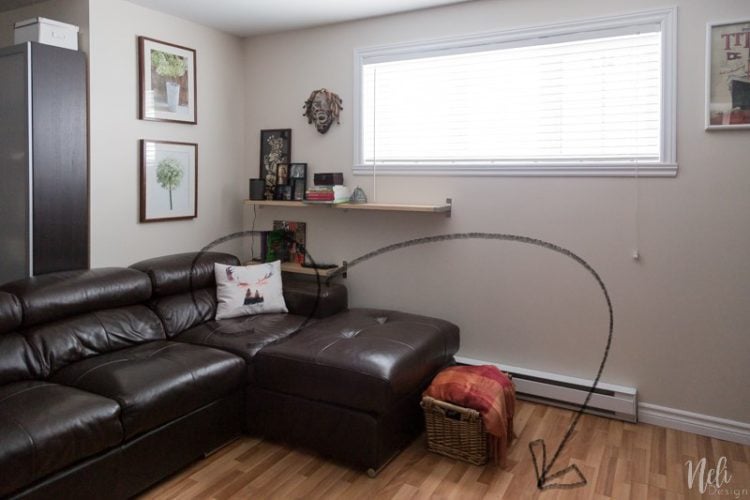
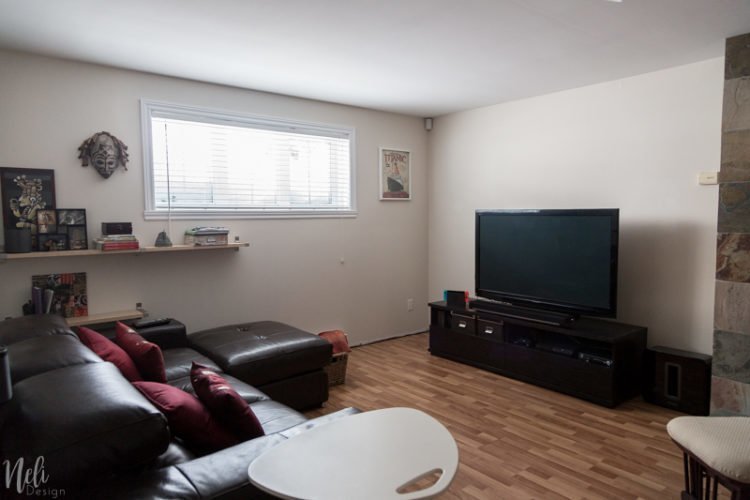
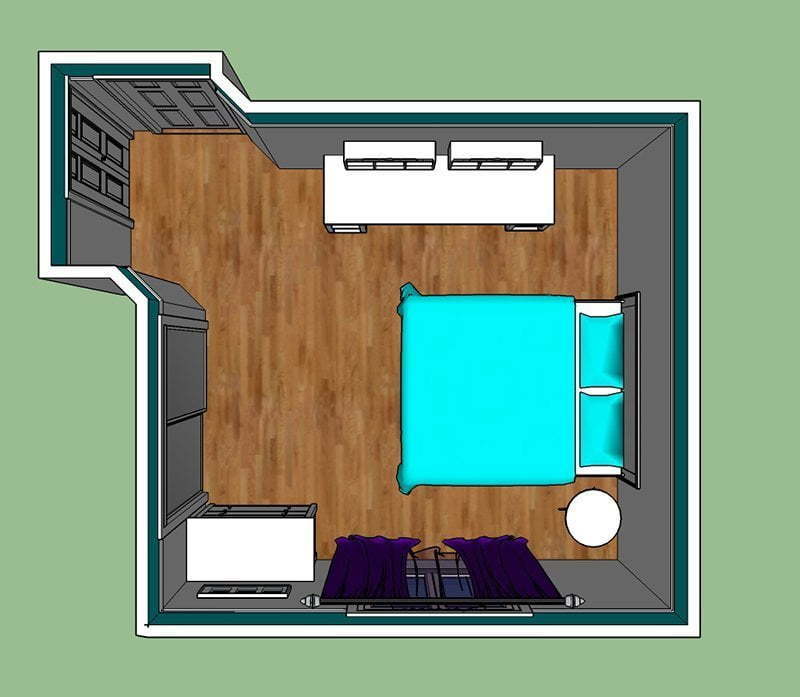
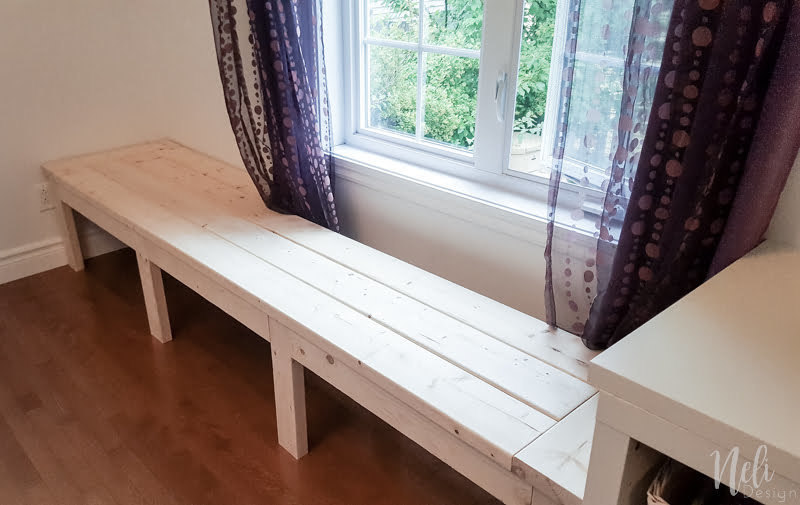
Here's the plan of the Master Bedroom as of today:
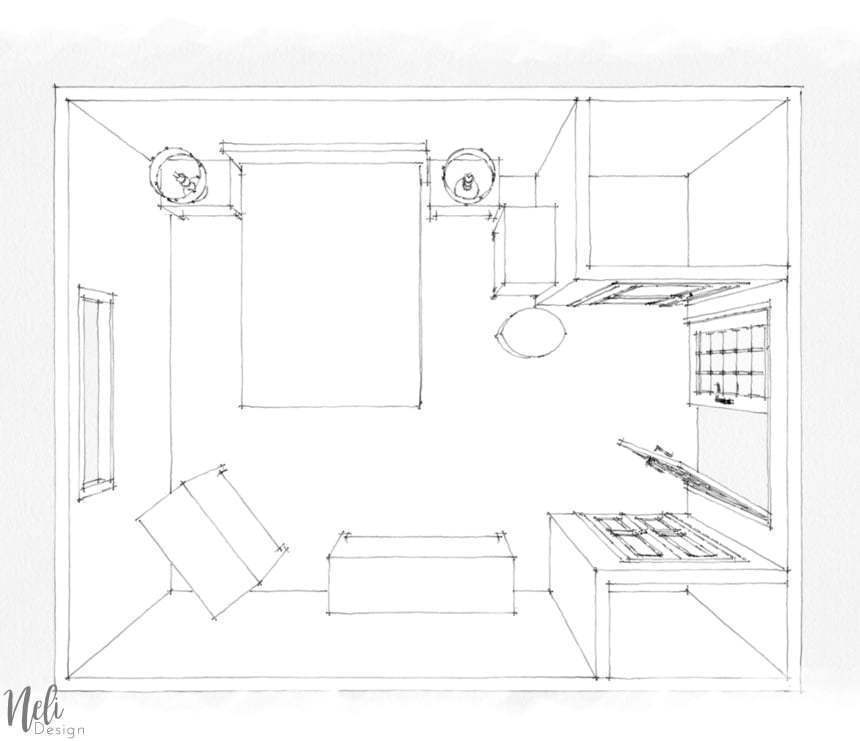
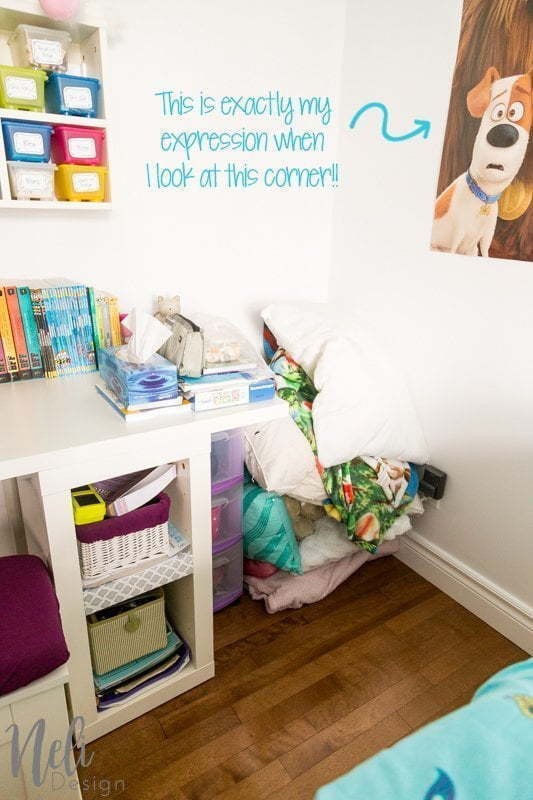
I have a small walk-in closet (I would call it more a "step-in" closet cause that's the only thing I can do in it! And that's when there are not a thousand things on the floor!) My husband has the small closet. You can see by the clothes on the dresser that we're missing a bit of space!! Isn't it always like that?

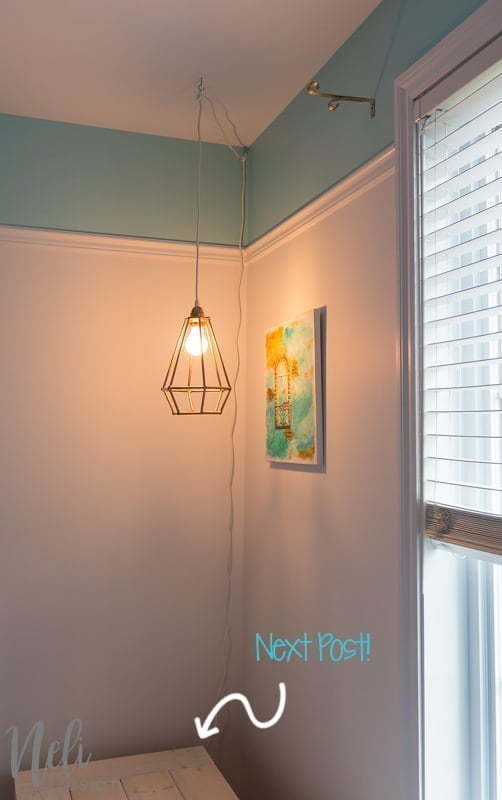
And how about these doors?

Who thinks of installing clear glass french doors for a bedroom? Not someone who has kids for sure! I definitely want to do something about that!

This post contains some affiliate links for your convenience and at no extra cost to you. Click here to read my full disclosure policy.
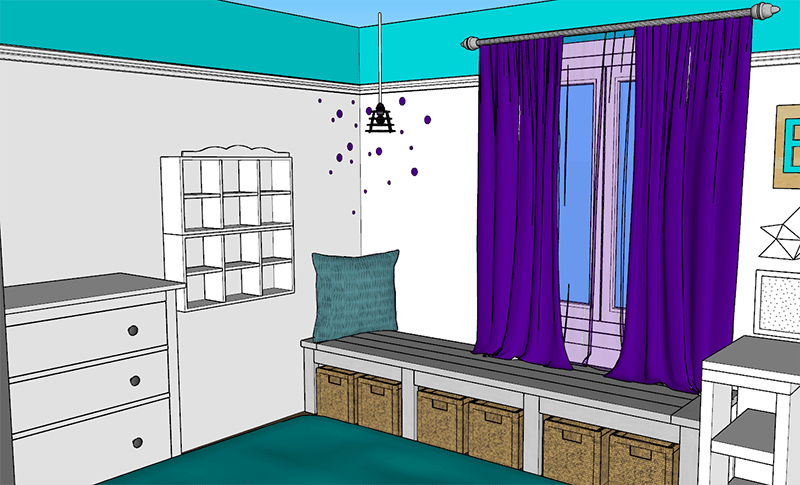
The plan for the Master Bedroom Makeover
 I've been missing colour in my life lately. While I'm almost always dressed in colours and my car is a flashy blue, I tend to stay really neutral when decorating. I'm kind of scared to make a mistake (do you relate?). So this time, I'm challenging myself to bring more colour in this room! It all started with this rug :
I bought it on special at a local store but you can find similar ones here, here or here.
No, it will not count in the budget of the challenge because I bought it when I thought I was doing the staircase for this challenge. You know, when you've been watching something for a long time and then it comes on special? I just had to jump on it! 😉
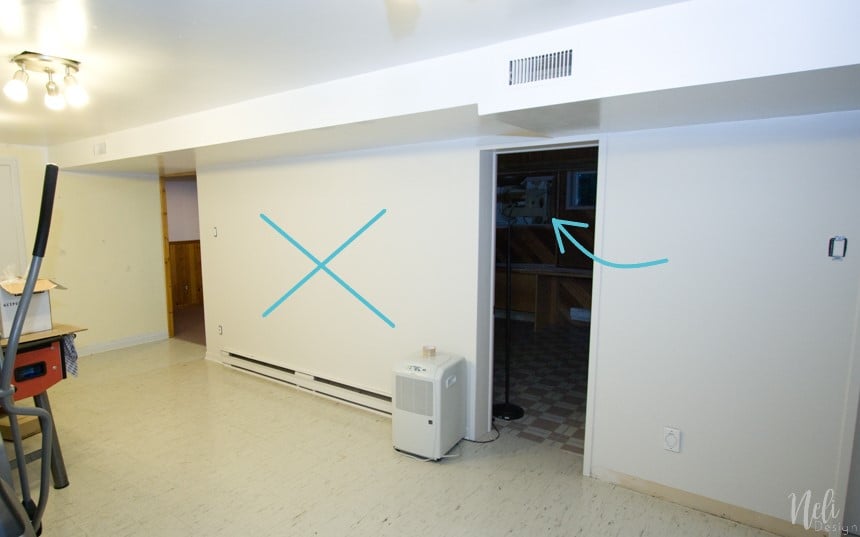
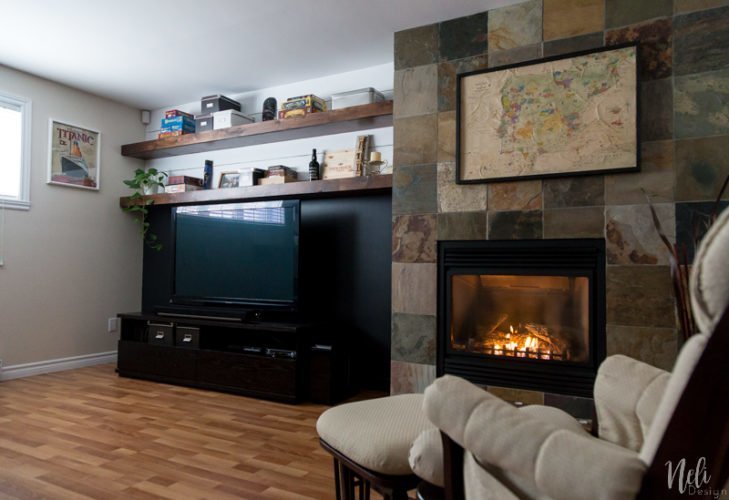
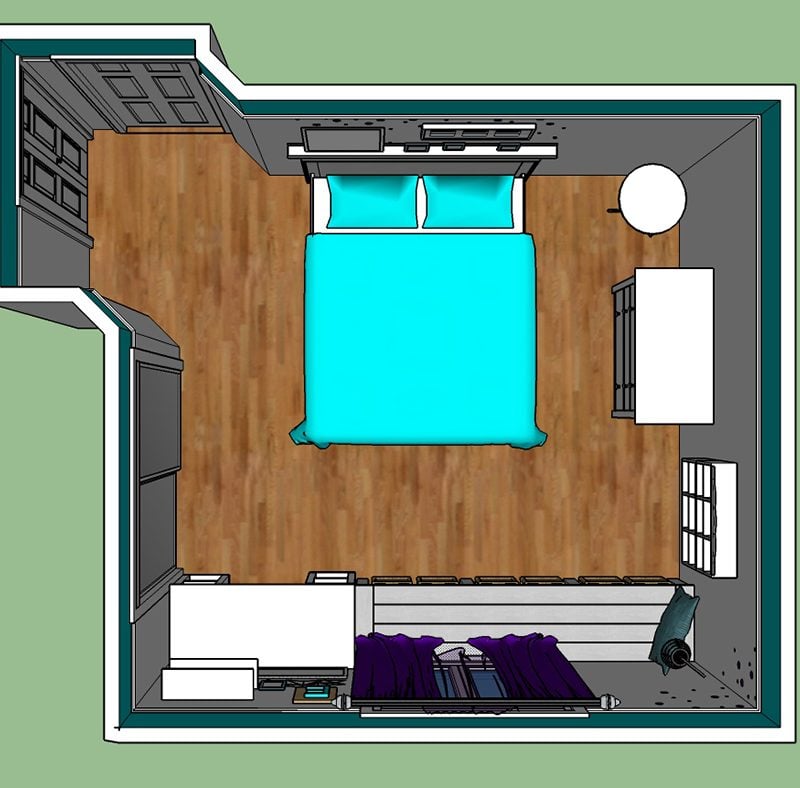
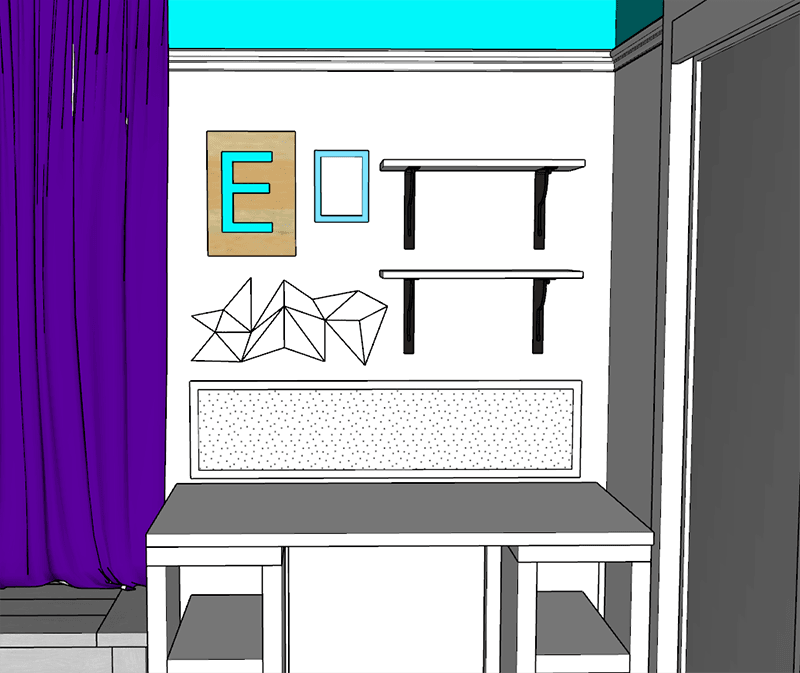
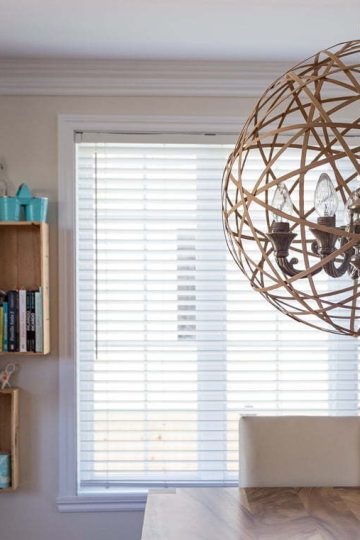
So, apart from bringing more colours in this room, I'd like to turn it around like that:

I feel it's going to give a nice focal point when we come in and if the doors are left open.
So now it looks like that:
And my plan is to make it look like that:
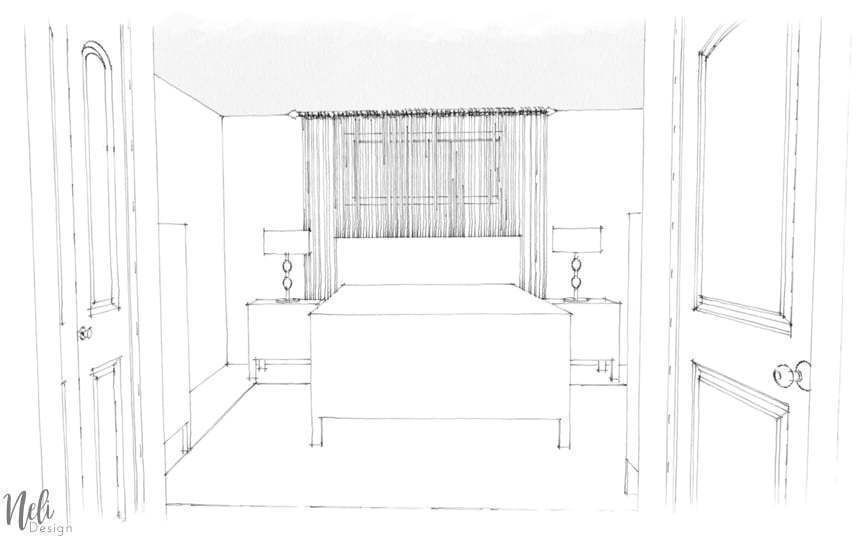
What a difference don't you think?
In details, I plan on:
- Painting the blinds white (they are brown);
- Hanging the curtains that I had in the previous house and that I never hung;
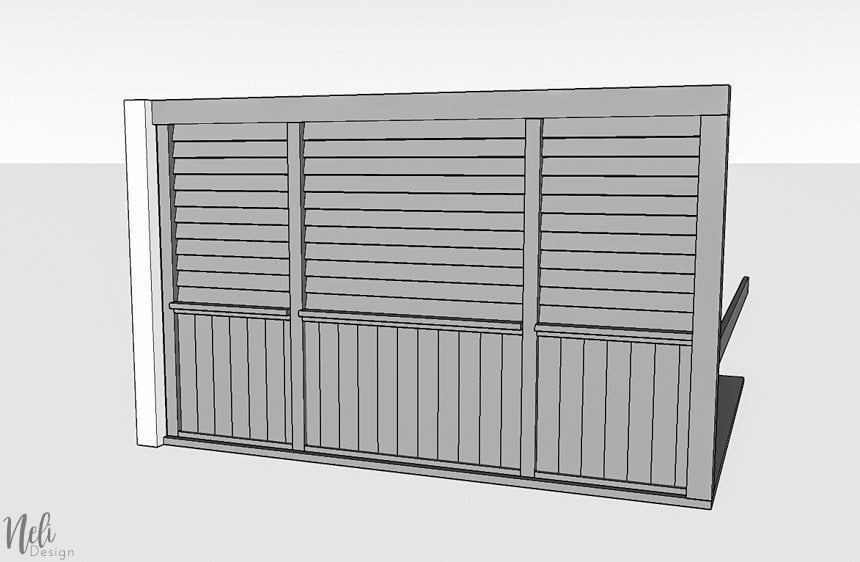
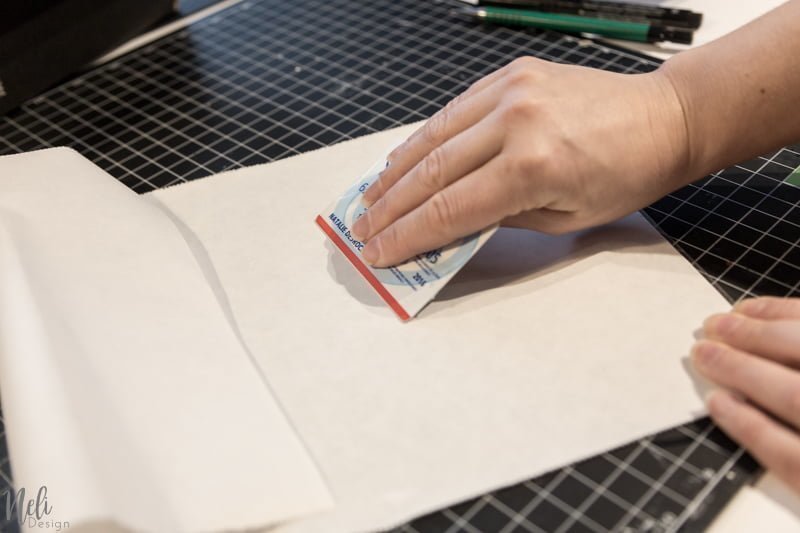
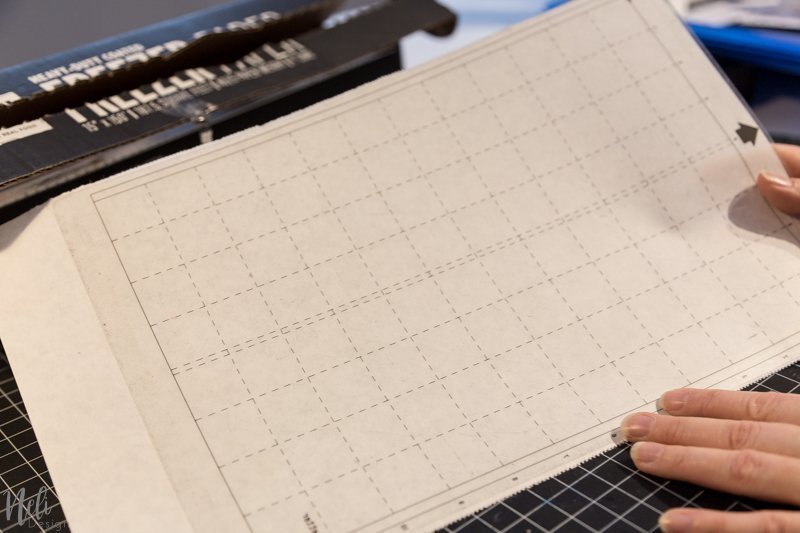
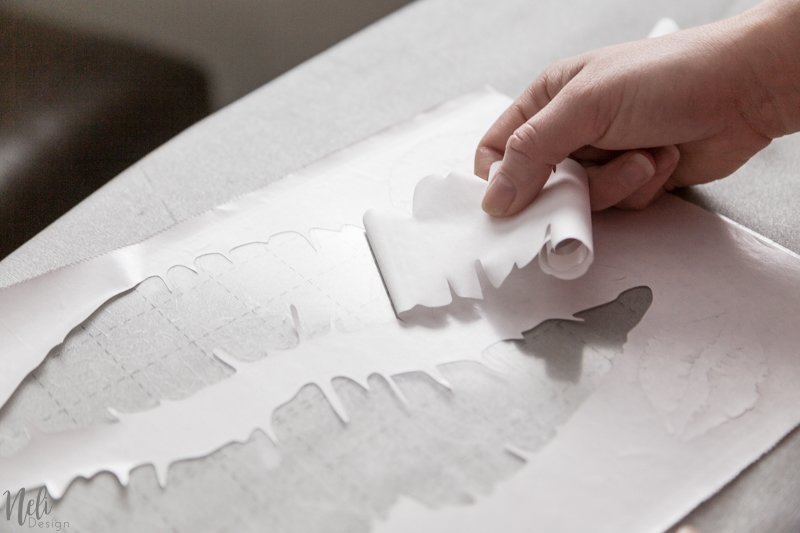
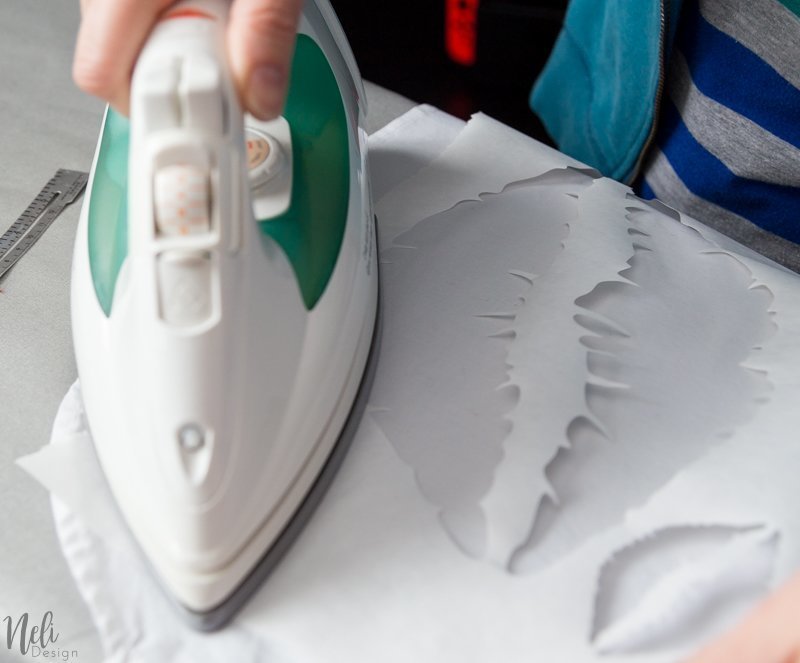
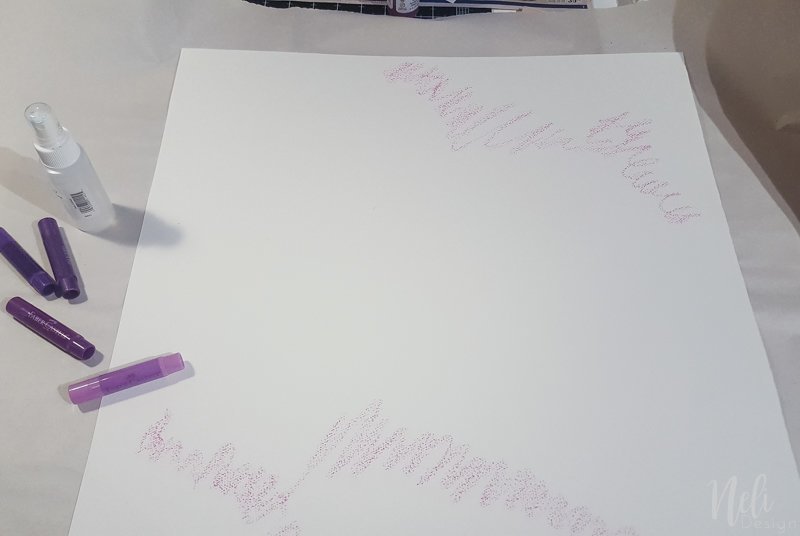
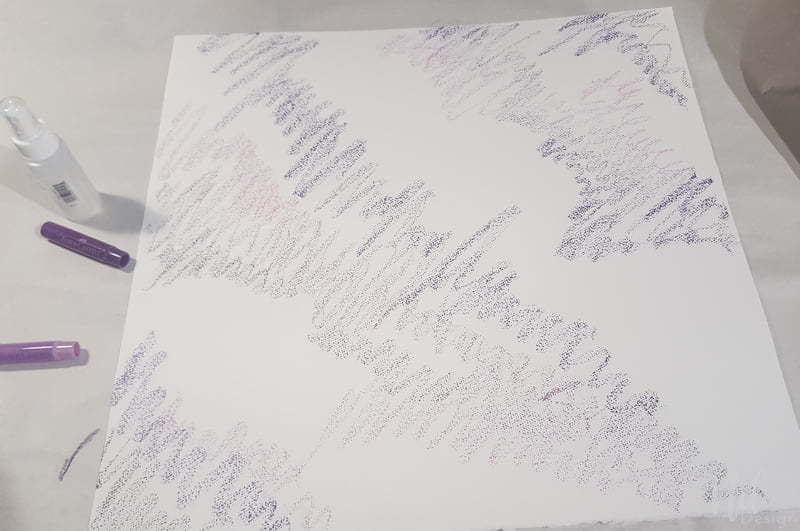
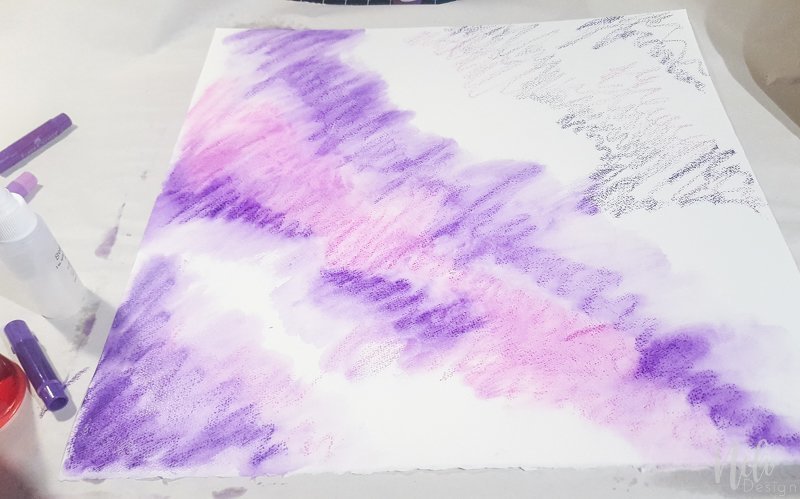
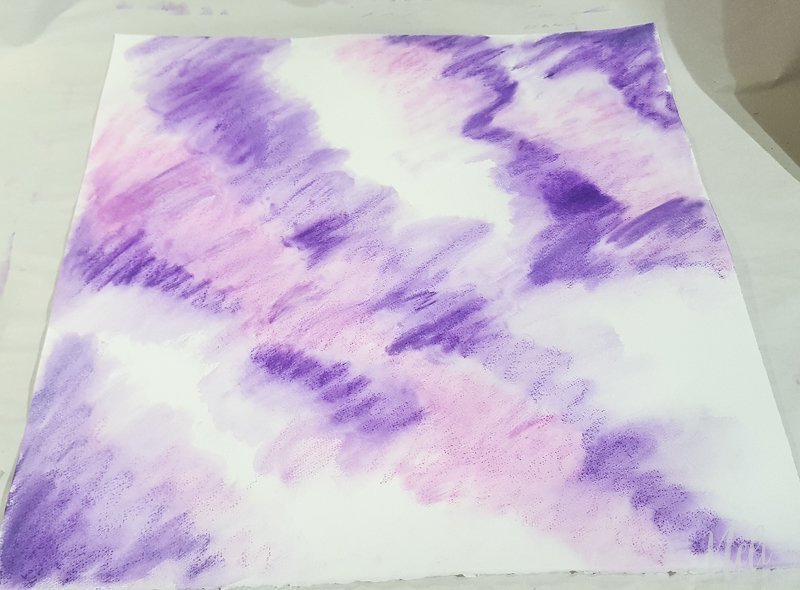
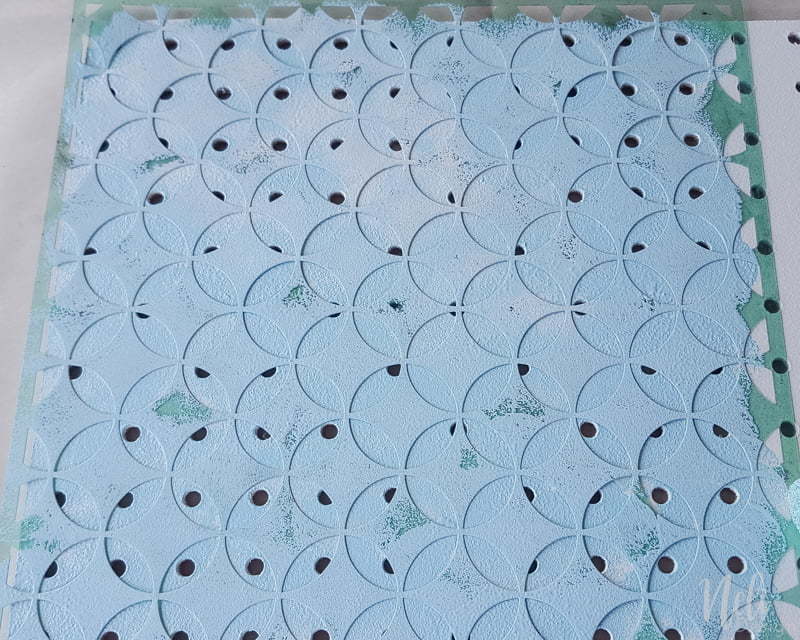
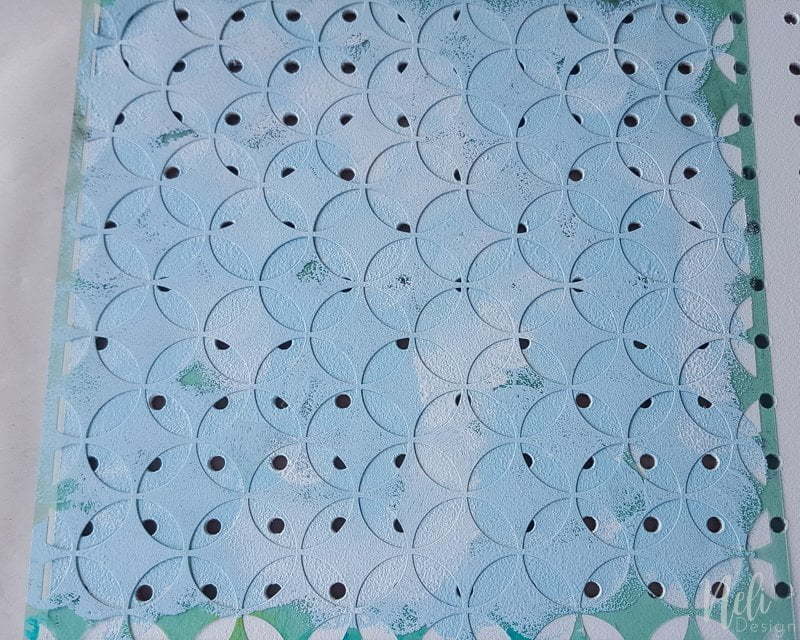
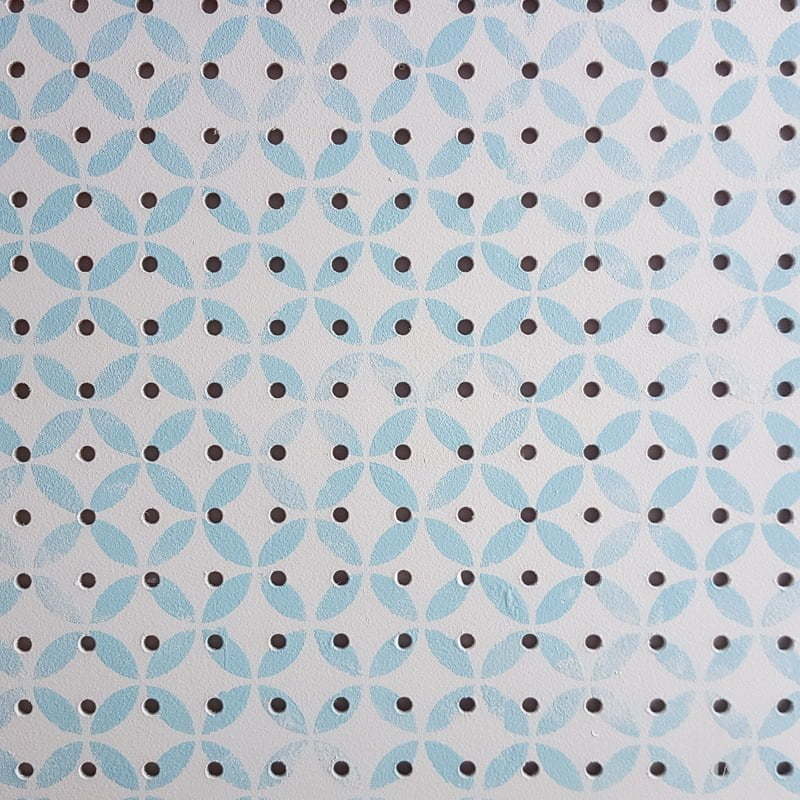
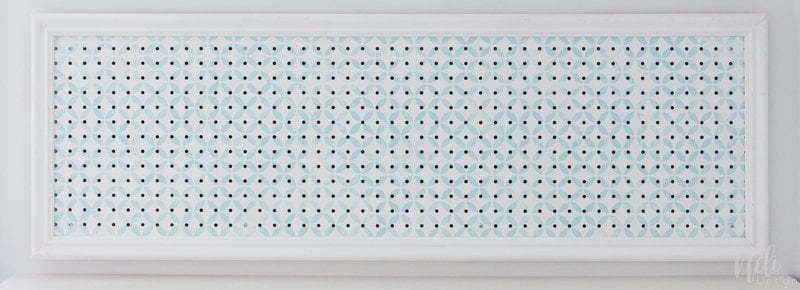
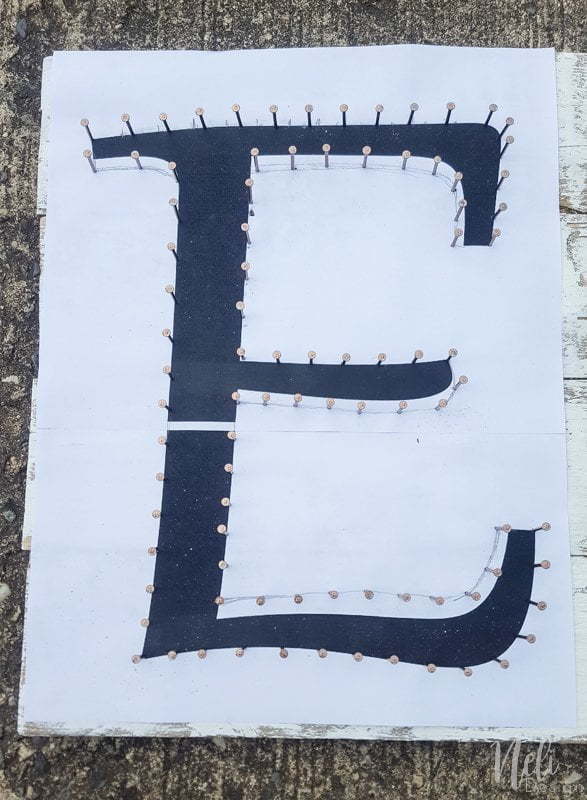
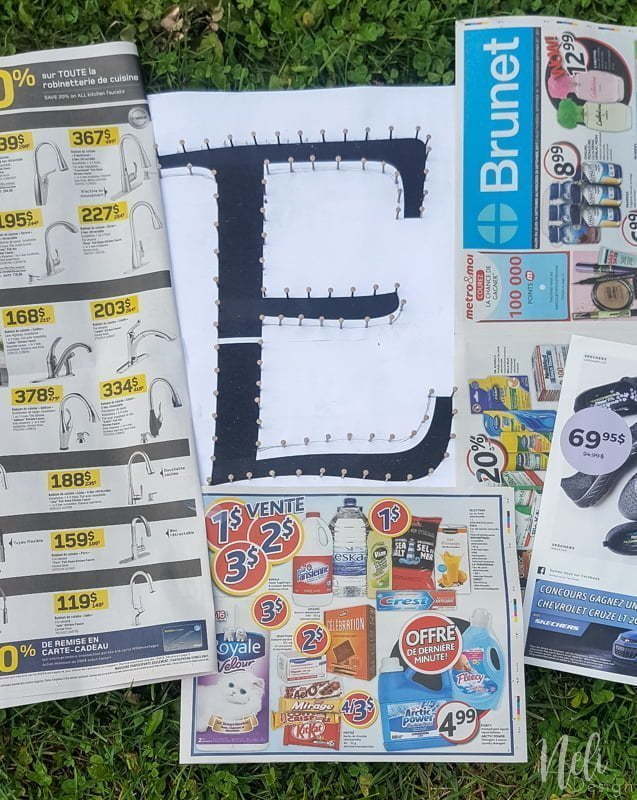
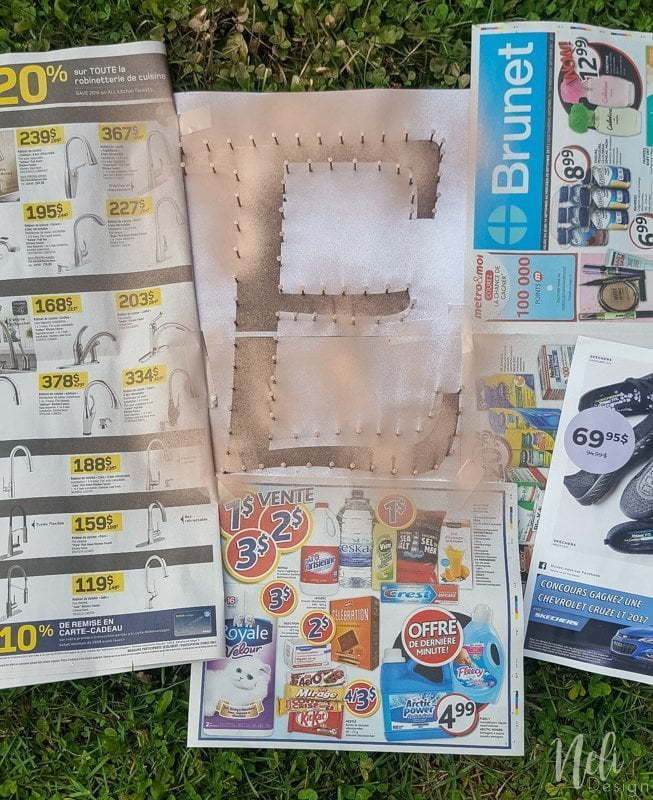
- Stencilling the wall of the window with this awesome stencil;
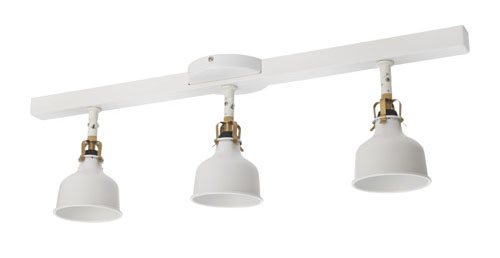
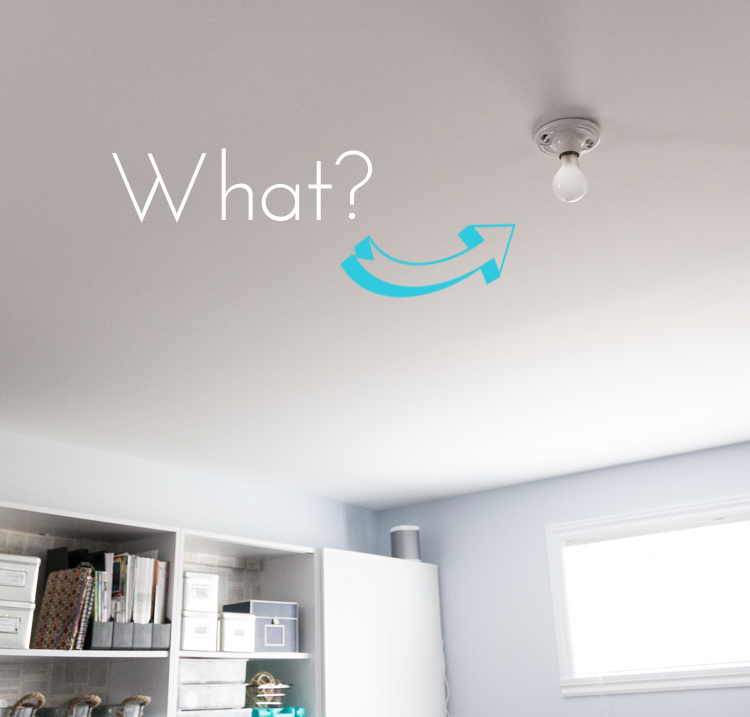
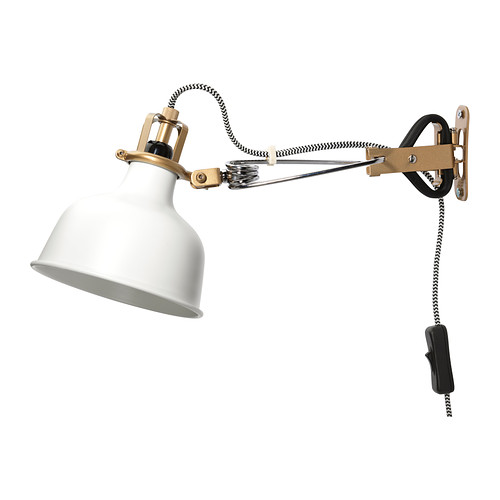
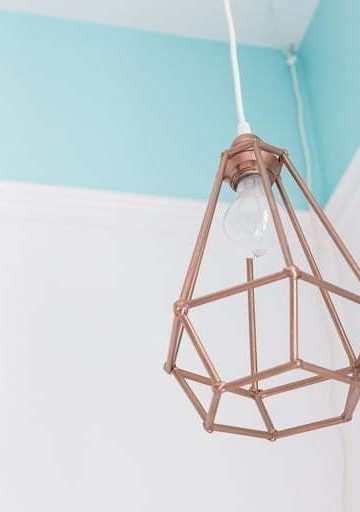
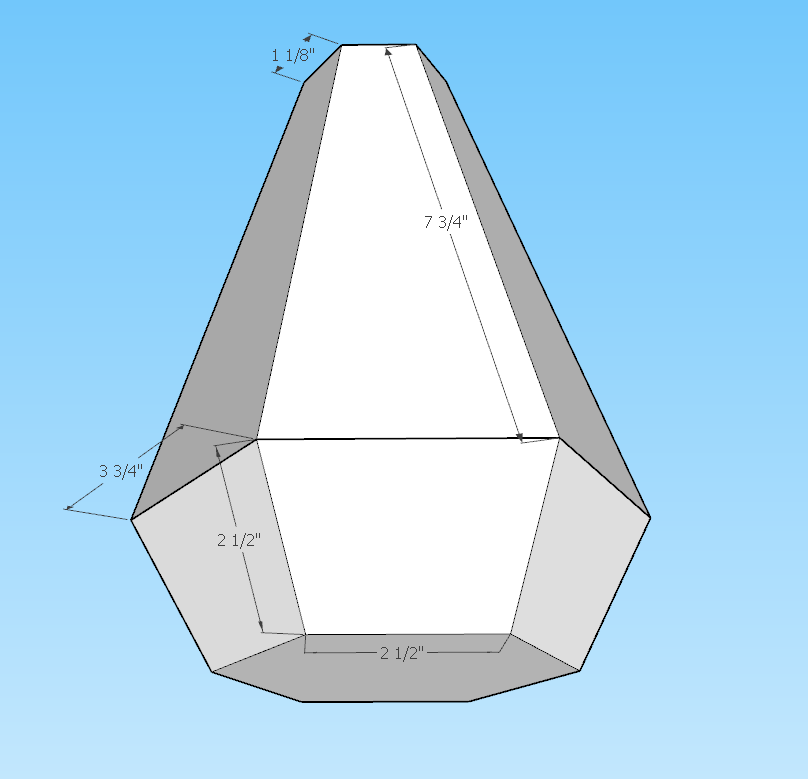
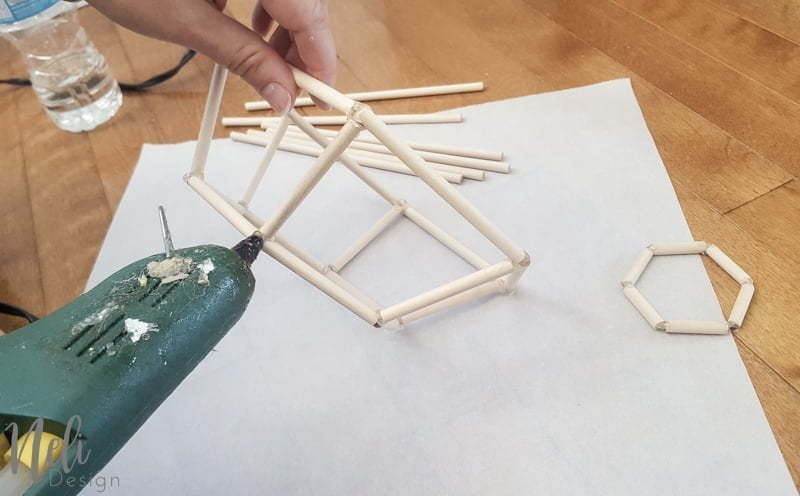
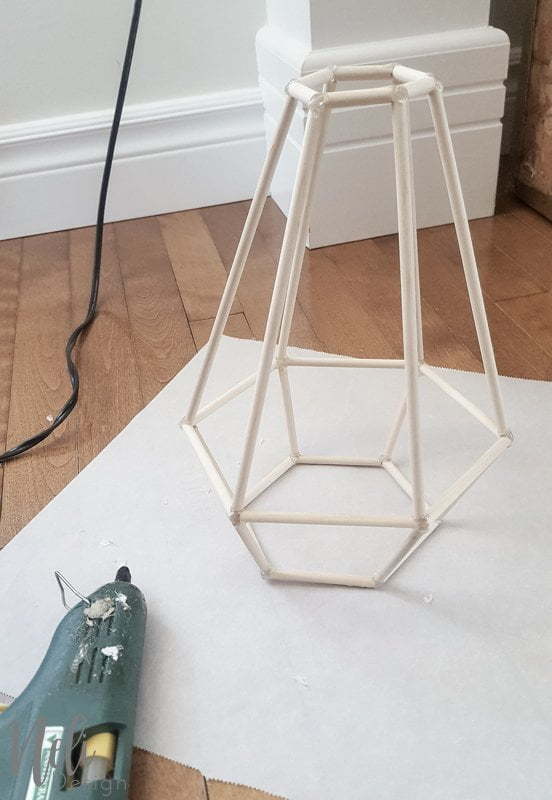
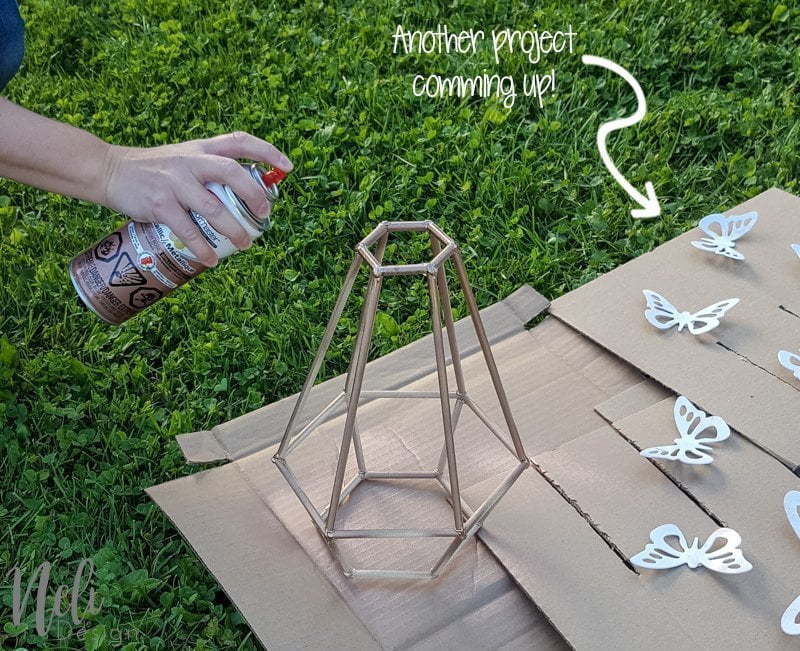
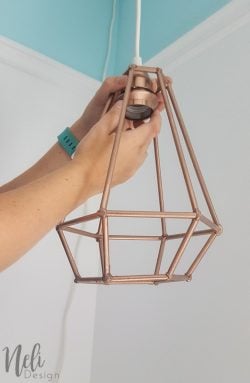
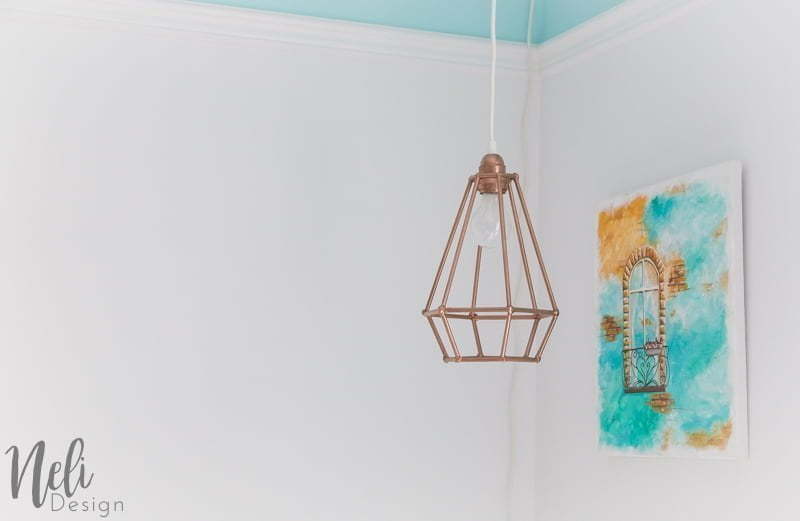
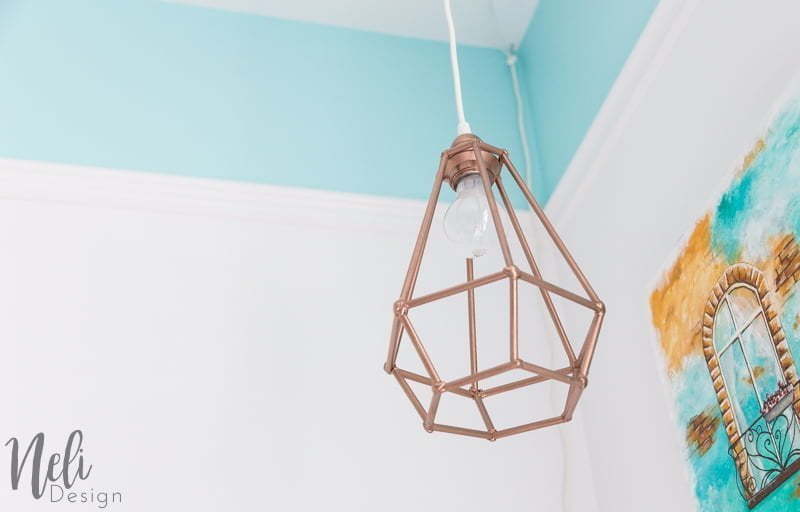
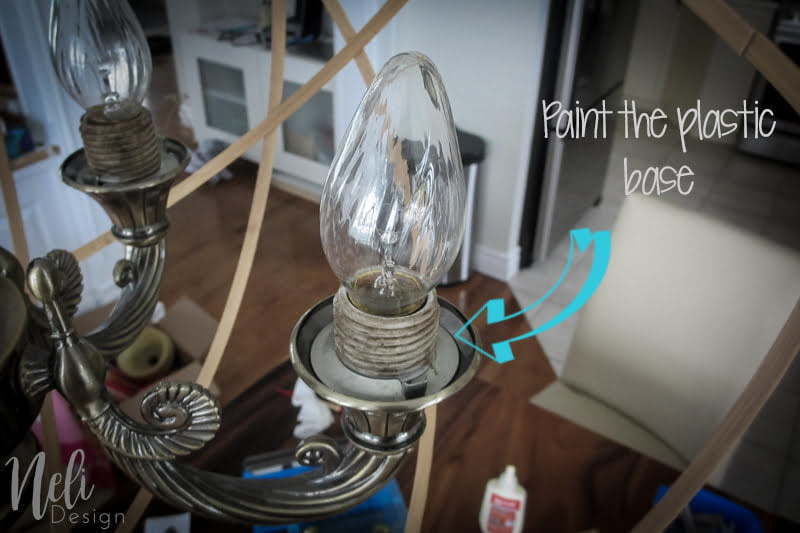
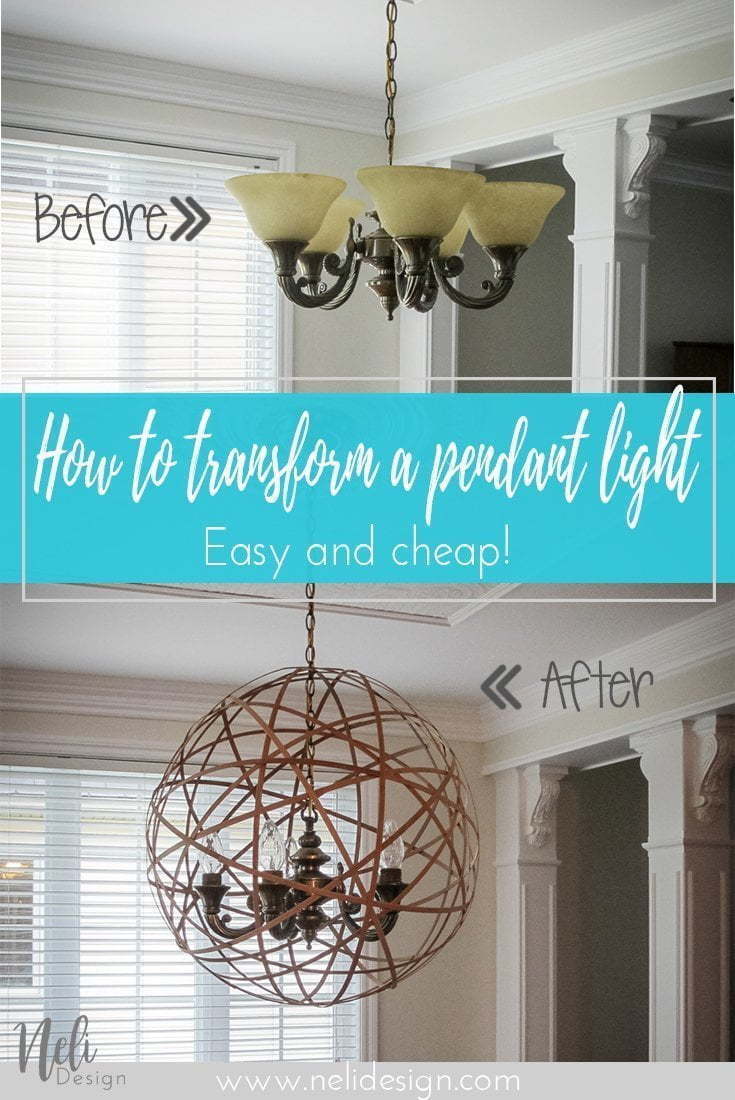
- Changing the light fixture (I have a great DIY in mind!);
- Make the windows of the french doors opaque or translucent.
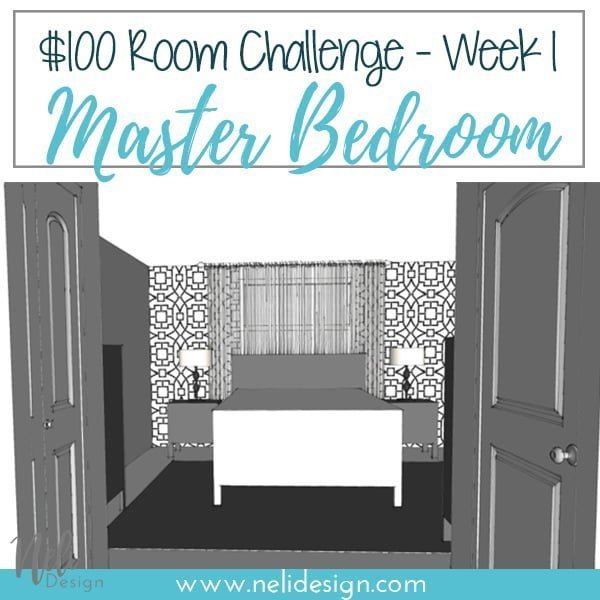
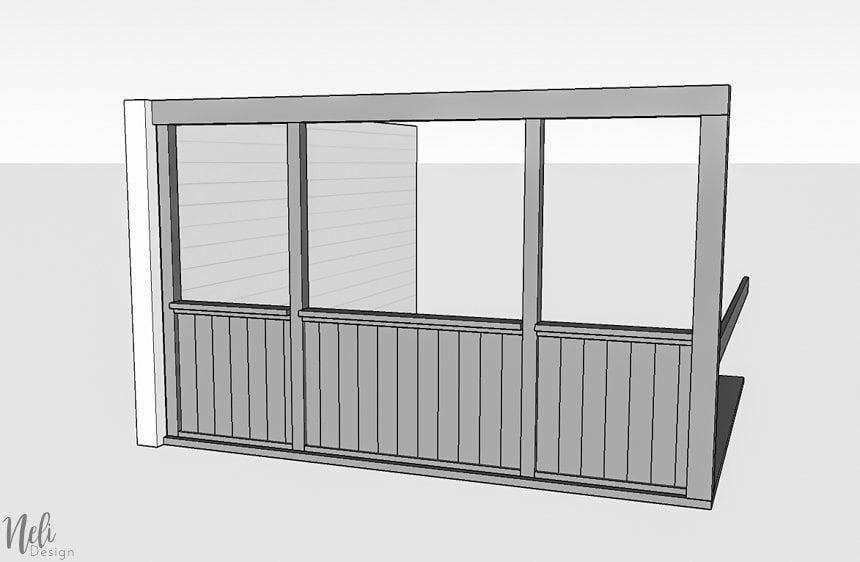
If I add the stencil to my sketch, it looks like that:

Isn't that exciting?
If I have the budget and time, I might add:
- Spraypainting the furniture's hardware;
- Give a makeover to the table lamps
- Add throw pillows of different accent colours.
So in your opinion, what accent colour should I add to my Master Bedroom Makeover?
If you want to skip ahead, just follow these links:
Week 1 | Week 2 | Week 3 | Week 4: Reveal

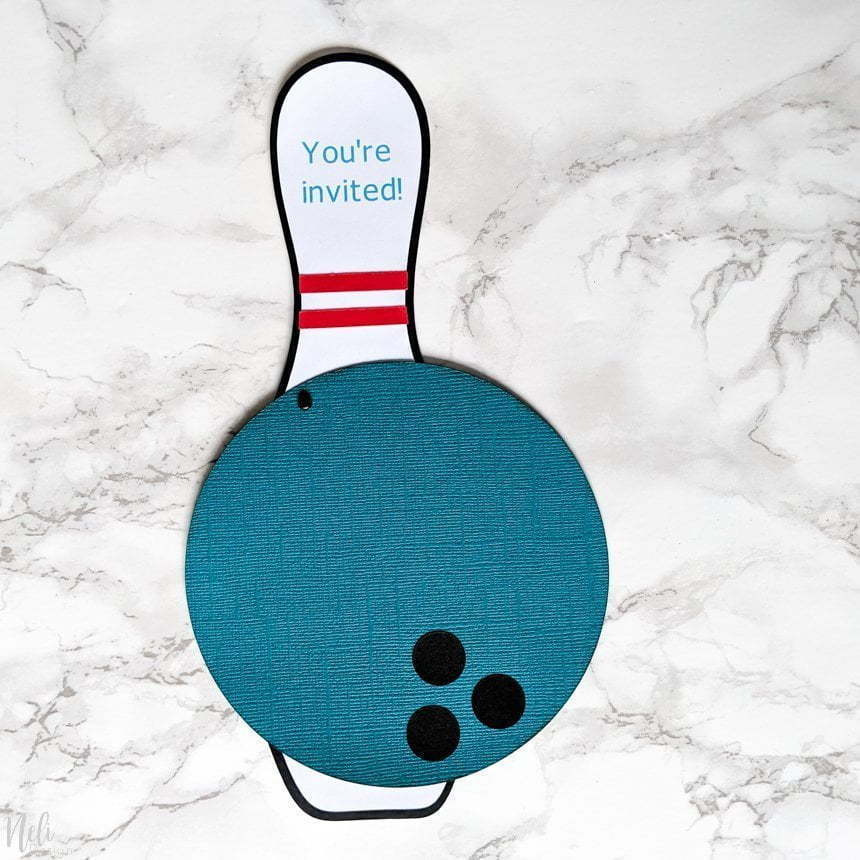
Don't forget to pin it for later:
[wc_box color="secondary" text_align="center" margin_top="" margin_bottom="" class=""]
Don't miss the rest of the $100 Room Challenge and any new freebies. Subscribe to get access to the library full of resources and updates!
[wc_button type="warning" url="https://nelidesign.com/landing-page/" title="Inscrire" target="blank" url_rel="" icon_left="" icon_right="" position="center" class=""]Subscribe me![/wc_button][/wc_box]
Click here to see which Link Party I participate.
Go check out what the other participants of the $100 Room Challenge are doing:


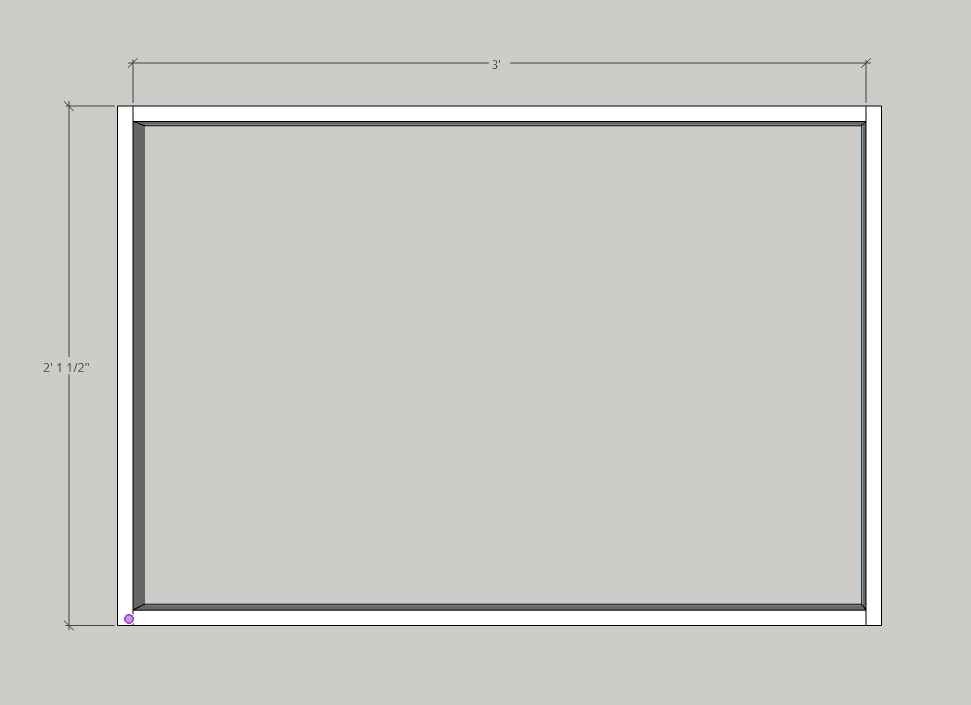


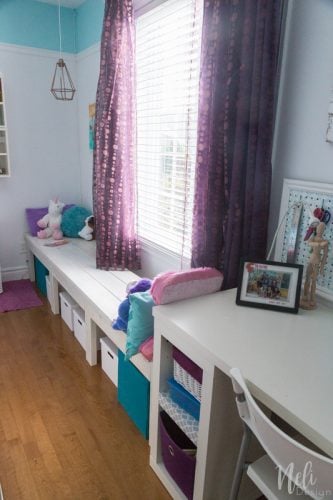


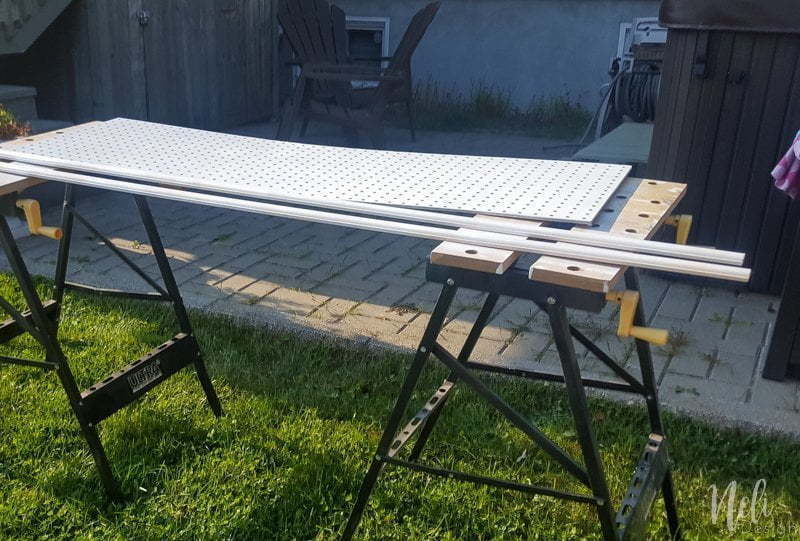


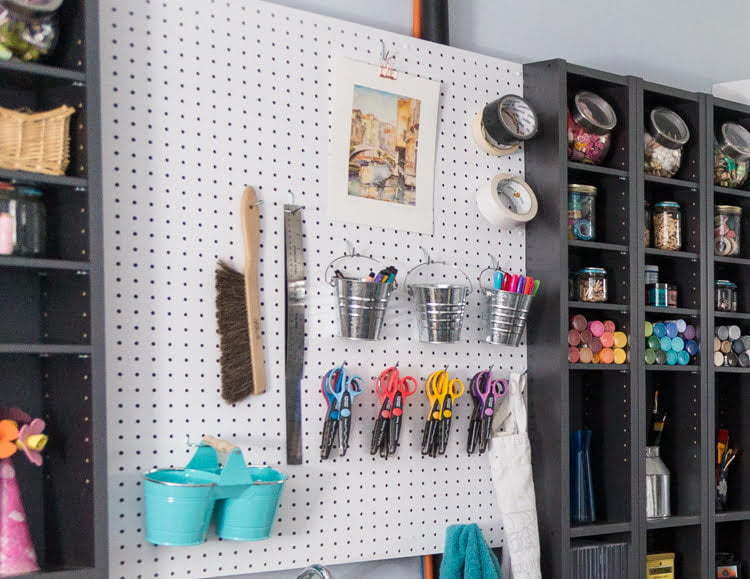
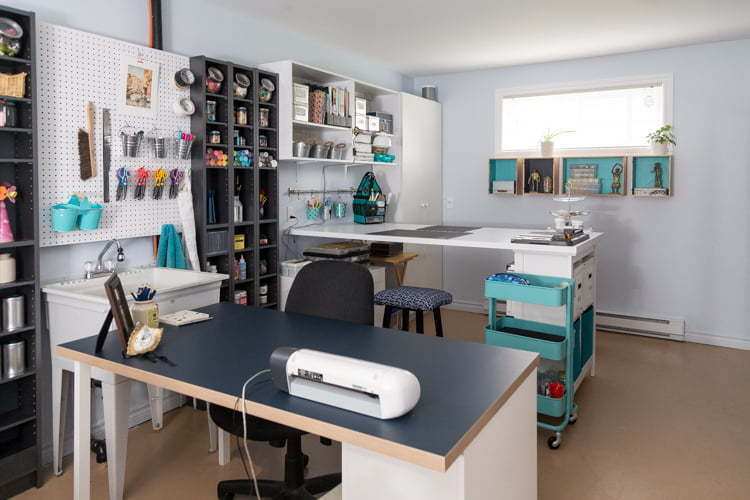
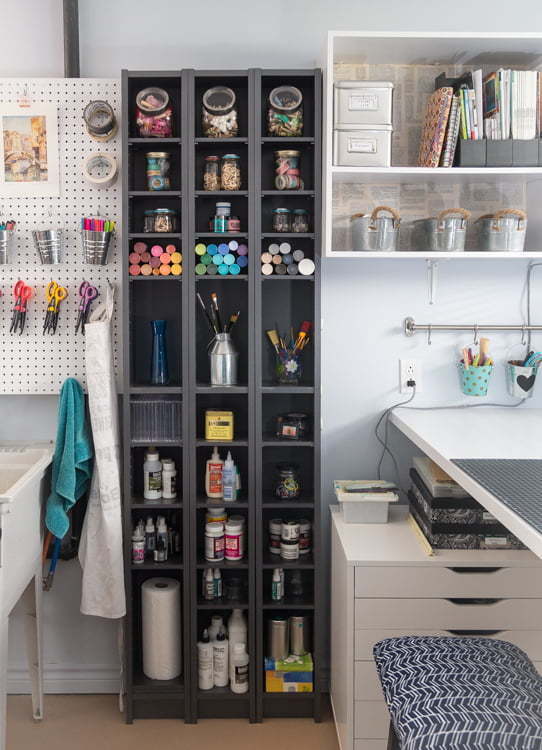


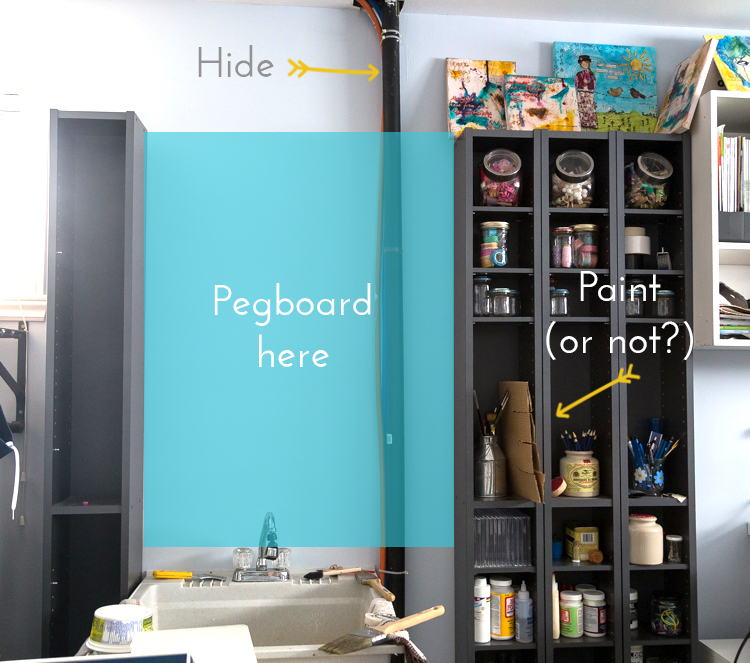

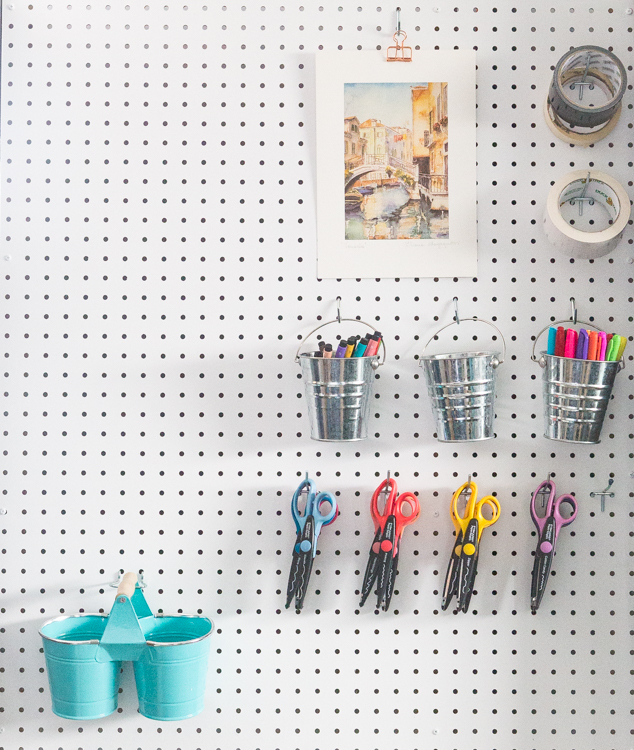
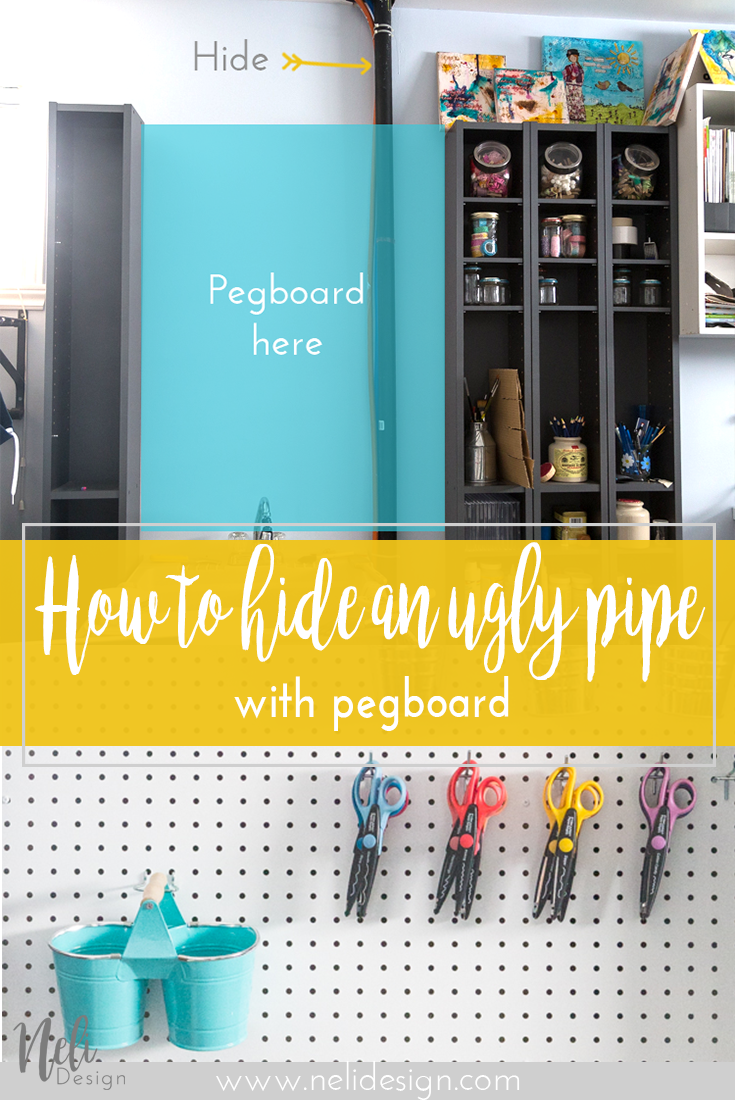
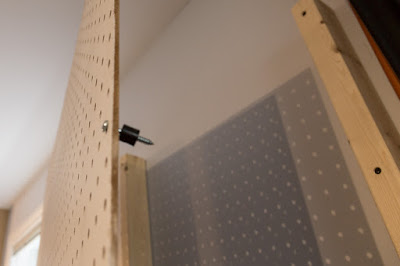 Then we cut the pegboard to the size we needed. We also used spacers to make sure the 2x3 didn't block any holes of the pegboard.