[wc_box color="inverse" text_align="center" margin_top="" margin_bottom="" class=""] It's week 2 of the $100 Room Challenge where I'm transforming my master bedroom. This week, I was stencilling a wall! It was an adventure! Find out if it's one you'd like to take! [/wc_box]
Thanks to Cutting Edge Stencils for sending me the stencil for this project. All opinions are 100% my own.
I had a vision. I was seeing it in my mind: a perfectly defined design that would make an awesome focal point when entering the master bedroom.

$100 Room Challenge: Week 1 | Week 2 | Week 3 | Week 4
I had never used a stencil before apart from when making mixed media art. And when I did that, I embraced any bleeds or mistakes like part of the art. But not on my wall! I wanted everything as clean as possible.
So I read and watched many tutorials and I said to myself: "Pretty easy, I can do this!"
This post contains some affiliate links for your convenience and at no extra cost to you. Click here to read my full disclosure policy.
Stencilling a wall
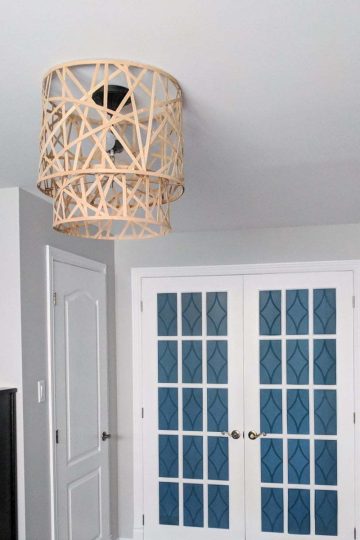
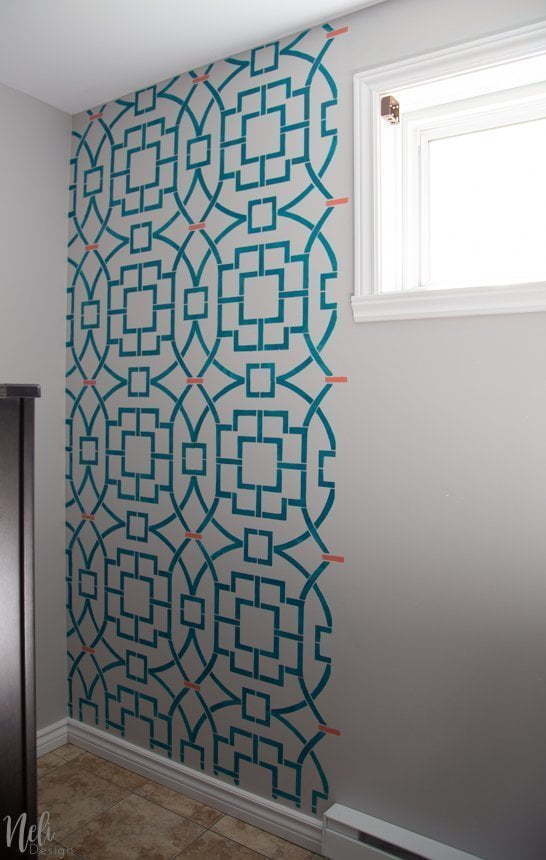
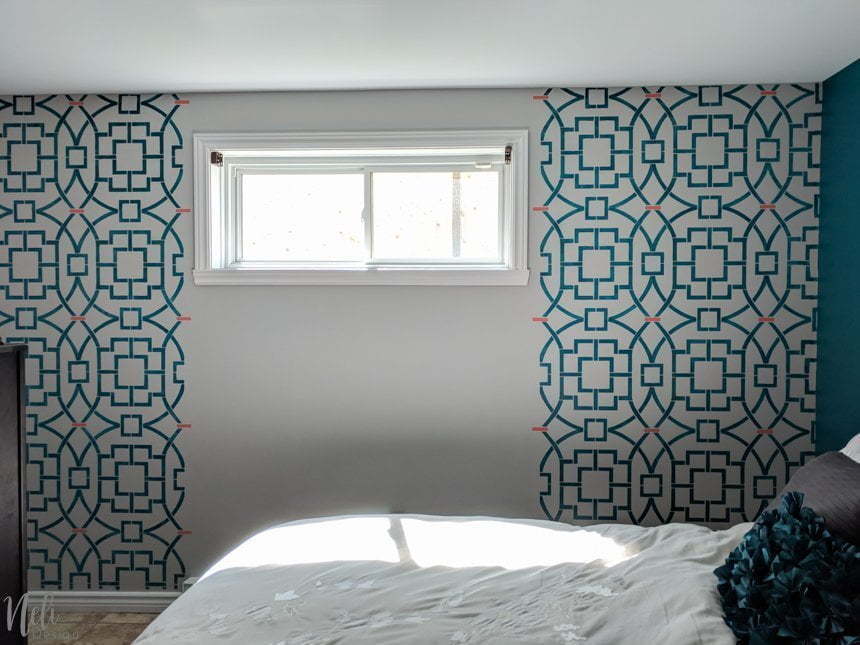
I chose the beautiful Tea House Trellis from Cutting Edge Stencil.
I bought a foam roller and even decided to use repositionable adhesive to make sure to get the cleanest edges possible.
The tutorials I watched said to put very little paint on the roller and wipe the excess on a paper towel, so I did.
I was all excited, "let's do this!"
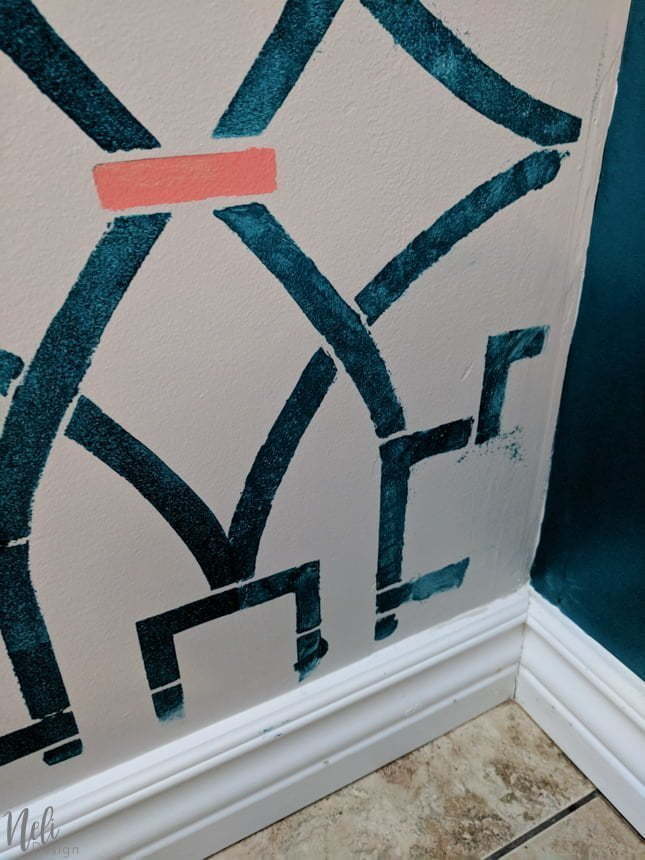
But even with all my precautions, it bled through the stencil and it was awful.
So I ran and came back with wet towels and wiped it all off... I did that three times!
Since I was using the paint I owned, I thought that maybe that was the problem. So I asked the other $100 Room Challenge bloggers and was surprised to hear that some of them just "learned to embrace de bleeds and imperfections" while others vowed to never stencil again!!
Ok, so it's not just me! And it's not as easy as it looks!
What the others had to say
I also got good advice from the other bloggers :
- Monica from Monica Wants it suggested trying a stencilling brush.
- Leslea from A Heart Filled Home also said to use less paint and that with chalk paint and a flat brush, she gets minimal bleeding.
- Kate from Kate Decorates suggested using a stencil brush, very little paint and the stencilling creme from royal design studio
- Jennifer from Jen-Ron Designs told me to use a stencil brush and make sure to use flat paint (never a sheen paint).
From what I take out, a stencil brush and very little paint are the things to remember!
Unfortunately, I didn't have a stencil brush and needed to get this done today! So, with all the advice in mind, I went back to my roller. I squished the paint out of it as much as I could by pressing it down. Then, I rolled it on a paper towel and tried A-GAIN!
This time, it was way better.

There were still some bleeding but not as much. Lesson learned:
Even when you think you don't have a lot of paint on your roller, you still have too much!
My tips to you
Like it or not, it will bleed. If you see bubbles like this, it means you still have way too much paint on your roller!
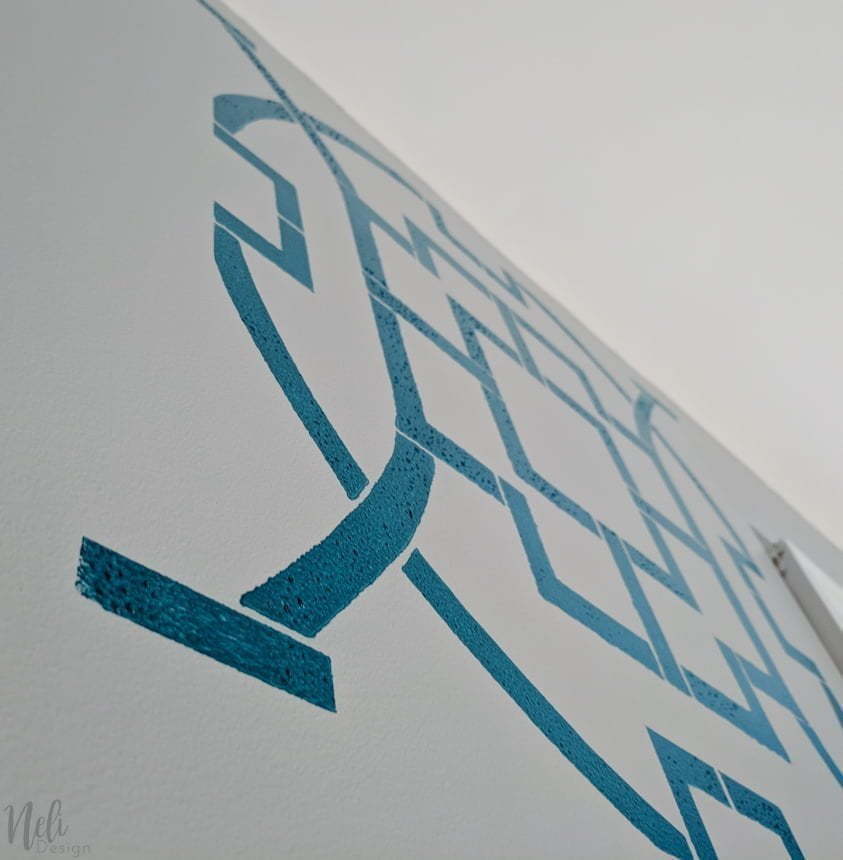
I used wet Q-Tips to clean some of the edges. You can also come back with your base colour and an artist brush for touch-ups. Also, when it was time to wash the stencil, I laid it down on an old rag to dry it and dabbed it with a paper towel.
Is stencilling for you?
Can you accept imperfections? Are you the patient type? If not, I would say don't do it!! 😉
Just finishing the top, sides and bottom as you can see below took me 3 hours. Even if Cutting Edge Stencils sends a convenient top edge stencil just for the top.

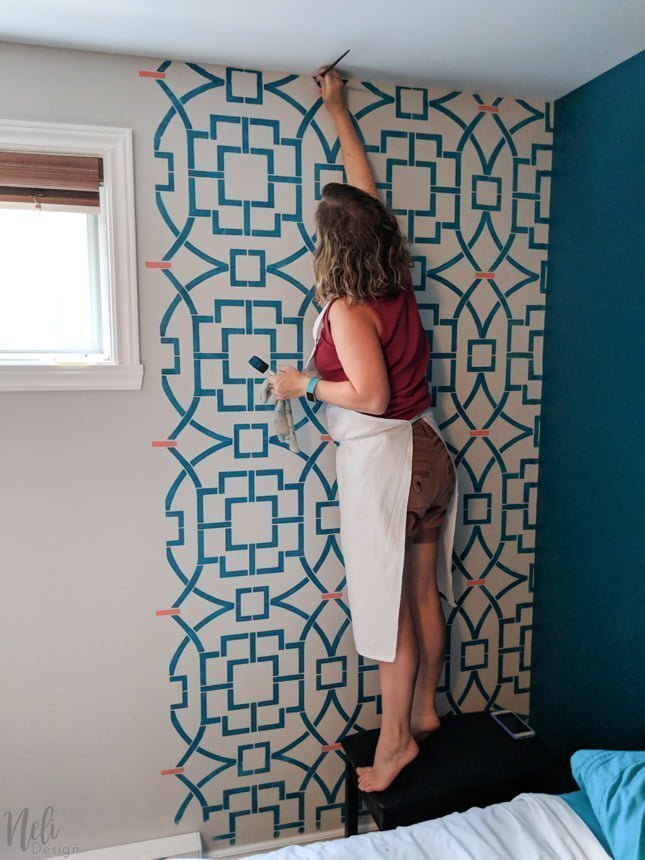
Doing the sides and bottom was a struggle because you have to bend the stencil and still fit the design.

And that is where I had the most touch-ups to do! Lucky me, there will be furniture in front!
Final thoughts
I was frustrated at first but I can't say that I'm not in loooove with the look.
I even took my courage an added another colour to the mix: Coral Blush. I'm so glad I did!
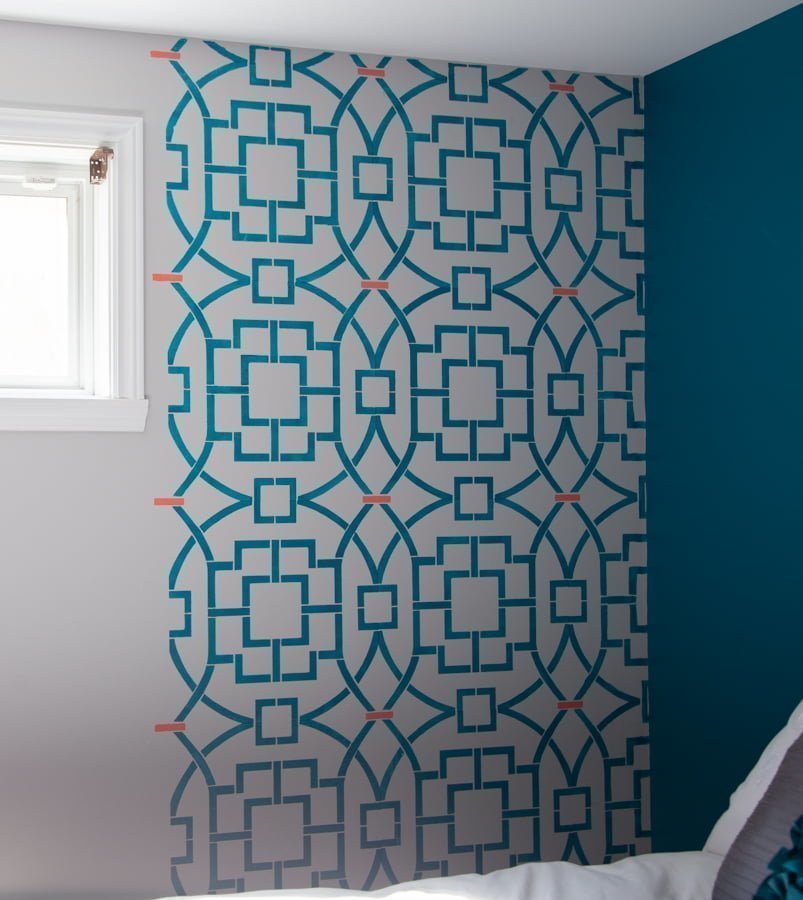
Now, if you wonder why I didn't stencil under the window, it's because I don't want to see the pattern through the curtains. That way, I think the window will seem bigger! We'll see!
Material I used
- Foam paint roller
- Repositionable Adhesive
- Paper towel
- Tea House Trellis Stencil from Cutting Edge
- Acrylic paint I already owned
- Base colour: Sico 6182-21 Breton Salt
- Stencil colour: Sico 6151-83 Underwater Cave
- DecoArt Americana Coral Blush
Recommended material and what I will use next time!
Budget
What I spent this week looks like this :
- Foam Paint roller and pan 11,44$ ($8,80 USD)
- Stencil 49,34$ ($37,95 USD)
- Repositionable Adhesive 8,99$ ($6.94 USD)
- Paint: Already owned
- Base colour: Sico 6182-21 Breton Salt
- Stencil colour: Sico 6151-83 Underwater Cave
- Stencil second colour: DecoArt Americana Coral Blush
Total spent : $53,69 USD.
Stay tuned for next week of the $100 Room Challenge if you want to know the quickest and cheapest way to paint blinds. 😀 Here's the recap:
Week 1 | Week 2 | Week 3 | Week 4

Pin it to save for later

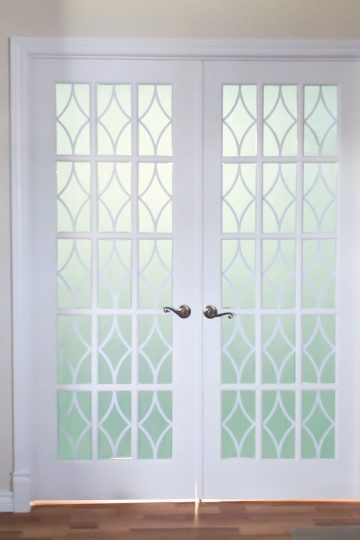
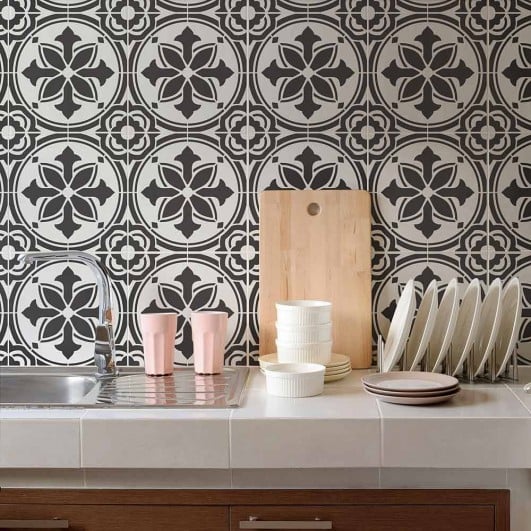
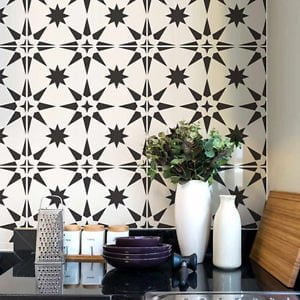
Here are other Cutting Edge Stencils that caught my eye (I even bought one of them for a next project! Can you guess which one?)
[wc_row]
[wc_column size="one-fourth" position="first"]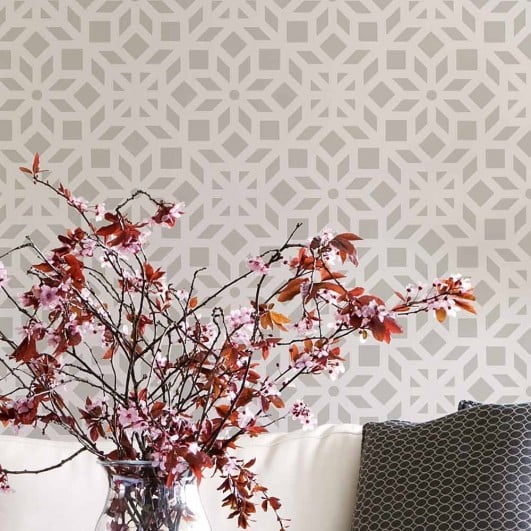
[/wc_column]
[wc_column size="one-fourth"]
[/wc_column]
[wc_column size="one-fourth"]

[/wc_column]
[wc_column size="one-fourth" position="last"]
[/wc_column]
[/wc_row]
[wc_box color="secondary" text_align="center" margin_top="" margin_bottom="" class=""]
Don't miss any new freebies. Subscribe to get access to the library full of resources!
[wc_button type="warning" url="https://nelidesign.com/landing-page/" title="Inscrire" target="blank" url_rel="" icon_left="" icon_right="" position="center" class=""]Subscribe me![/wc_button][/wc_box]
Click here to see which Link Party I participate.
You can see what the other participants are doing by following these links: