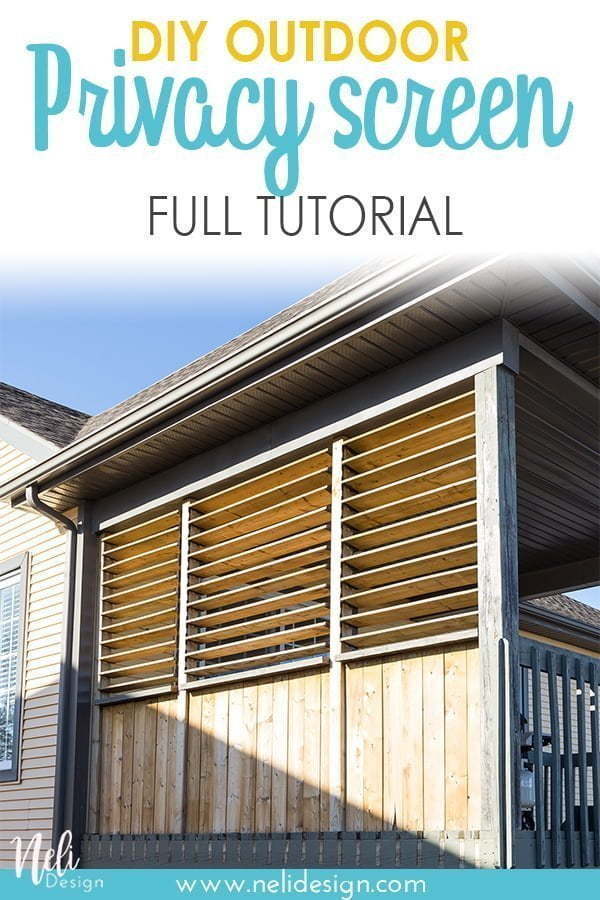
[wc_box color="inverse" text_align="center" margin_top="" margin_bottom="" class=""]An outdoor privacy screen is often essential when living in the city, where neighbours are much closer than we would like! You can see how I solved this problem by creating an adjustable privacy screen for my balcony.[/wc_box]
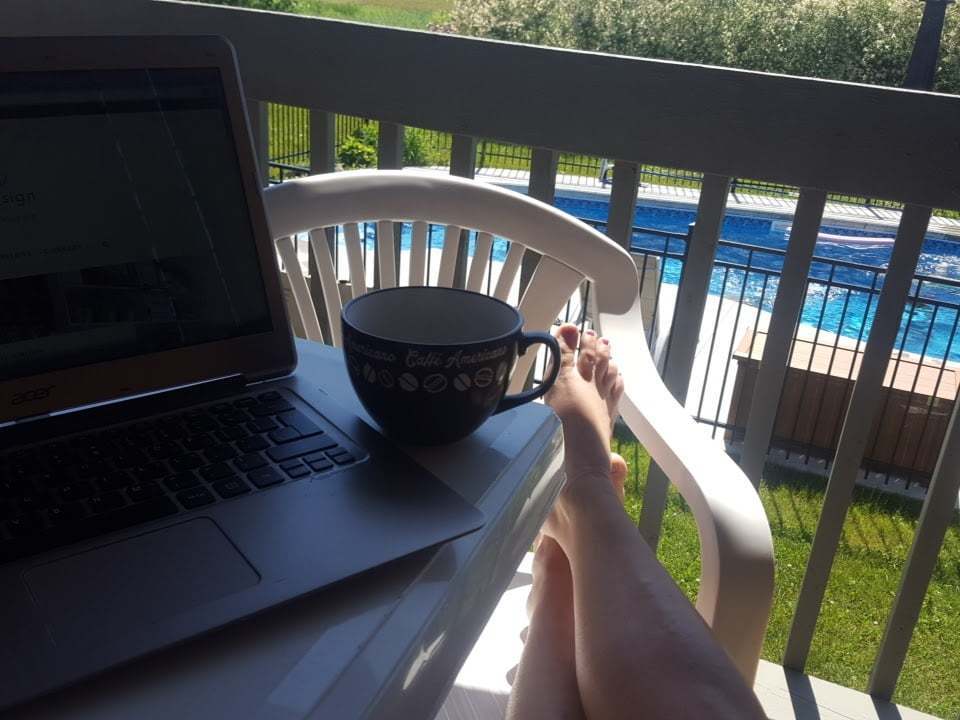
It's so pleasant, once the nice weather is here, to take meals outside or simply sit down with a good book on the terrace. In my case, it is often my laptop that follows me on the patio. I take care of my blog while getting some fresh air! Just admit that I look comfortable despite the white plastic chairs!
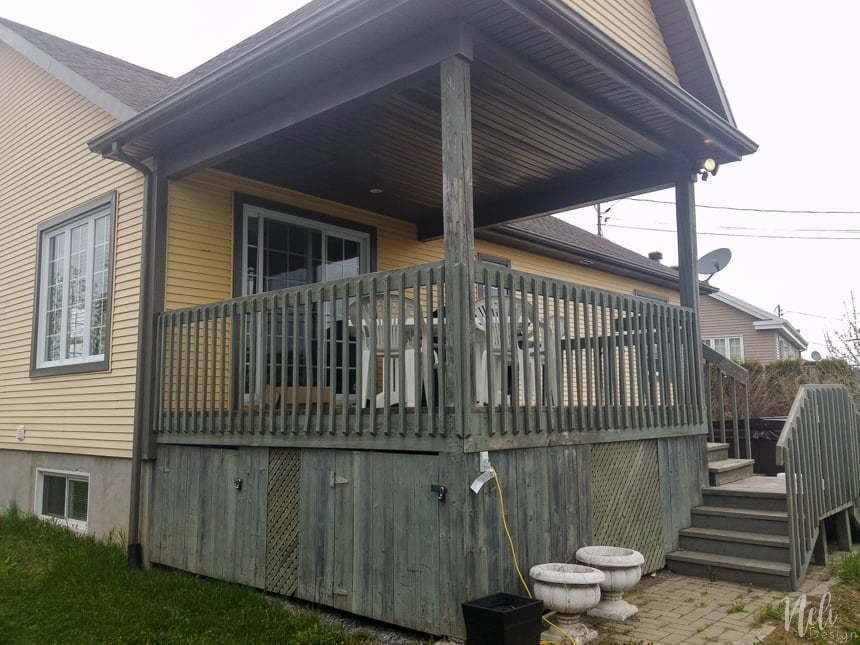
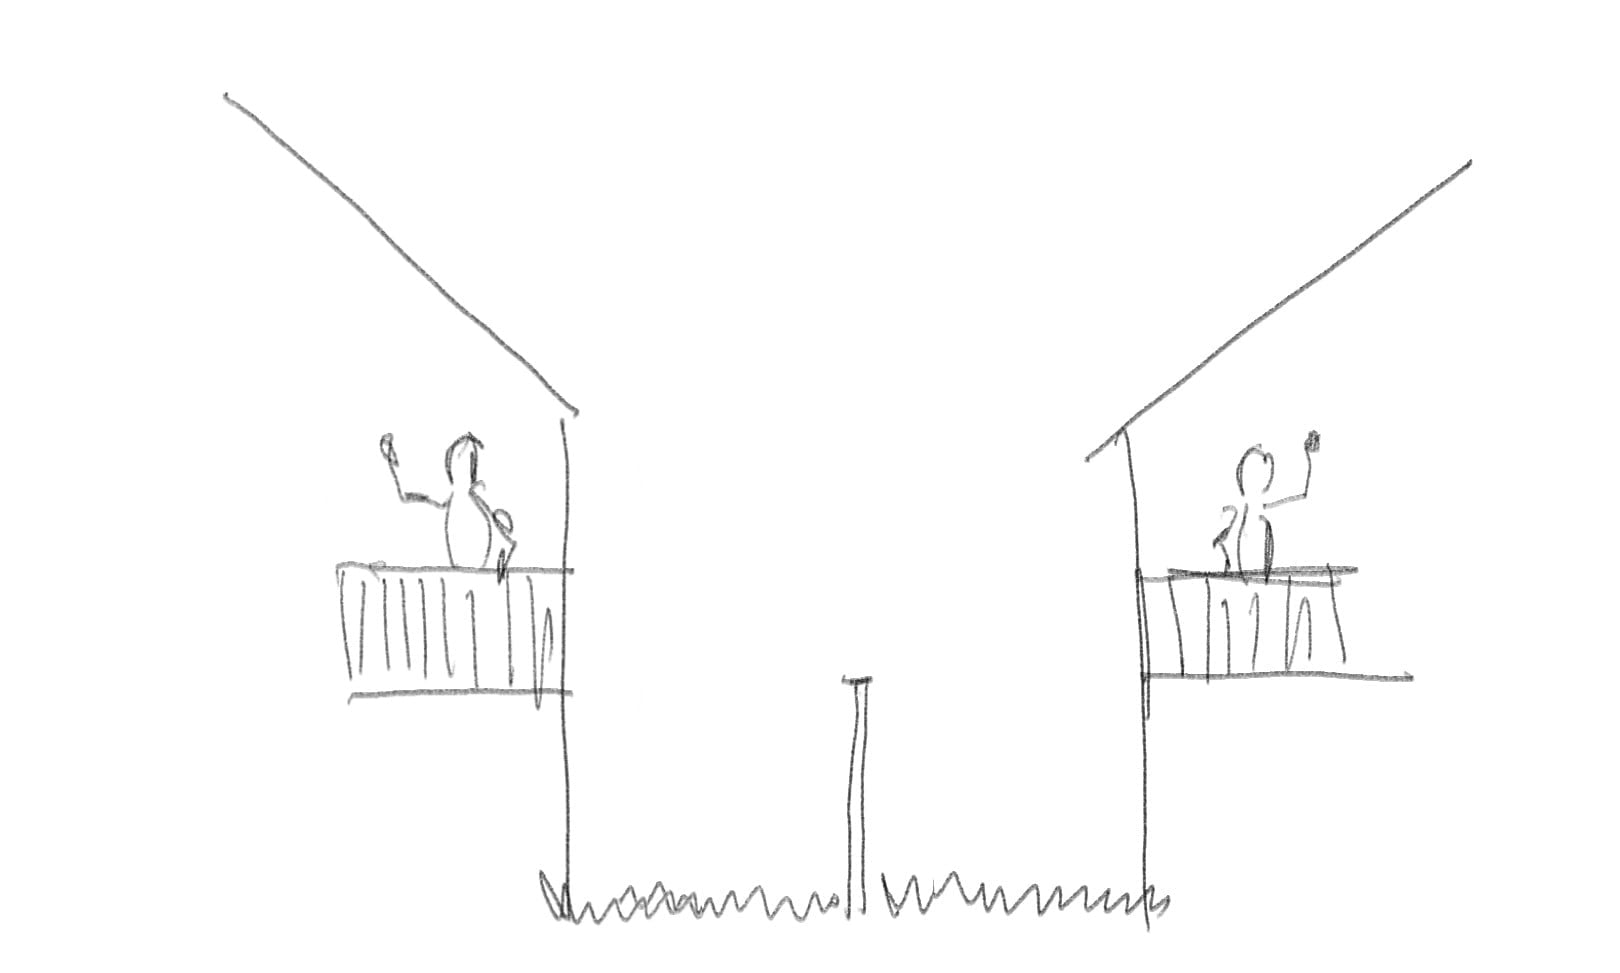
I love this patio with its roof that allows us to stay there, no matter the temperature. Unfortunately, it has a big flaw: it lacks a little privacy! The patio of the neighbours is exactly next to ours.
This sketch shows you the proximity to our neighbours. Note that we do not usually say hello like this! 😉
How to make an outdoor privacy screen
I looked for all kinds of solutions to make a privacy screen without investing a fortune. I also wanted something that would not completely block the sun.
This post contains some affiliate links for your convenience and at no extra cost to you. Click here to read my full disclosure policy.
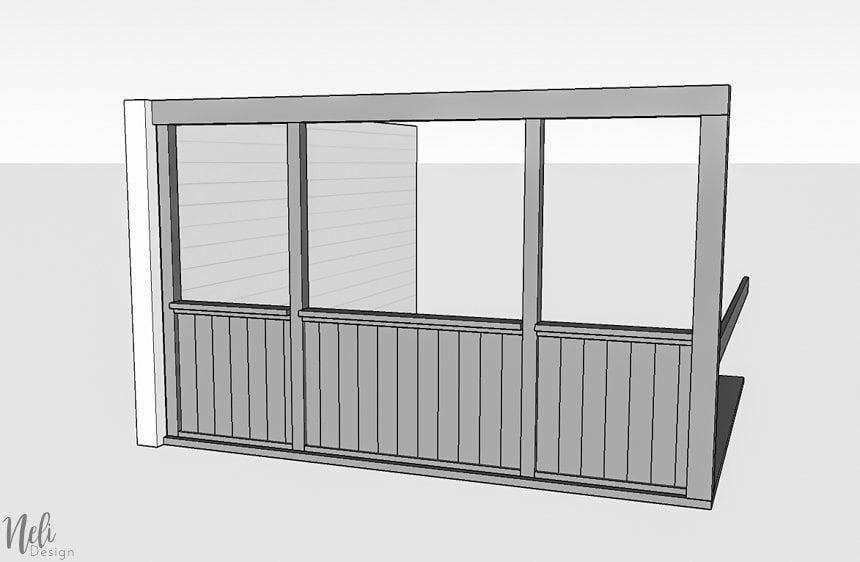
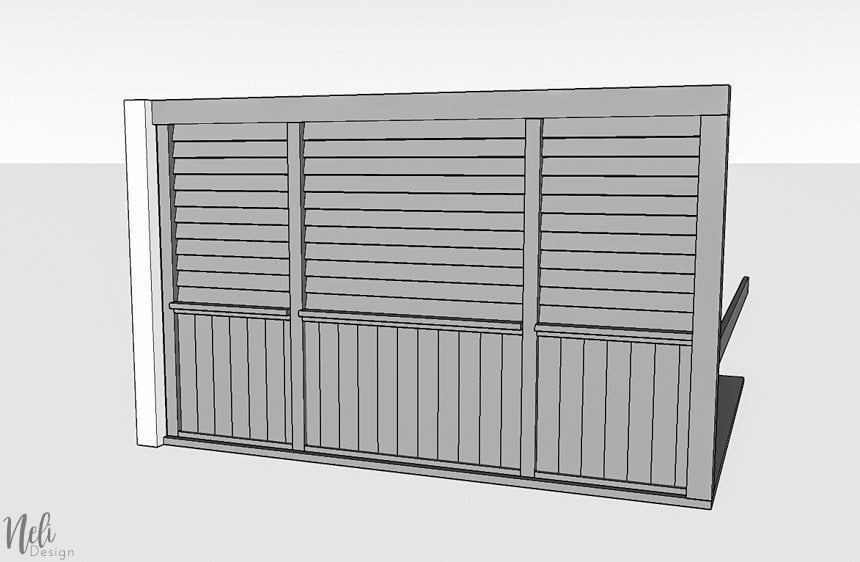
I finally found this hardware kit and I immediately knew it was what I needed. This is a system that allows you to make louvres yourself.
With each kit, you can make louvres up to 48" high (11 panels) per any desired width. Since my balcony is 12 feet long, I used a total of 3 kits. I could have used only 2, but I wanted to have more flexibility on the one I could close and leave open.
Required materials
[wc_box color="primary" text_align="left" margin_top="" margin_bottom="" class=""]
- Hardware kit (I used 3)
- Treated wooden fence boards (1 x 6)
- 3 - 4 x 4 treated wood
- Screw for treated wood
- Miter saw
[/wc_box]
As the balcony was already green-gray (not my choice!) I chose green treated wood. And since we have to wait 2 years before painting it, I thought it would fit with the rest till then!
How to make the outdoor privacy screen
The hardware kit is relatively simple to install and the instructions are clear. It took longer to do the lower part of the patio because we didn't have any instructions for that! 😛
We first installed the 4 "x 4" by screwing them in the top and the bottom.

Then, we recycled the handrail that was there and we used it as a separation between the top and the bottom, making sure to leave 48" in the part where the louvres will be located.

The balusters were also recycled as a mean for fixing and the lower part of the privacy screen.
Finally, we installed the louvres according to the instructions.
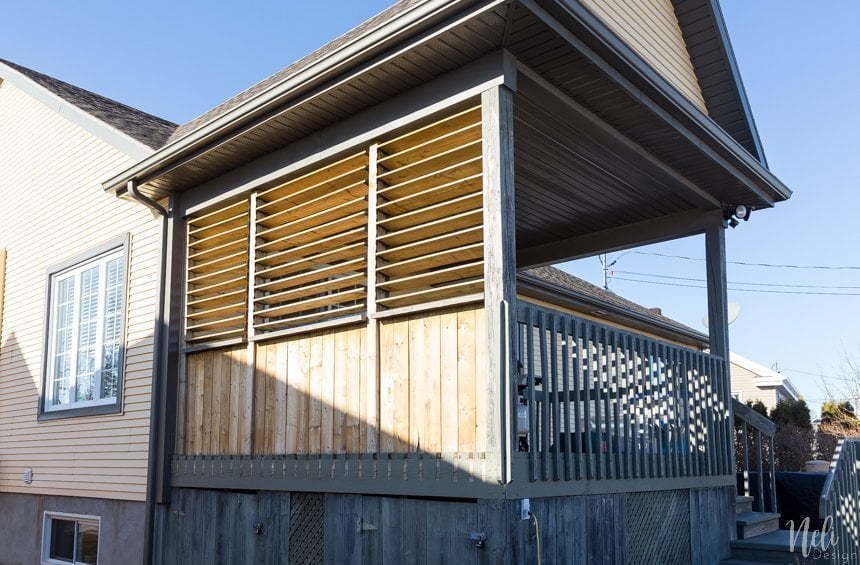
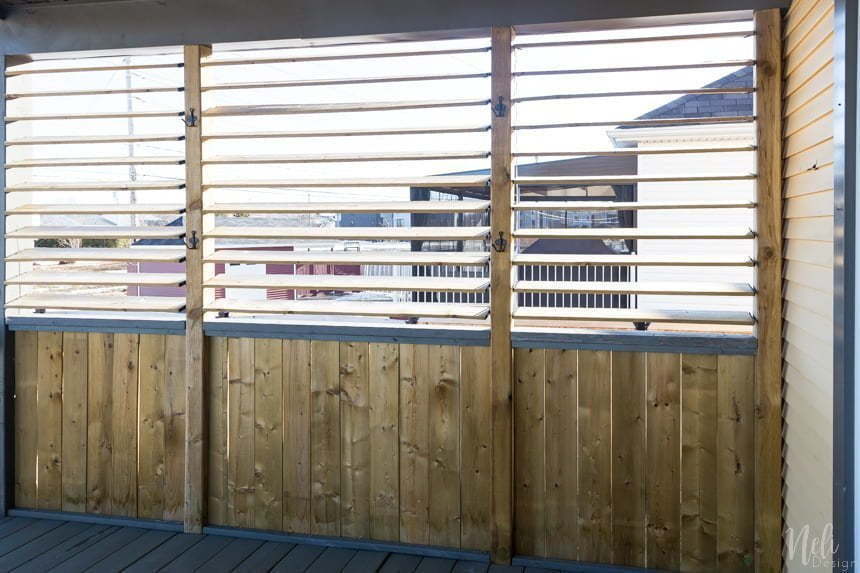
And now, in real life:
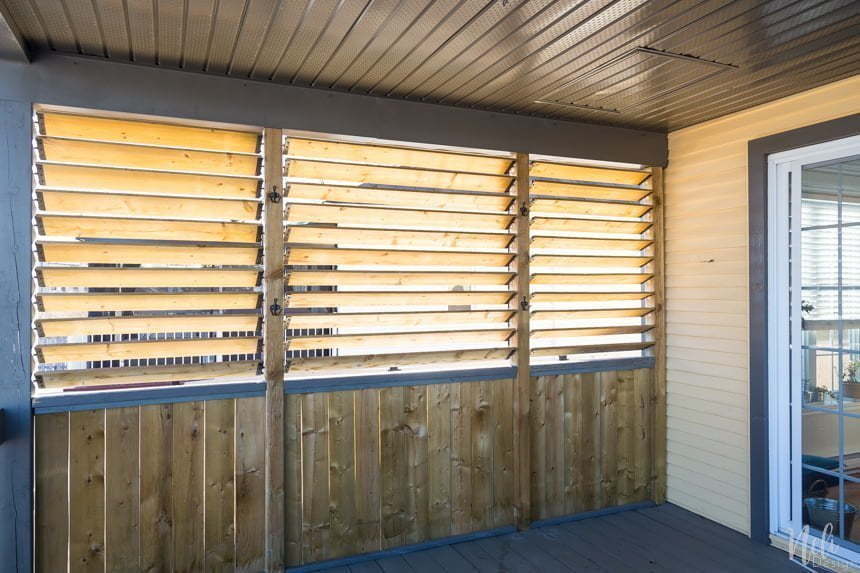
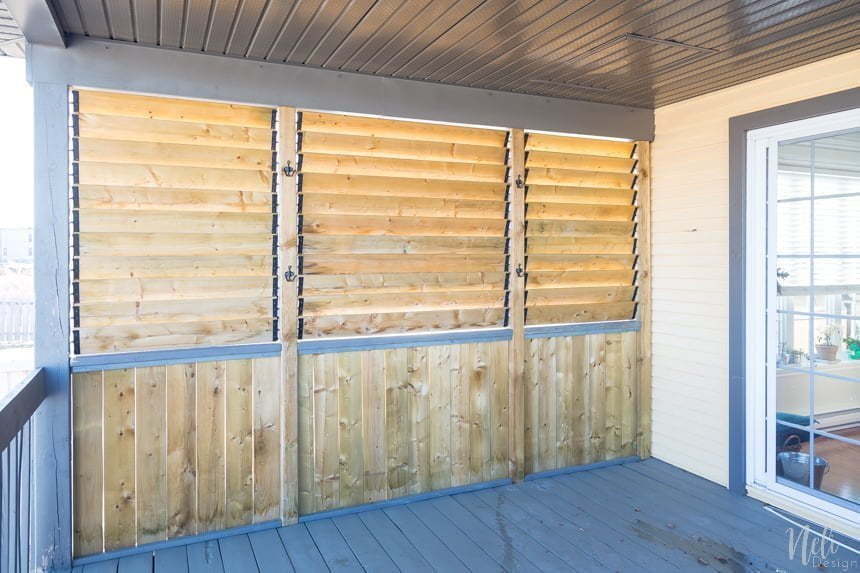
From the inside:
The recycled handrail and balusters are not the same colour as the rest. I'll fix all this when I'll paint everything!
Since the louvres are adjustable, it allows us to control the amount of light that comes in, especially at the end of the day, as in this photo.
In addition, the louvres cut the wind that often comes from this side and at the end of the day not to mention the rain that always comes from that side too! Having 3 sections also offers way more flexibility.
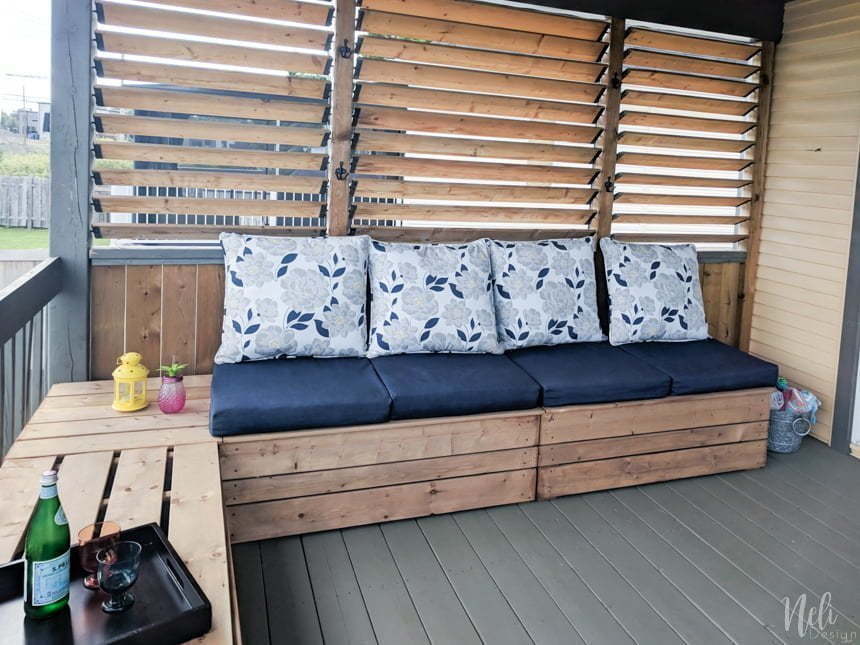
This simple privacy screen has increased the use of our patio exponentially. Now, I dream of adding a bench right there...
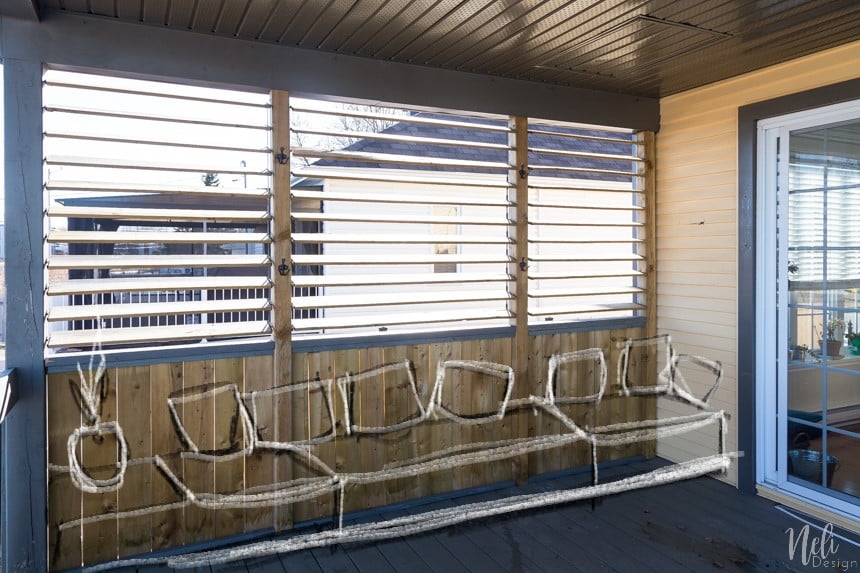
Do you visualize the same thing? ... to be continued maybe this summer! 😉
UPDATE: I made it! The post and full tutorial on how to make it will be coming soon! Here's a little peak 😊
Don't miss the next post and all the freebies, subscribe below!
PS: Please Pin it, so you don't forget it!