[wc_box color="inverse" text_align="left" margin_top="" margin_bottom="" class=""]
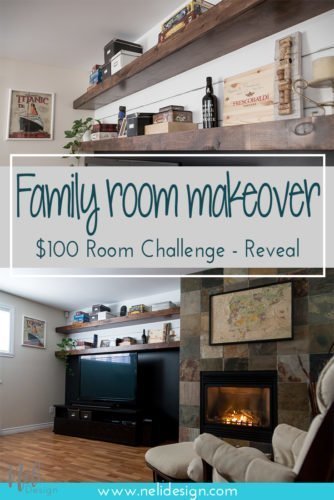
It's time for the family room makeover reveal! Check out the result that I've been working on for the past month as part of the $100 Room Challenge.
[/wc_box]
It's the 3rd time I participate in the $100 Room Challenge which consists of updating a room, for $100 USD (It will be 125 $ for me!!) in 1 month. The first time, I took on the bathroom and in September, it was the turn of my daughter's bedroom.
The family room
We can't say otherwise, this challenge hasn't gone as planned at all! But do you know what? I'm sooooo happy with the final result of my family room! You can visit the other weeks of the challenge by following these links:
Week 1 | Week 2 | Week 3 | Week 4 | Week 5 (you're here!)
Summary
Apart from cleaning the room, the plans for the family room makeover have changed enough over the weeks.
| Week | My plans | What really happened |
| Week 1 | Presentation of the room and the planned projects. | It started well, that's what I did !!! |
| Week 2 | Pick-up the room | That was also done, but I didn't really have a choice if you have seen the pictures !!! |
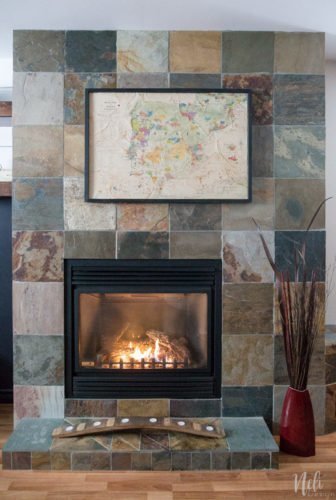
| Week 3 | Installing a floating shelf above the fireplace. | This project has been completely eliminated, but I still made a beautiful vintage map to hang over the fireplace! |
| Week 4 | Install shiplap on the wall behind the television and hang the television on the wall. | Finally, the shiplap would put too much focus on the television. I completely changed my plans and made pencil strokes to imitate shiplap. It was not a success! |
| Shiplap Take 2 | Dissatisfied with the week 4, I made some changes! | |
| Week 5 | Reveal | Here we are! |
| Still to come. | Post on how to make the floating shelves. |
[wc_divider style="dashed" line="single" margin_top="" margin_bottom="" class=""][/wc_divider]
[adinserter name="In article"]
[wc_divider style="dashed" line="single" margin_top="" margin_bottom="" class=""][/wc_divider]
Makeover reveal
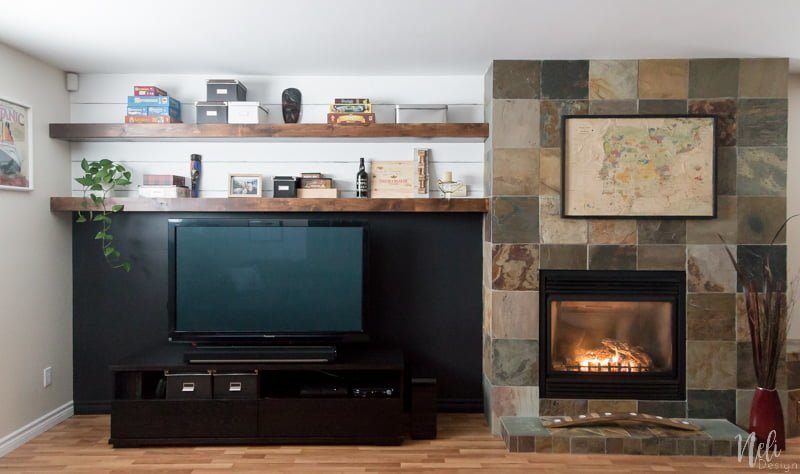
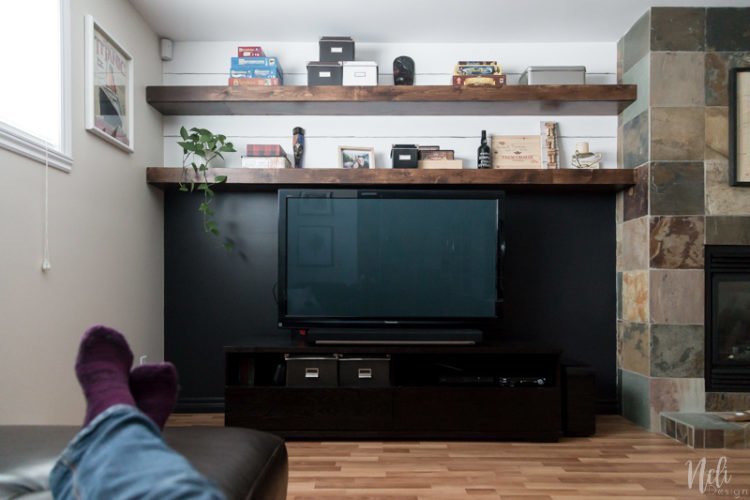
When I had the idea to paint the wall in dark gray, I knew immediately that I had to find a way to dress up the wall. And, since my house is always in need of more storage, I though of making floating shelves.
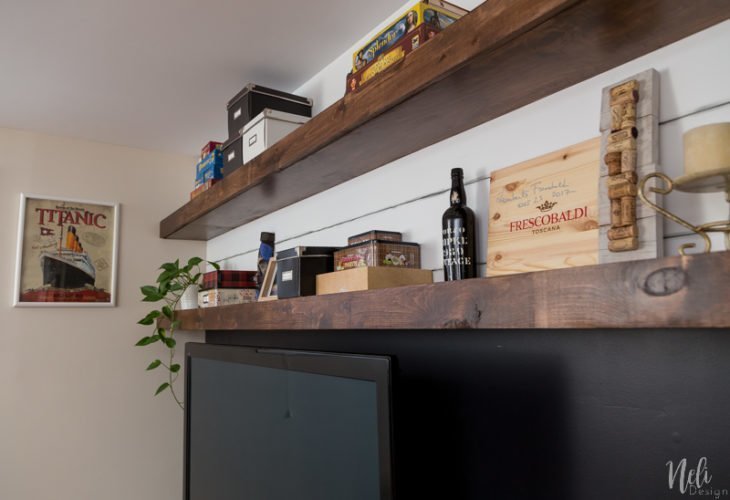
The idea was great, but I didn't think it would be that difficult and take that much time. Since the shelves were stuck between two walls, I had to make very precise cuts ...
I'll talk to you soon about it, in a post dedicated solely to the making of the shelves and all that I have learned.
Can you also see the changes I made to the faux shiplap? What do you think? You can click this link to see exactly how I did it and what was my inspiration!
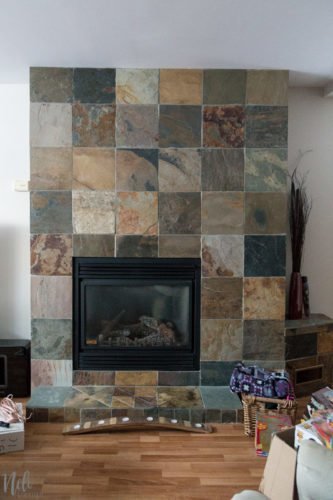
Before / After
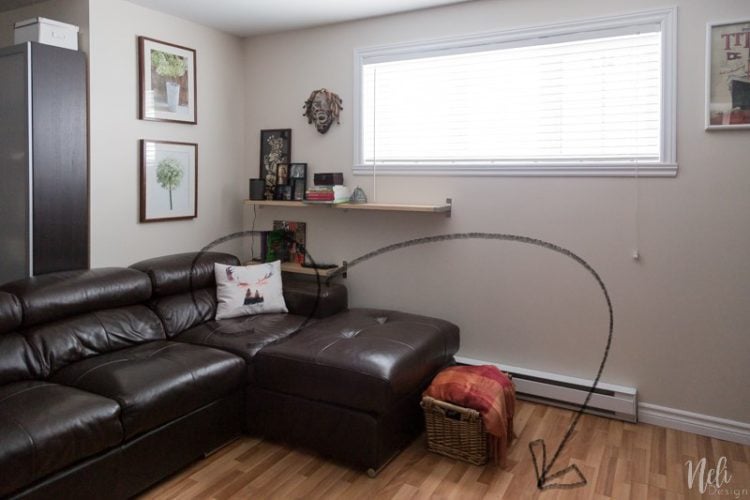
Some before and after photos to be sure that you remember the mess that was there before... (insert here ashamed smiley !!)
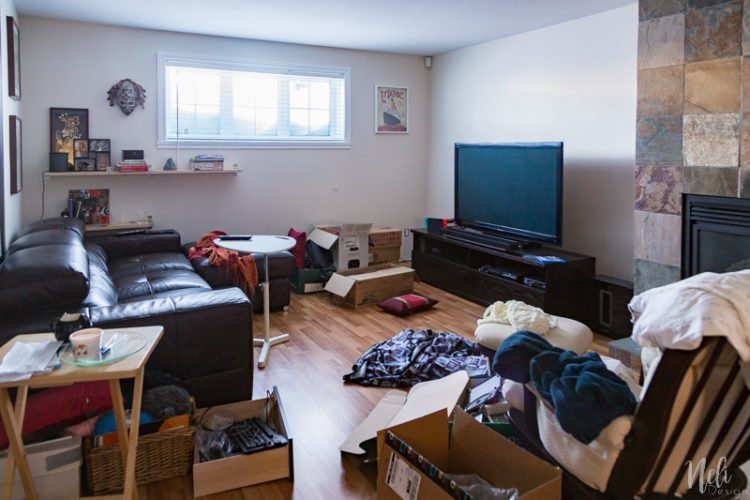
Oufff, now I can breathe!
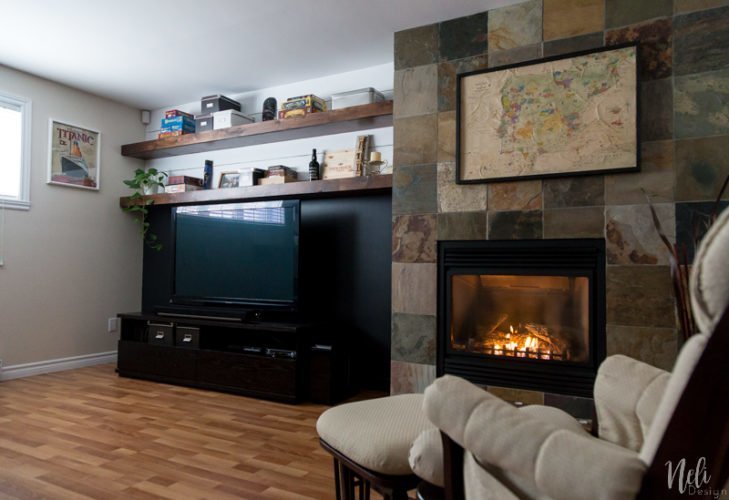
For the fireplace, the vintage framed map really adds a nice finishing touch.
These next photos really demonstrate how much difference it makes:

I have a sigh of satisfaction when I look at the last two pictures !!
The opposite side has not changed much. One day I would like to add a rug and curtains. It would give a more cozy atmosphere.
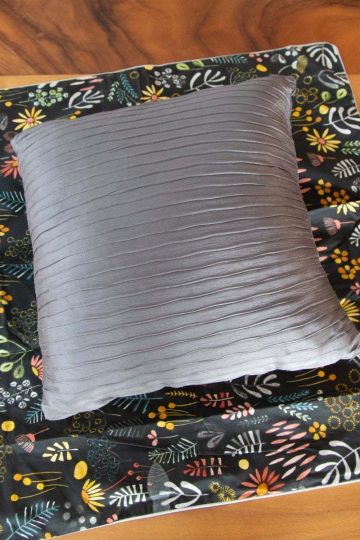
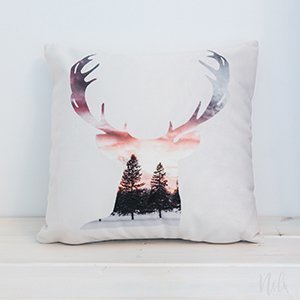
But for now, you can see in there the deer throw pillow that I sell in my Etsy shop.
By following this link you'll also see how to make this metal box.
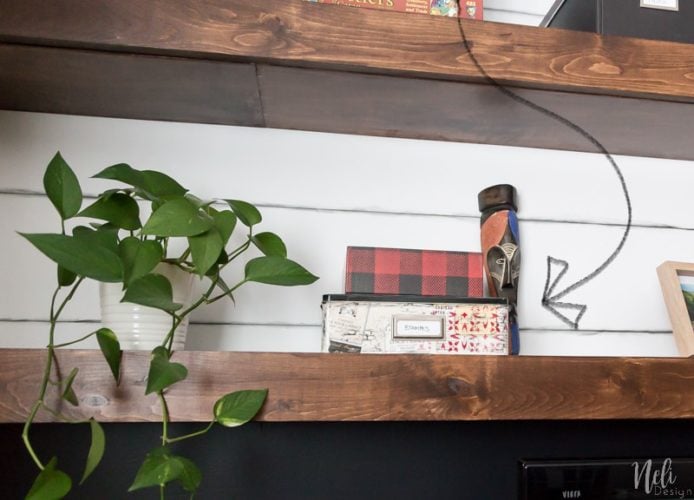
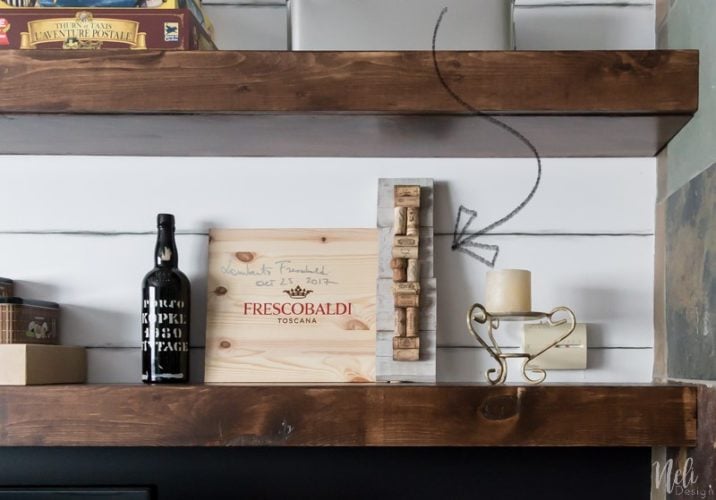
And do you remember this mini rustic cork bulletin board?
Budget
For the budget, I have exceeded it by $2 because I had to buy a pack of shorter screws at the last minute! You'll know more in the next post on how I made the floating shelves.
Cost recap:
| Total $USD | Total $CAD | |
| Framed vintage map (Week 3) | $9.26 | 11,56 $ |
| Paint 875 ml (Week 4) | $15.59 | 19,49 $ |
| Shelves | $92.71 | 115,89 $ |
| Grand total | $101.98 | 127,47 $ |
Thanks for following this challenge and thanks to Erin, from Lemons, Lavender and Laundry who started this awesome challenge and had the idea of letting other people participate with her. It's become a great community of bloggers and I'm really happy to be part of it!
Week 1 | Week 2 | Week 3 | Week 4 | Week 5 (you're here!)
Ok, now! I leave you to it and I'll go take a break looking at this wonderful view with the satisfaction of all the work done 😉
[wc_divider style="solid" line="single" margin_top="" margin_bottom="" class=""][/wc_divider]
[wc_box color="secondary" text_align="center" margin_top="" margin_bottom="" class=""]
Don't miss any new freebies. Subscribe to get access to the library full of resources!
[wc_button type="warning" url="https://nelidesign.com/landing-page/" title="Inscrire" target="blank" url_rel="" icon_left="" icon_right="" position="center" class=""]Subscribe me![/wc_button][/wc_box]
[wc_divider style="solid" line="single" margin_top="" margin_bottom="" class=""][/wc_divider]
Don't forget to Pin it for later!

Click here to see which Link Party I participate.
This post contains some affiliate links for your convenience and at no extra cost to you. Click here to read my full disclosure policy.
Now, let's see the final result of the other participants!
[inlinkz_linkup id=762956 mode=1]