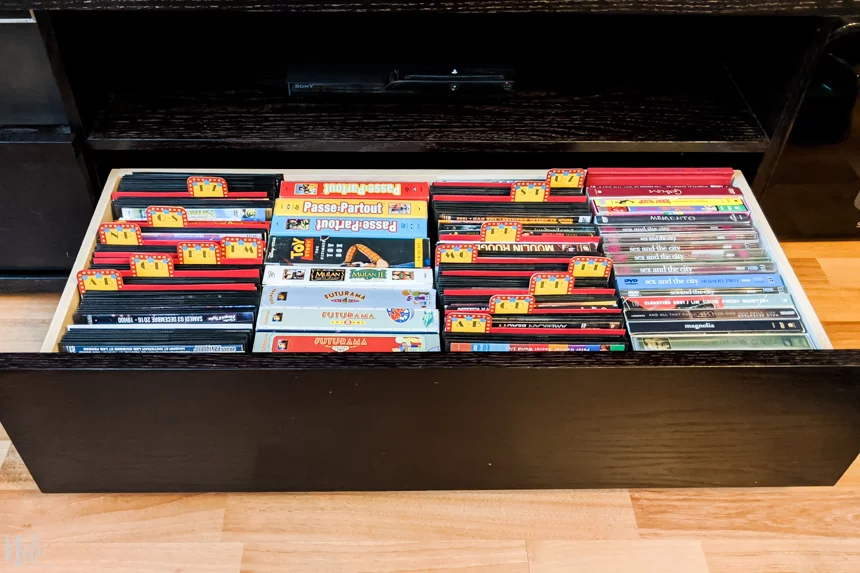
You’ve got so many DVDs and Blu-rays that you don’t know what to do with them? I’m going to show you a great solution to reduce the space occupied by your collection by at least 75%. And thanks to your Cricut, you will be able to organize them like a pro with DIY tab dividers!
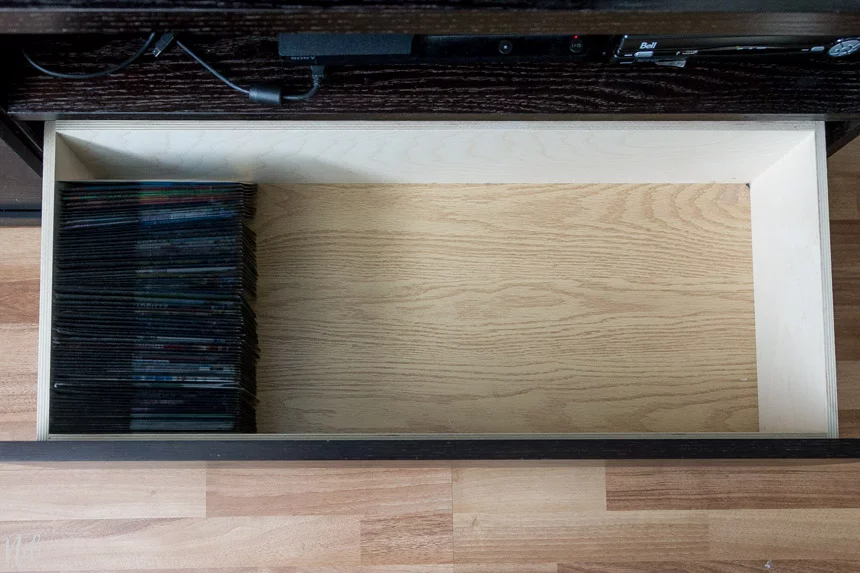
Some time ago, I showed you how I managed to reduce considerably the space occupied by all our DVDs and Blu-rays in this post.


Impressive right? This post contains some affiliate links for your convenience and at no extra cost to you. Click here to see my full disclosure policy.
In short, you need to use these awesome sleeves that you can find on Amazon. Seriously, they are a great invention! There is also this clear version that is a good choice according to the comments I have read.
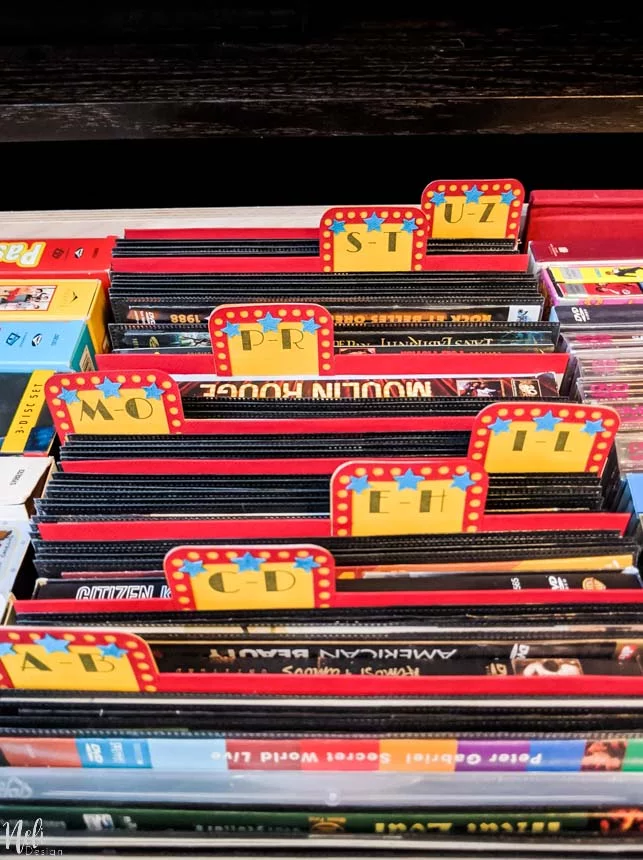
Then, a little DIY will allow you to organize everything alphabetically!
How to make tab dividers
Before I had my Cricut, I used this technique to organize my DVD and Blu-ray sleeves.
It is not that it is not a good solution. In fact, I suggest it if you don’t have a cutting machine.
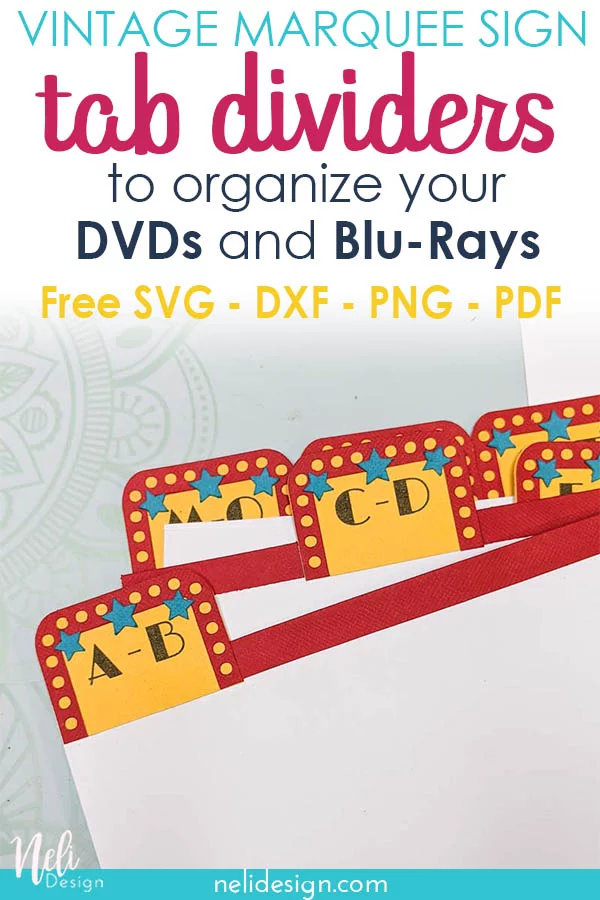
But now, I want to have fun with my Cricut and do something even more beautiful. And what could be better than staying in the cinema theme with tabs dividers reminiscent of vintage cinema marquee signs? Of course, you’ll get the cut file for free!


Materials and tool required
- Cutting machine (I have the Cricut Maker)
- Coloured cardstock
- Glue (I found these glue pencils which are awesome for precise small jobs!)
- Printer or Cricut Pen (I explain both versions in the video)
- A free font called: “Limelight“
- DVD sleeves (the ones I have or these ones)
- The free SVG cut file, available in the library by subscribing below.
How to make tab dividers for your DVD organization with your Cricut
I am really happy with the result! I think these new tab dividers add a nice original touch to my DVD organization! What do you think? Leave me a comment below and above all, don’t forget to Pin it!

