Check out my colourful master bedroom makeover reveal. Everything was done in one month with less than $100. Proof that a small budget can still make a big impact.
Is it time already? It just can't be!! I was gone on a blogging conference 2 weeks ago so I had one less weekend to finish my projects. I knew it when I decided to do this challenge, but still, it went pretty fast! I'm not complaining because everything turned out perfectly: the conference was totally worth it AND I'm completely in love with my master bedroom makeover!
Week 1 (The plan) | Week 2 (Stencil) | Week 3 (Painting the blinds)
Let's recap! This post contains some affiliate links for your convenience and at no extra cost to you. Click here to read my full disclosure policy.
Remember the plan?
I had a lot on my plate for this project. I was hoping to make all of these things (the one checked are the one I actually did!):
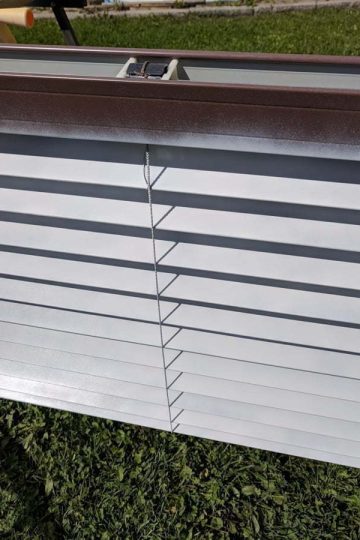
- Painting the blinds white; [wc_fa icon="check-square-o" margin_left="" margin_right="" class=""][/wc_fa]
- Hanging the curtains that I had in the previous house and that I never hung; [wc_fa icon="check-square-o" margin_left="" margin_right="" class=""][/wc_fa]
- Stencilling the wall of the window with this awesome stencil; [wc_fa icon="check-square-o" margin_left="" margin_right="" class=""][/wc_fa]
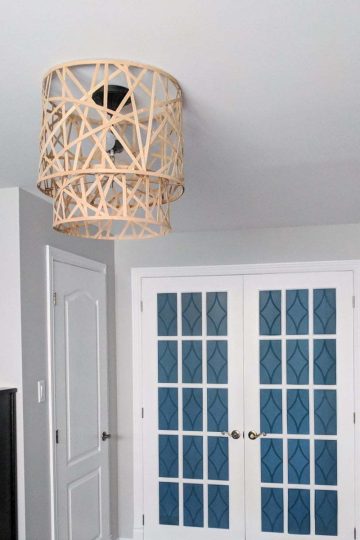
- Changing the light fixture; [wc_fa icon="check-square-o" margin_left="" margin_right="" class=""][/wc_fa]
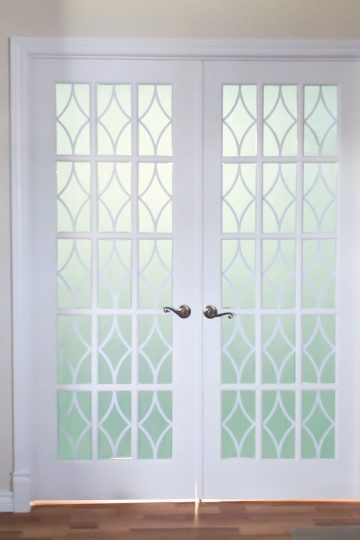
- Make the windows of the french doors opaque or translucent. [wc_fa icon="check-square-o" margin_left="" margin_right="" class=""][/wc_fa]
If I had the budget and time, I also wanted to:
- Spraypainting the furniture's hardware;
- Give a makeover to the table lamps;
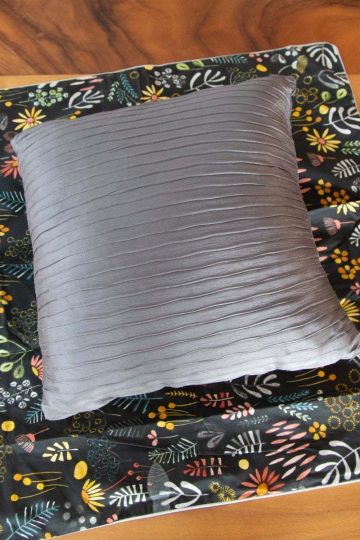
- Add throw pillows of different accent colours. [wc_fa icon="check-square-o" margin_left="" margin_right="" class=""][/wc_fa]
With all of this, I wanted to change the layout of the room so that it made a beautiful focal point when we came in.


Plus, someone mentioned that it's "Feng Shui" to have the bed facing the door! Maybe I'll sleep better! 😉
Master bedroom makeover reveal
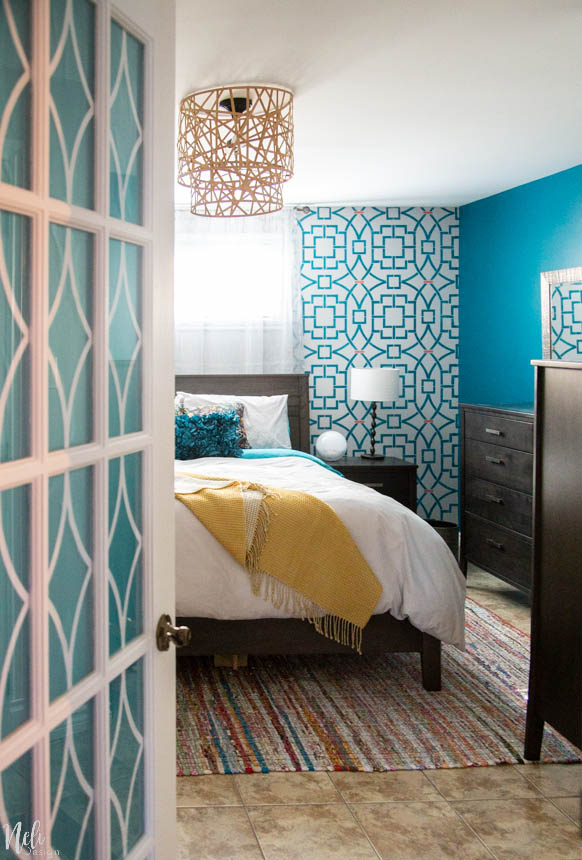
So, here's the before and after from the entrance:

Before 
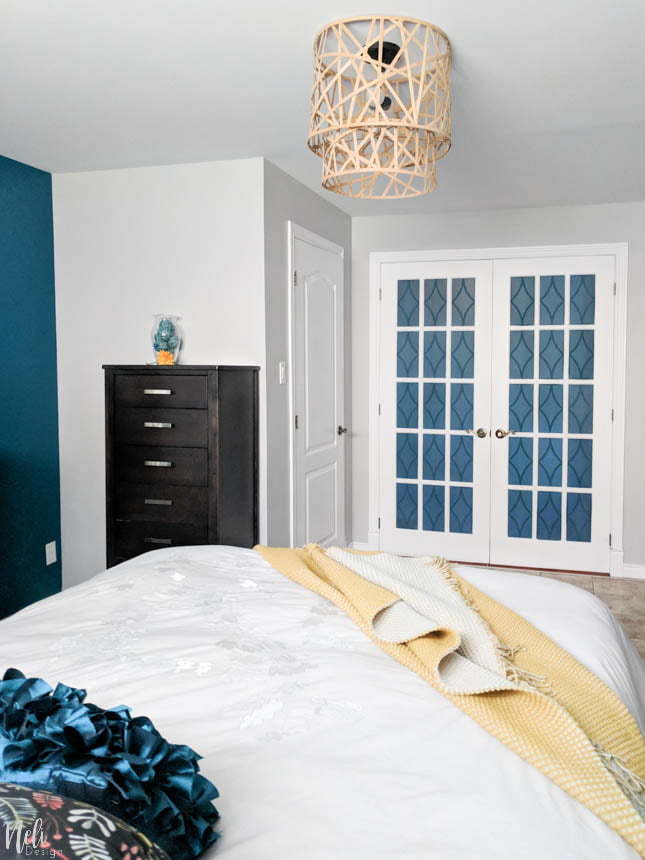
After
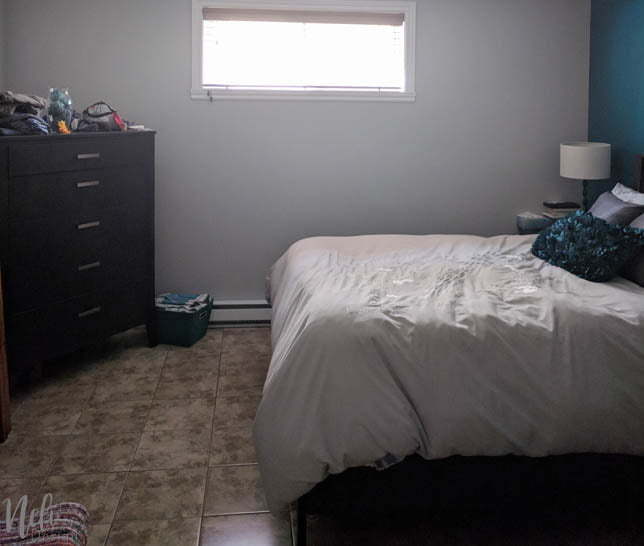

It is so much more colourful than before! I love it! I'm glad I went with the two colours for the stencilling.
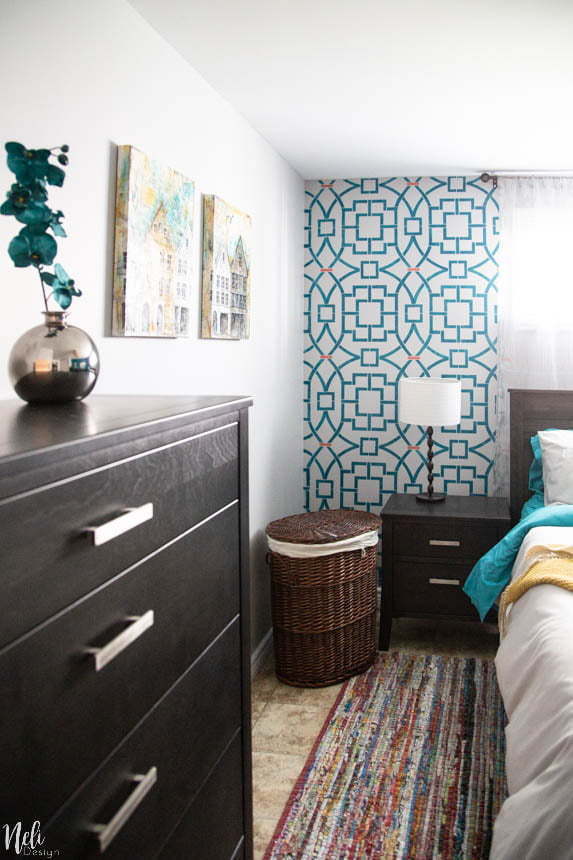
I even DIYed a new lamp for 0$! (I already had everything on hand since I had made something similar for my dining room)
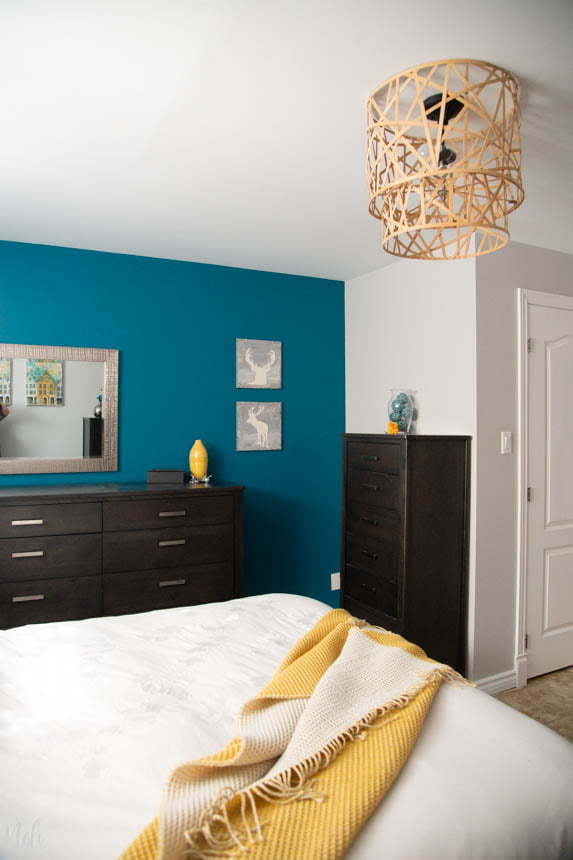
I love the pattern it makes on the ceiling at night.

If you've been reading my blog for a bit, maybe you remember these deer wall art? I made them for my bathroom for my first $100 Room Challenge. I think they look better in here, don't you think?
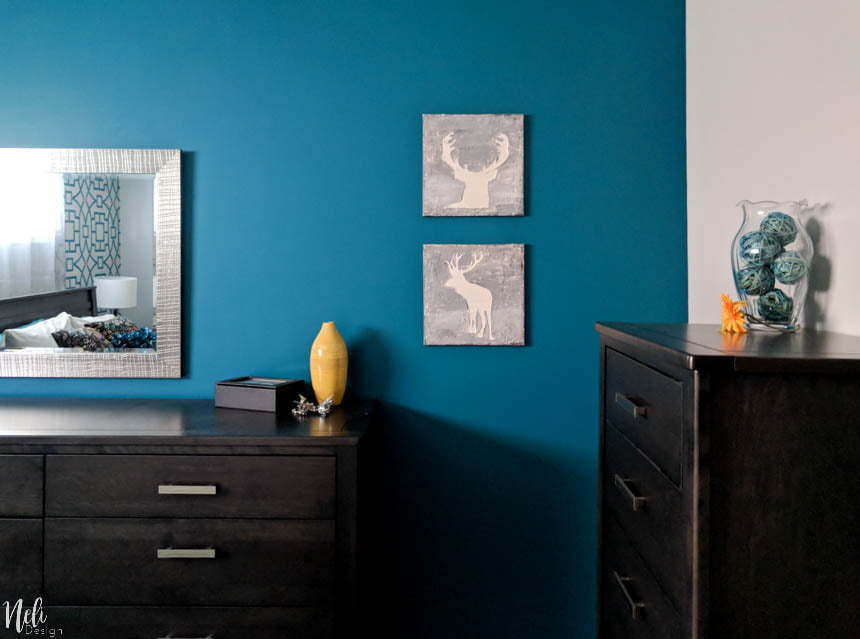
I also have free deer printable so you can easily make them too! You just need to subscribe at the end of this post.
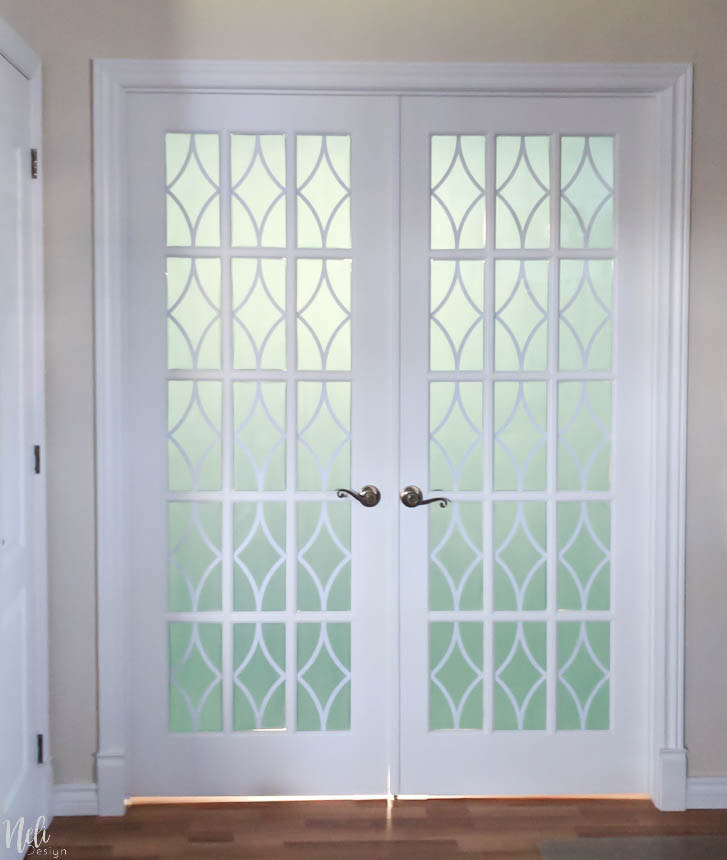
Finally, no more clear windows for the French doors! Yes! Privacy! 😉 Are you curious about what I did? Well, you can see the tutorials here and it involves a 5$ shower curtain and a Cricut! lol
Here's how it looks from the outside.
I'm so happy with the end result of my master bedroom makeover. If you don't really like your bedroom, you should really give it a try! Now, I even feel like making my bed in the morning!! lol
The budget
Week 2: Stencilling the wall
- Foam Paint roller and pan 11,44$ ($8,80 USD)
- Stencil 49,34$ ($37,95 USD)
- Repositionable Adhesive 8,99$ ($6.94 USD)
Total week 2: $53.69 USD
Week 3: Painting the blinds
- spray paint: 8,37$ ($6.44 USD)
Week 4: French doors, throw pillows and blanket
- Shower curtain 5,00$ ($3.86 USD) - for the french doors
- 2 throw pillows at 5,00$ each ($3.86 USD each)
- Throw blanket 20,00$ ($15.38 USD)
Total week 4: $26.95 USD
Total for the Challenge: $87.08
I still have $13 left!
Being able to have this beautiful room for only $87 makes me feel so good!
Now it's your turn! You can do it too! Please leave me a comment or tell me what's preventing you from making a similar makeover. I'm there for you!
Subscribe to get access to freebies to help you make these simple and budget-friendly projects, including the deer printable to make the wall art.
And if you want to shop the look :


See the other weeks of the challenge here:
Week 1 (The plan) | Week 2 (Stencil) | Week 3 (Painting the blinds)
And if you like the result, please Pin it to your favourite board!