[wc_box color=”inverse” text_align=”left” margin_top=”” margin_bottom=”” class=””]
Drawing lines to make pencil faux shiplap doesn’t give you the best results. Come and see what technic I found to get a much nicer and realistic vintage look.
[/wc_box]
You saw it last week, I was not at all satisfied with the pencil line I had drawn on my wall behind the TV to imitate shiplap.
If you missed the post about the $100 Room Challenge or want to learn more, follow these links:
Week 1 | Week 2 | Week 3 | Week 4 | Week 5
When I saw the faux shiplap made with planks by my friend Wendy At Lane and High, I knew I couldn’t just leave it like that!
- [:en]My pencil shiplap [:fr]Mon lambris dessiné au crayon
- [:en]Wendy’s plank shiplap [:fr]Le lambris de Wendy fait avec des planches
Have a look at her blog for all the steps to make it and see the result of her laundry room, like me, as part of the $100 Room Challenge … wow!
This post contains some affiliate links for your convenience and at no extra cost to you. Click here to read my full disclosure policy.
When I saw this photo by Sawdust Sisters I got hit with an idea.

It’s beautiful, right?
I thought I could try to imitate that kind of joints between the boards on my wall. It was worth to try, I couldn’t make it worse anyway!
So with a Faber Castell pen colour “cold gray” and a ruler, I traced the lines on the wall. I let it dry a few seconds and I rubbed my fingers to smudge the colour. When I was no longer able to extend the ink, I wet my fingers with a damp cloth. I also used it to wipe some lines when I was exaggerating a bit! Yes, I do that sometimes! 😛
- [:en]First line with ruler [:fr]Ligne tracée avec une règle
- [:en]Smudge the line with your fingers [:fr]Frottez la ligne avec vos doigts
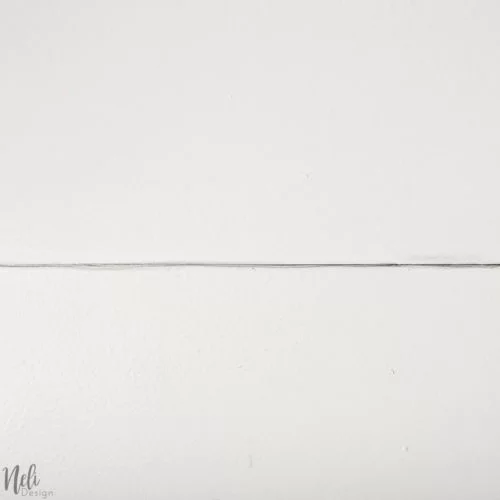
I continued to rub until I was satisfied. When I was finished, I took the same gray pencil, but in a smaller size to trace a continuous line (without rubbing) giving a sense of depth.
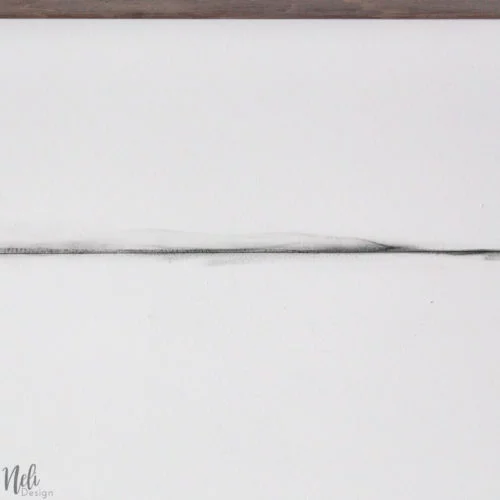
There you go! Much better right? What do you think about it? It’s already a much better vintage look. 🙂
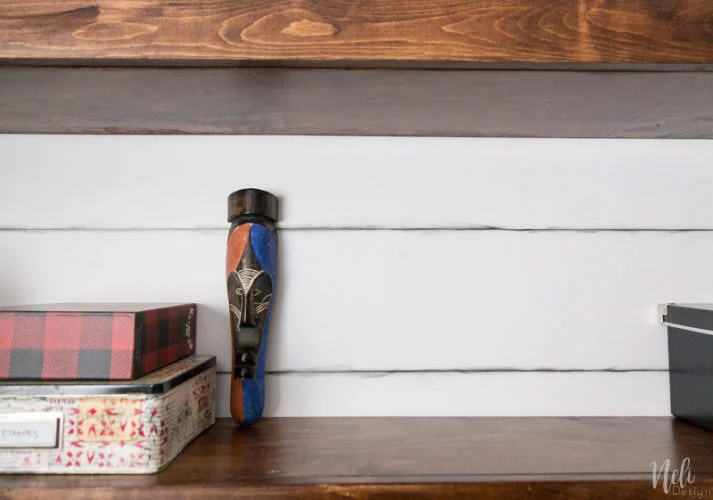
Come see the final result in the reveal week of the $100 Room Challenge this Wednesday!
Week 1 | Week 2 | Week 3 | Week 4 | Week 5
[adinserter name=”In article”]
[wc_divider style=”solid” line=”single” margin_top=”” margin_bottom=”” class=””][/wc_divider]
[wc_box color=”secondary” text_align=”center” margin_top=”” margin_bottom=”” class=””]
Don’t miss any new freebies. Subscribe to get access to the library full of resources!
[wc_button type=”warning” url=”https://nelidesign.com/landing-page/” title=”Inscrire” target=”blank” url_rel=”” icon_left=”” icon_right=”” position=”center” class=””]Subscribe me![/wc_button][/wc_box]
[wc_divider style=”solid” line=”single” margin_top=”” margin_bottom=”” class=””][/wc_divider]
Don’t forget to Pin it for later!

Click here to see which Link Party I participate.




Wendy
Wednesday 14th of February 2018
Natalie I think it turned out awesome! I love what you did. And what a great alternative!
Mary-The Boondocks Blog
Saturday 3rd of February 2018
This would work very well as a backdrop too. I need to try this idea Natalie. Now that I've moved I have no decent backdrop for my projects.