[wc_box color="inverse" text_align="left" margin_top="" margin_bottom="" class=""]
The popularity of DIY string art is back. You'll find here all the steps you need to know to make this beautiful string art. And most of all, you'll discover an advice you absolutely want to know and that I learned at my expense.
[/wc_box]
Every month a group of bloggers are challenged by C'mon Get Crafty to create a new craft or project from their own stash of goodies!
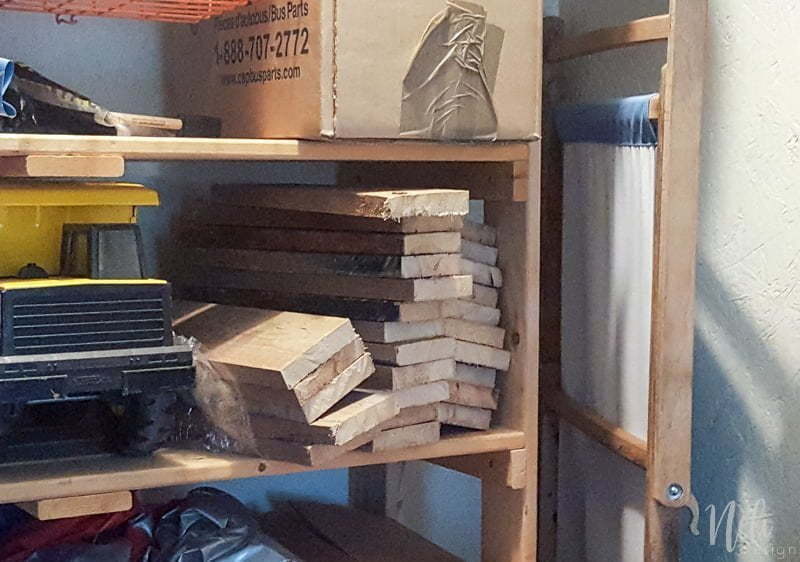
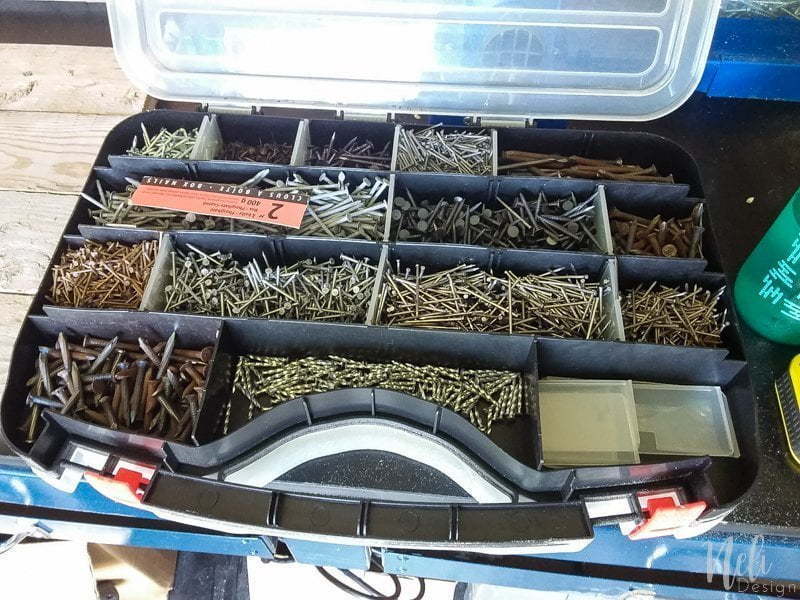
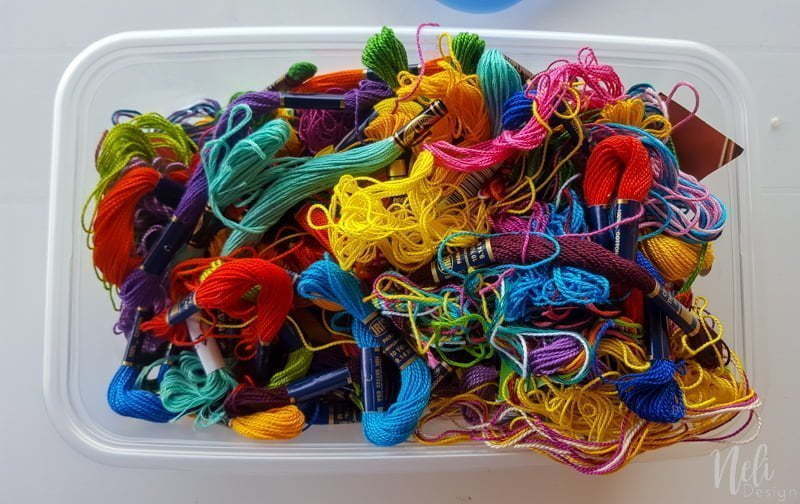
For my part, I decided to use these items from my stash :
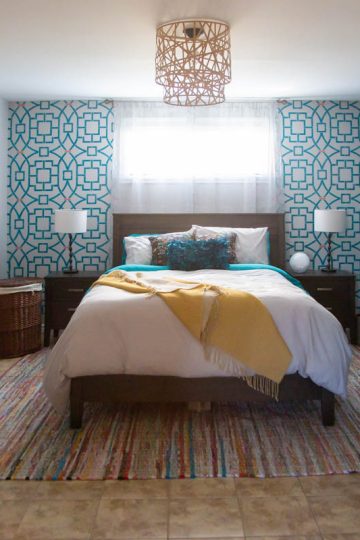
If one challenge is good, why not make two! That's right, this piece of art is going to be installed in my daughter's bedroom that is getting a makeover this month as part of the $100 Room Challenge hosted by Erin from Lemons, Lavender and Laundry.
If you want to catch up, see the recap here :
Week 1 | Week 2 | Week 3 | Week 4
So, my daughter's name is Éliane and she wanted an "E" for her bedroom. Here's how we made the E string art.
This post contains some affiliate links for your convenience and at no extra cost to you. Click here to read my full disclosure policy.
What you'll need for the DIY string art:
[wc_box color="primary" text_align="left" margin_top="" margin_bottom="" class=""]
- Embroidery Floss (Amazon has very good prices on these!)
- Wood (I used pallet wood)
- Nails
- Hammer
- Kreg Jig (I have the K5)
- Screws
- Paint
[/wc_box]
Make the DIY string art frame:
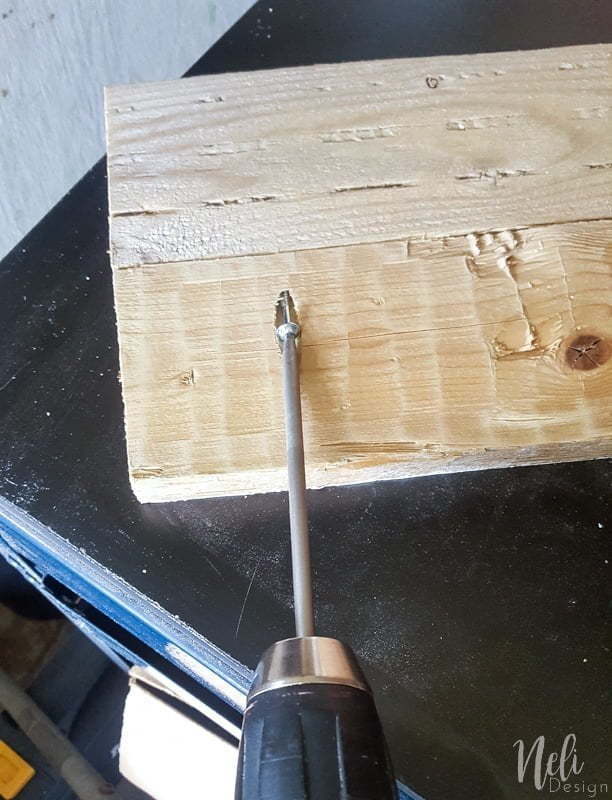
I had to find a reason to use my Kreg Jig again. It was sooo easy when I made the bench for the reading nook last week. The advantage of using the Kreg jig for this it's that you don't need to use another board behind to fix the four boards together.
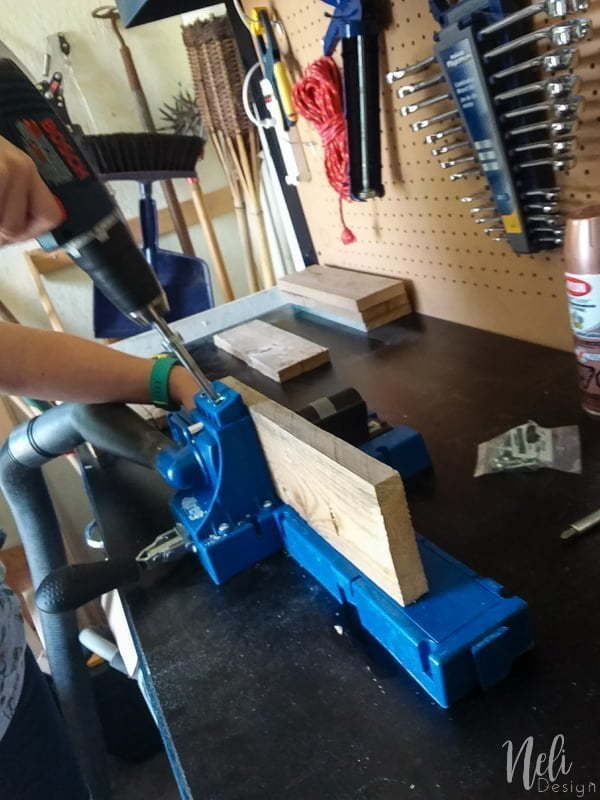
I only had to make 2 pocket holes on 3 of the 4 boards as you can see below.

Then, screw the boards together and voilà!
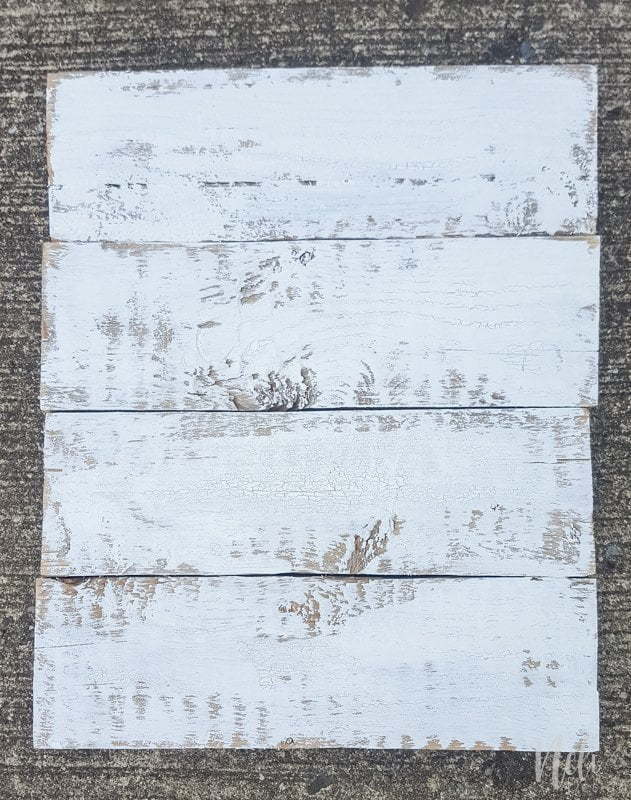
I then added a bit of white paint. I wanted it to look like old wood so kept the roughness of the boards.
Make the DIY String Art
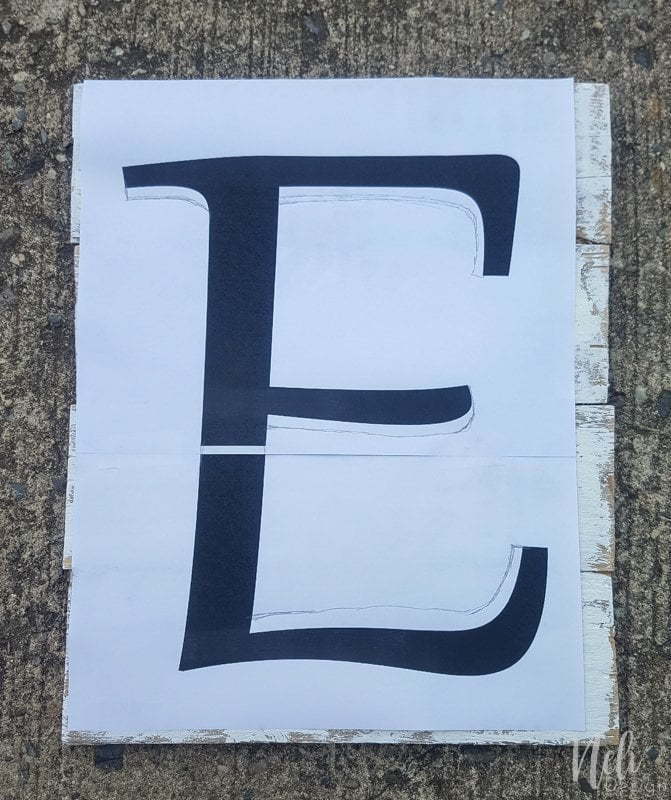
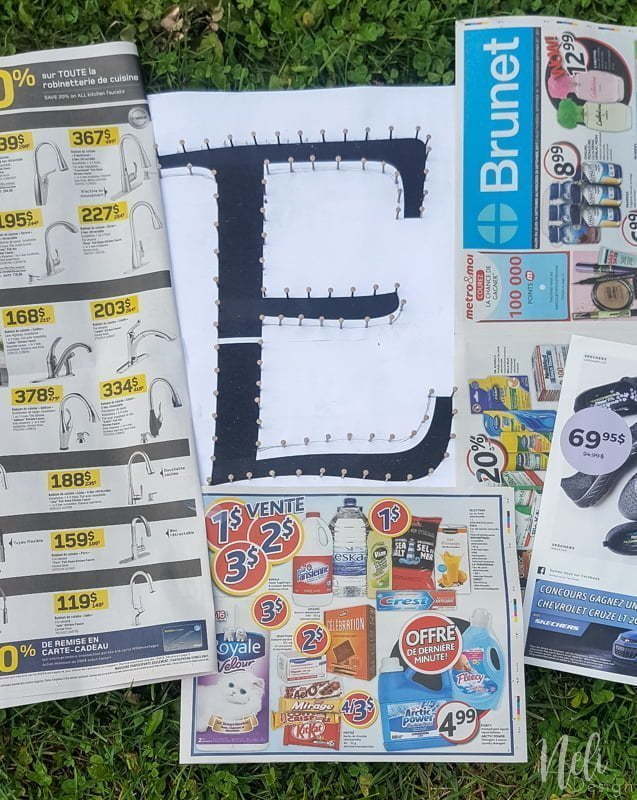
I went in Photoshop and printed an "E" the right size to fit the board (I had to print it on 2 letter size paper) and fixed it on the board with a couple of pieces of scotch tape.
As you can see, I adjusted the letter and made it a bit thicker.

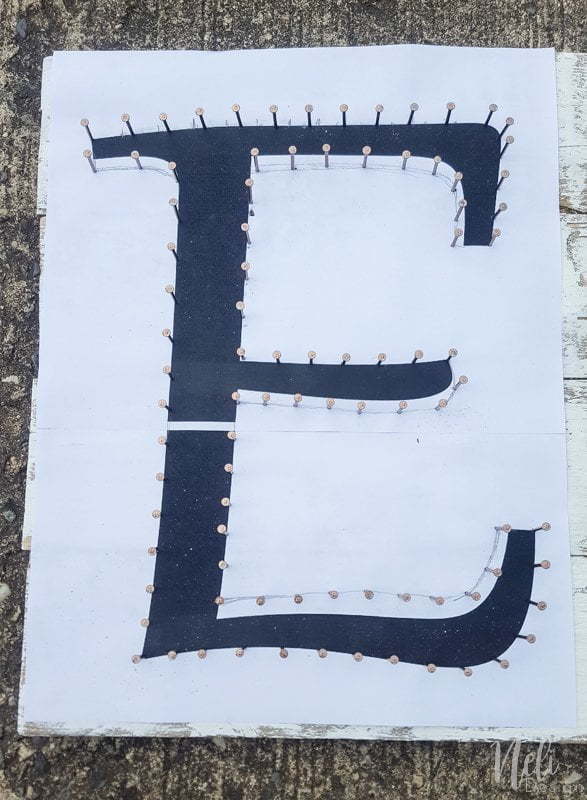
Then, you hammer your nails. I didn't measure the spaces between the nails. I just eyed it. 😉 Also, if you're right-handed like me, it's easier to start from right to left.
[wc_divider style="dashed" line="single" margin_top="" margin_bottom="" class=""][/wc_divider]
Advice time!!!
If you want to paint your nails like me (wich is totally optionnal) don't do it like that :

Or you'll end up turning and turning your nails to get them all painted and finally you'll do this and feel very crazy :
You should really do this instead :
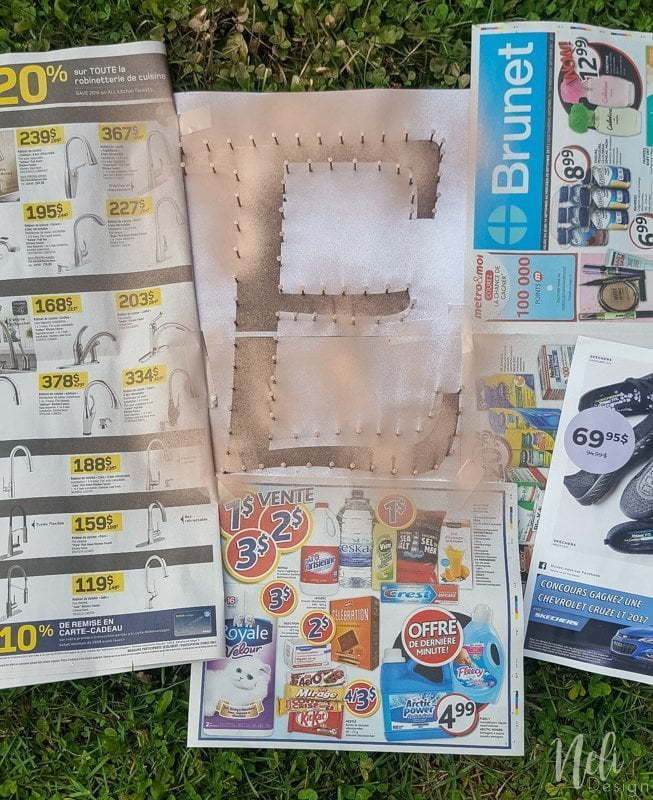
I don't know why I didn't think about it sooner! 😛
[wc_divider style="dashed" line="single" margin_top="" margin_bottom="" class=""][/wc_divider]
The string part
Once your nails are all there, you just need to tear off the paper
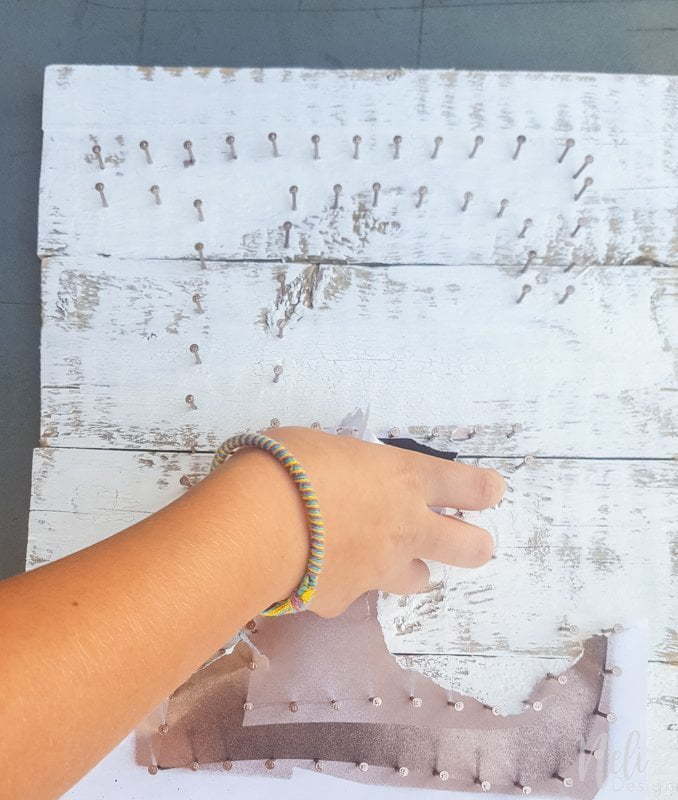
After that, it's the fun part and my daughter was really happy to do it (she did let me try it a bit when I made my sad face!!)


Remember to follow this week to see this beauty in the desk corner that I'm making for my daughter as part of the $100 Room Challenge.
Week 1 | Week 2 | Week 3 | Week 4


If you prefer, I found these kits that can be excellent for a gift:
[wc_row]
[wc_column size="one-fourth" position="first"]

![]()
[/wc_column]
[wc_column size="one-fourth"]

![]()
[/wc_column]
[wc_column size="one-fourth"]

![]()
[/wc_column]
[wc_column size="one-fourth" position="last"]

![]()
[/wc_column]
[/wc_row]
Now, check out some awesome creations you might be able to make from your own stash! #CraftRoomDestashChallenge
[ctt template="4" link="c8S90" via="yes" ]What crafty creations could you make today from YOUR craft stash? #CraftRoomDestashChallenge[/ctt]
If you'd like to join in the Craft Room De-Stash Challenge, you can request to join our Facebook group here!
INLINKZ:
[wc_divider style="solid" line="single" margin_top="" margin_bottom="" class=""][/wc_divider]

See at which Link Party I like to participate here