[wc_box color=”inverse” text_align=”left” margin_top=”” margin_bottom=”” class=””]
Learn how to make a wreath with terracotta pots. It’s easy to make and fast. There is no glue that holds the wreath together so you can modify it with the seasons.
[/wc_box]
I don’t know about you, but spring here doesn’t want to arrive. I don’t remember seeing so much snow in April. Usually, the last storm is on St. Patrick’s Day, in mid-March, but not this year! Schools were even closed last week! It makes me wonder if mother nature is angry with us !!!
Anyhow, I still decided to make a new wreath with terracotta pots using the same grapevine base. I change my wreath each spring and I’m sure this one will also work for summer! Last year, around the same time, I made this spring wreath, which I then chaged for $1 once fall came.
This post contains some affiliate links for your convenience and at no extra cost to you. Click here to read my full disclosure policy.
What I used to make a wreath with terracotta pots
[wc_box color=”primary” text_align=”left” margin_top=”” margin_bottom=”” class=””]
- 3 terracotta mini pots
- Artificial flowers
- Artificial floral moss
- Jute Twine
- Grapevine wreath
- Cutting pliers
- Hot glue gun and hot glue sticks
[/wc_box]

How to make the wreath
First, the terracotta pots
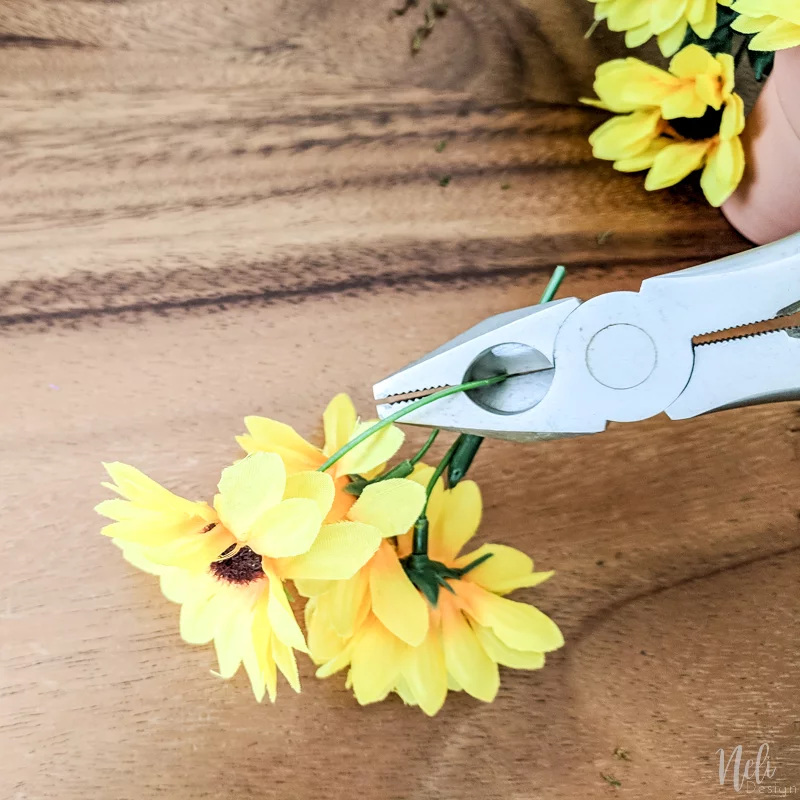
I cut the artificial flowers about the same height than the terracotta pots. I used cutting pliers since artificial flowers often have metal stems.
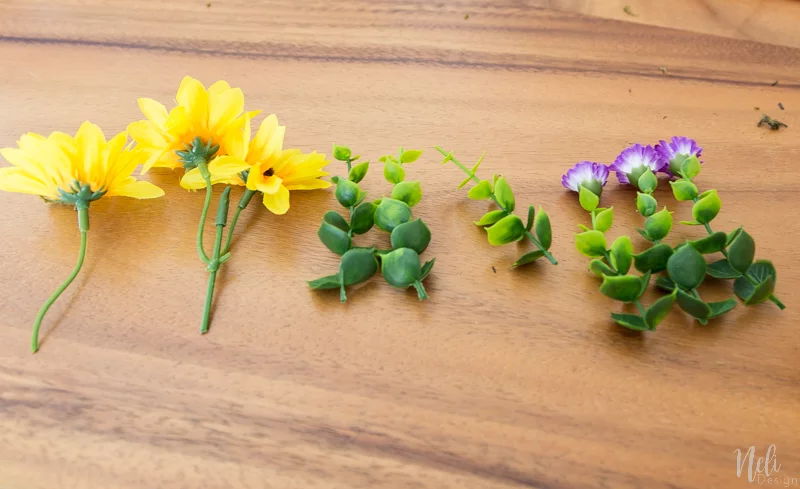
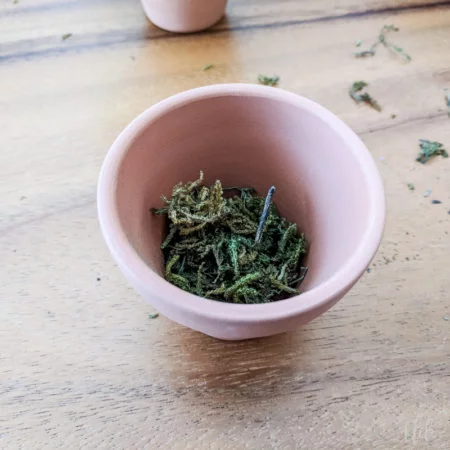
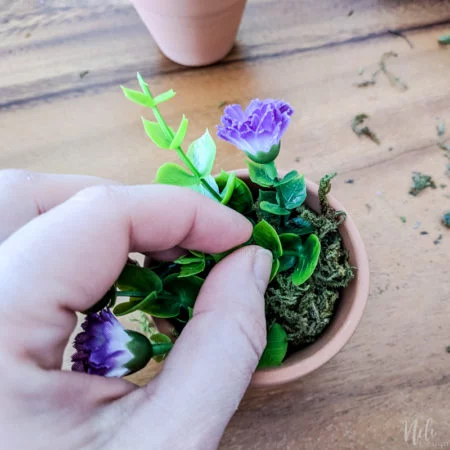
Then I placed the artificial moss at the bottom of the pot. I added the flowers one by one and filled all the extra spaces with moss by pressing firmly.
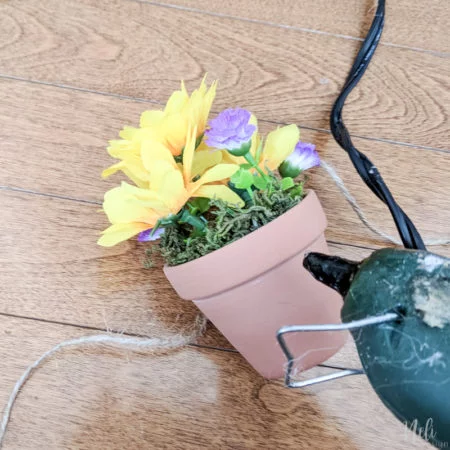
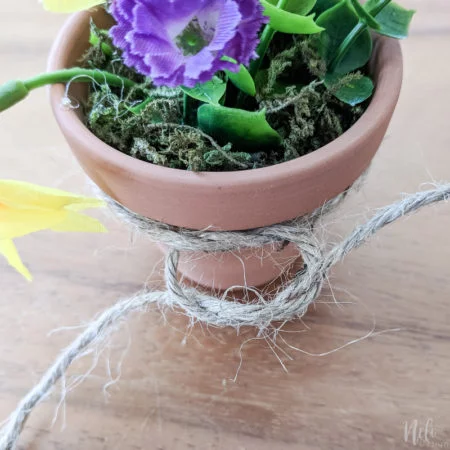
To decorate the pots, I glued jute twine all around.
Ideally, I should have done this step before putting the flowers in the pots !! : P
Every project has its lesson! At least you can avoid this small mistake!
I finished tying the string by making a bow.

Second, assemble the wreath
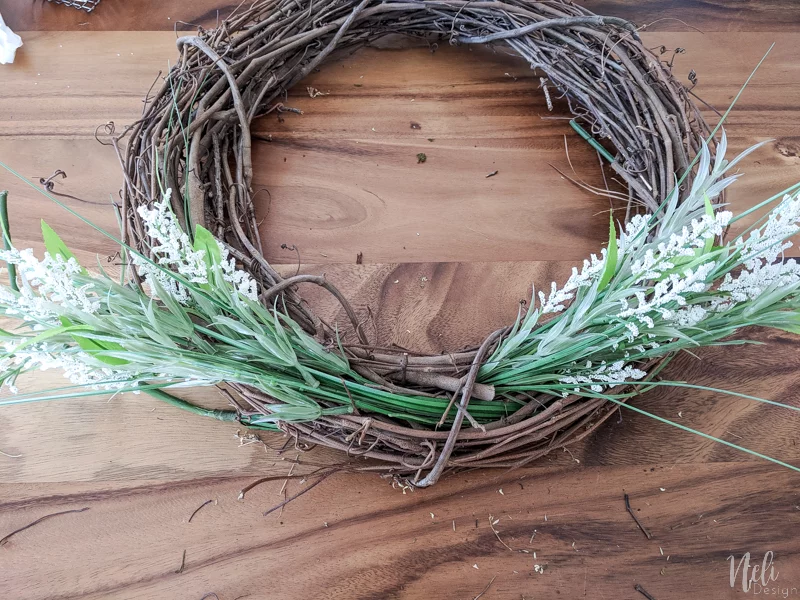
Just like last year’s spring wreath (by the way, these are the same flowers!), I simply inserted the stems through the vines.
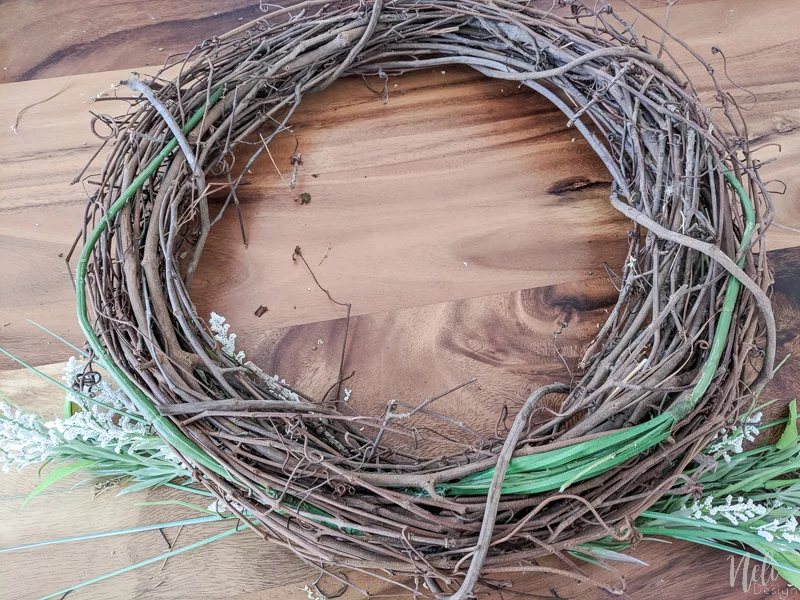
Looking beneath the wreath, we can see the stems that go around.
As I like to change the look of my wreath, I didn’t use glue. I took another piece of jute string, made two knots on the pot and finally tied it to the vines.
And finally, the result!

If you’re wondering about my door hook, you can see this article that shows you how I did it.
Also, if you find that the flowers don’t fit tightly enough in the pots, you can still add foam blocks. As far as I’m concerned, I didn’t find it necessary since my wreath did withstand a snowstorm without losing anything!
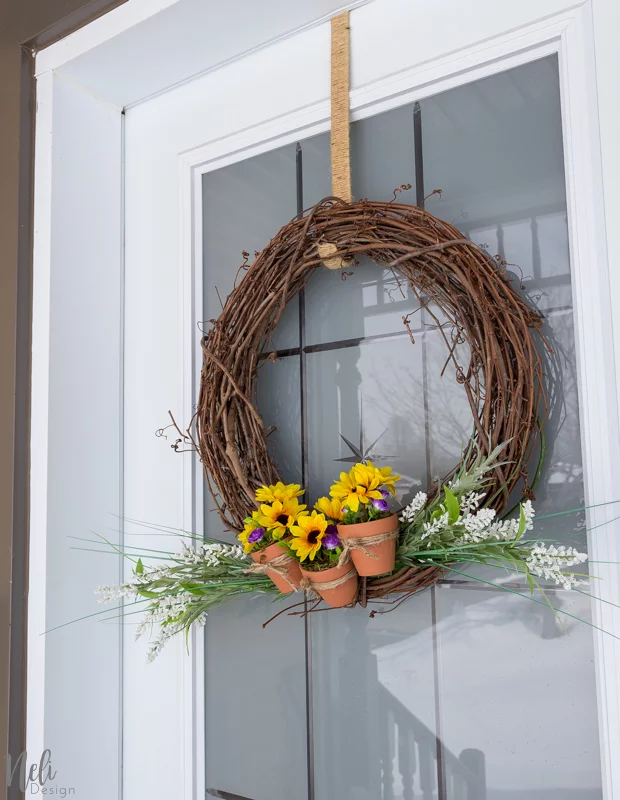
Speaking of snow, if you’re insightful, you’ve noticed the reflection in the door … So I’ll be honest with you and show you the real view of the front of my yellow house. : ‘(
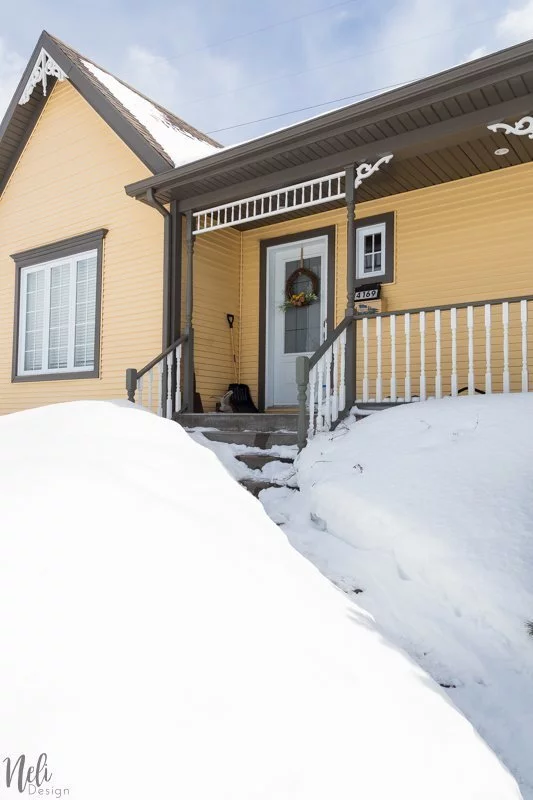
And yes, it’s April 9th … crazy! Where are you spring? I’m impatient to see you!!! Hoping that hanging this wreath helps a little.
[wc_box color=”secondary” text_align=”center” margin_top=”” margin_bottom=”” class=””]
Don’t miss any new freebie and get access to a library full of resources.
[wc_button type=”primary” url=”https://nelidesign.com/landing-page/” title=”Yes, give me access!” target=”blank” url_rel=”” icon_left=”” icon_right=”” position=”” class=””]Yes, give me access![/wc_button]
[/wc_box]
If you like it, don’t forget to Pin it!

See at which Link Party I like to participate here





April J Harris
Tuesday 24th of April 2018
Pinning and sharing! I really like this wreath, and your directions make it look quite straight forward to make as well. It's lovely to be able to switch up the flowers with the seasons too. Thank you so much for sharing, and for being a part of the Hearth and Soul Link Party. Hope to see you again this week!
Beverly Roderick
Saturday 21st of April 2018
I love your terra cotta pots wreath. it's great that it's not glued together, too. It makes such a pretty springtime decor piece. I hope spring arrives soon for you. Thanks for sharing at Snickerdoodle Party. I'm featuring this at today's party. Hope to see you there!
Natalie
Monday 23rd of April 2018
Thanks Beverly! I'me really happy to be featured!
diy180
Saturday 21st of April 2018
Thank you for sharing this love tutorial. You are one of this Sunday's features at Dishing it and Digging it link party. Thank you for joining in.
Natalie
Monday 23rd of April 2018
Oh! thanks! I'm so glad!
Shivam
Thursday 19th of April 2018
Nice article. I enjoyed reading it. I learned alot from this. Thanks for sharing!!
Natalie
Thursday 19th of April 2018
Thank you Shivam. This is really nice of you to say!
Regina S
Tuesday 17th of April 2018
Oh this is so cute! And the great thing about the supplies is they are available at our local Dollar Tree! Thank you for sharing!
Natalie
Tuesday 17th of April 2018
Thank you Regina! It's also fast to make :)