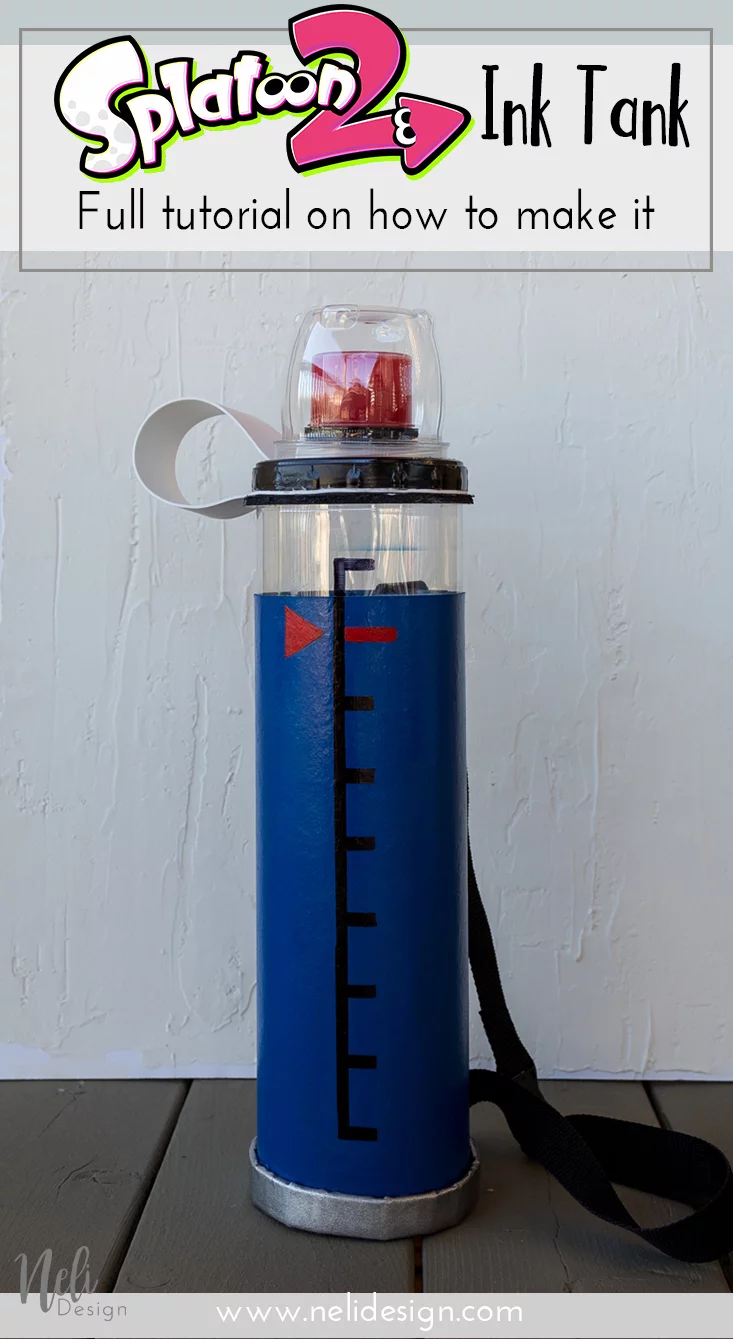
In this tutorial, you’ll find out how to easily make this Ink tank for a Splatoon 2 costume for cosplay or Halloween. Full tutorial and details on how to make it.
As you may have seen the last few weeks, I was focused on making the Splatoon costume asked by my son for Halloween.
I have a lot of ambition for this costume (as usual, I tend to do overdo it a bit!):
The ink tank
This week, I’m really struggled to make the reservoir. It was a succession of trial and error that resulted in taking way longer than I had planned for this project!
You can see what the ink tank looks like in Splatoon 2 (they are different to those in Splatoon 1! Got to be a geek all the way!)

This post contains some affiliate links for your convenience and at no extra cost for you. Click here to read my full disclosure policy.
You will need
[wc_box color=”primary” text_align=”left” margin_top=”” margin_bottom=”” class=””]
- 1 – 2 liter bottle of Cola
- Chipboard flexible enough to be rolled.
- Krylon spray paint Colormaster, in true blue
- A stapler
- Nylon straps of 1-inch
- Release Buckle 1-inch
[/wc_box]
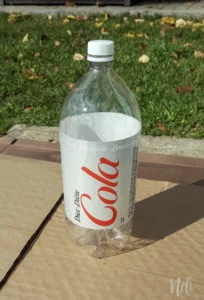
My first idea was to use two Cola bottles inserted into one another to make the tube. But it really was not rigid enough. I thought about my little boy returning from school with an ink tank in pieces!
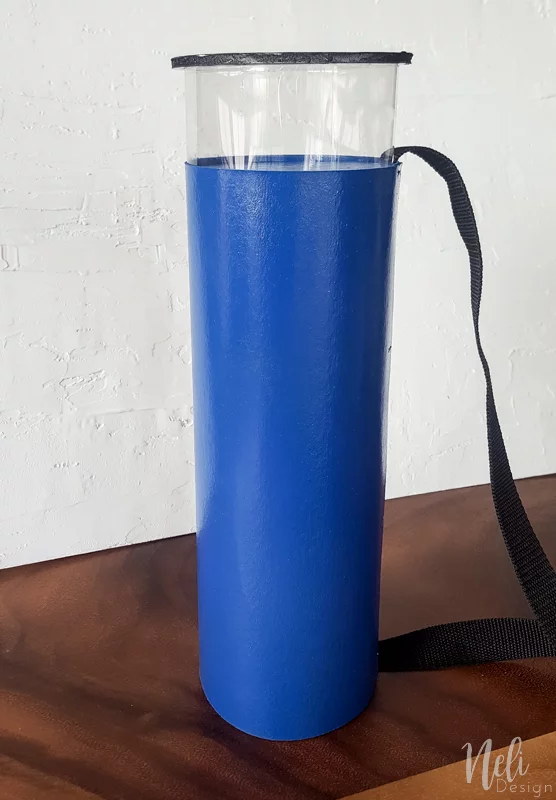
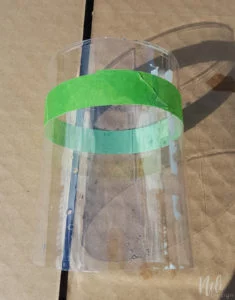
I finally used one bottle of cola that I cut to keep only the straight part. The second picture shows that I was preparing to paint a portion of the plastic cylinder which is finally not necessary with the solution that I opted for.
I actually used Chipboard to make the bottom of the ink tank. I tried to make it so that the transparent cylinder fit into it very tightly.
To make sure the ink tank is solid, I stapled the chipboard several places and then I painted with the true blue spray paint.
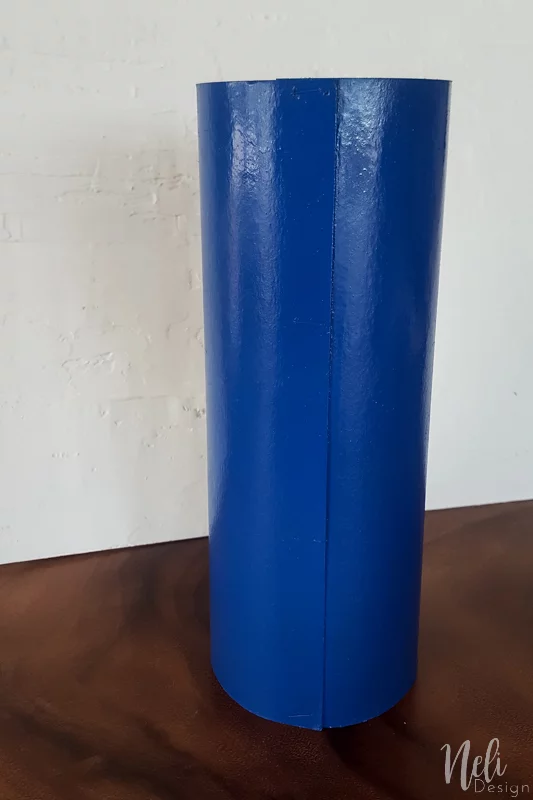
I then attached two nylon straps at each end of the tube, again using staples.
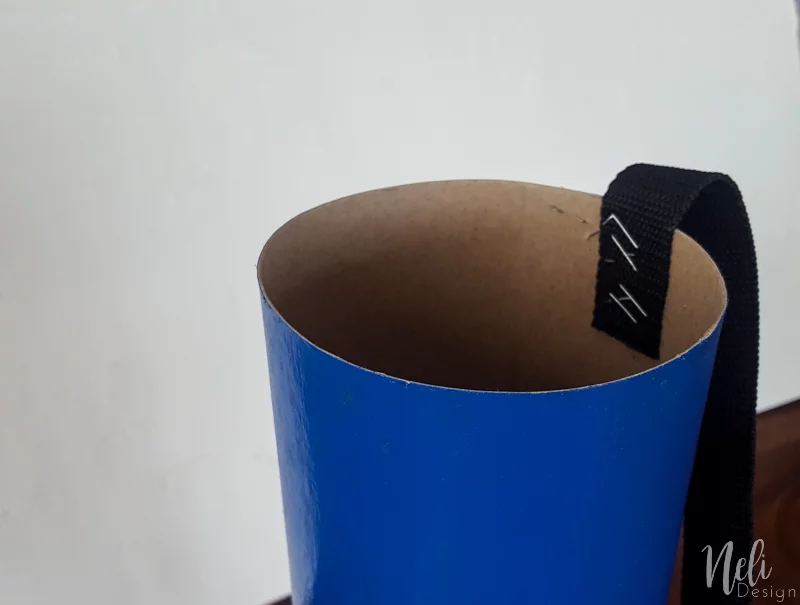
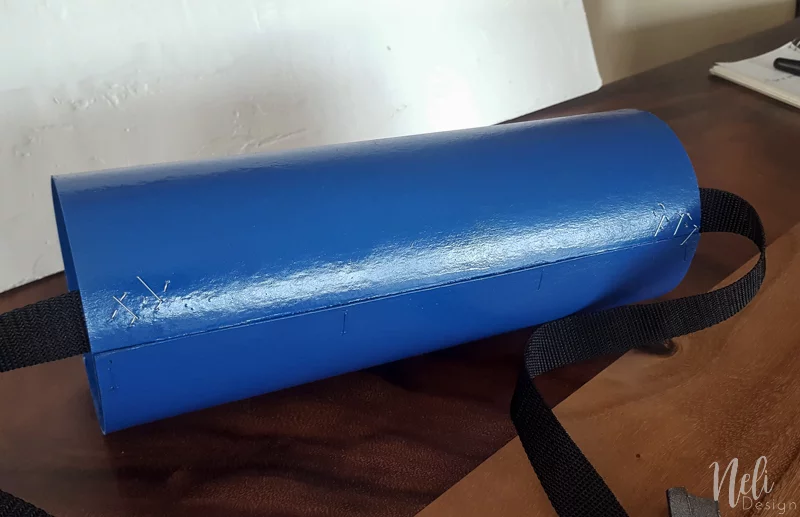
The ink tank cover
Materials:
[wc_box color=”primary” text_align=”left” margin_top=”” margin_bottom=”” class=””]
- White foam sheet (sold individually at Michael’s)
- A lid of a Ziploc Round container
- 2 clear round container smaller than the Ziploc cover and that can be inserted into one another
- A small battery powered light (kind of the false candles sold à the Dollar Store)
- Foam board
- Black spray paint
- DecoArt multi-surface acrylic paint in red (to make it sticks on the plastic container)
- hot glue gun and glue sticks
[/wc_box]
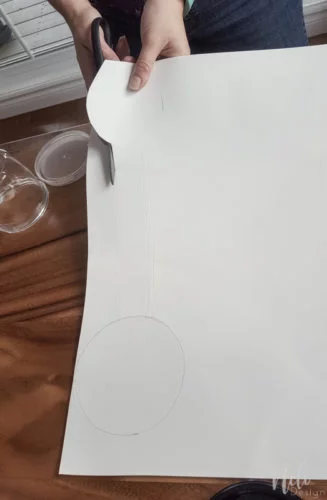
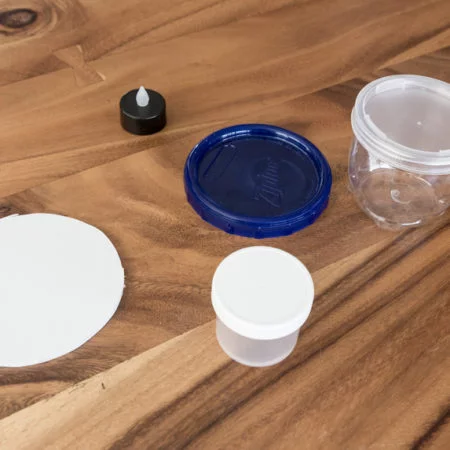
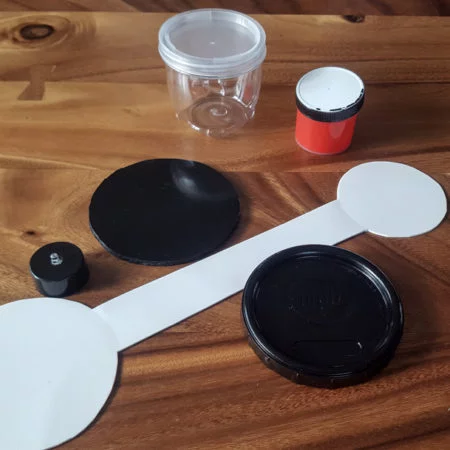
I determined the size needed for the white piece using the lids that go above and below. I then draw the two circles on the foam sheet and connected the two circles by a straight strip. I then cut with scissors.
On the left image, you can see the items that I had assembled before painting them. The right image shows the same one, but painted.
I then assembled the items in the following order with hot glue.
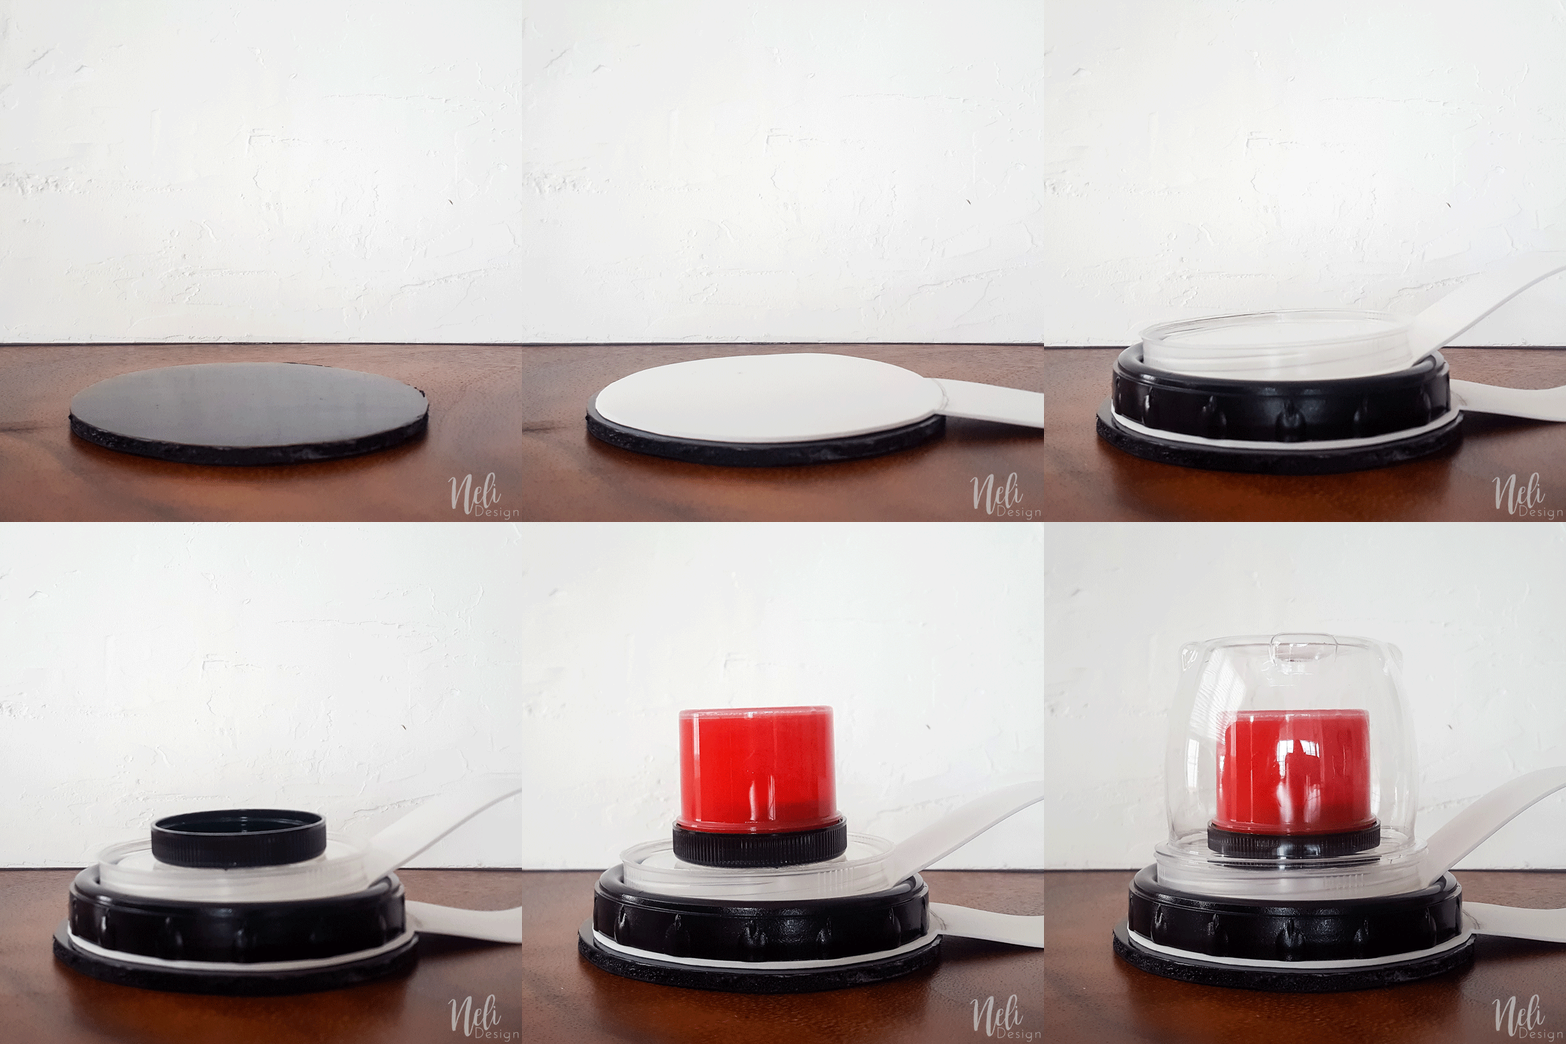
Note that the small light inside must remain accessible for turning it on and off. That’s why I used lids that can be unscrewed.
The picture below is the foam board. I used my x-acto knife and made an incision of the exact size of the transparent cylinder without going through.

I inserted the cylinder in the foam board.
You can also see that I added a blue painted cardboard inside the transparent cylinder to give the impression that we see the level of paint.
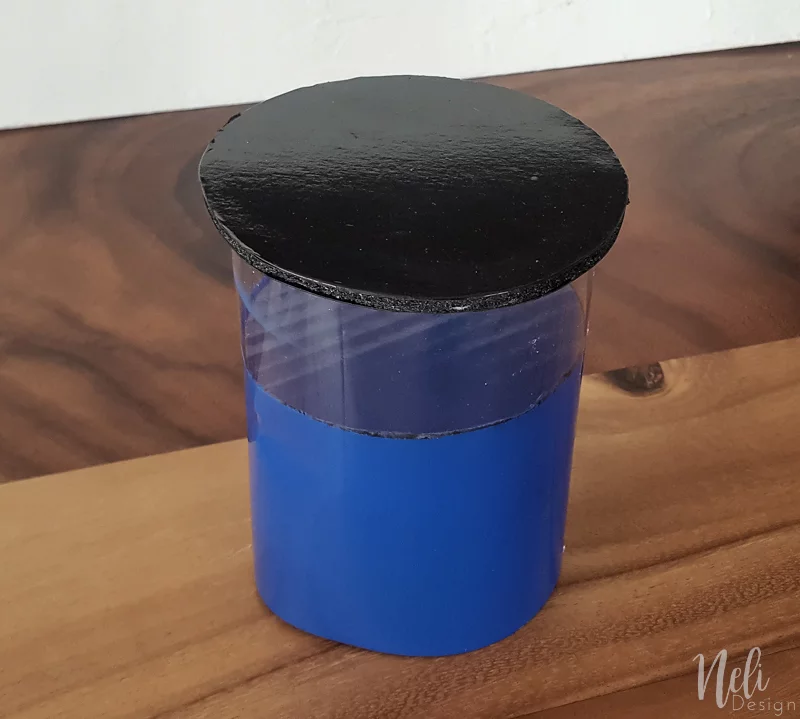
I inserted the transparent cylinder in the blue ink tank. That’s why it was not necessary to paint the bottle of cola!
The base of the ink tank
Materials:
[wc_box color=”primary” text_align=”left” margin_top=”” margin_bottom=”” class=””]
- Corrugated fiberboard
- Duct tape (color is not important, but if you have silver, you won’t need to paint it)
- Krylon spray paint – Metallic Shimmer in silver
- hot glue gun and glue sticks
[/wc_box]
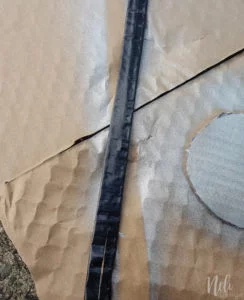
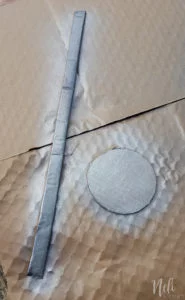
I used a corrugated fiberboard because I wanted a certain thickness and wanted to be able to fold it around the cylinder. But, I didn’t want to see the inside of the corrugated fiberboard (you know, the small waves) so I wrapped the corrugated fiberboard with Duck tape. My Duck tape was not the right color, so I painted it with silver spray paint. I also painted a circle of cardboard which will serve as the bottom of the ink tank.
Then I fixed everything with hot glue.
The gradation of the cylinder
Required materials
[wc_box color=”primary” text_align=”left” margin_top=”” margin_bottom=”” class=””]
- Red paint
- Paintbrush
- Black Sharpie marker
[/wc_box]
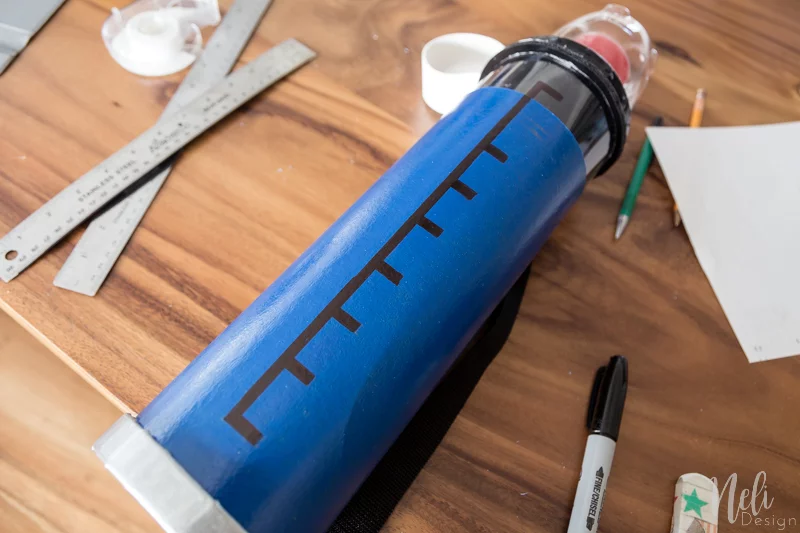
To avoid making unnecessary marks on the tank, I started by making a draft on paper. This allowed me to transfer the marks on the cylinder like this:
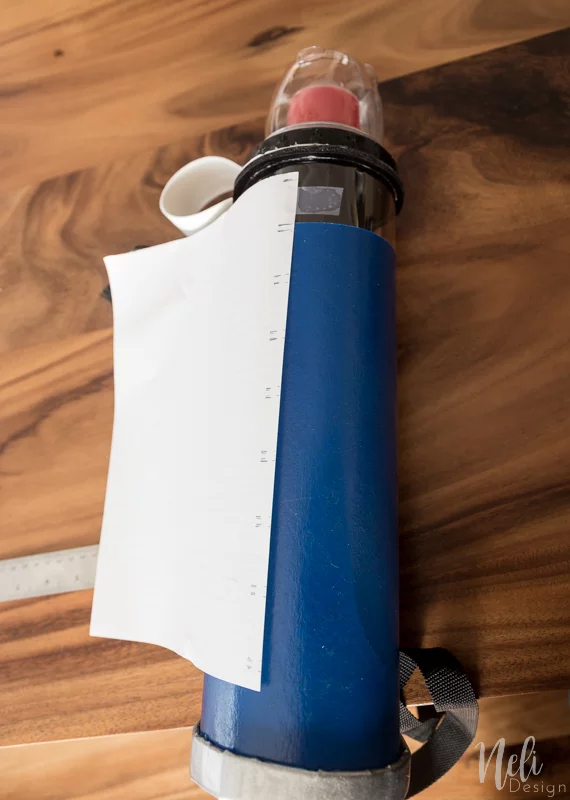
I traced the outline with a ruler and the Sharpie.

And then I simply colored inside.
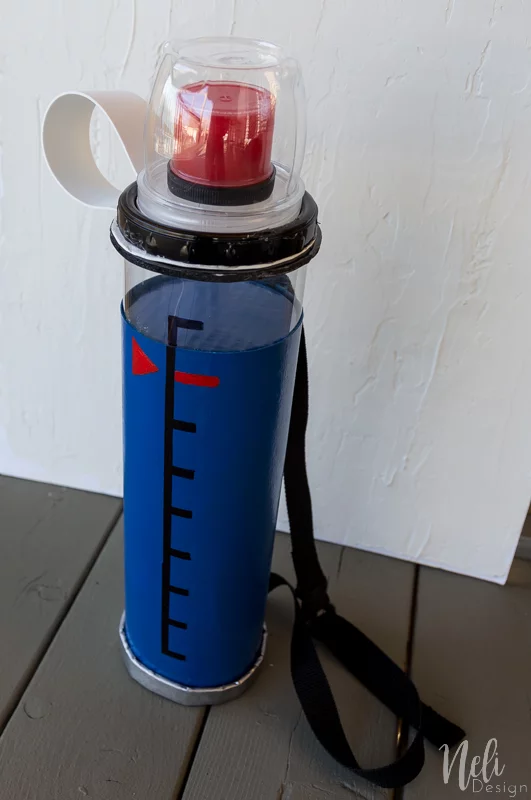
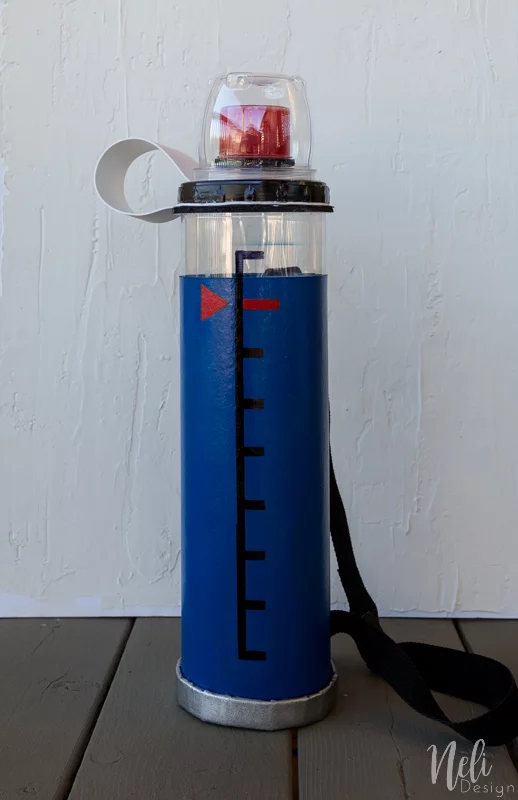
Finally, I only had to paint the ink level and add a red triangle with the red paint.
[ctt template=”1″ link=”ed3mH” via=”yes” ]Check out this cool Ink tank for a Splatoon inkling Halloween Costume[/ctt]
Come back this week to see the weapon I will make to go with this costume. See also other items:
Remember to pin and share!


See at which Link Party I like to participate here



A Pretty Fix (@aprettyfix)
Monday 30th of October 2017
Sweet costume idea! I bet your son loved it :)
harropaj
Monday 30th of October 2017
Wow you are one hell of a costume maker Natalie - it looks great
Leanna
Monday 30th of October 2017
I don't have little ones at home anymore but so don't know the movie character. I enjoyed reading your post and thinking of how lucky your son is that you take this much time and effort into creating him a one of a kind costume. I am certain he is going to have a really great time.
Nicole (@momfindsout)
Sunday 29th of October 2017
What a neat way to make the ink tank for the DIY Splatoon costume. Thank you for linking up with us at the #HomeMattersParty this week.
Sheri K.
Thursday 26th of October 2017
Cool! Thanks so much for joining us at the To Grandma's House We Go link party. Your link has been pinned! Please join us again next Wednesday! Cheers!
Jessica BiancoSmith
Saturday 28th of October 2017
Can't wait to see how you make the paint roller! This costume is awesome!!