Find out how to build a custom standing large DIY craft table on a budget with this IKEA hack. This thrifty tabletop is only 50$.
I’ve wanted a craft table for sooooo long! The biggest desk I ever had was around 30″ x 40″. And most of the time, I couldn’t find it cause there were too many things piled up on it!!!
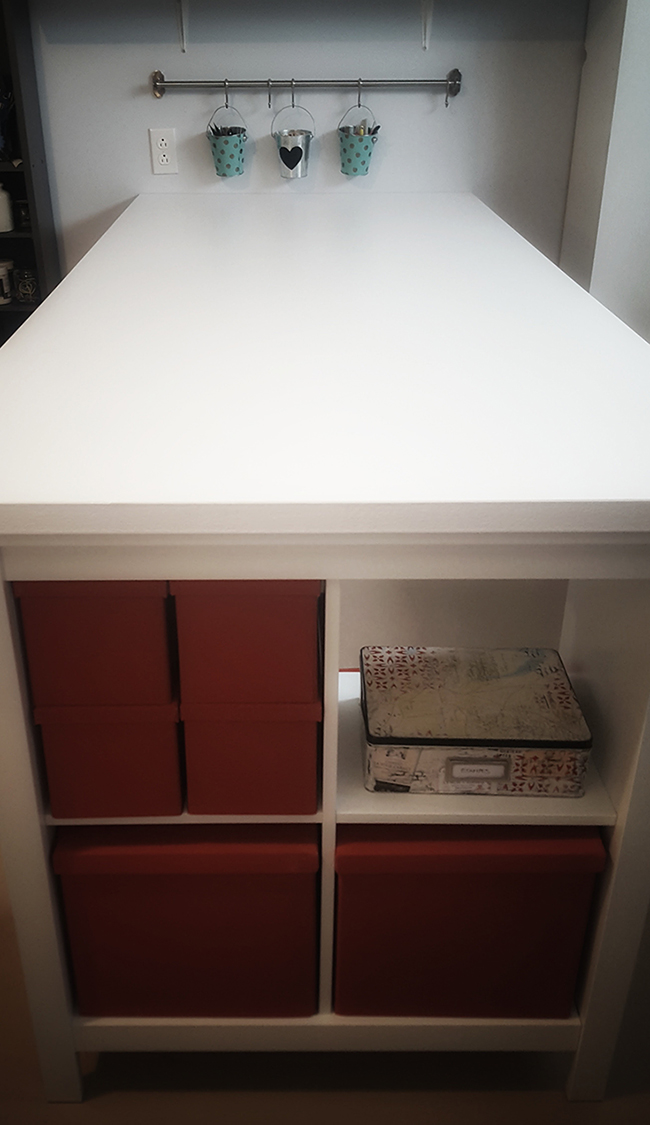
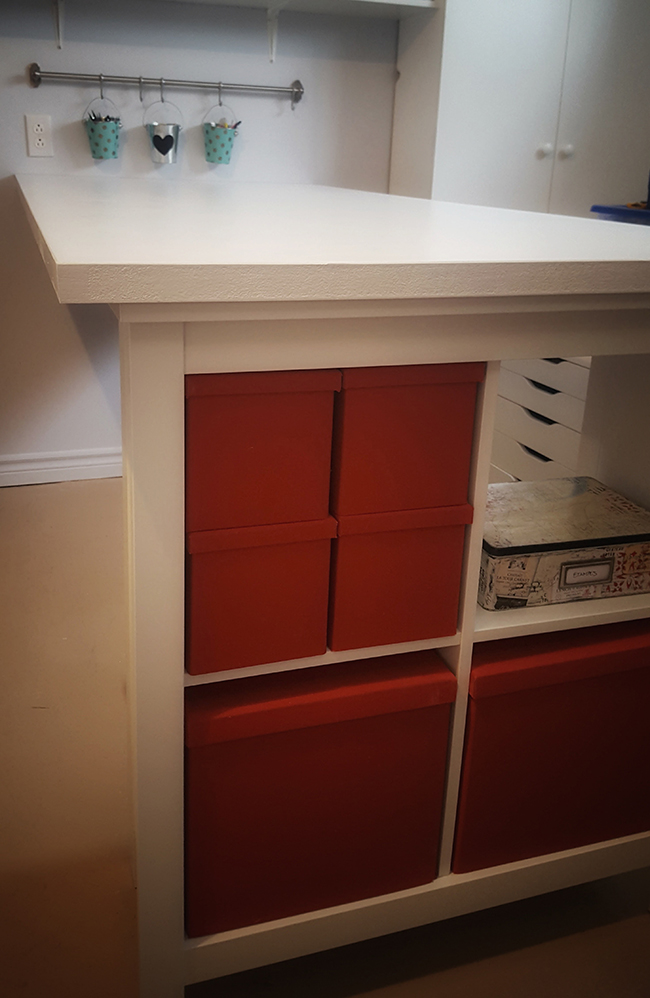
This new one is 36″ x 80″!
I love it! Can you guess what it is?
It’s a primed masonite door!
Heck yeah! This post contains some affiliate links for your convenience and at no extra cost to you. Click here to read my full disclosure policy.
What you’ll need to make your DIY craft table
- Primed 36″ x 80″ masonite door
- Small “L” brackets
- Large “L” brackets
- IKEA shelf unit
- Sandpaper
- White paint
- Minwax Polycrylic
The IKEA furniture I used to hold one side of the door is a white TOMNÄS shelf unit. Unfortunately, it doesn’t exist anymore but the famous Kallax unit could also be used. If a standing desk like mine is what you need, you would need to add some legs to have at least a hight of 42 inches.
How to install the DIY craft table
Note that you’ll need to have someone helping you for this.
Step 1
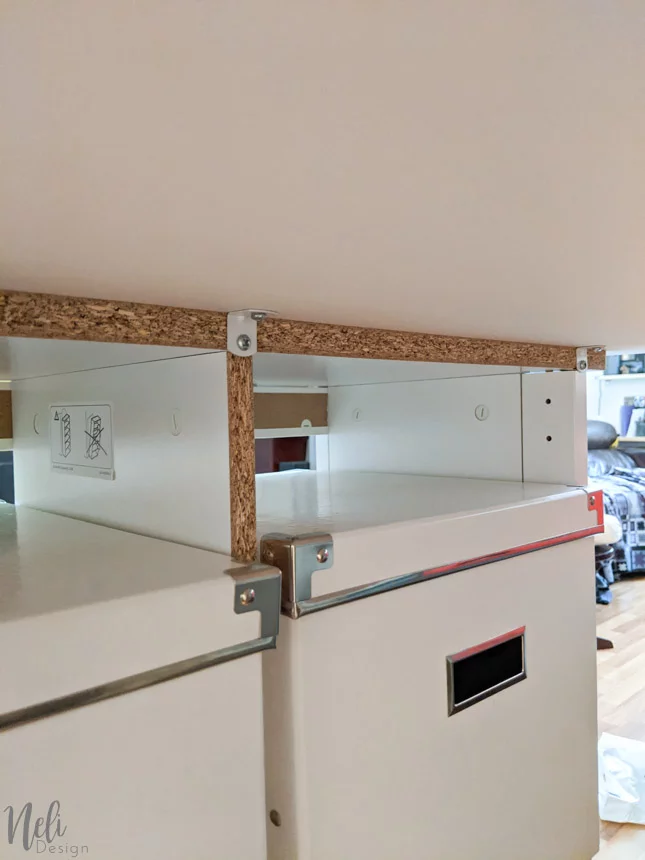
Install the door on top of the shelf unit. Make sure it is levelled. While someone holds the door in place, fix the door to the wall with large L brackets.
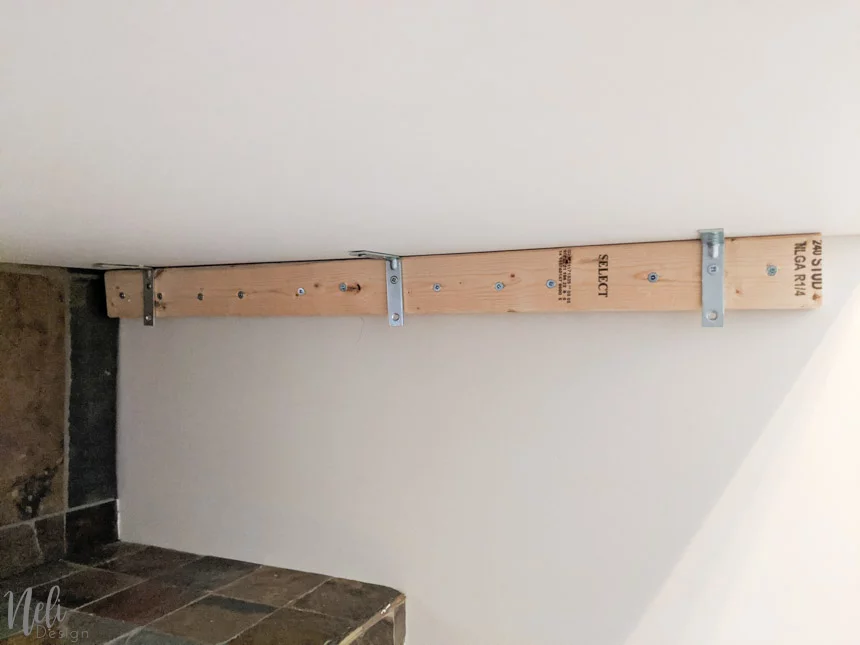
Note that, if you can find the studs in the walls, you can aim to have your brackets. Now if you can’t find them you can use a 2 x 4 like the image below to secure the table to the wall.
2 notes on the image below:
- This is a 2 x 3 and that’s why the brackets exceed the wood. Sometimes, you just go with what you have on-hands!
- My husband might have used a lot of screws… Let’s just say that he loves me so much that and wanted to make sure the door didn’t fall on my knees.
Next, position the shelf unit and fix it to the door with smaller L brackets.
Step 2
Then, I suggest you paint the door after it is installed!! Yes, you read right.
And do you think I painted under?
Are you insane? No time for that!! ?
Since it’s a door, the edges might need a little sanding.
When the paint was dry, I added 2 coats of Minwax Polycrylic to protect the surface. Each time I use this product, it amazes me how easy it is to apply and it has almost no odour.
So, in one afternoon, everything was done! Just my kinda project!
A bit of reality
Ok, I’ll be honest with you.
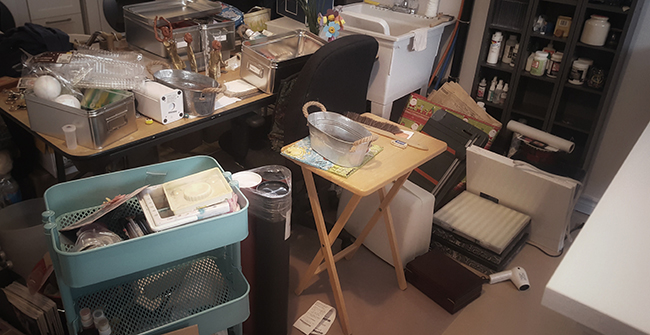
My craft room doesn’t look like a picture from a magazine and I don’t think it ever will. I have a simple explanation for that: I use my craft room! (and I might have a tendency of not putting everything away before starting a new project! I need to work on that!)
So, as you might have noticed, all the pictures are framed very tight. Well, that’s because of what’s standing right next to the craft table! You’ll guess that it’s also my next project on the list :
So awful… plenty of work to be done!!
UPDATE: I participated in the One Room Challenge and finally got my craft room in order! Follow this link to see all the details!
Does your craft room now includes a Cricut like mine?
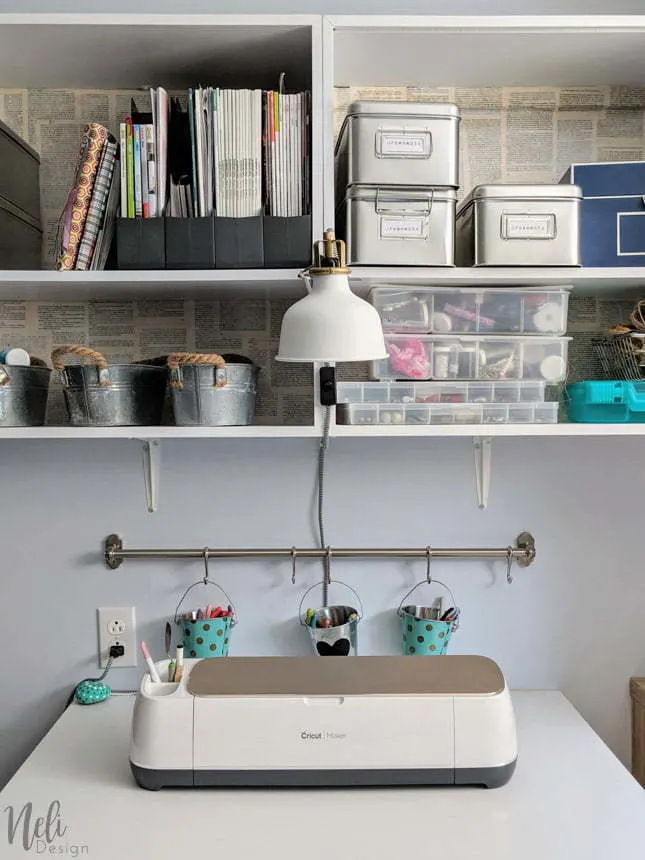
If so, you might want to download this free cheat sheet:
If you like my craft table, don’t forget to Pin it!


acraftymix
Tuesday 5th of September 2017
Heck yeah....... a crafter that uses the space and doesn't just make it look like a magazine. You rock Natalie and the door errrmmmm I mean craft table works for me. I can just imagine all the craft space you've got to work with. Love it!!!
Natalie
Tuesday 5th of September 2017
Hahaha!! Thanks, Michelle! Do we ever have enough space? lol
Deborah
Tuesday 15th of August 2017
This reuse girl says yahoo! That's so great.
Thanks for linking to Waste Not Wednesday.
Natalie
Tuesday 15th of August 2017
:-D Thanks Deborah!!!
harropaj
Monday 14th of August 2017
I love this desk I have a great ikea corner unit desk ( I am a big Ikea fan)
Natalie
Monday 14th of August 2017
IKEA is the best! Waiting for a store close to my house to open probably in December. I better start saving right now! hahaha
Leanna
Sunday 13th of August 2017
Wonderful job it is perfection, large, organized, pretty and has lots of storage. What more could you want. Pinning.
Natalie
Sunday 13th of August 2017
Thank you, Leanna! I have no regret about that table!
Mary-The Boondocks Blog
Sunday 13th of August 2017
Wow that looks so much better than before Natalie. And it was super easy to make too.
Natalie
Sunday 13th of August 2017
Thank you Mary. I really love my big table!