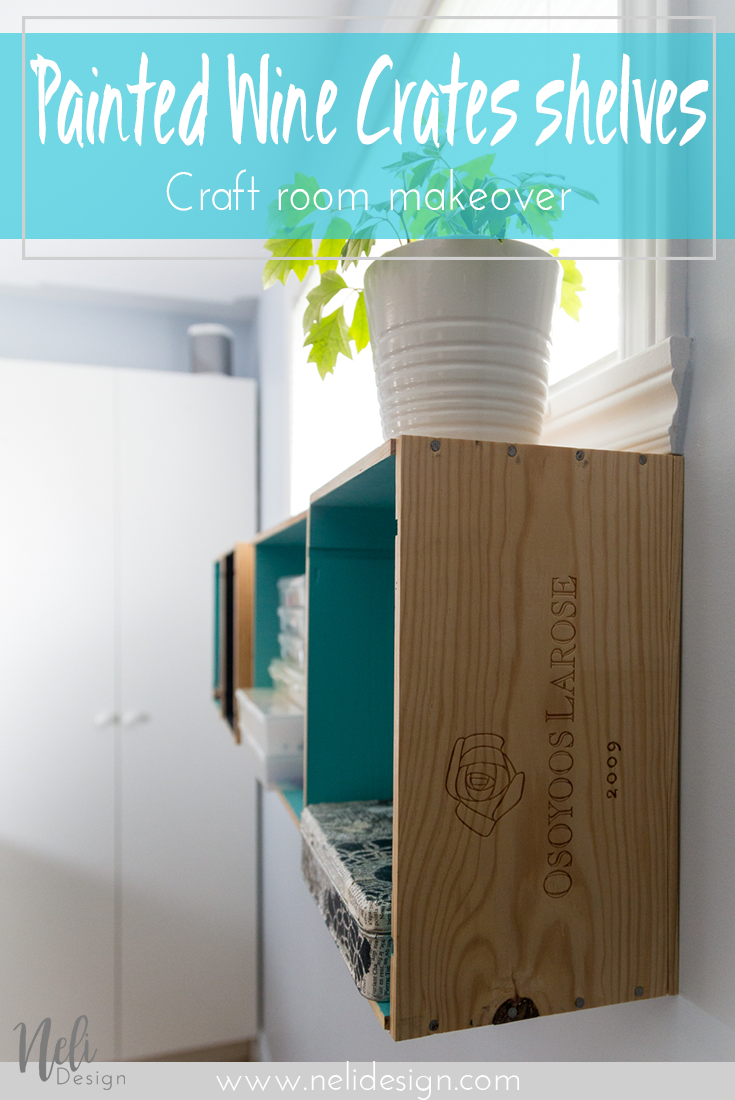
What better than wine crates for cheap inexpensive and easy shelves. Especially that this room is also the place where we keep the bottles of wine 😊
I have done shelves with wine crates before in my dining room but I had never painted them.
For the One Room Challenge, hosted by Calling it Home, I'm giving my craft room a makeover. Or more accurately, I'm making a craft room that can be called a craft room! You can see the recaps here:
Week 1 | Week 2 | Week 3 | Week 4 | Week 5 | Week 6

Where to get the wine crates
Here in Quebec, we can get wine crates where wine is sold (SAQ). They usually sell the crates for 5$ and give the money to a foundation. So it's a good deal for everyone!
Remove the stickers
The wine crates always have a bunch of stickers on them. See my previous post on wine crates shelves to know how to remove them easily.
Sanding
I did a light sanding to get a smooth surface. Here's a closeup on our favorite Canadian wine

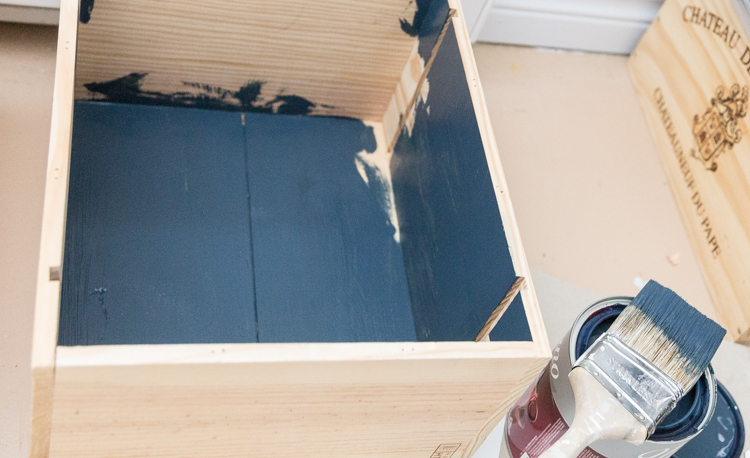
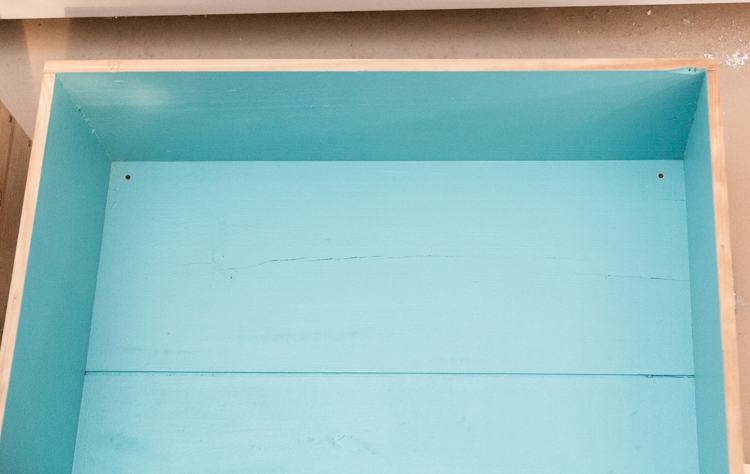
Paint and varnish
I painted the inside without touching the border. I didn't use a primer (no time for that!!) but did two coats of paint and it was enough. For the outside, I used a clear varnish and also did two coats with light sanding between them.
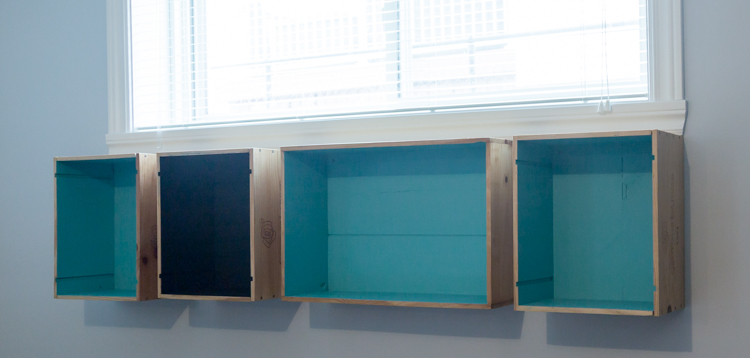
Installing
Drill holes in the top corners of the wine crates
With a screw, we tested the wall where we wanted to install the crate to see if there was wood behind.
No luck for us, we had to use wall anchors.

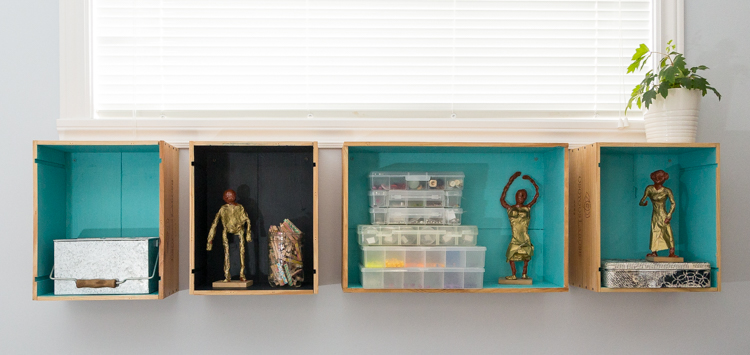
It is pretty hard to take pictures of something in front of a window, but I'm really happy with the look of it in real life!

These three statues were made in a workshop with the kids a couple of years ago, I really love them there!!
This week, I also upholstered a square stool for my craft room
If you missed it, be sure to check it out here!
Once again, the recap:
Week 1 | Week 2 | Week 3 | Week 4 | Week 5 | Week 6
If you like it, Pin it for later!

See where I link up here


