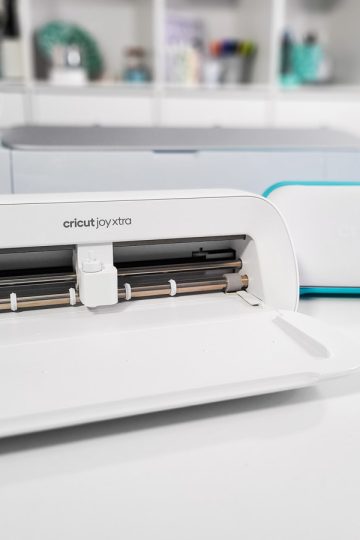
Cricut has just launched its latest cutting machines, the Cricut Maker 4 and the Cricut Explore 4. But what do they offer that their predecessors don't? What are their strengths, and are they worth the money? Here's a complete roundup of what's new!
Disclosure: Thanks to Cricut for providing me with the product to review. I am not paid or sponsored by Cricut to produce this post. All reviews and opinions are 100% my own and completely honest.
This post contains some affiliate links for your convenience and at no extra cost to you. I get commissions for purchases made through links in this post. Click here to see my full disclosure policy.
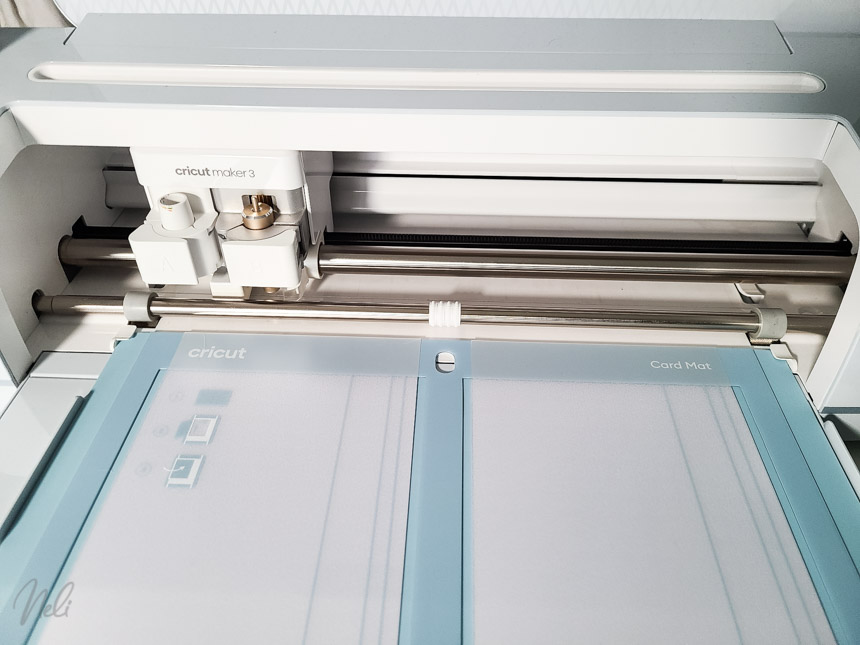
Improved cutting speed
One of the great improvements of these new models is their cutting speed. Cricut announces that the Maker 4 and Explore 4 are up to 2 times faster than their predecessors, especially when using a cutting mat. (Speed may vary according to the material setting chosen).
This enhancement means you'll be able to complete your projects faster and save precious time, especially for large projects or series of identical objects.

Available colors
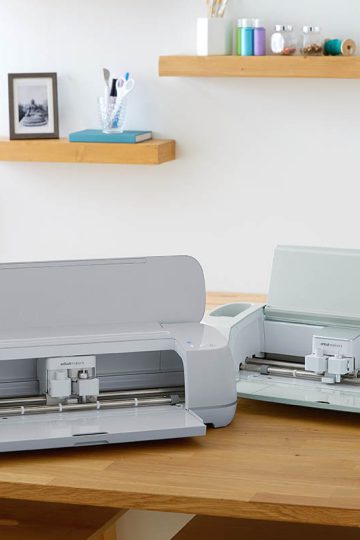
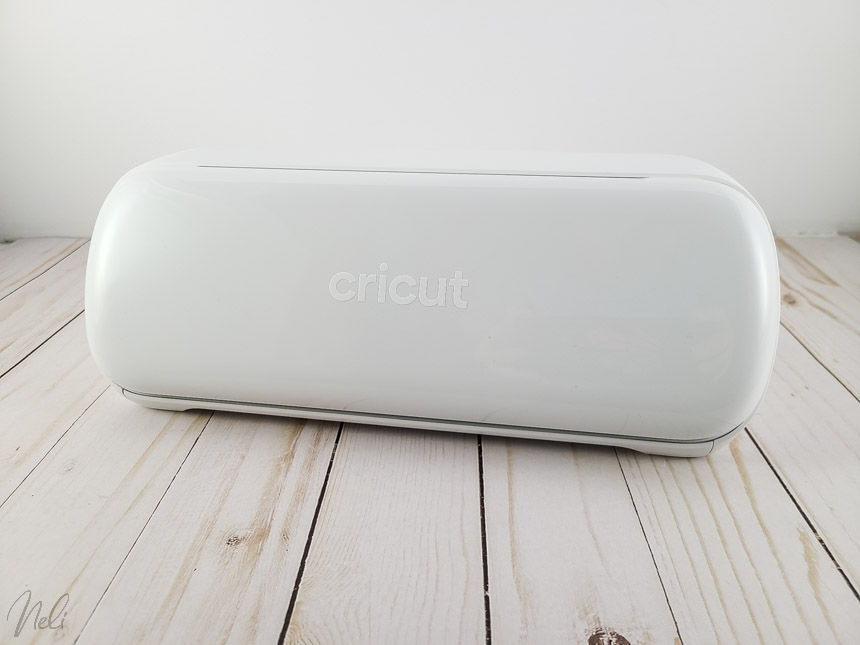
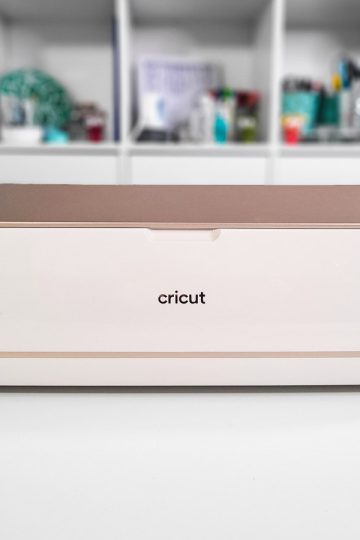
In terms of colors, they are available in Seashell and Sage. For both colors, Explore 4 has a matte finish, while Maker 4 has a glossy finish.
- In North America (United States, Canada, Mexico): Explore 4 and Maker 4 are available in Seashell everywhere and Sage exclusively at Michaels.
- For France and Europe: Explore 4 will be available in Seashell and Maker 4 in Sage only.

*The colour Seashell is, in my opinion, a pinkish white. I say this because I didn't expect it when I saw the photos, but it really is a pinkish colour!
Box contents : Ready to create!
Good news: Cricut includes far more materials in these machines than in previous versions, so you can get started straight away. Unlike versions 3, for example, which didn't even include a mat, these new models now include everything you need. Here's what you'll find in the box:
- Cricut Explore 4 or Cricut Maker 4
- Fine point blade + case
- Accessory adapter (already installed in clam A)
- Power cord
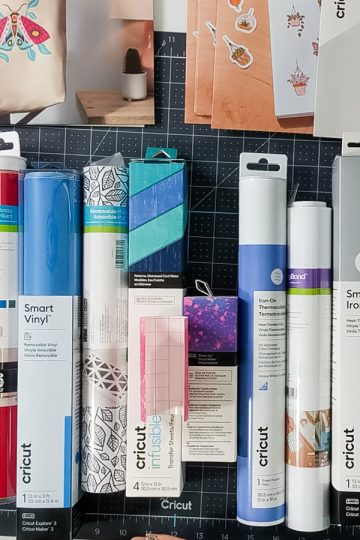
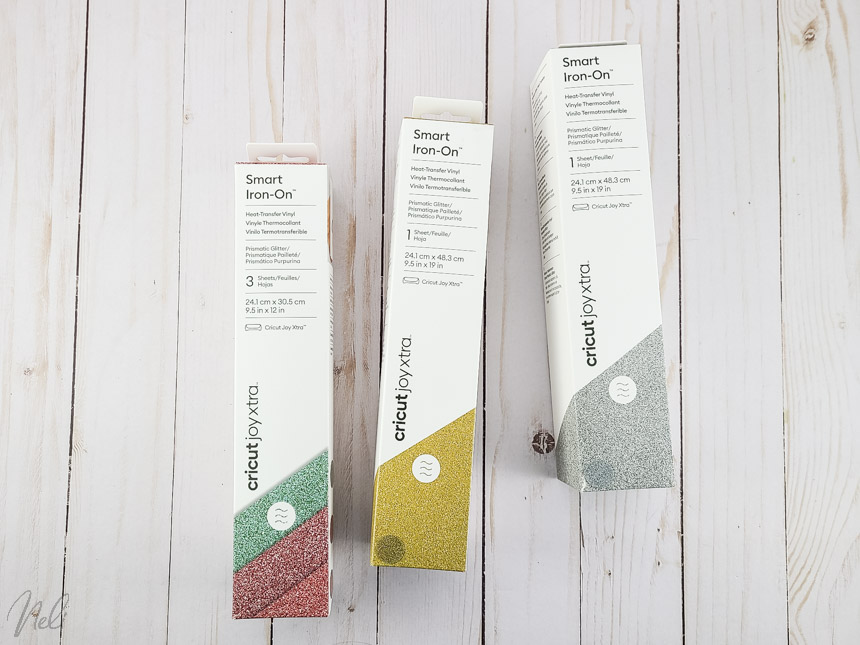
- Three sheets of Smart Vinyl (13 x 6 in.), two sheets of cardstock (11 x 4.25 in.), one sheet of Smart Iron-On (13 x 6 in.) and two sheets of Transfer Tape (12 x 6 in.)
- LightGrip mat (12 x 12 in.)
- Fine point pen 0.4, black
- Mini weeding tool
- Quick start guide and warranty documents
Enough for up to 10 projects right out of the box!

Price
These new machines are offered at a lower price than the previous versions when they were launched, even though they contain more materials in the box:
- Cricut Explore 4: $249 USD
- Cricut Maker 4: $399 USD
They can also be purchased as a bundle that will be different on Cricut and on Amazon.
Compatibility with tools and accessories
The Cricut Explore 4 and Maker 4 are compatible with a wide range of tools and blades. All accessories designed for the Explore family are also compatible with the Cricut Explore 4. Similarly, everything that works with the other Maker models is compatible with the Cricut Maker 4. Here's the rundown:
- Explore 4: Fine point blade, Deep point blade, Fabric Blade, Foil transfer tip, Pens & markers, Scoring stylus.
- Maker 4: Same accessories as Explore 4, plus knife blade, scoring wheels, rotary blade, wavy blade, engraving tip, debossing tip and perforating blade.

Maximum cutting size
Like their predecessors, these machines are still compatible with Smart materials, allowing long projects to be cut without matting.
| Material | Maximum size Explore 3 and 4 and Maker 3 and 4 |
|---|---|
| Iron-On Smart | 11.7 in x 12 ft (29.7 cm x 3.6 m) |
| Smart Vinyl | 11.7 in x 12 ft (29.7 cm x 3.6 m) |
| Smart paper | 11.7" x 11.2" (29.7 cm x 28.4 cm) |
| On a 12 x 12 mat (30 cm x 30 cm) | 11.5" x 11.5" (29.2 cm x 29.2 cm) |
| On a 12 x 24 mat (30 cm x 60 cm) | 11.5" x 23.5" (29.2 cm x 59.6 cm) |
To find out more about the different types of vinyl and Smart materials, take a look at this post.
Release date and availability
The Cricut Explore 4 and Maker 4 will be available on the following dates:
Canada and United States: from February 28, 2025 *.
- Seashell color on Cricut.com only
- Sage color available exclusively from Michaels
*from March 14, 2025 for other stores such as Amazon, etc.
International (excluding USA, Mexico, Canada) from March 14, 2025
- Seashell color only for Explore 4
- Sage color only for Maker 4

Should you fall for these new machines?
If you already own a Cricut Explore 3 or Maker 3, these new versions mainly offer an increase in speed. If speed is an essential criterion for you, then the upgrade could be worthwhile.
On the other hand, if you have an older version (Explore Air 2 or original Maker), buying the Explore 4 or Maker 4 will enable you to benefit from Smart materials and greater speed.

What do you think of these new machines? Are you looking forward to testing them?