I'm always very honest in my posts. No sunshine and rainbows and everything always going perfectly as planned. No, that's not me, and certainly not real life!!! In this post, I'll tell you if you should DIY stickers with printable vinyl to label school supplies.
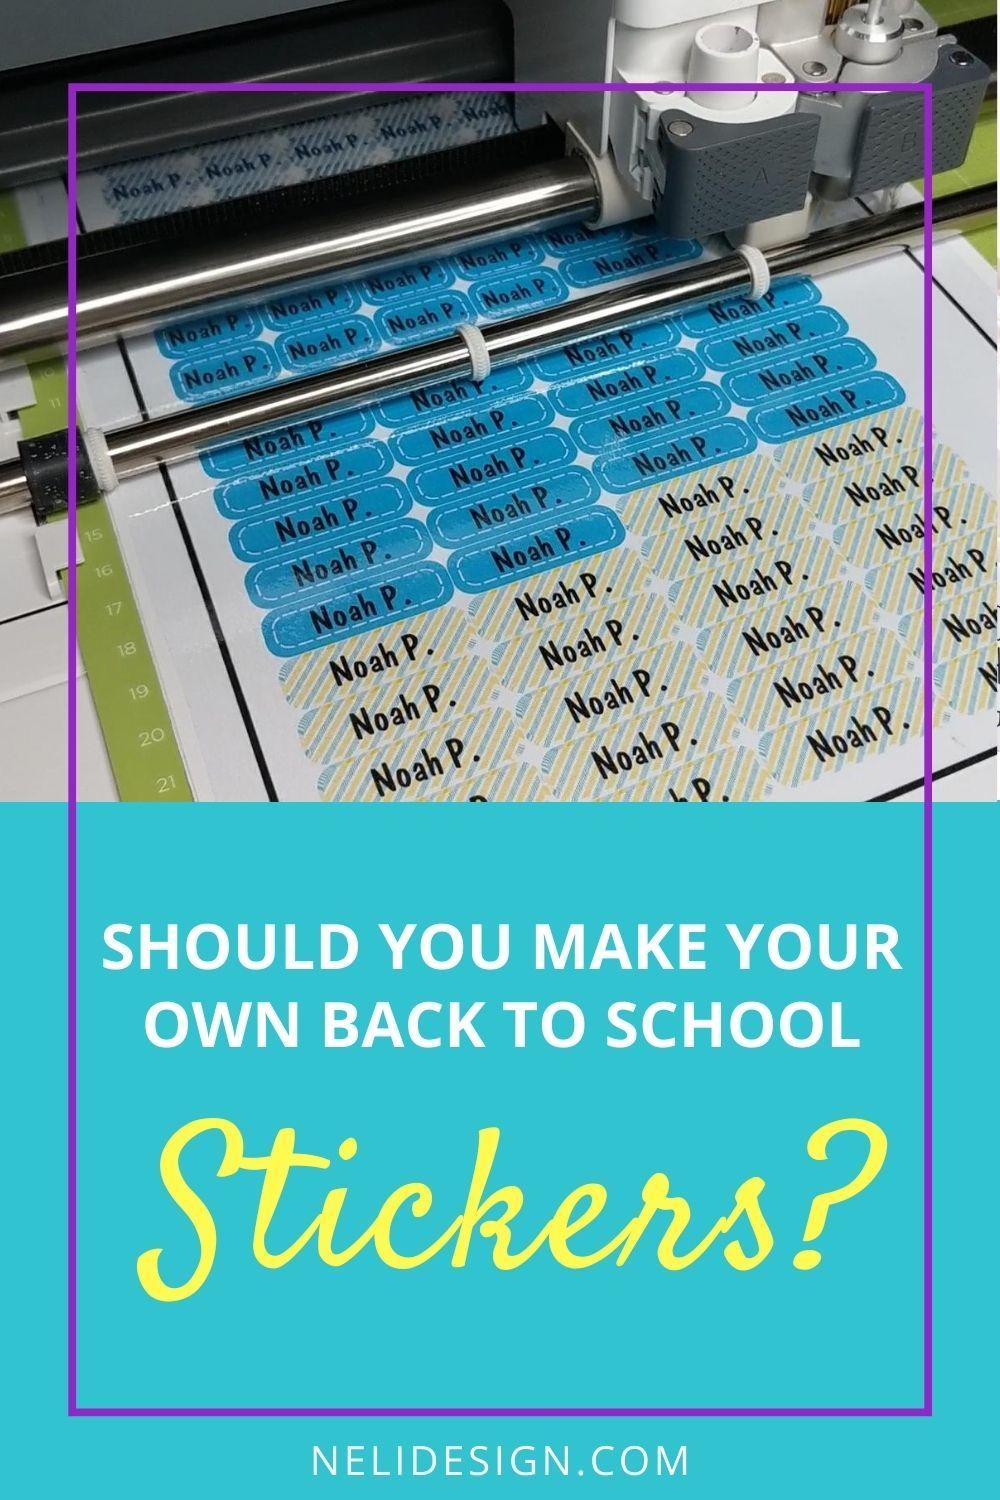
Now, I was pumped to do it all by myself (well, with the help of my Cricut and kids of course!) I even made free templates for you. You'll have over 40 shapes and styles of stickers that you can personalize and use.
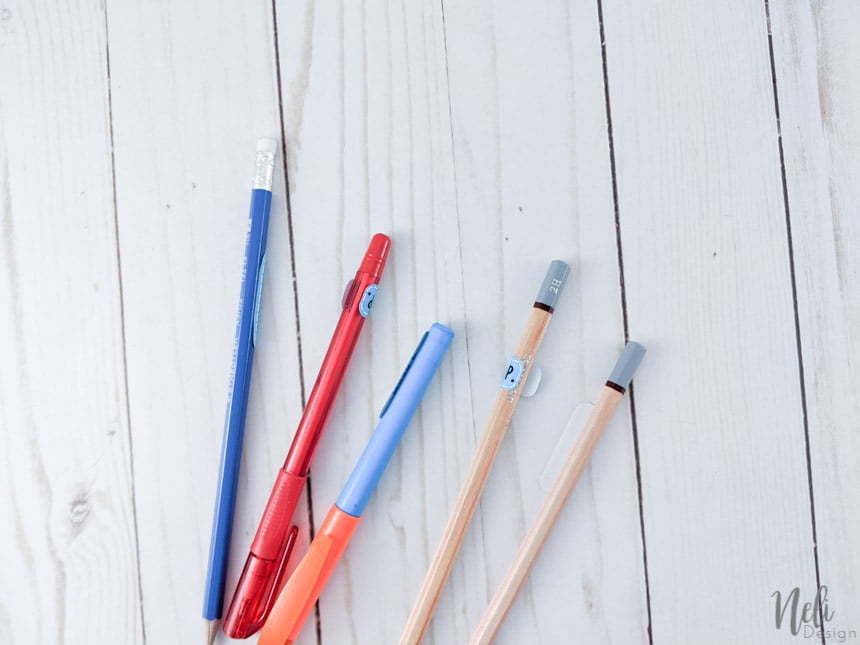
What I wasn't ready for is my plan not working as perfectly as I wanted! You see, I wanted them to really stick to pencils, pens, etc. in order to last at least a whole year.
My tests making stickers with printable vinyl and Cricut
I've tested a couple of things in order to find the best way to make stickers that will last at least a whole school year. This post contains some affiliate links for your convenience and at no extra cost to you. Click here to see my full disclosure policy.
I didn't want to take the regular Avery Sticker paper since it is repositionable. I instead found a printable vinyl that I thought would stick better.
Also, what attracted me to try this vinyl is that it was labelled "waterproof".
2024 UPDATES:
I added Cricut printable vinyl to my tests and got better results.
Even more recently, I tested the Cricut waterproof printable sticker set and boy oh boy, these are a game changer! Continue reading to get all the details!
Materials and tools
- A Cricut machine (Maker family, Explore family, Cricut Venture or a Cricut Joy Xtra would work. Unfortunately, the Cricut Joy doesn't work for "Print and Cut")
- Inkjet printer
- Printable vinyl (here's the one I was using in the video, but for school supplies, I recommend the Cricut printable vinyl, or even better, the Cricut waterproof printable sticker set and you'll see why at the bottom of this post!)
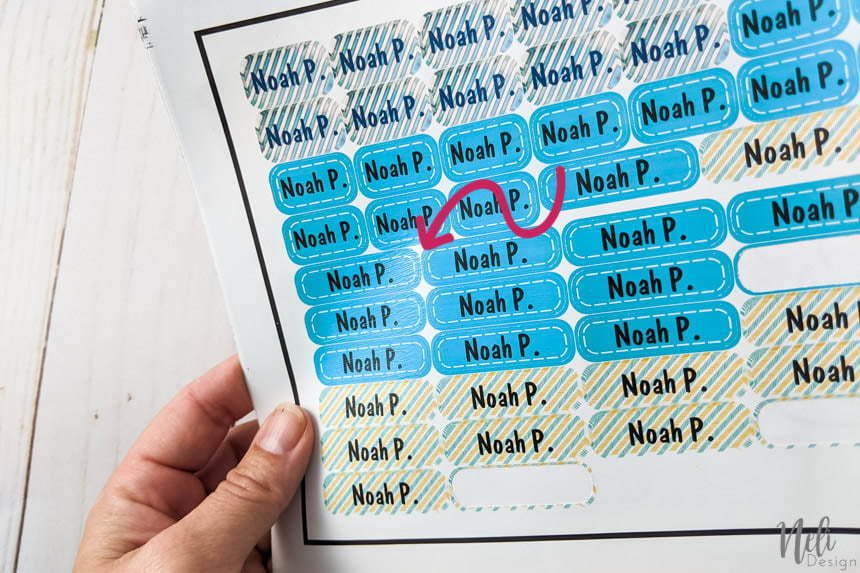
- My free SVG file that includes 40 different styles and sizes of back-to-school stickers that you can download just below:
Is printable vinyl waterproof?
Now, even though it is written "waterproof" directly on the package, it is not completely waterproof. I would say more, water-resistant... to a certain point.
It can withstand a bit of water but don't submerge the sticker completely in water. If you do and don't touch it while it's wet, it will stay unharmed.
Craftables vinyl
I was not that nice with the Craftables vinyl!! I submerged it in water and then tried to scratch it. After all, I'm making the stickers to put on school supplies. I need them to last at least a whole year!!
Well, what I thought would happen did:
Cricut printable vinyl
Despite being told that the ink would smudge directly when the Cricut printable vinyl came in contact with water, it didn't happen!
Two things to note: I waited at least 24 hours after printing before putting it under water. Also, the quality of the ink or the printer may have an impact on this test. I can't confirm since I only have one printer and no way to compare!
So, on this point, Cricut printable vinyl is identical to the Craftables brand: The ink stays put when wet, as long as you don't start scratching!
How to make printable vinyl stickers more durable?
I searched the web to find the best solution to make my stickers waterproof, if not, at least more durable.
Mod Podge
So I first tested with Mod Podge. You can add the Mod Podge with a foam brush before of after you cut the stickers.
What I don't like it's that you can definitely see that something was added on top of the printable vinyl.
It will protect the vinyl from wear but you know what? Once I added water, it was the same thing. I could easily scratch the printable vinyl.
Minwax Polyurethane
Then I got out the big guns 😆! I went outside and sprayed my printable vinyl with Minwax Polyurethane. I was sure this would be the perfect solution.
The finish was beautiful. Way better than the Mod Podge. It also added nice protection from wear.
But still, the water test failed as soon as I scratched the stickers while it was wet. I repeat, if you don't touch it while wet, it will dry and everything will be fine.
Even with 2 and 3 coats of Minwax Polyurethane!
Needless to say, I was soooo disappointed!
But I had not said my last word... yet!
Strangely, for the Cricut printable vinyl, one single coat of Minwax polyurethane was enough to make it waterproof and resistant to my "scratches". I have a hard time understanding why it didn't work with the other brand!
Cricut printable vinyl before adding water:

After adding water and scratching:

Self-adhesive protective film
Yes, you know what I'm talking about right? The protective film that you can buy at the Dollar Store? The one to cover books. The one we often use as transfer paper?
Yes, that one!
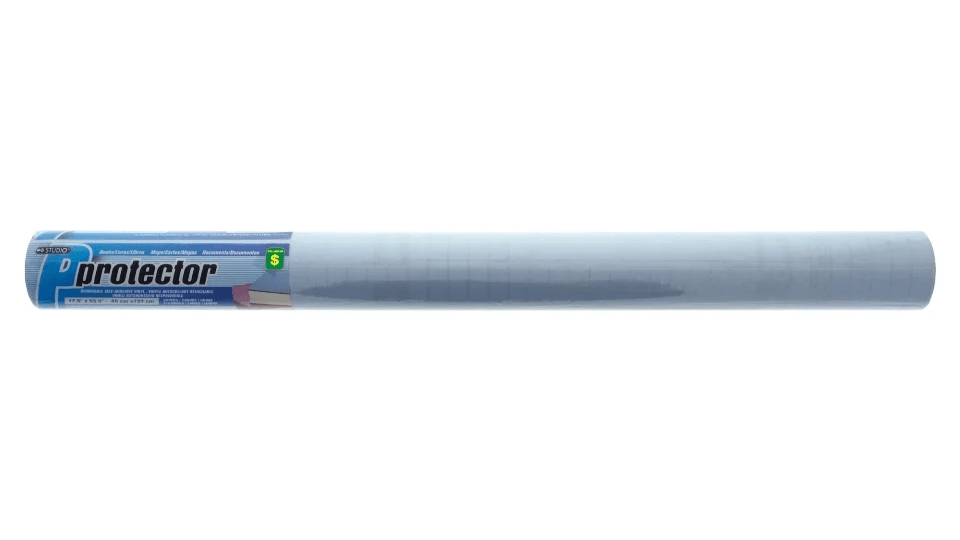
It was the most effective protection against water.
But there was a major inconvenience. Adding the protective film made the vinyl a lot thicker and therefore, difficult to bend.
So it was then impossible to make it stick to pencils.
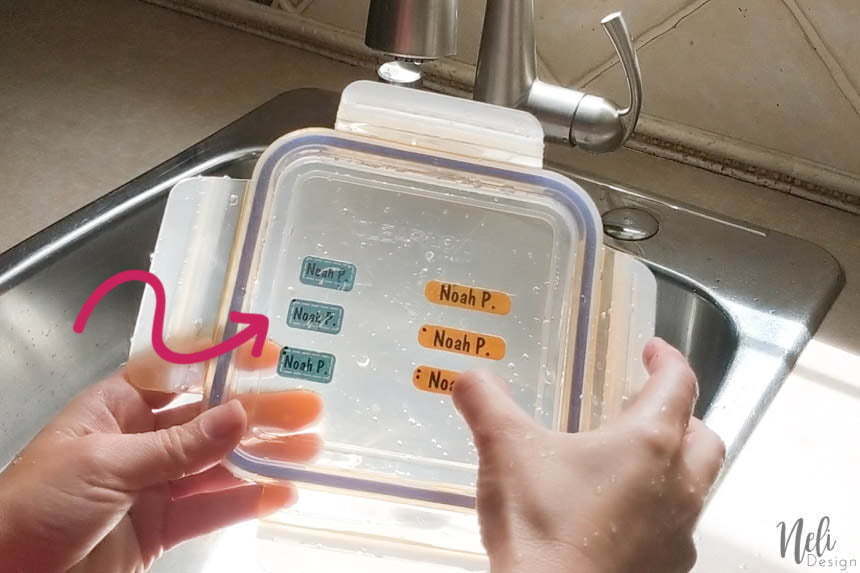
But I did push my luck and put it in the dishwasher 😱!
To my surprise, they stayed there! There was a little water that slid through the left label, but not that bad! I agree though, they wouldn't last a lot of wash like that but it was worth trying.

The final solution:
Cricut printable vinyl is a good choice. If you want to add Minwax polyurethane, it's even better.
But if you can, I would recommend Cricut waterproof printable sticker set.
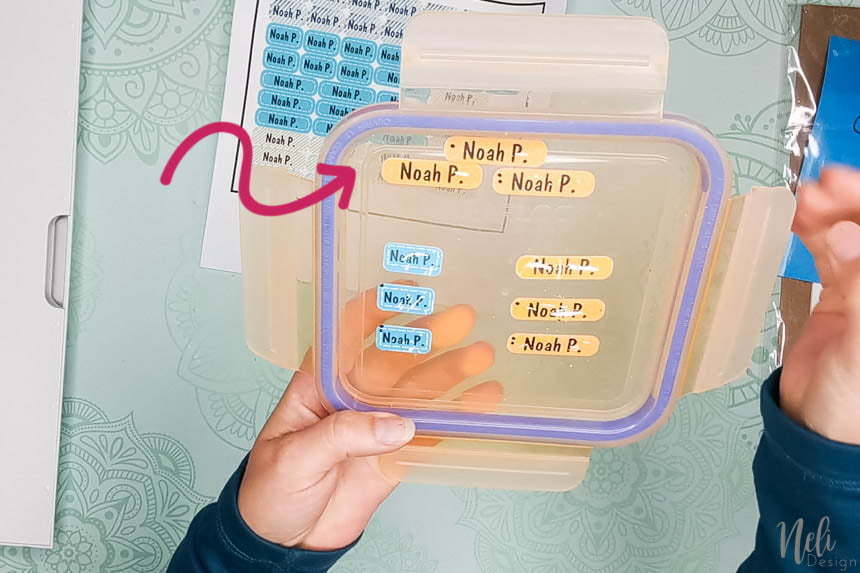
This product is not a vinyl but a regular sticker paper that you feed in your printer. You then add a protective film (sort of like the protective film above) and ask the Cricut to cut it.
Just like the protective film from the Dollar Store, water will end up slipping under it if you put the stickers in the dishwasher (but is pretty resistant to water and even rain! I tested them intensively!)
The big difference is that when applied on curved surfaces such as pencils, the Cricut printable waterproof sticker set holds super well!

Furthermore, since it's a Cricut product, you won't struggle to find the best setting to cut it! You'll just choose it from the list in the materials settings.
Check out the video!
Whatever you do, I invite you to check out this video. I will show you:
- How to use my free identification template (that has 40 different sticker styles that you can personalize)
- How to add a pattern to the stickers
- How to print and cut
- How to create a new material and what pressure to use if you're adding a layer of the protective film.
Want to have access to the library to get the free templates and SVG files?
Subscribe to my newsletter right here:
Don't forget to pin it!