Want to know what Cricut supplies are essential for beginners? This post will tell you exactly which tools are essential and which Cricut machine to buy, by type of project!
This question must be the one I hear most often: Which Cricut machine should I buy and what other products are essential for Cricut projects for beginners?
And the first thing I always say is: What kind of project are you interested in?
It's the most important thing to know when you want to make the leap into the Cricut world. As a matter of fact, someone whose passion is scrapbooking will not need the same products as someone who sews.
So, instead of just explaining the difference between each Cricut product, I decided to tell you what are the essential tools and materials according to the type of project you want to make.
This list can also be a great gift guide if you know someone who owns a Cricut!
Get a Cricut discount and free shipping by using my promo code when you order at Cricut.com. Click here to see the details.
If you're looking to know where to get the best price when you buy a Cricut, please check out this post.
Cricut Machines
To avoid repetition, I'll describe here the differences between the 4 main families of Cricut machines: the Joy family, the Explore family, the Maker family and finally the Cricut Venture.
Further down, in the types of projects, I'll just name what machine I think is better or at least the minimum to have.
You can also see the comparison table for a quick visualization of the characteristics of each machine.
Update 2021: I've also added the Maker 3 and Explore 3 to the table below so you can really see the difference. If you'd like to find out more, take a look at the following post.
Update 2023: I've added the Cricut Joy Xtra and the Cricut Venture.
This post contains links to affiliated products for your convenience and at no additional cost to you. Click here to read my full disclosure policy.
The Cricut Joy

The Cricut Joy is the least versatile of the Cricut machines.
It is, in my opinion, a companion Cricut. In fact, it's perfect for accompanying you on your travels or to "Cricut" at a friend's house. In fact, Cricut even sells a tote bag to carry it!
Its maximum material width is 13.9 cm (see the table below for full details).
Also, it is important to note that it does not support the "Print and Cut" feature.
I've seen several people turn to the Joy as their only machine (due to lack of space or fear of "big machines"), but these people quickly realized its limitations. Personally, I'd go for the Joy Xtra or one of the Explore family, unless you want to do very occasional and limited DIY, or unless you want an easily transportable Cricut.
My first Cricut also had, like the Joy, a 6-inch wide mat and I found myself very limited by this feature.
I also want to point out that the Joy's blades and pens are exclusive to the Joy family. In other words, do not think about using the Cricut Pens of the Explore or the Maker with the Joy machines, they are not interchangeable.
The Cricut Joy Xtra
The Cricut Joy Xtra is wider than the Cricut Joy, but narrower than the Explore and Maker. This makes it the ideal Cricut for people who are just starting out and feel intimidated by the bigger machines, or people who simply don't have room!
The Cricut Joy Xtra uses all the same tools and blades as the Cricut Joy.
It offers a cutting mat width of 8.5 inches (21.59 cm) (see table below for all comparisons).
Blades and pens from the Joy family are exclusive to them. In other words, do not think about using the Cricut Pens of the Explore or the Maker with the Joy machines, they are not interchangeable.
Find out more about the Cricut Joy Xtra in this post.
The Cricut Explore Air 2 / Explore 3

The Explore Air 2 is, in my opinion, the basic Cricut machine. It's perfect for everyday DIY. By adding the deep point blade to your purchase, you can increase the amount of material you can cut and get up to 2 mm thick.
For more information on the various blades, see my post on the purposes of Cricut blades, wheels and tips.
The Explore 3 is the latest model and will also enable you to cut "Smart Materials" without a mat and at greater speed. See this post or the table below for full details.
The Cricut Maker
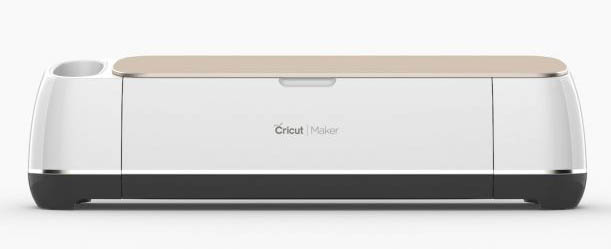
The Maker is perfect for the crafter who always wants to try new things. It is 10 times more powerful than the Explore and offers a wide variety of blades and tips.
By the way, to clearly see the difference between all the blades, wheels and tips available, you can see this post.
The Maker 3 is the latest model, and will allow you to cut Smart Materials without a mat, and at higher speeds. See this post or the table below for full details.
The Cricut Venture
The Cricut Venture is a large-format machine designed for small businesses that are looking to mass-produce. So I won't say any more about the Cricut Venture in this post.
If you're interested in the Cricut Venture, take a look at this post.
Cricut Design Space
To run your Cricut, you need to use Cricut Design Space. And it is free. But, if you subscribe to Cricut Access, you will have free access to projects, images and fonts.
But I repeat, it is not mandatory to be subscribed to Cricut Access in Cricut Design Space to operate your Cricut.
Comparison table
| Functionalities | Cricut Joy | Cricut Joy Xtra | Explore Air 2 | Explore 3 | Maker | Maker 3 |
|---|---|---|---|---|---|---|
| Ideal for | Quick projects and travel | Beginners and those with limited space. | Pro DIY performance and great versatility | Pro DIY performance and great versatility | Professional-level performance and versatility | Professional-level performance and versatility |
| Maximum material width | 13.9 cm (5.5 in.) with Smart materials -- 11.4 cm (4.5 in.) on mat | 24.1 cm (9.5 in.) with Smart -- materials 21.6 cm (8.5 in.) on mat | 30.5 cm (12 inches) | 33 cm (13 in.) with Smart materials -- 30.5 cm (12 in.) on mat | 30.5 cm (12 inches) | 33 cm (13 in.) with Smart materials -- 30.5 cm (12 in.) on mat |
| Maximum cutting length | 1.2 m (4 feet) with Smart materials | 1.2 m (4 feet) with Smart materials | 61 cm (2 feet) with large mat | 3.6 m (12 feet) with Smart materials | 61 cm (2 feet) with large mat | 3.6 m (12 feet) with Smart materials |
| Material compatibility | 50+ 300+ Materials | 50+ 300+ Materials | 100+ 300+ Materials | 100+ 300+ Materials | 300+ 300+ Materials | 300+ 300+ Materials |
| Maximum material thickness | Limited to what the fine-point blade of the Joy family can cut | Limited to what the fine-point blade of the Joy family can cut | 2.0 mm (Limited to what fine and deep point blades can cut) | 2.0 mm (Limited to what fine and deep point blades can cut) | 2.4 mm (Limited by the metal bar under which the mat fits) | 2.4 mm (Limited by the metal bar under which the mat fits) |
| Tools/ Capabilities | 3 (for cutting, drawing, foil) | 3 (for cutting, drawing, foil) | 4 (for cutting, drawing, foil and score) | 4 (for cutting, drawing, foil and score) | 12+ (for cutting, drawing, foil, score and much more) | 12+ (for cutting, drawing, foil, score and much more) |
| Double tool holder | X | X | X | X | ||
| Commercial-grade cutting technology | X | X | ||||
| 10X more power to cut hundreds of materials | X | X | ||||
| Works with "Smart" materials for long, continuous cuts without a cutting mat. | X | X | X | X | ||
| Works with card mats for quick custom cards | With Joy card mat | With Joy Xtra card mat | With the card mat 2 x 2 | With the card mat 2 x 2 | With the card mat 2 x 2 | With the card mat 2 x 2 |
| Print Then Cut capability | X | X | X | X | X | |
| Connectivity | Bluetooth® only | Bluetooth® only | Bluetooth®, USB | Bluetooth®, USB | Bluetooth®, USB | Bluetooth®, USB |
Types of projects
So you will have understood that in order, from the Cricut machine that does the least things to the most versatile, we have:
- The Cricut Joy
- The Cricut Joy Xtra
- The Cricut Explore Air 2
- The Cricut Explore 3
- The Cricut Maker
- The Cricut Maker 3
Here is the list of essentials, in my opinion, by type of project. Note that the essentials are the minimum. So, if I list the Explore family as sufficient, that doesn't mean the Maker won't be sufficient.
As mentioned above, I won't name the Cricut Venture as essential. Think of it as a Cricut Explore, wider and faster, but without the Maker's tools. This is definitely not a machine for a beginner unless you have a business. As such, it will not be discussed here. Refer to this post to find out more.
Paper / Cards
Although the Cricut Joy makes it possible to make pretty cards quickly, I still recommend the Joy Xtra or, even better, the Explore family for the reasons listed above.
What's more, the Cricut from the Explore family lets you create your own flat cards thanks to the cutting width and the scoring stylus for making folding lines (the Joy family doesn't currently have a scoring stylus, and the Cricut Joy isn't wide enough to make flat cards).
On the other hand, if you like Cricut insert cards, you can make them with any Cricut, thanks to the card mats available in all sizes.
Find out more about the 2 x 2 card mat in this post.
Here is the list of essentials:
- Cricut Explore (you can also take advantage of theEssential bundle, which is cheaper than buying everything separately)
- Scoring stylus
- Spatula and scraper
Optional:
- Deep point blade (to cut thicker materials)
- Cutting mat StandardGrip, green and LightGrip, blue(important: only the blue cutting mat comes with the Explore Air 2 and Maker. No mat included with Explore 3 and Maker 3)
- Card mats 2 x 2
- Cricut pens (note that the Explore Air 2 already comes with a black fine-tipped pen, but the Explore 3 does not)
Scrapbooking
The reason I put scrapbooking apart from the previous category is that scrapbooking often involves the use of chipboard. If you want to create your own design with this material, you will absolutely need the deep-point blade.
I also suggest at least the Explore family, since Scrapbooking pages are often 12x12 (30 cm x 30 cm). The Cricut Joy Xtra might do the trick if you're thinking of doing only small cuts and don't want to cut chipboard.
The essentials:
- Cricut Explore family (you can also take advantage of theEssential bundle, which is cheaper than buying everything separately)
- Scoring stylus
- Spatula and scraper
- Deep point blade (to cut thicker materials)
- Cutting mats StandardGrip, green and LightGrip, blue (important: only the blue cutting mat comes with Explore Air 2 and Maker. No mat is included with Explore 3 and Maker 3).
Optional:
- Cricut pens (note that the Explore Air 2 already comes with a black fine-tipped pen, but the Explore 3 does not)
Stickers
The "Print then cut" function is a really interesting feature, allowing you to print all kinds of things (with your printer) and have them cut out by your Cricut.
Note that all Cricut machines except the Cricut Joy can print and cut.
The "Print then cut" function is not the easiest to understand. I suggest at least seeing this post (and especially the related video) for a good understanding.
The essentials:
- Cricut Joy Xtra (You can also buy the bundle to save money)
- LightGrip mat (blue) (only the blue Cutting mat comes with the Explore Air 2 and Maker. No mat is included with Joy Xtra, Explore 3 and Maker 3)
- Printable materials (self-adhesive paper, vinyl, etc.) Read this post to see the different products available)
- A printer (inkjet if you use the Cricut products above)
Foil transfer

Foil transfer can be performed on multiple materials and Cricut has its own tools. And what's great is that it fits on the Maker, Maker 3, Explore Air 2 and Explore 3.
The Cricut Joy and Joy Xtra also have their own foil tips. However, once again, this tip is specific to this family and cannot be used in the Explore and Maker families.
The essentials:
- Cricut Joy Xtra (You can also buy the bundle to save money)
- Foil Transfer Set
- Additional foil transfer sheets
- Spatula and scraper
Keep in mind that you won't be using the Foil set alone. You will need to combine it with another category on this page such as cards, paper, scrapbooking, etc.
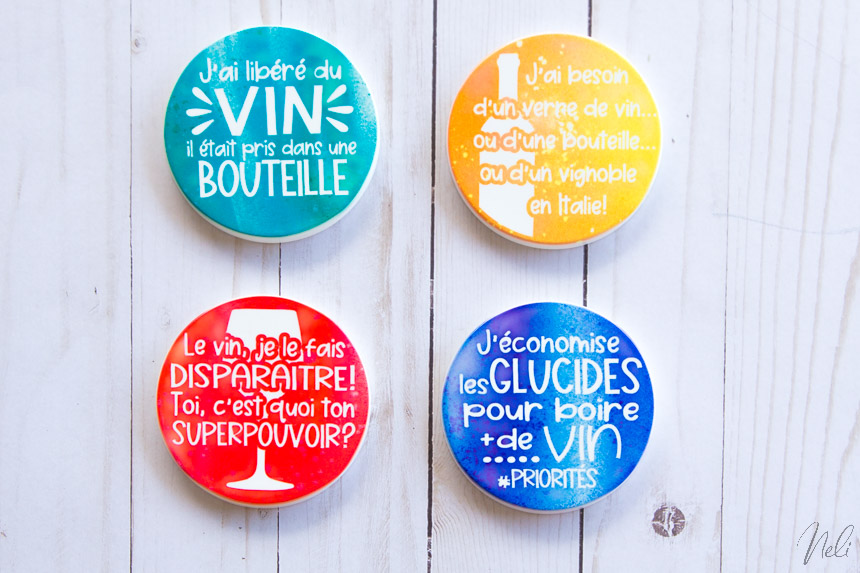
Adhesive Vinyl

Want to make projects with self-adhesive vinyl like these glasses above, this mug I made or this candle? Here's what you'll need:
- Cricut Joy Xtra (You can also buy the bundle to save money)
- Basic tool set
- Choice of adhesive vinyl(permanent or removable);
- Transfer tape
Optional:
- Cutting mat LightGrip (blue) or StandardGrip (green) (only a blue cutting mat comes with Explore Air 2 and Maker. No mat is included with Joy Xtra, Explore 3 and Maker 3).
- Cricut Brightpad(see my post on the Cricut Brigthpad Pro)
If you're confused about the different types of vinyl, that's normal! I suggest you read this post to fully understand the differences.
Heat transfer vinyl (HTV)
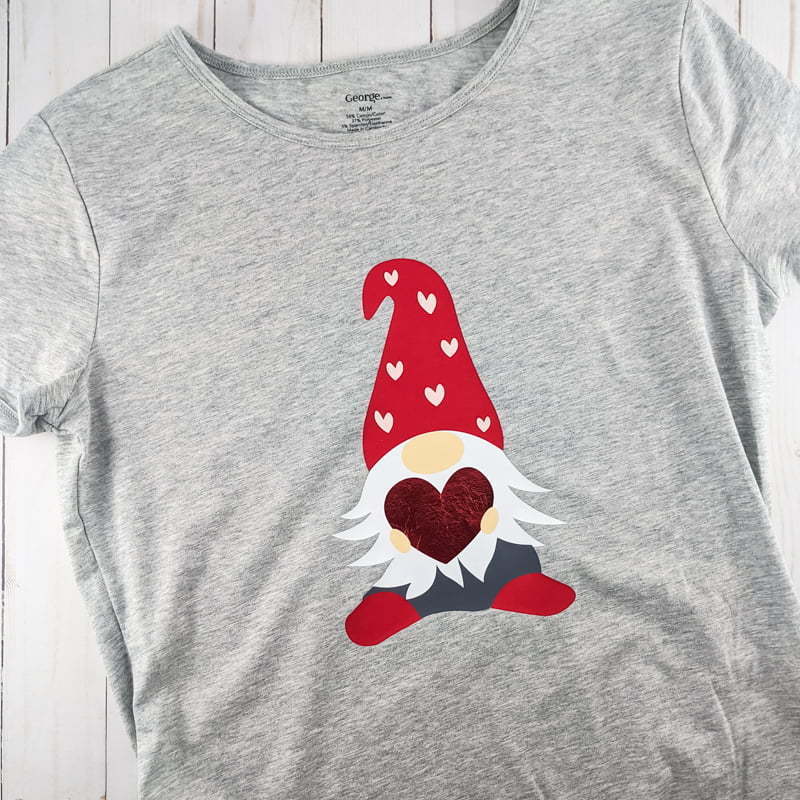
Are you passionate about adding heat transfer vinyl to fabrics such as T-shirts and bags? It's more addictive than I thought! You can see the t-shirt I made and the trick for layering different colours of vinyl here.
So you'll need:
- Cricut Joy Xtra (You can also buy the bundle to save money)
- Basic tool set
- Cricut EasyPress (I strongly recommend the 12" x 10" (30 cm x 25 cm) see note below) or the Cricut Autopress if you really want to make a lot and sell it). If you can, the EasyPress in the Essential bundle can save you a lot.
- Heat transfer vinyl (Cricut's is called Iron-on )
- Lint roller
Optional:
- EasyPress mat (instead of towel)
- Cutting mat LightGrip (blue) or StandardGrip (green) (only a blue cutting mat comes with Explore Air 2 and Maker. No mat is included with Joy Xtra, Explore 3 and Maker 3).
- Cricut Brightpad(see my post on the Cricut Brigthpad Pro)
- Teflon sheet, cookina style or other
Note on the EasyPress:
When I bought my EasyPress, I wanted to make sweaters to go to Disney and I really didn't think I would like to make more. I just bought the Easy Press 9" x 9" and told myself that I would never do anything wider than that. Well, that was a mistake!
Indeed, since the Cricut Explore and Maker families can cut designs up to 11.5" (29 cm), it wasn't long before my 9" Easy Press wasn't enough. Well, with vinyl, you end up getting away with it anyway (since you can apply in multiple presses), but my advice to you is not to hesitate and go for the 12" x 10" (30 cm x 25 cm). It's not true that you're only going to make baby onesies!
And even if you have the Joy Xtra, which can cut designs up to 8 inches wide (20 cm), the design can easily be flipped on its side to the same width as the Maker and Explore families, using the length of the Joy Xtra's mat.
EasyPress 2 or EasyPress 3?
Read this post to find out the difference between EasyPress 2 and EasyPress 3.
What is the Cricut Autopress?
See my post on Cricut Autopress to find out if it's really for you.
What if I want to customize hats?
Cricut also has a specialized EasyPress for caps and hats, called the " Hat Press". With the caps sold by Cricut, you can even apply Infusible Ink! Read this post to find out more!
Infusible Ink
Unlike vinyl, the Infusible Ink is very particular to work with. You will need blanks with a very high percentage of polyester or those sold by Cricut . And since the EasyPress must not be allowed to move a hair during application, and there's absolutely no way of getting it right with more than one press, the Easy Press 12" x 10" (30 cm x 25 cm) and heat-resistant adhesive tape become essential.
You can read my full post on Infusible Ink.
I'd also like to suggest the Explore family as the minimum you should have, since most Ink infusible sheets come in 12 x12 (30 cm x 30 cm). But you could cut them and use the Cricut Joy Xtra.
The must-have:
- Cricut Explore family (you can also take advantage of theEssential bundle, which is cheaper than buying everything separately)
- Blanks for Infusible Ink
- Standard Grip mat (Green) (only a blue cutting mat comes with Explore Air 2 and Maker. No mat is included with Joy Xtra, Explore 3 and Maker 3)
- Basic tool set
- Cricut EasyPress (I strongly recommend the 12" x 10" (30 cm x 25 cm) see note above) or the Cricut Autopress if you really want to make a lot and sell it). If you can, the EasyPress in the Essential bundle can save you a lot.
- EasyPress mat (unlike iron-on, it is highly recommended for Infusible Ink)
- Infusible Ink sheets
- Additional butcher paper or parchment paper
- Heat-resistant tape (to hold your design and prevent it from moving. An absolute must!)
- Lint roller
Optional:
- Cricut Brightpad(see my post on the Cricut Brigthpad Pro)
- Teflon sheet, Cookina type or other
- Infusible Ink felts and laser copy paper (for another Infusible Ink application technique)
EasyPress 2 or EasyPress 3?
Read this post to find out the difference between EasyPress 2 and EasyPress 3.
What is the Cricut Autopress?
See my post on Cricut Autopress to find out if it's really for you.
What if I want to customize hats?
Cricut has a specialized EasyPress for caps and hats called Hat Press. With the caps sold by Cricut, you can even apply Infusible Ink! Read this post to find out more!
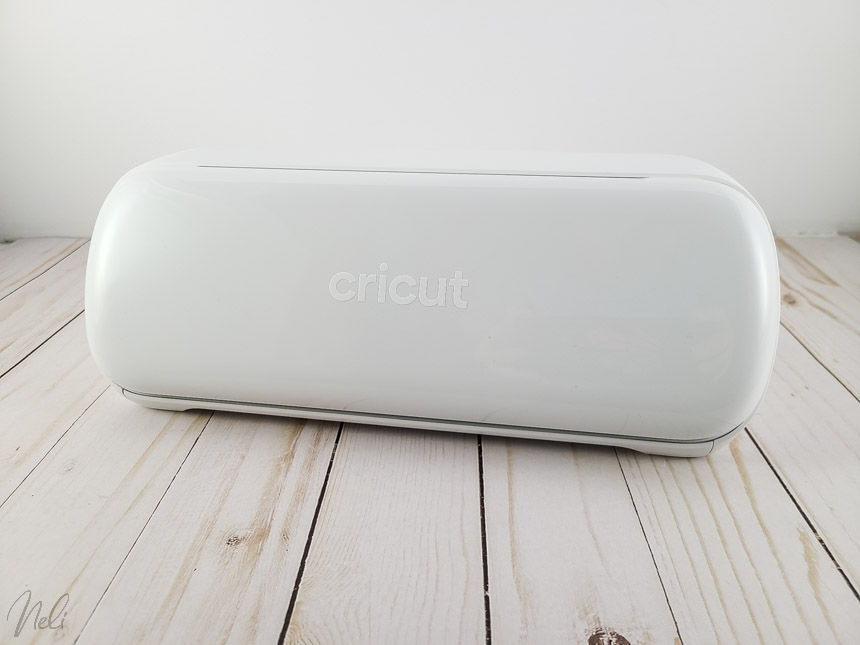
Custom mugs

You can use permanent adhesive vinyl to apply to ceramic mugs. Be aware, however, that these mugs can not be put in the microwave and special attention must be taken when putting them into the dishwasher (hand washing is strongly recommended).
So if you love customizing mugs, I suggest the Cricut Mug Press. This requires the use of Infusible Ink and mugs with a specialized coating to "absorb" the Infusible Ink.
The advantage? They can go in the microwave and dishwasher without worry!
See my post on making Halloween mugs with the Cricut Mug Press.
The must-have:
- Cricut Mug Press (You can also take advantage of the "Everything material" or "Essential material", which are ideal for getting started with the Mug Press.
- A Cricut machine (even the Cricut Joy can make mugs!)
- Standard Cutting mat (green) (only blue cutting mat comes with Explore Air 2 and Maker. No mat included with Joy, Joy Xtra, Explore 3 and Maker 3)
- Special mugs for the Mug Press
- Basic tool set
- Infusible Ink sheets
- Additional butcher paper or parchment paper
- Heat-resistant tape (to hold your design and prevent it from moving. An absolute must!)
Optional:
- Cricut Brightpad(see my post on the Cricut Brigthpad Pro)
- Teflon sheet, Cookina type or other
- Infusible Ink felts and laser copy paper (for another Infusible Ink application technique)
Felt (flowers or other objects)

Felt is really special to cut since it all depends on the type of felt you use. The felt sold by Cricut is very thin and cuts easily with the fine point blade (basic blade). The same goes for wool felt, which is more expensive.
If you use the craft felt (acrylic), found at the Dollar stores or Michaels, for example, you will need the rotary blade of the Maker. This one will be able to cut all types of felt perfectly. That's why I'm going to consider it essential.
For full details on felt, see this post.
The must-have:
- A Cricut from the Maker family
- Rotary blade (included with the Maker, but not with the Maker 3)
- Cutting mat for fabrics (pink) (included with Maker, but not with Maker 3)
- Spatula and scraper
- Cricut felt or acrylic craft felt
Check out the post about the Felt Crocuses for details of the different felts and all the tricks for cutting them.
Engraving
Oh! Once you start having fun with it, it quickly becomes addictive. You can see how I made an LED lamp, as well as my post on metal engraving.
Here is also a test I did with a photo of my dog!

If you want to get into engraving, here are the essentials:
- A Cricut from the Maker family
- Engraving tip, #41 (including Quick swap base if you don't already have it with another tip. See this post to understand all the differences between Cricut blades, wheels and tips)
- StrongGrip mat (purple)
- ScotchTape
- Acrylic or plastic sheets 0.020"
- Cricut Aluminum sheets or other metal
Interested in photo engraving?
Photoengraving is an even more advanced technique and can do some really beautiful things. It's enough of a push that my friend Kay Hall of CleverSomeday has written an entire book on the subject! With his permission, I've translated it!
Please note, however, that in addition to the book, you'll need the Silhouette Studio Business Edition software to be able to perform the same technique.

Sewing
Sewing is not one of my talents! But I've made a nice collage by cutting small triangles of fabrics with my Maker. It's a gift I made for a friend. You can see the tutorial here.

I would never have cut all this by hand! Whoa!!!
If your passion is fabric and sewing, you will need the Maker (or Maker 3)! Yes, there is a fabric blade for the Explore Air 2, but you will need bounded fabric (i.e., that is glued to a rigid material). It can do the trick, but it's not ideal. That's why I recommend the Maker that comes with the rotary blade.
- A Cricut from the Maker family
- Rotary blade (included with the Maker, but not with the Maker 3)
- Pink Fabric mat (included with Maker, but not with Maker 3)
- Spatula and scraper
- Brayer
- Fabric
I want to make everything!
Ha ha! Then you're like me! Obviously, it will take you the Maker or the Maker 3! But no need to buy it all at once! Unless you can get the"Everything material bundle" that will save you a lot of money when you're starting.
If you really only want the base to start with, I suggest at least this:
- A Cricut from the Maker family
- Basic tool set
- Scoring wheel (You can buy it with the Quick Swap which can then be used for all other tips)
- Set of 3 mats (one blue, one green and one mauve)
Then refer to the types of projects above to add the essential tools depending on what you want to do.
An essential for all types of projects
No matter what type of project you want to do, you're going to have to learn how to use Cricut Design Space.
Indeed, it is only this free program that can send the projects to your Cricut.
Many people think they have to watch tons of videos before they can finally understand Cricut Design Space and use their Cricut. But this is not the case, because I have the solution for you!
I suggest you use my ebook "A Maker's Guide to getting started with your Cricut". This digital book will guide you in making your first projects. You'll learn Cricut Design Space while crafting 3 easy projects.

If you have any other suggestions for project types or questions, please leave them in the comments below.
Don't forget to pin it!