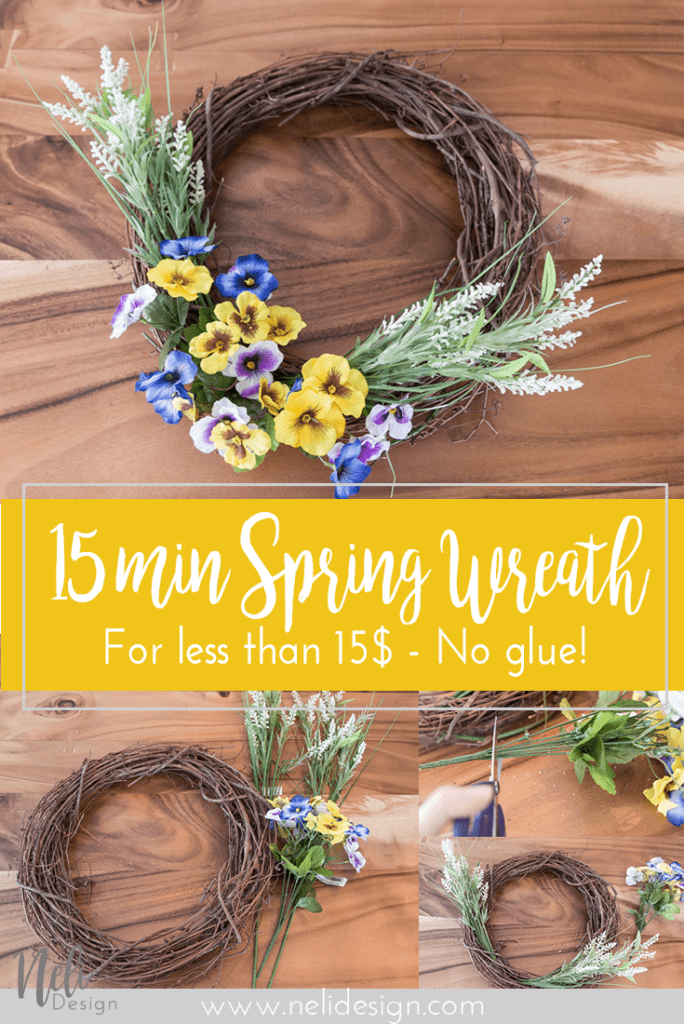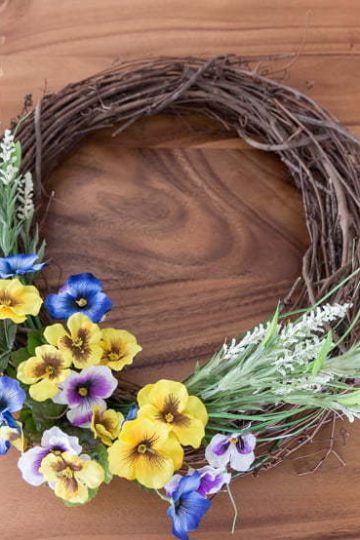
With this short tutorial, you'll be able to make a beautiful Spring Wreath for less than 15$ and in less than 15 minutes. You'll even be able to reuse the wreath when the season changes.
I'm looking outside right now, I see snow falling!! 😭 Ok, it probably won't stay on the ground but I'm in much need of Spring, flowers, and sun. Aren't you?
Since I can't command the sun, and flowers are nowhere to be found in my yard, I decided to do a quick DIY to bring Spring on my front porch (who knows, maybe the sun will hear my call!!)

This post contains some affiliate links for your convenience and at no extra cost to you. Click here to read my full disclosure policy.
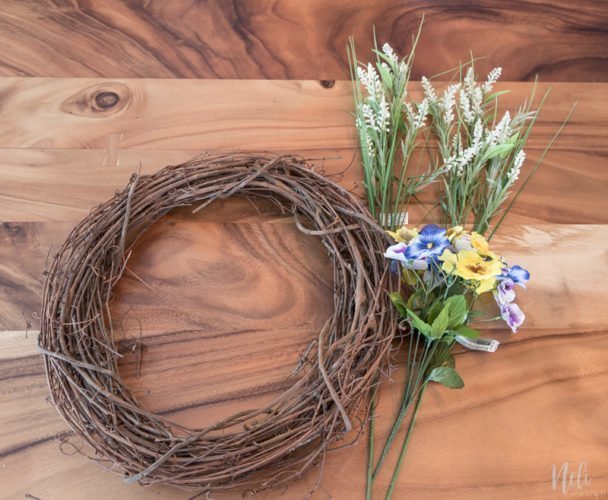
What you need to make the spring wreath:
[wc_box color="primary" text_align="left" margin_top="" margin_bottom="" class=""]
- Artificial Flowers
- Grapevine Wreath
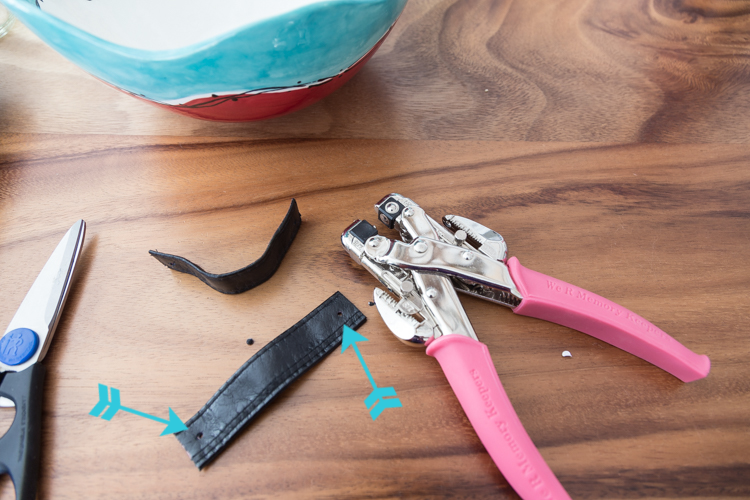
- Cutting pliers
- No glue!!
[/wc_box]
How to make the spring wreath
Insert the stem of the flowers into the wreath.
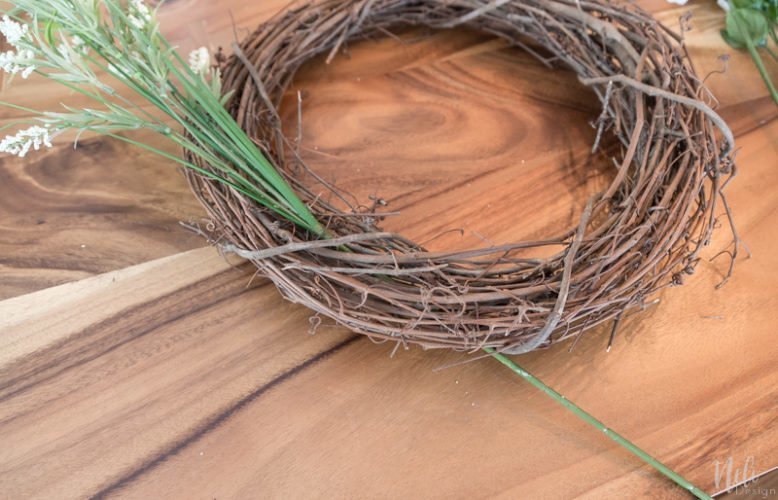
No need to use any glue!

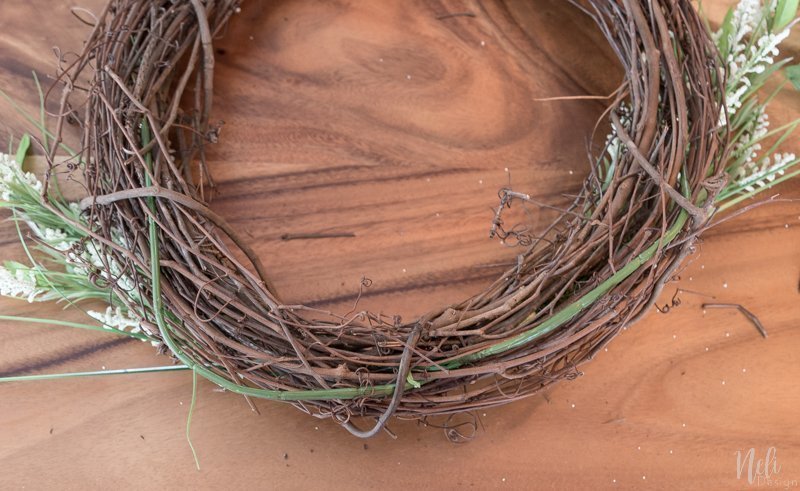
Twist the stems inside the wreath. You can see a view of the back of the wreath:
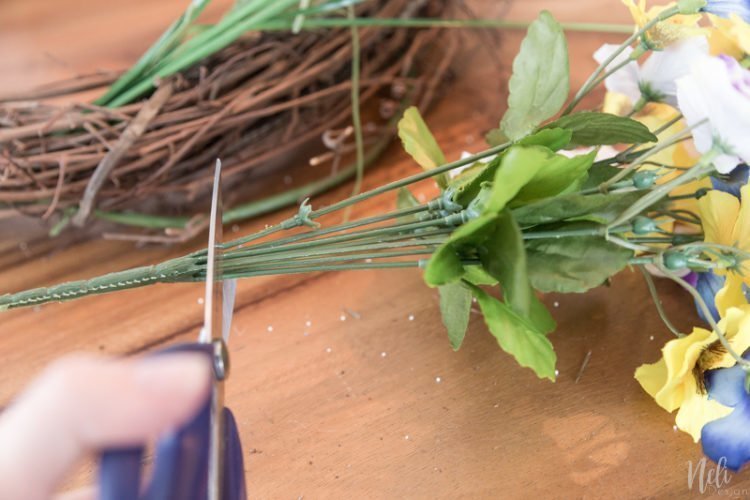
To insert the pansies, you'll need to cut the stem that keeps them together. Now, don't try the cut with scissors like I did in the picture. You'll just break them! There's usually metal wire inside the stems of the flowers, so use cutting pliers. If the stems are small enough, jewellery cutting pliers will do the trick.
Again, one by one, insert the stems and twist them in the wreath.

And you're done! No more than 15 minutes for sure!

For the budget:
| What | How much | Where | Comment |
| Wreath | $3.49 | Michael's | With 50% off coupon |
| Whites heather flowers (2x) | $4.98 | Michael's | On special - 50% off |
| Pansy flowers (1x) | $2.99 | Michael's | On special - 50% off |
| Total (without taxes) | $11.46 |
As promised, way under 15$
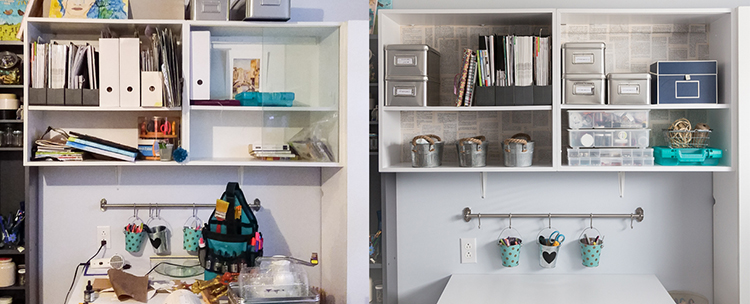
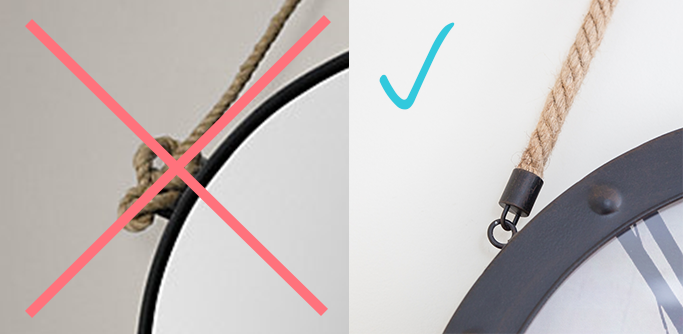
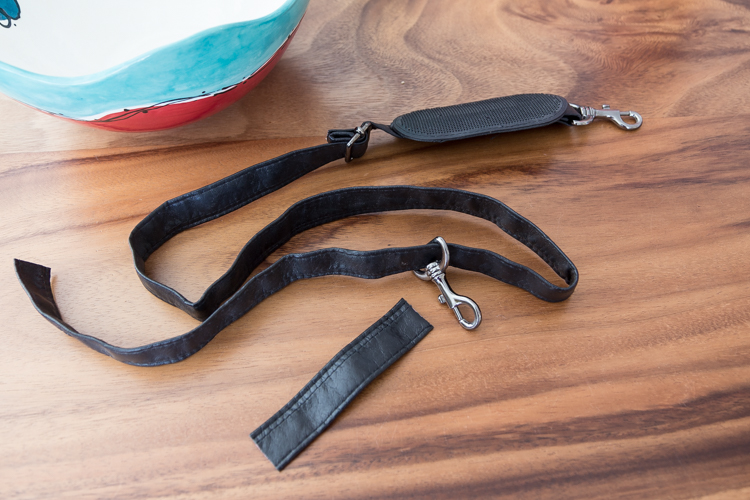
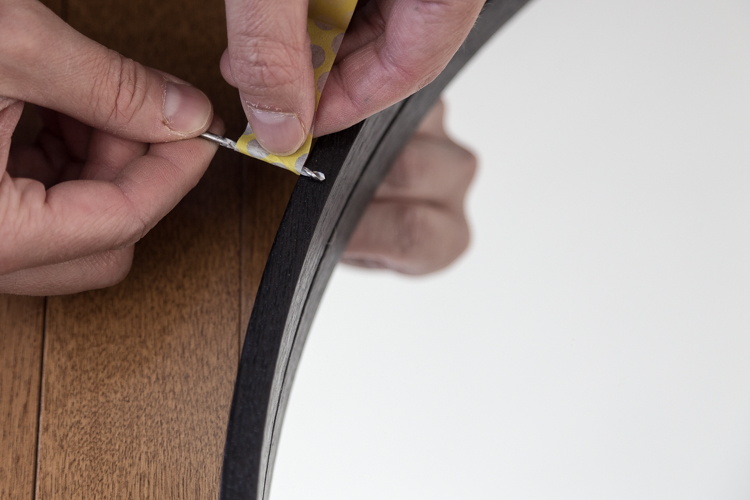
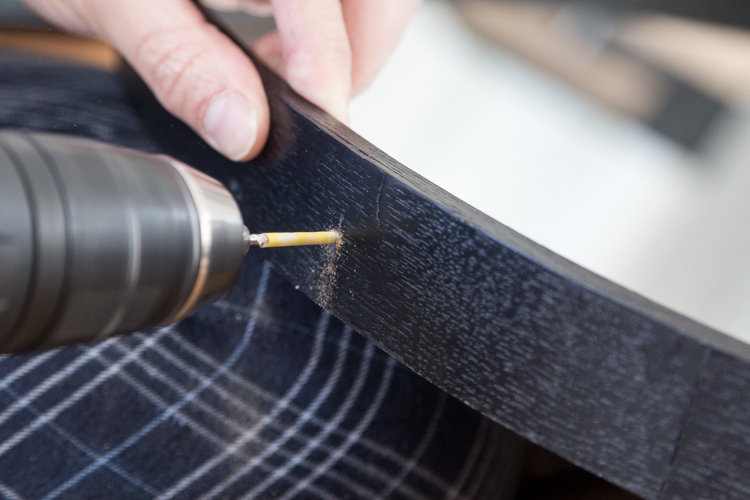
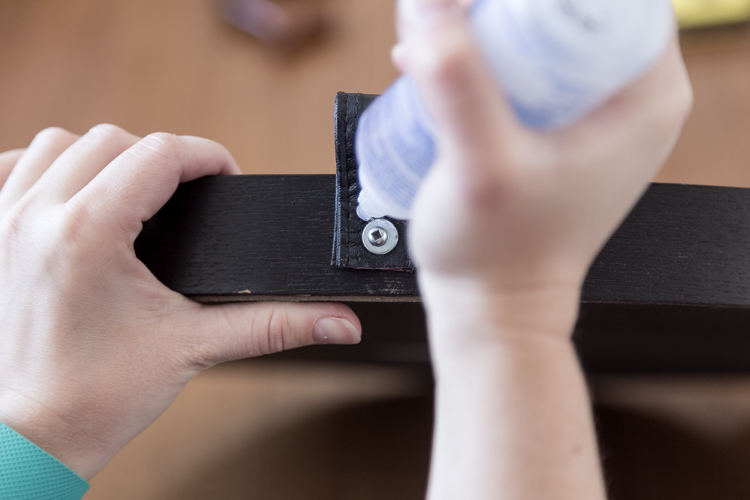
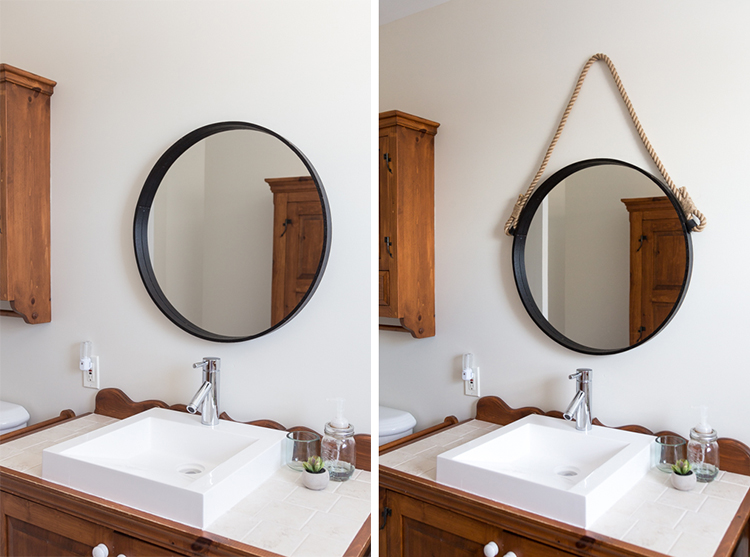
Now, I only had a silvery Dollar Store door hook to hang the wreath and there was no chance it would look good.
See this post to know what I did to upgrade the Dollar Store door hook. You can have a sneak peek of the hook in this before and after picture.

I'm sure Spring is going to answer my call (fingers crossed)!
Oh! And since there was no glue used, you can find out how I change this wreath for only 1$ when fall came!
Please Pin it so you don't forget it!