In the middle of the 12 Christmas crafts Challenge, I tested the Cricut Infusible Ink and will give you my opinion on this product. The good, the bad and the ugly, without any filters.
From December 1st and until Christmas, I will make one video every 2 days.
For this 12 Christmas Crafts Challenge, I will show you how to make original projects and I will even include free SVG files to download.
Today, I used Cricut Infusible Ink for the first time. You will have my opinion and my errors, without censorship.
Cricut Infusible Ink review
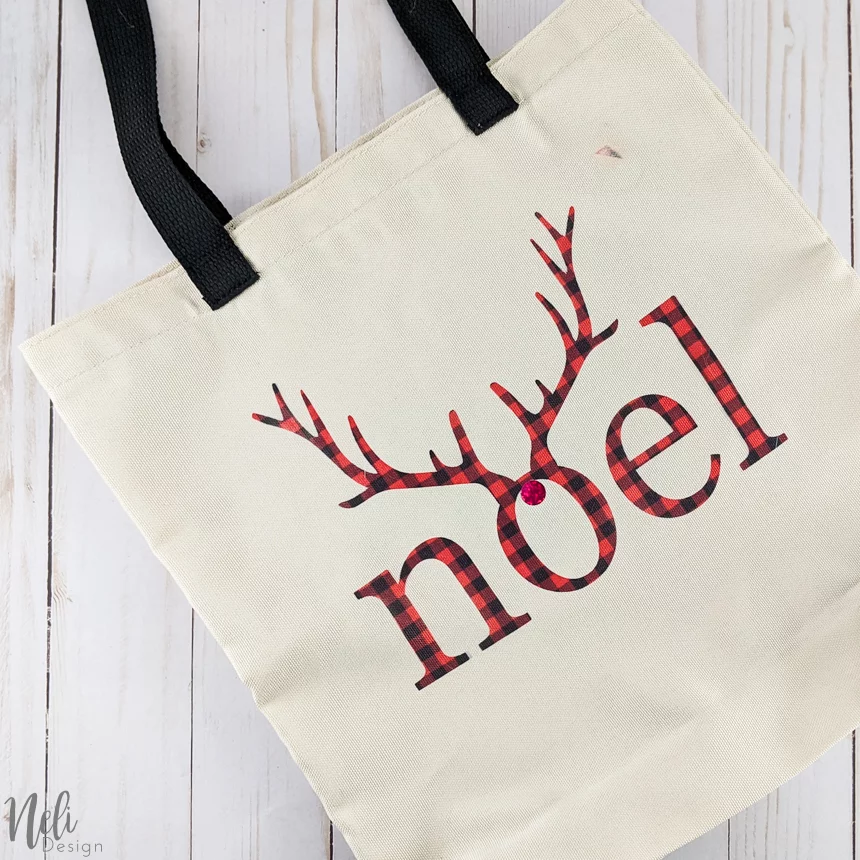
I was super happy to try what everyone was talking about. I even designed a beautiful SVG file for the occasion.

Here’s what I used for my test. This post contains some affiliate links for your convenience and at no extra cost to you. Click here to read my full disclosure policy.
What I used
Tools
- Cricut Maker (the Cricut Explore Air 2 is also fine)
- Easy Press (I have the Easy Press 2 9×9)
- Easy Press Mat
- Green Cricut mat
- Lint-free cloth
Materials
- Medium size Cricut Tote bag
- Infusible Ink – Buffalo check
- White cardstocks
- Free SVG file available in my resources library by subscribing below.
Test and review on Cricut Infusible Ink
The pros and cons of Infusible ink
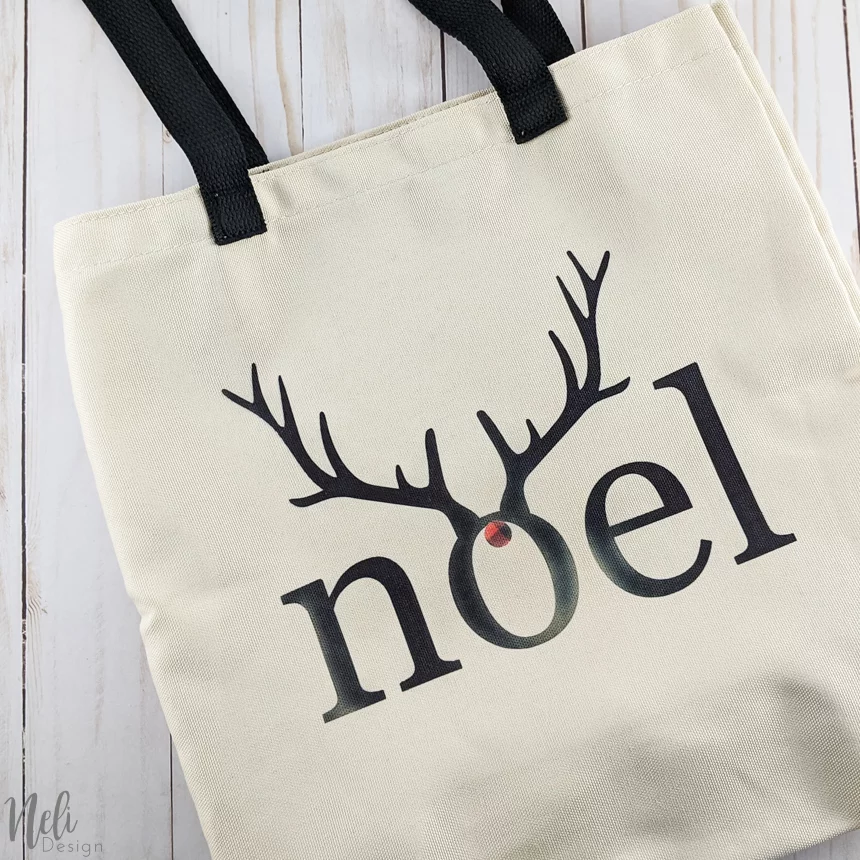
I would say the biggest drawback is that it does not forgive any mistakes. I made some and I was frustrated that there was no way for me to repair them. If you have watched several of my videos, you will see that I sometimes make mistakes, I miss something or I forget a step, but I always end up correcting it at the end. I like to say that they are no problems, only solutions. But Infusible Ink doesn’t leave me room for any solution!
So, if they are no solutions, you need to start over. Starting over = $ and I’m more of a thrifty type! 😉
disadvantages:
- You are limited to what product you can apply it. You need a very high polyester composition (100% is ideal) so you can forget everything that is 100% cotton. Also, only very pale colours work. (I don’t know about you, but me and the white t-shirts … we don’t go very well together !!)
- Buying Cricut blanks is expensive. At Michaels, the little bag cost me $12.99 and you can’t apply any coupons. The best place to buy the blanks remains Cricut.com.
- Infusible Ink transfer sheets are expensive too.
- And how about butcher paper? Cricut provides a sheet in the box, but it can only be used once. In Canada, it’s not easy to find. Amazon is where I found the cheapest one.
- You think to yourself you’re going to use parchment paper instead? Cricut advises against it and insists that butcher paper is ideal “because the ink converts into a gas during the heat transfer process, it could bond with adjacent items or layers. Butcher paper and cardstock act as a barrier to protect your blank, Cricut EasyPress Mat, and Cricut EasyPress heat plate from unwanted transfer”.(I’ll let you read all the Infusible Ink application FAQ).
- Oh yes, “the ink converts into a gas” and I must say that it stinks!!
- Cricut also requires 12″x 12″ white cardstocks to be used only once (this is not cheap either, if you know a cheap place, tell me in the comments below). They can, however, be replaced by 4 layers of butcher paper (I encourage you to do that, especially if you bought the big roll!!)
- And finally, you can’t press twice. In other words, you are limited by the size of your Easy Press. You could do two press, but it is risky and best with the heat resistant tape (to keep your project in place) and a slight dividing line still might show.
Advantages:
- The finish is incredible and very professional.
- It may be ideal for a high-quality gift where you seek to impress!
Detailed instructions
Finally, I leave you the link to the detailed instructions for using Infusible Ink. It’s illustrated and also allows you not to forget any part of the multiple steps you need to do!!
Have you experienced Infusible Ink? How did you find it? Write it to me in the comments below.
The 12 Christmas Crafts Challenge
Recap

Day 1

Day 2

Day 3

Day 4

Day 5

Day 6
Day 7
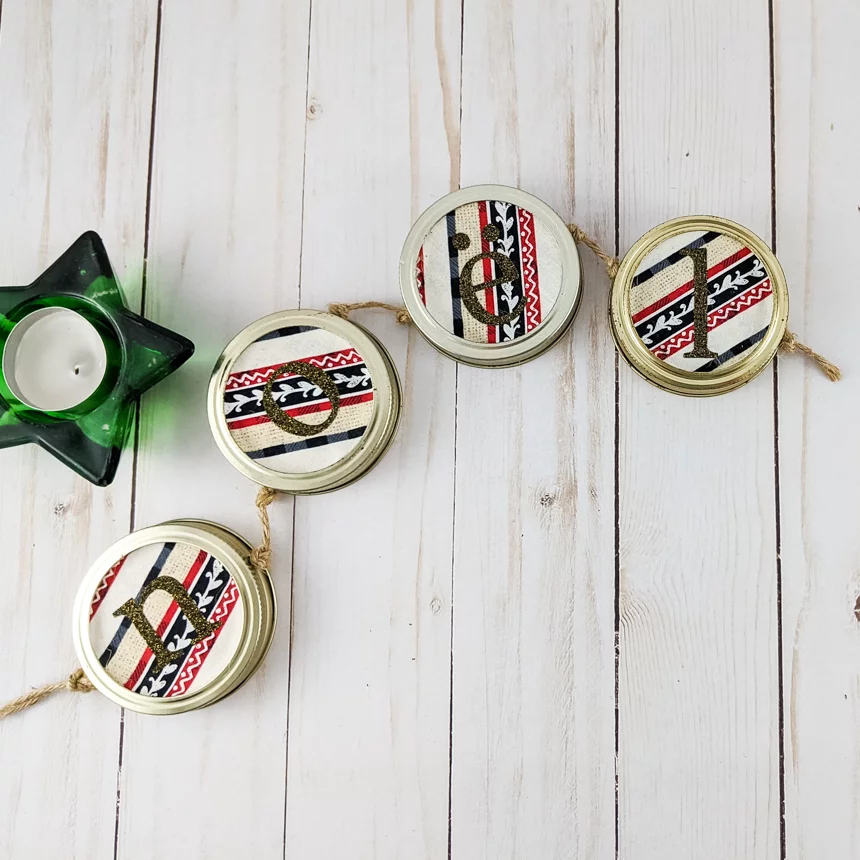
Day 8

Day 9

Day 10

Day 11

Day 12
Please, don’t forget to Pin it!
