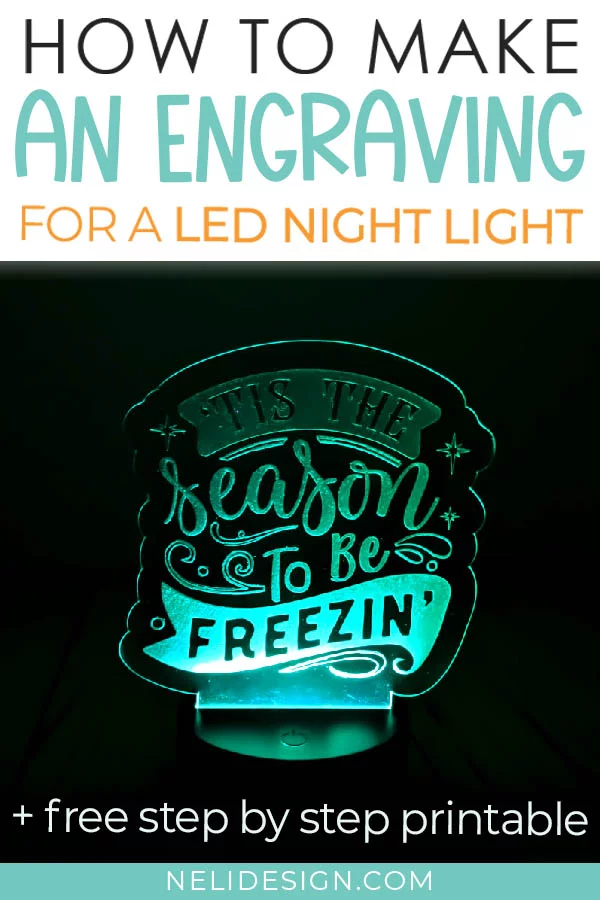
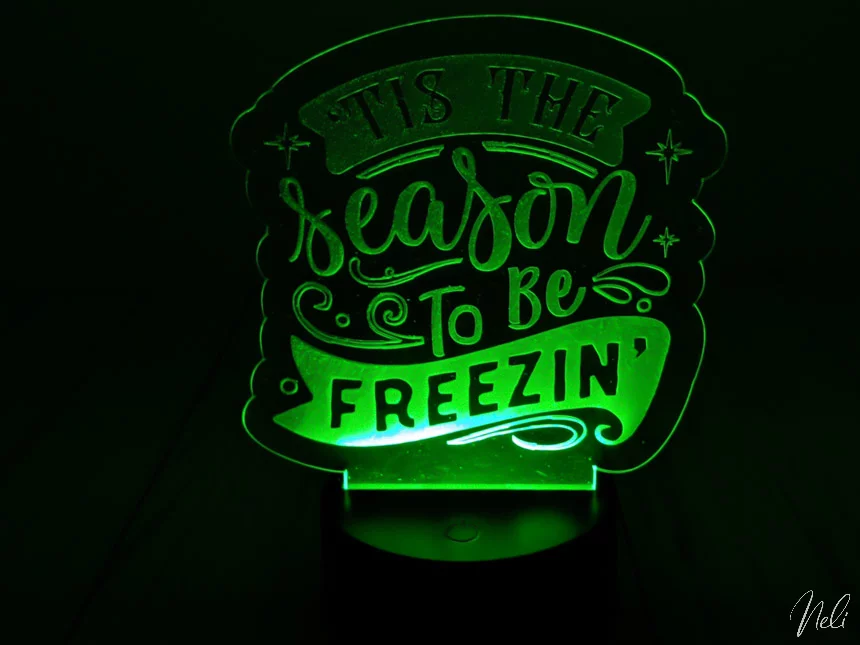
See how to engrave and cut craft plastic to make custom LED lights. By changing the design, they can make beautiful home decor throughout the year.
You see a lot of these assorted LED lamps made with round, square or rectangular acrylics that have been engraved with super beautiful designs, often personalized.
That’s not quite what I’m going to show you because I won’t be using acrylic. But the end result will be virtually identical.
And why not just use these acrylics? Well, because here in Canada they are very difficult to find. And when we find them, they are so expensive!!!
Besides the fact that I like to keep the cost of my projects low, I also find a circle, a rectangle, etc very boring!!! 😉
So I am going to show you that it is possible to make a custom LED lamp, engraved with the Maker, at a reasonable price even if acrylics for the lamp bases are not available or are overpriced.
Before you start, a suggestion!
I would first like to say: practically everything I learned, I owe it to the Facebook group “ Cricut Engraving with Clever Someday “. I highly suggest it!
The people in this group are so generous and dedicated to solving whatever engraving problem you have. Not to mention all their inspiring projects!!! 😍
What I’m going to show you in this tutorial is not taken directly from their group (I would never dare to literally copy their stuff anyway!!).
It’s a bit of a mix of techniques that I gathered and put together to make a complete project.This post contains links to affiliate products for your convenience and at no additional cost to you. Click here to read my full disclosure policy .
How to engrave a custom LED light with the Cricut Maker
As acrylics for LED lamps are hard to find in Canada, I used craft plastic 0.020 “ (500 micron) to do my projects.
The advantage of this plastic is that it can be cut with the knife blade of the Maker. The downside is that you have to add thickness at the bottom of the design to prevent it from moving in the base.

How to enhance the engraving effect
The engraving can be enhanced by adding hatches (very close lines) inside the text and/or drawings.
This tutorial will show you two ways to enhance the engraving effect.
Add hatches with Cricut Design Space
In the video, I will show you how to import a hatch file that I made especially for this project. You will then see how I use it to enhance the engraving.
This file is available in the NeliDesign library. All you have to do is subscribe to my newsletter to access it.
Add hatches with Silhouette Studio Business Edition
This technique is really my favourite. Yes, Silhouette Studio is the software used with Silhouette brand machines. But, if you get the “ Business” version, you can then export your SVG files to import them back into Design Space.
(Update: If you have the free version of Silhouette Studio, you can also use this free converter to change your studio file to an SVG. But I still strongly suggest you buy the real thing if you can. Companies do work hard on their products!)
There is also the “Sure Cut A Lot” software which is similar. However, in terms of hatching, Silhouette Studio Business Edition is really “a cut above”!
You will see in the video how easy it is to modify the design as well as all the available options.
There are a lot of steps to make engravings for LED lamps!!!
As a matter of fact, the method that I am going to show you requires several steps but gives a super nice result!
That’s why I’ve made a Step by Step printable to help you with your first LED lamp engraving. (And I will tell you, even I use it because the steps are not yet well engraved in my head!! 🙈)
So subscribe to my newsletter below and I will send you the printable file. If you are already registered, you will find it in the library with all the other practical files and free SVGs!
SVG files used
You can find all the files used in the tutorial in the “ Christmas Craft Bundle Volume 4 “. However, the latter is available approximately until mid-December 2020. So here is also the list of the individual files:
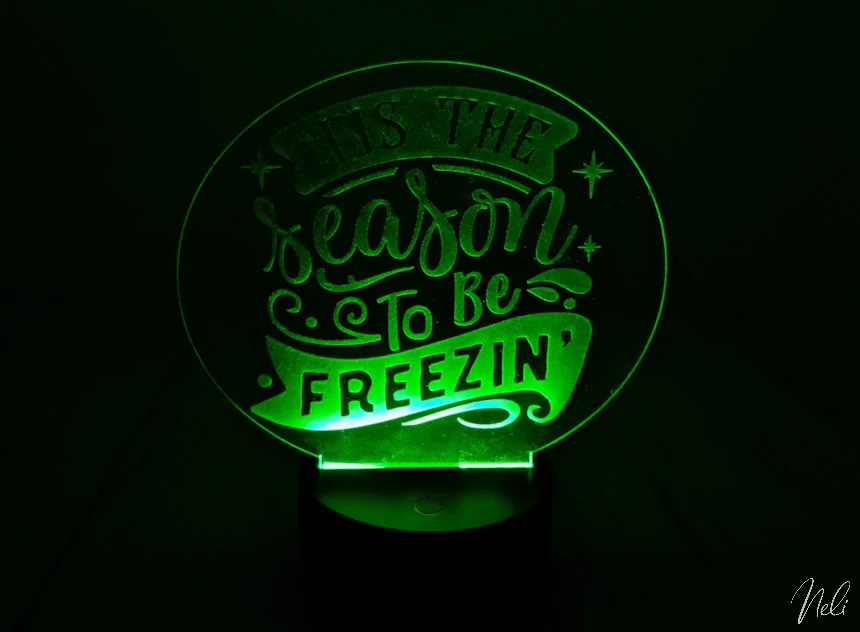
- “ Tis the Season to be Freezin “
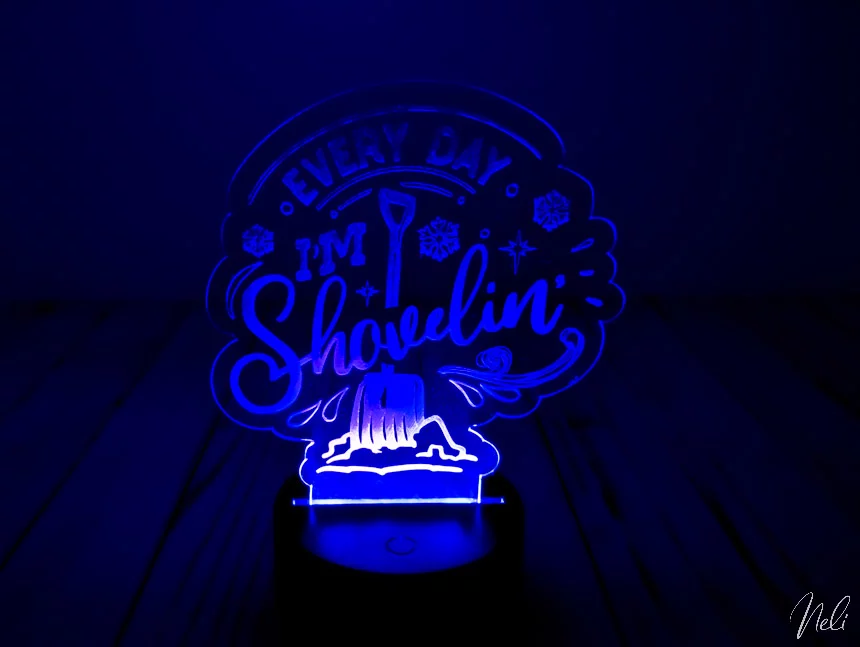
- “ Every Day I’m Shovelin “
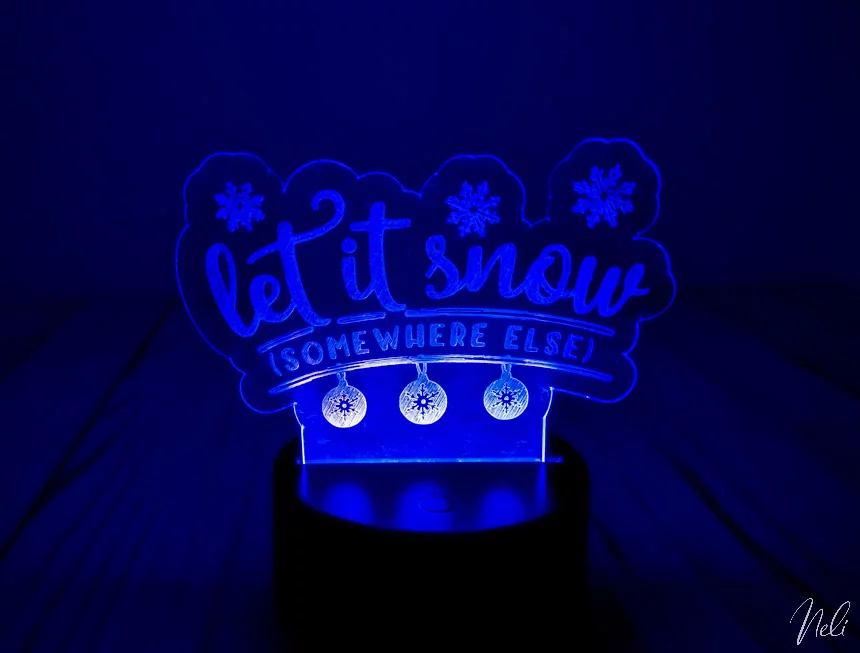
- “ Let it Snow somewhere else “
- “ Full of Holiday spirit (AKA wine) “
Tools required
- Cricut Maker
- Engraving tip and “Quick Swap” base
- Knife Blade
- Cutting mat (or Green Cutting mat with reusable double-sided nano tape)
- Cricut Design Space
- Silhouette Studio Business Edition (optional)
Required materials
- Craft plastic 0.020″
- LED lamp
- Painters Tape
- Reusable mounting tab
Make an engraving for a LED Lamp, Step by Step
It’s not the easiest project to do, but it’s so satisfying! I hope you will give it a try. Come show me your achievements on my Facebook group!
Don’t forget to Pin it!
