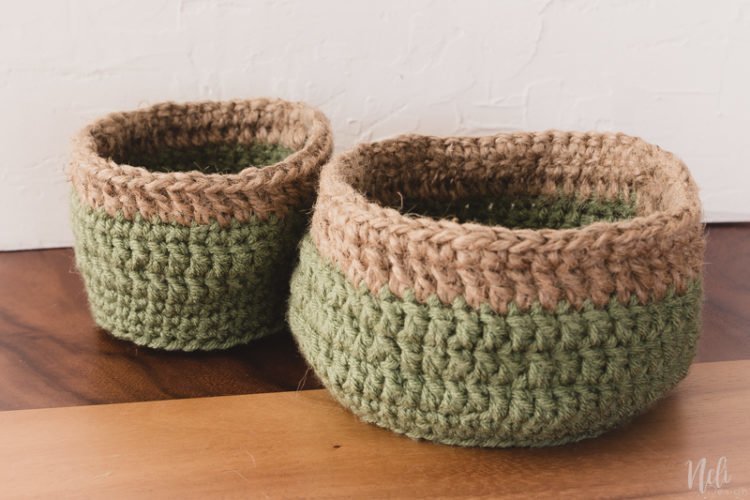
[wc_box color="secondary" text_align="left" margin_top="" margin_bottom="" class=""]Only a basic knowledge of crochet is needed in order to make these rustic crochet baskets. The patterns are easy to understand. The result gives you affordable rustic home decor for any room in your home. People will ask you where you bought them![/wc_box]
I'm trying to find cheap ways to decorate my bathroom for the $100 Room Challenge. Erin, from Lemons, Lavender and Laundry, started this series in September 2015:
One room, one month and $100
Now she opened it to other bloggers and I'm glad to say that I'm part of it, updating my bathroom under $100.
See the recap here or skip ahead:
Week 1 | Week 2 | Week 3 | Week 4 | Week 5
We're currently on our way to week 4. So to stay on budget, I thought: Why not make some cute crochet baskets that will bring colour to the room?

If you would like to make these crochet baskets, they are pretty easy and won't cost you a fortune! And, if like me you feel that a long drive or a flight is a waste of time. Learn crochet! This project sure kept me busy during my flight back home from spring break! 😉
This post contains some affiliate links for your convenience and at no extra cost to you. Click here to read my full disclosure policy.
What you'll need :
[wc_box color="primary" text_align="left" margin_top="" margin_bottom="" class=""]
- Worsted weight yarn (got mine at Hobby Lobby during spring break. With the 40% coupon, it cost me $2,53)
- Jute twine (already had some on hand)
- 5 mm crochet hook
- Yarn needle
[/wc_box]
Pattern
-
- ch : chain
-
- st : stitch
-
- sl st : slip stitch
-
- Sc : single crochet
-
- dc : double crochet
- dec : decrease (1 dc in the next 2 st)
- Inc : increase (2 dc (or sc) in the next st)
Big crochet baskets
(about 6-½" diameter)
R1 - Start by making a magic circle of 12 dc / join with sl st to form ring (12)
R2 - ch 3 / Inc with dc / sl st in 3rd chain of first ch 3 (24)
R3 - ch 3 / {dc / inc with dc } repeat { } around / sl st in 3rd chain of first ch 3 (36)
R4 - ch 3 / {dc in next 2 st / inc with dc } repeat { } around / sl st in 3rd chain of first ch 3 (48)
R5 - ch 1 / sc in back loop, all around / sl st in the ch 1 of the beginning (48) This will be the bottom edge of the basket
[wc_divider style="dashed" line="single" margin_top="" margin_bottom="" class=""][/wc_divider]
Sides
R6 and R7 - ch 1 / sc all around / sl st in the ch 1 of the beginning (48)
R8 - ch 3 / dc all around / sl st in 3rd chain of first ch 3 (48)
R9 - ch 3 / {dc in next 5 st / dec with dc } repeat { } around / sl st in 3rd chain of first ch 3 (40)
R10 - ch 3 / dc all around / sl st in 3rd chain of first ch 3 (40)
[wc_divider style="dashed" line="single" margin_top="" margin_bottom="" class=""][/wc_divider]
Change to Jute twine
R11 - ch 3 / dc all around / sl st in 3rd chain of first ch 3 (40)
R12 - ch 1 / sc all around / sl st in the ch 1 of the beginning (40)
Fasten off and weave in ends.
[wc_divider style="solid" line="double" margin_top="" margin_bottom="" class=""][/wc_divider]
Small crochet baskets
(about 4" diameters)
R1 - Start by making a magic circle of 12 dc / join with sl st to form ring (12)
R2 - ch 3 / Inc with dc / sl st in 3rd chain of first ch 3 (24)
R3 - ch 3 / {dc / inc with dc } repeat { } around / sl st in 3rd chain of first ch 3 (36)
R4 - ch 1 / sc in back loop, all around / sl st in the ch 1 of the beginning (36) This will be the bottom edge of the basket
[wc_divider style="dashed" line="single" margin_top="" margin_bottom="" class=""][/wc_divider]
Sides
R5 to R7 - ch 1 / sc all around / sl st in the ch 1 of the beginning (36)
R8 and R9 - ch 3 / dc all around / sl st in 3rd chain of first ch 3 (36)
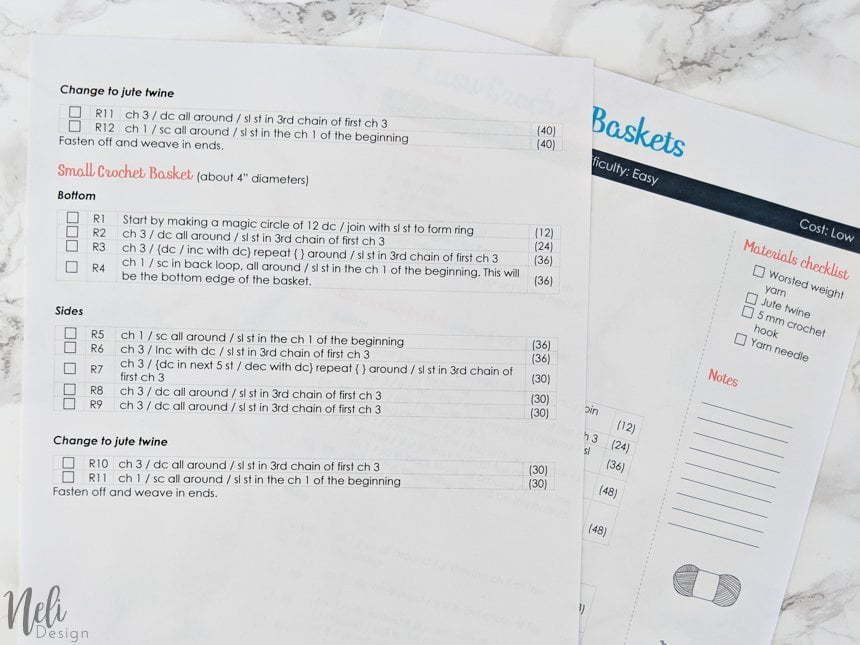
* note: for the small basket, I didn't decrease, but I think I should have because the top seems to open a bit. I corrected the pattern in the downloadable file, see below.
[wc_divider style="dashed" line="single" margin_top="" margin_bottom="" class=""][/wc_divider]
Change to jute twine
R10 - ch 3 / dc all around / sl st in 3rd chain of first ch 3 (36)
R11 - ch 1 / sc all around / sl st in the ch 1 of the beginning (36)
Fasten off and weave in ends.
[wc_divider style="dashed" line="single" margin_top="" margin_bottom="" class=""][/wc_divider]
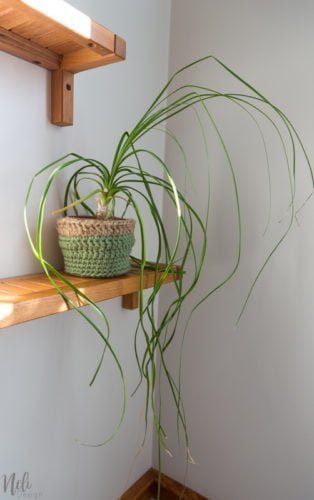
See, pretty easy! And you can even use them to cover clay pots (I know, this plant is pretty weird!!haha)
You can have the printable version of this pattern by subscribing. It's a PDF file that facilitates your work and let you check each row as you go along. This will surely help you make Projects for a busy life!

Just click on the button right below!
Keep a lookout this Wednesday for the week 4 post. Till then, take a look at the other weeks of the challenge :
Week 1 | Week 2 | Week 3 | Week 4 | Week 5
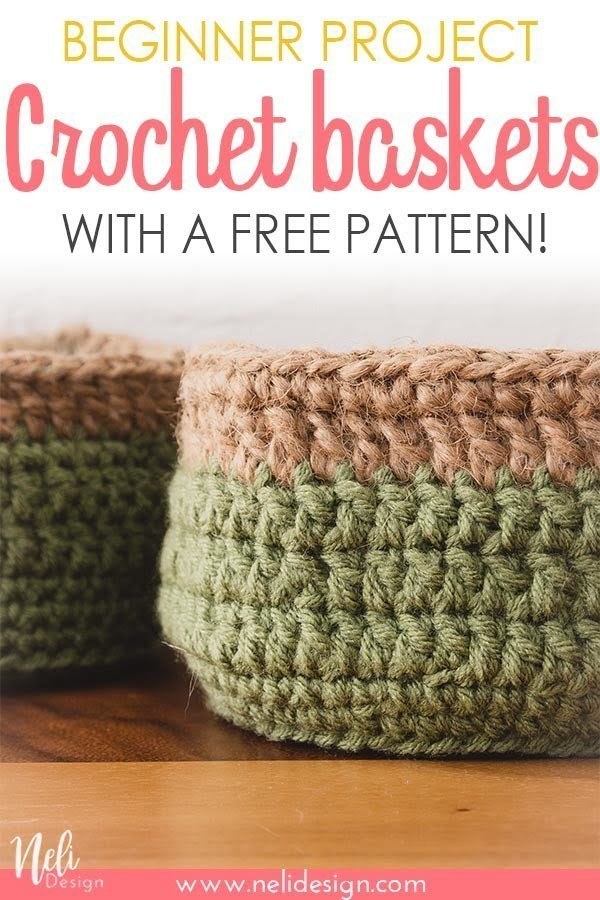
Pin it to save it for later!


