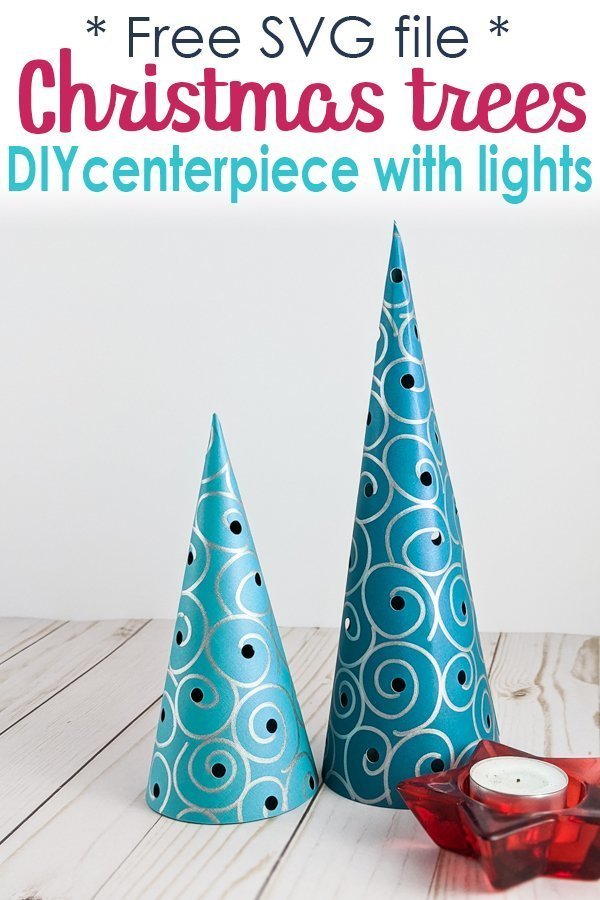
For the 10th day of the 12 Christmas craft challenge, I offer you a file to make an easy, fast and elegant decoration for your centerpiece at Christmas dinner.
From December 1st and until Christmas, I will make one video every 2 days.
For this 12 Christmas Crafts Challenge, I will show you how to make original projects and I will even include free SVG files to download.
Today, a quick DIY to decorate your table or any piece of furniture and place in your home.
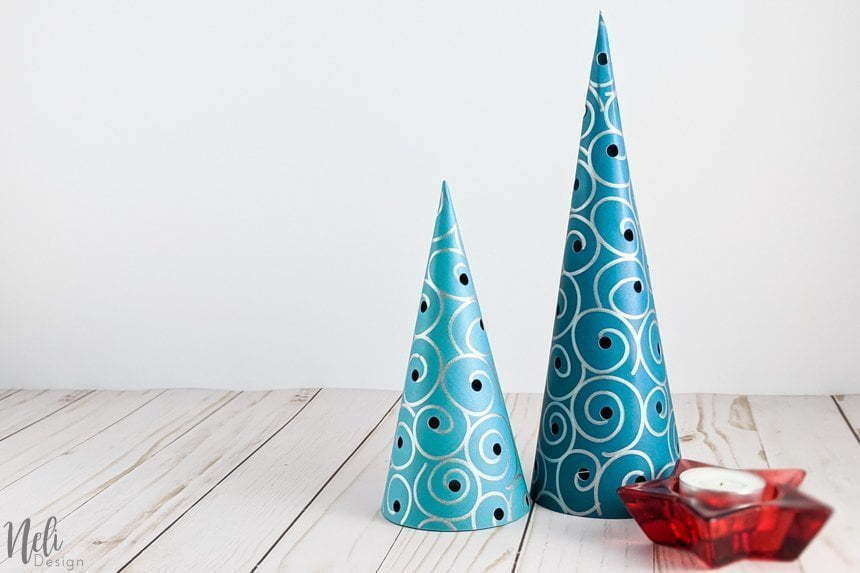
DIY Christmas tree centerpiece
I have created an SVG file in which you will be able to use the "draw" function in Cricut Design Space. You will have these elegant decorations in the shape of Christmas trees to put in the center of your table.

Let's do it! This post contains some affiliate links for your convenience and at no extra cost to you. Click here to read my full disclosure policy.
Required materials
Tools
- Cricut Maker (the Cricut Explore Air 2 is also fine)
- Medium Cricut pen (I use the silver one you can find in this set)
Materials
- 12 x 12 coloured cardstock
- Glue
- battery candle lights
- SVG cut file from NeliDesign's library
Subscribe to my newsletter below and get access to my library full of free SVG cut files including this one to make the DIY Christmas centerpiece.
How to make the Christmas centerpiece
Step 1: In Cricut Design Space
In Cricut Design Space, start by uploading the SVG file that you previously saved from NeliDesign's library. Click on "Upload" and "upload image".

Select the SVG file and click "save".

Select the image and click "insert image".

The first thing you need to do with all of my files is to click "ungroup".

Then, you'll be left with to smaller groups. Select the layers that have the swirls on them and change the "Linetype" to "Draw".

Select the first group and click "Attach" so that the swirls stay on the right shape. Do the same with the second group.

Click "Make it", follow Design Space's prompt and cut the Christmas centerpiece.
Assembling the Christmas centerpiece
Remove the mat from the Cricut and put it face down.

Bend the mat to remove the cardstock. Don't bend the cardstock.

Add glue to the part where there's no design. Press firmly until it's glued. You might need to use a spatula or something similar to press the top of the tree.

Detailed DIY Christmas tree centerpiece
It's really not a complicated project, except to glue them. Go ahead, you can laugh at me! (see the video). I made the correction so you don't have as much trouble as I had!!!
If you have any questions or comments, or even some suggestions for a next craft, don't hesitate to write to me below!
The 12 Christmas Crafts Challenge
Recap
Day 1
Day 2

Day 3

Day 4
Day 5

Day 6

Day 7
Day 8

Day 9

Day 10
Day 11

Day 12
Please, don't forget to Pin it!