Learn how I saved 75% of the space occupied by my DVDs and Blu-rays with this easy and quick organization idea. You'll even get to keep all your movies!
If you have kids like me, you probably have a ton of DVDs and Blu-rays of animated movies that are taking way to much space!
Should I sort or get rid of some? Sorry, but I can't throw them away! Especially the Disney ones that get in stores only every 10 years! I still need to keep these classic movies for a few more years !!! But how to find good DVD storage that saves space while keeping your DVDs?
Several years ago, I bought the IKEA Billy Bookcase made especially for DVDs. It was the perfect media storage. The multiple shelves stored all my DVDs and CDs, it was great. But time has passed and it's not the style I'm looking for anymore in my living room! Plus, I already used them of an entirely new purpose. You can see what I did with them in the post about my craft room makeover.
Do you want to see how much space you can save with this DVD organization solution? Here it is:

You must admit that it's completely crazy! I could not believe it myself! It's about 100 DVDs that now take less than a quarter of the space they originally occupied! That's 75% less space!
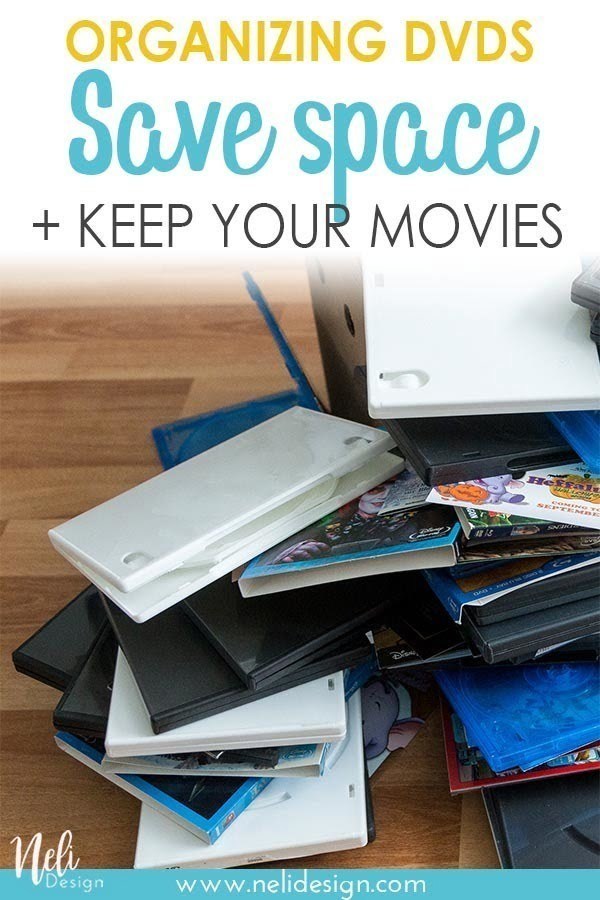
On the other hand, ** WARNING ** (as they say in movies😜) You will have to be "zen" and be ready to throw (well, recycle!) All DVD case and double covers:
Ouch! It's pretty scary but so satisfying at the same time!
DVD Organization - How to save space
And still keep your DVDs! Let's do it! This post contains some affiliate links for your convenience and at no extra cost to you. Click here to read my full disclosure policy.
What you'll need:
- DVD sleeves
- A bit of time and patience! Or help from the kids!
**Note: these DVD and Blu-Ray sleeves are exactly the ones I bought. There's also another clear version that seems to also work according to the comments I've read.
Steps to follow:

Step 1: Get rid of the double cover 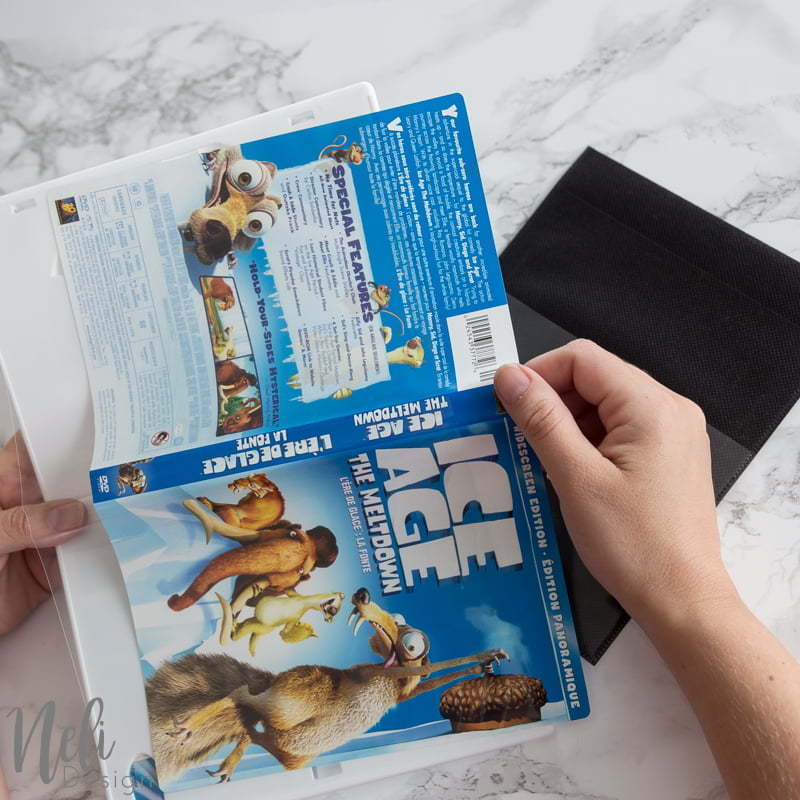
Step 2: Remove the cover from the case 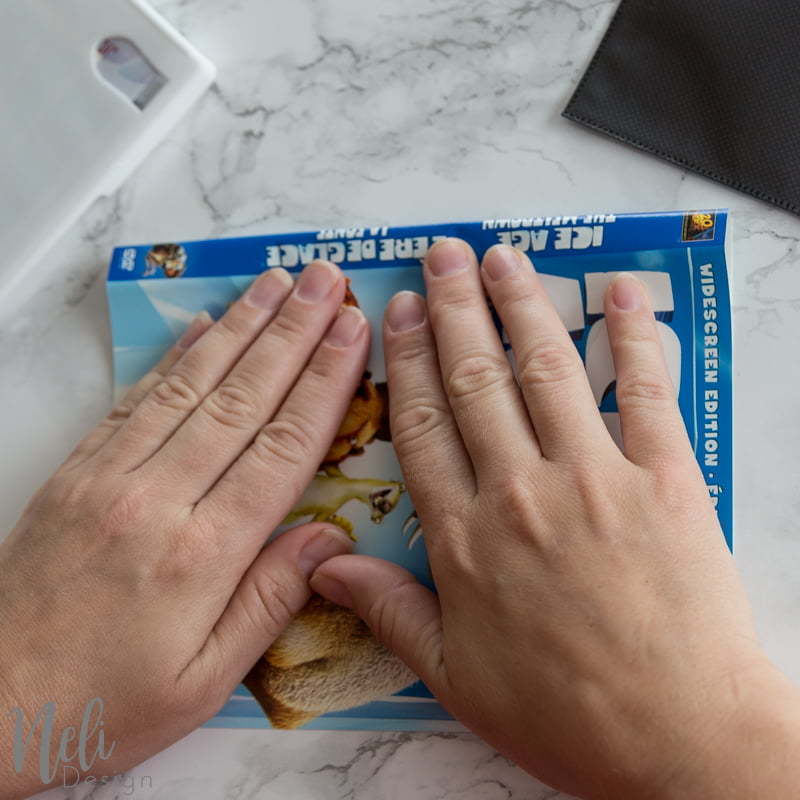
Step 3: Fold the cover so you see the title on the side. 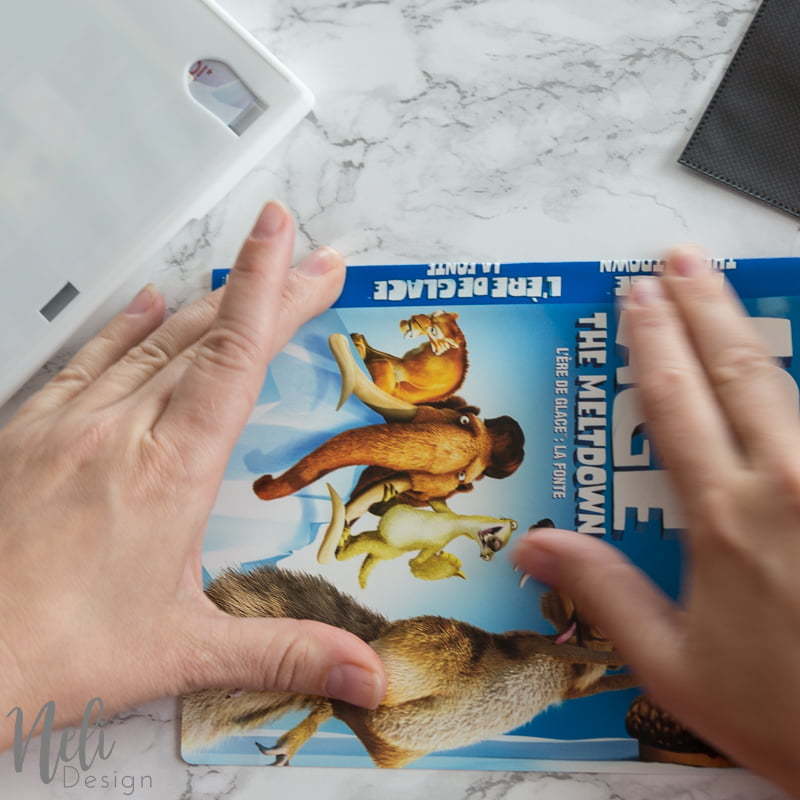
Step 4: Make sure it's folded properly 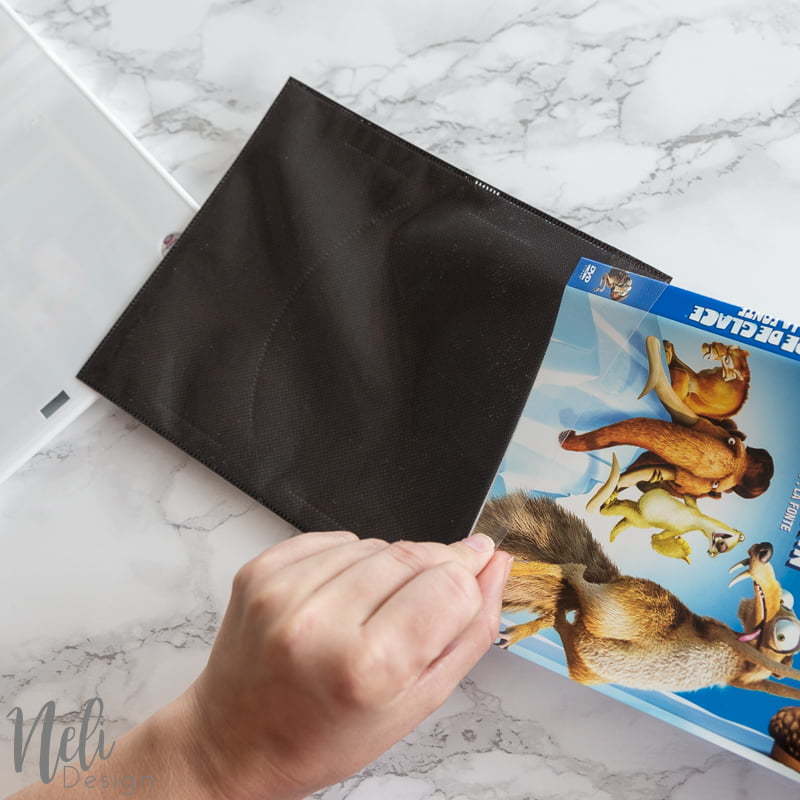
Step 5: Insert the cover in the sleeve. 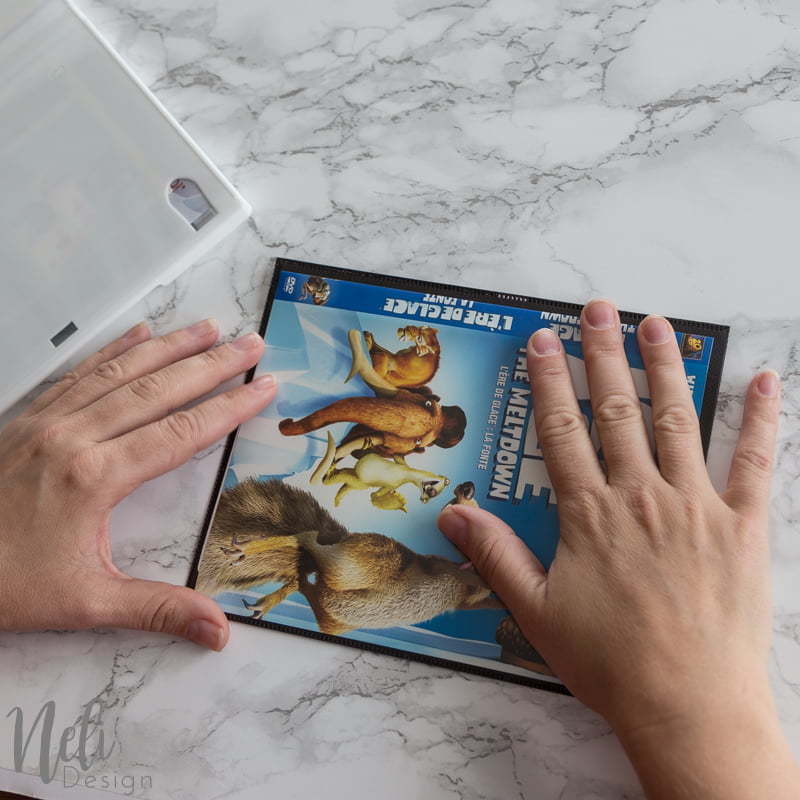
Step 6: The cover fits perfectly inside. 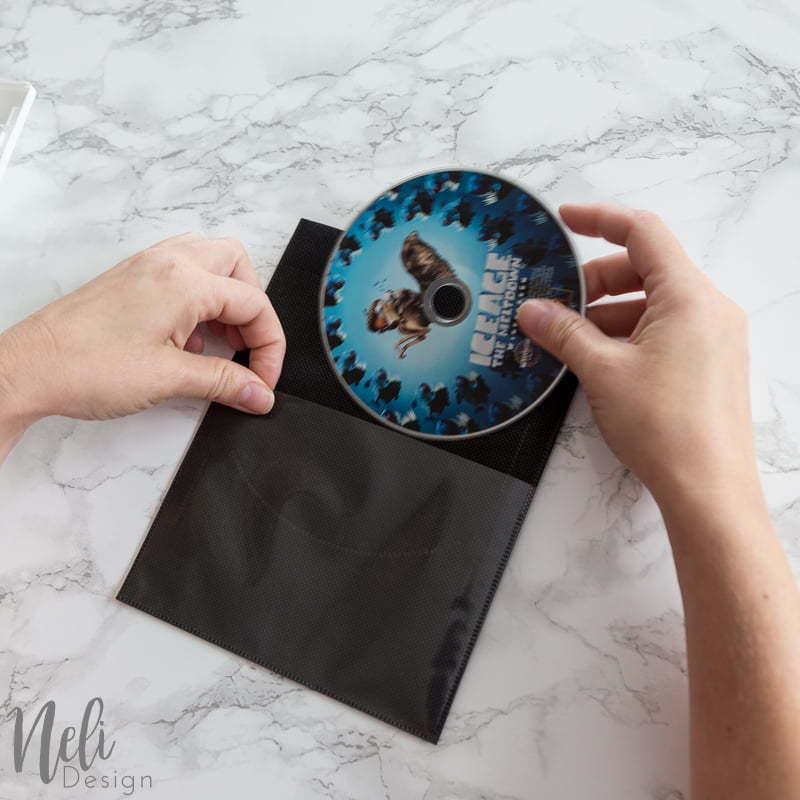
Step 7: Flip the sleeve and insert the DVD 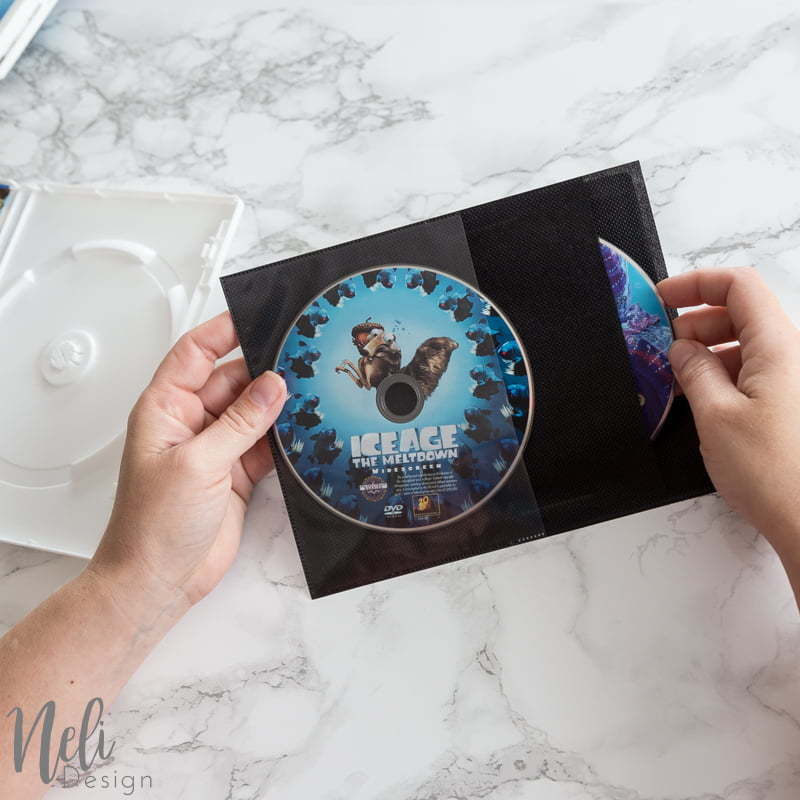
Step 8: There's also space for a second DVD
And that's it! Now, I'll only have to do the same thing with the rest of the movies we have! But I'm convinced I'll be able to get them to fit all in the same drawer!!! What do you think?
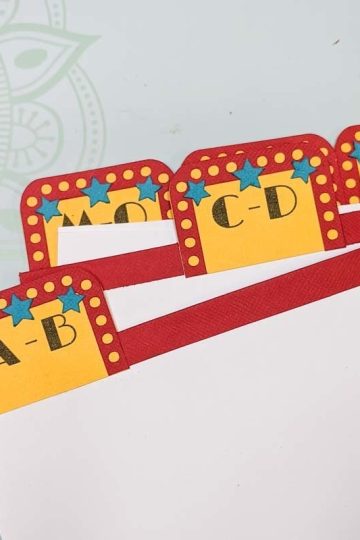
Next step, I'll show you two different ways you can organize alphabetically your DVD collection:
- By giving you a free SVG file to use with your Cricut
- Or this second method if you don't have a Cricut or any cutting machine.
Do you also have a DVD collection that you don't want to get rid of? If you don't have a nice drawer like mine, there are other fun ways you can use the same sleeves. You can use a nice storage box with a cover or even just a simple box to hold them upright. Here are some options for you:
[wc_row]
[wc_column size="one-fourth" position="first"]

[/wc_column]
[wc_column size="one-fourth"]

[/wc_column]
[wc_column size="one-fourth"]

[/wc_column]
[wc_column size="one-fourth" position="last"]

[/wc_column]
[/wc_row]
Want more Organization tips? Subscribe below
PS: please Pin it so you remember it!