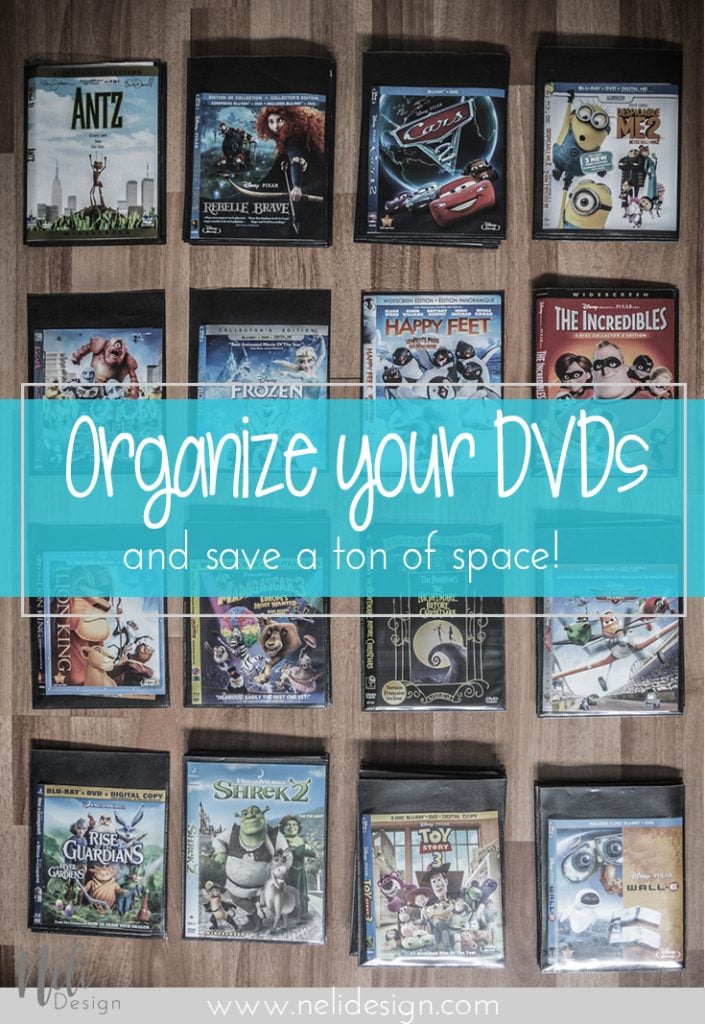
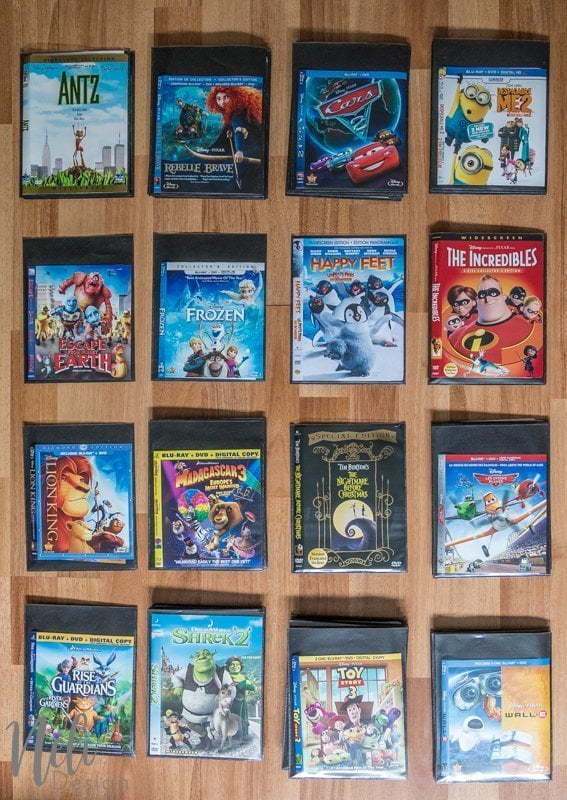
Lately, I showed you the solution I found to keep DVDs and Blu-ray while saving a ton of space.
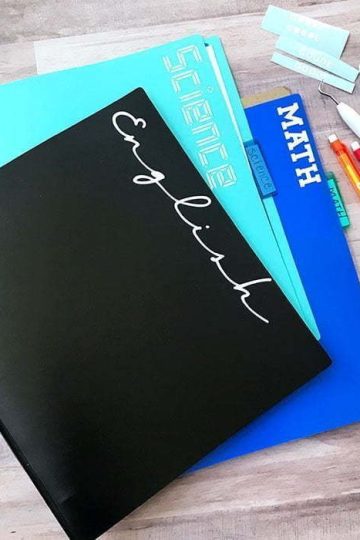
Once it was done, I had to find how to classify them. As my DVDs are in a drawer under my TV, I needed something I could see from the top.
This post contains some affiliate links for your convenience and at no extra cost to you. Click here to read my full disclosure policy.
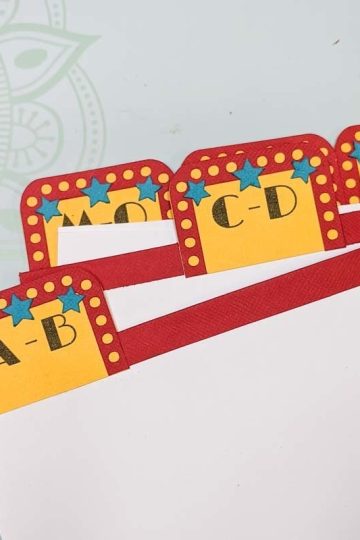
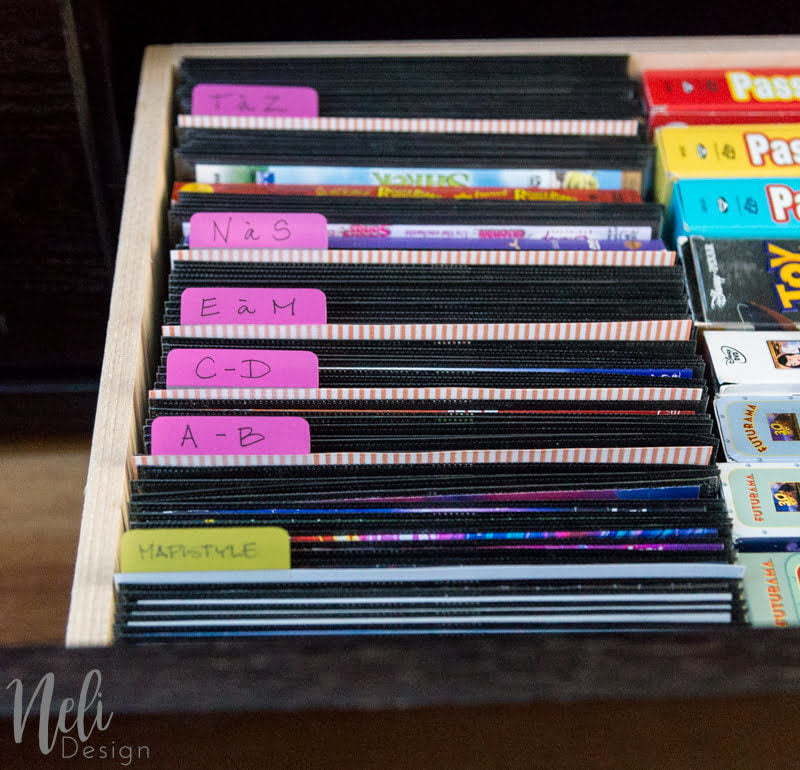
I found these tabs that are angled. They are just perfect. I used white cardstock that I already had to do the separators. As I thought it was missing a bit of colour, I added some washi tape to the card stock to make it a bit more cheerful.
Check out the other solution I found by using my Cricut to make fun and cut tab dividers.
What you need:
[wc_box color="neli" text_align="left" margin_top="" margin_bottom="" class=""]
- Washi tape
- tabs
- White card stock (ideally legal size to avoid losses)
- Permanent black pen
[/wc_box]
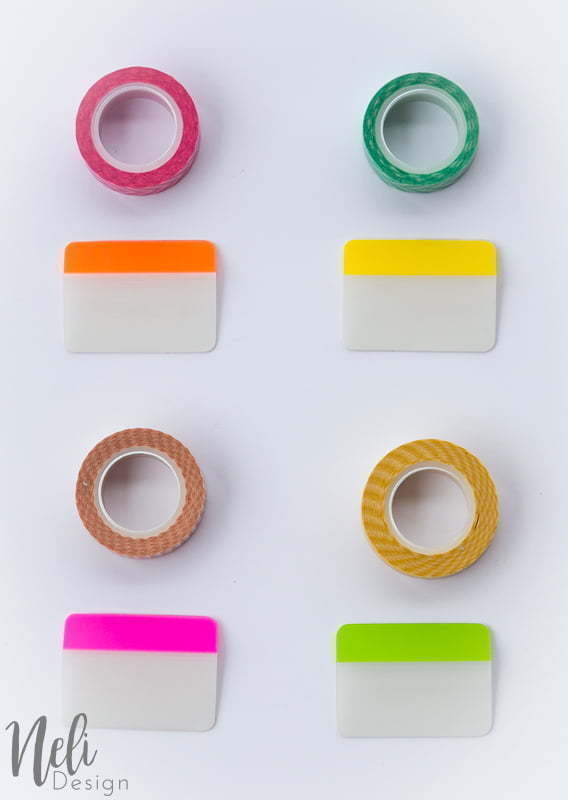
I mixed the colors of tabs with these colors of washi tape.
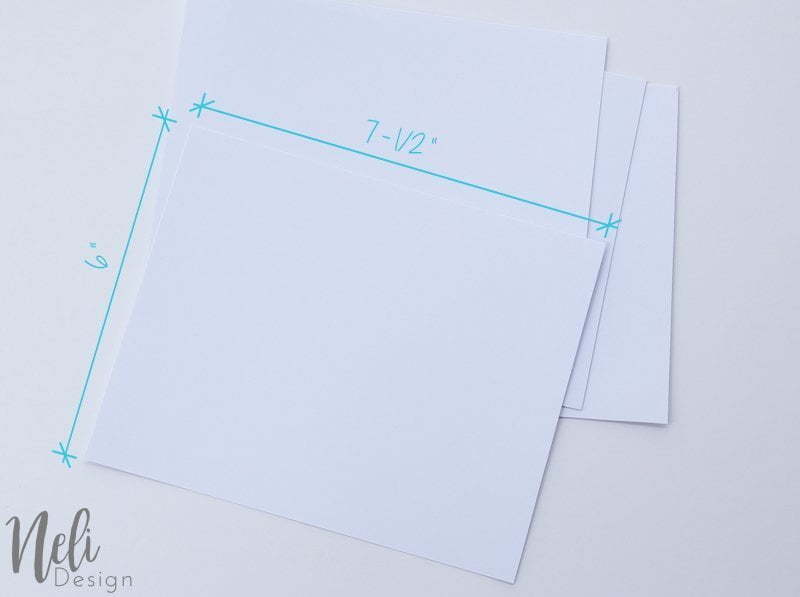
I cut the cardstock 6 " high by 7-1 / 2" wide. This is why the legal size card stock is better than the letter size.
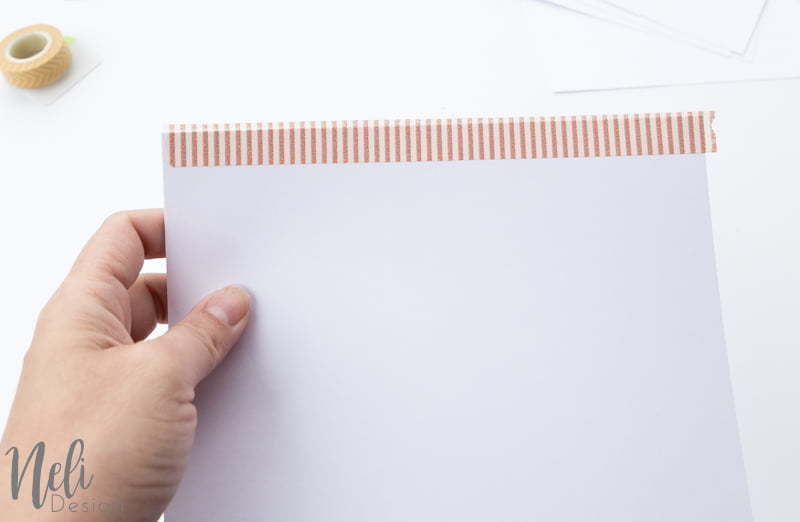
I then applied a strip of washi tape to the top of the card stock. It's this part that we'll see.
Organize your DVDs and Blu-rays
I sorted the DVDs alphabetically. It allowed me to see which "letters" I had the most and how to divide them.
Here's the final result
In the rest of the drawer, I placed the DVDs that I wanted to keep in their original box.
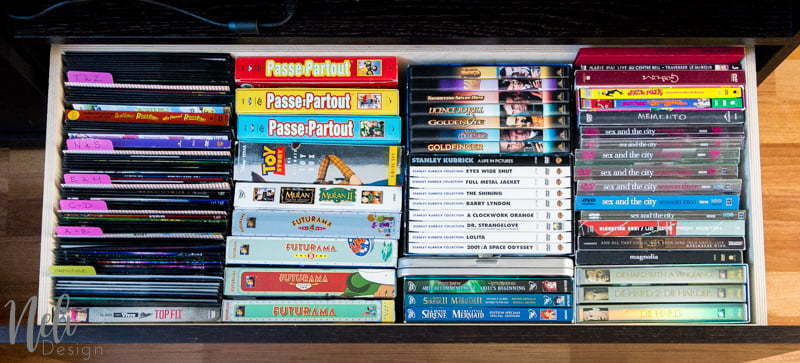
Special editions, collector boxes ... all excuses are good you'll say! 😉 But it's difficult to cut them to make them fit in the pockets. It's like a therapy for me: I need to go step by step! 😛

Finally, I like my tabs and pockets. It's very easy to search and find the DVDs.
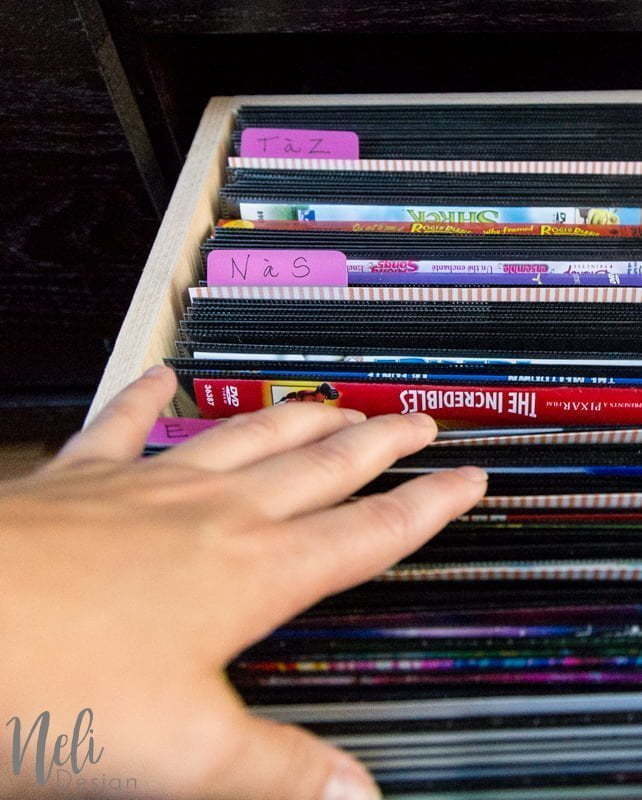
For now, I've used only the pink tabs (almost). That's because I keep the other colors for the rest of the DVD / Blu-ray. Yes, I still have a whole box to organize! But it's summer and I try to enjoy the nice weather instead, while it lasts! Who can blame me?

See at which Link Party I like to participate here