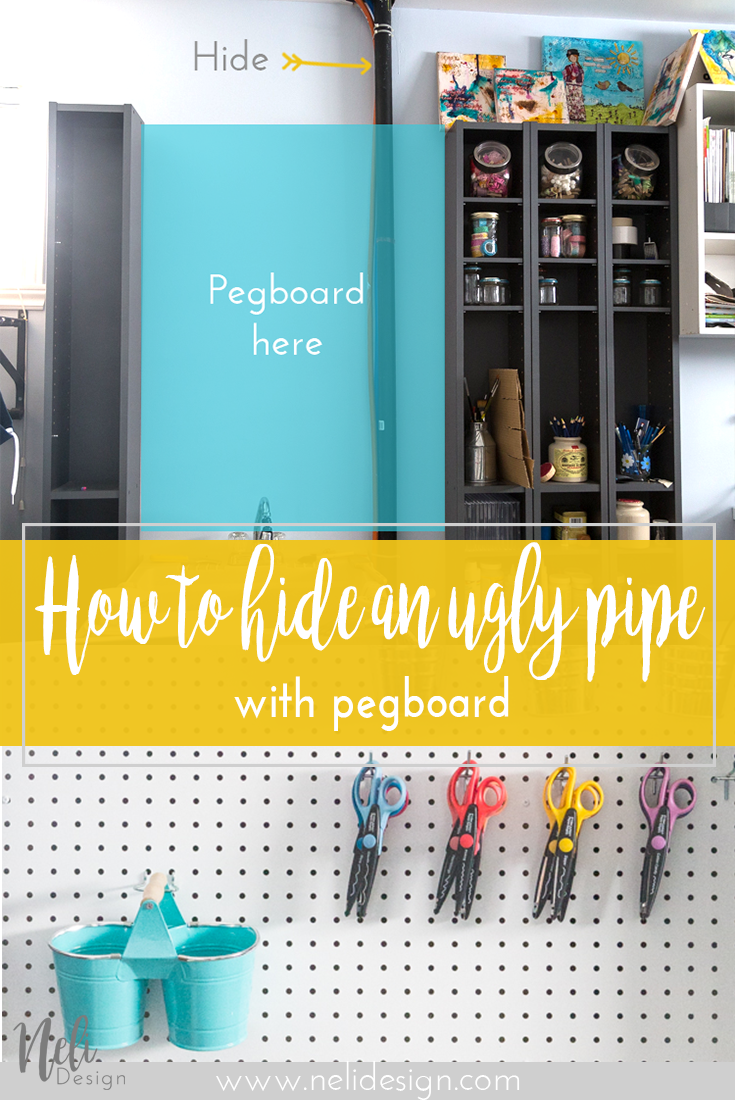
Remember week 1 of the One Room Challenge? One of my objectives was to install a pegboard to hide that ugly pipe.
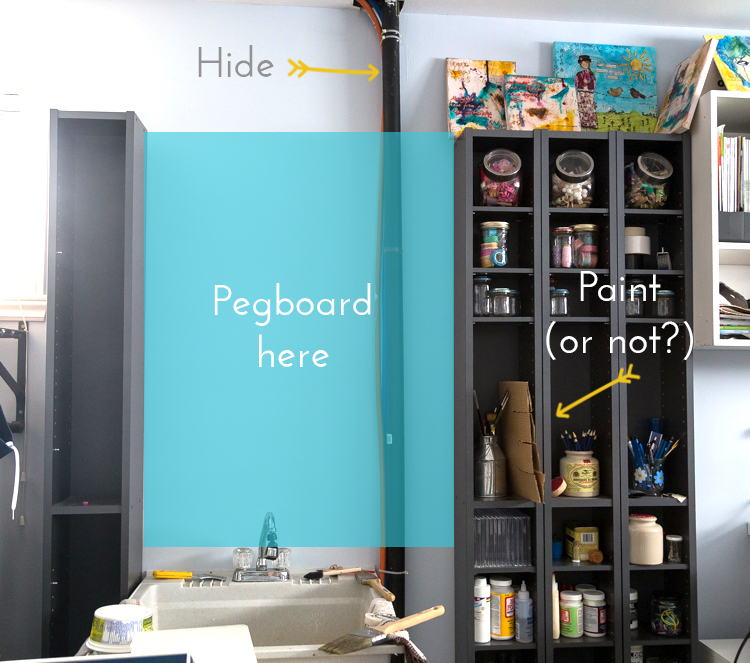
Well, I did it (I mean, we did it because I couldn't have done it alone! Thanks, honey 😊)
For the One Room Challenge, hosted by Calling it Home, I'm giving my craft room a makeover. Or more accurately, I'm making a craft room that can be called a craft room! You can see the recaps here:
Week 1 | Week 2 | Week 3 | Week 4 | Week 5 | Week 6

How to install the pegboard
This post contains some affiliate links for your convenience and at no extra cost for you. Click here to read my full disclosure policy.
What you need
[wc_box color="primary" text_align="left" margin_top="" margin_bottom="" class=""]
- 2 x 3 studs
- Screws
- Wall anchors
- Pegboard
- Pegboard hooks and accessories
- Spacers
[/wc_box]
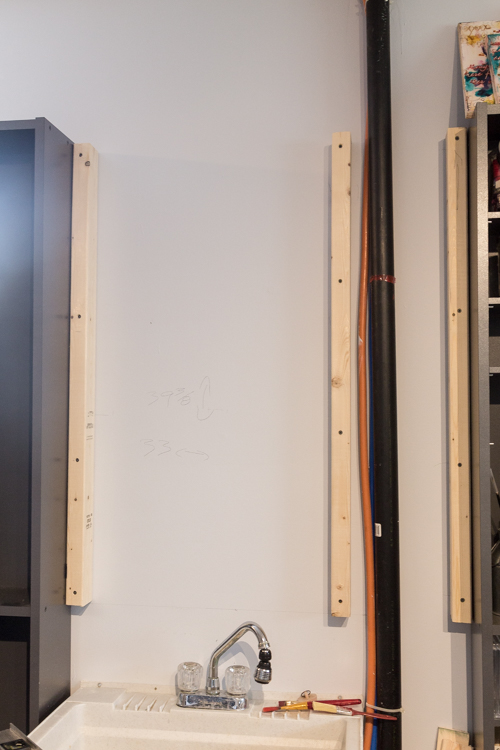
So first, I bought 2- 2x3. They were the same depth as the pipe. We installed the 2x3 using screws. We also used wall anchors when the 2x3 were not aligned with the wall studs.
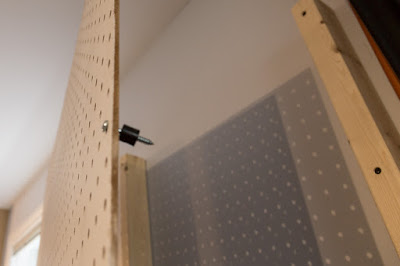 Then we cut the pegboard to the size we needed. We also used spacers to make sure the 2x3 didn't block any holes of the pegboard.
Once installed, we fixed the Billy CD/DVD shelf unit that we had for sooo long on both sides. But the pictures for that will be for the reveal week only! 😉
Now, here's a sneak peek at what the pegboard looks like. Can you believe I have too much space?
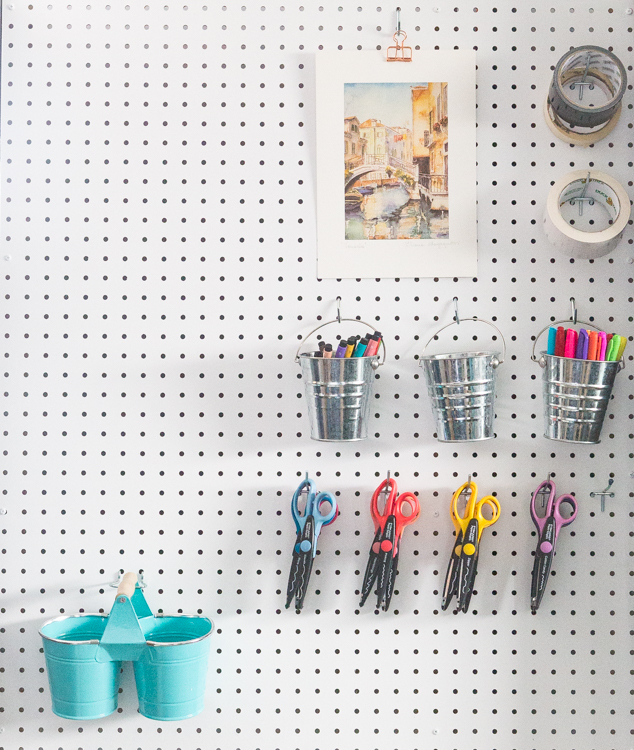
Any suggestions on what I could hang on my new pegboard?
Please Pin it if you don't want to forget it!
[wc_box color="secondary" text_align="center" margin_top="" margin_bottom="" class=""]
Don't miss any new freebies. Subscribe to get access to the library full of resources!
[wc_button type="warning" url="https://nelidesign.com/landing-page/" title="Inscrire" target="blank" url_rel="" icon_left="" icon_right="" position="center" class=""]Subscribe me![/wc_button][/wc_box]

See where I link up here