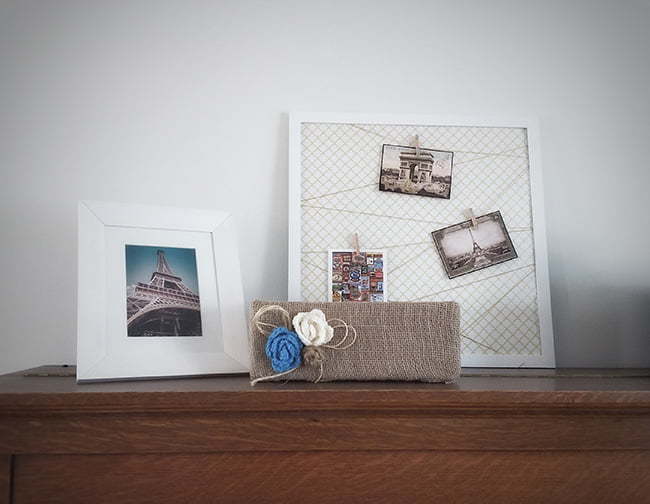
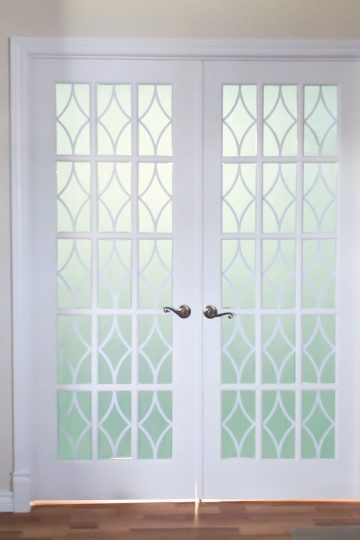
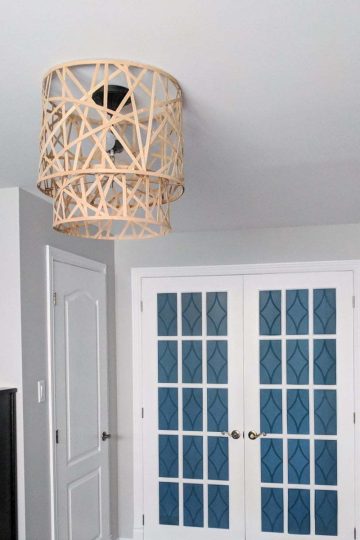
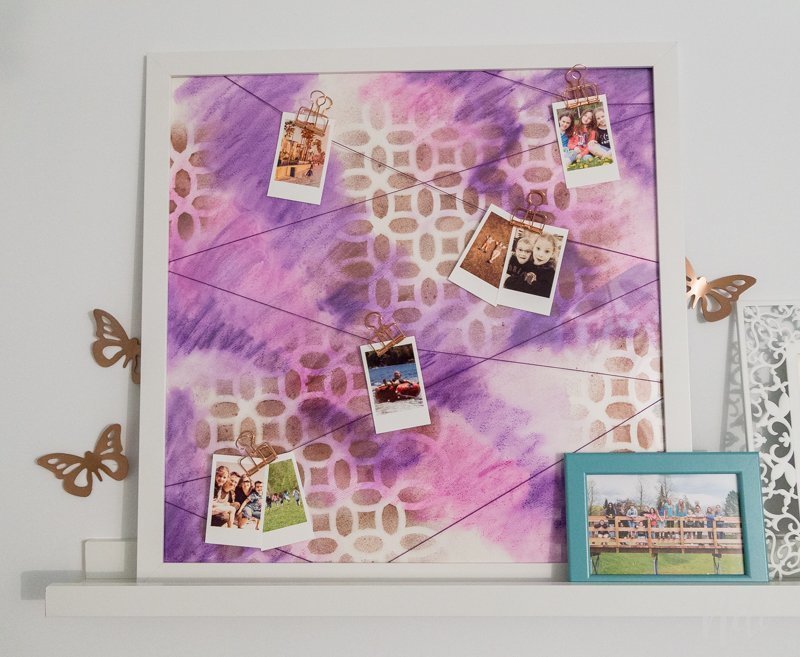
The $100 Room Challenge is already over and done, but I promised you a post on how to make this unique DIY frame, so, here it is! 🙂
If you missed the latest posts, I took the challenge to makeover my daughter's room in a month for less than $ 100.
Week 1 | Week 2 | Week 3 | Week 4
It has been so intense that I now feel like I'm on vacation!!
The frame
Money being limited in the $100 Room Challenge, I took a frame that I already had and that might've even already seen in the post about a small DIY box to hide electronics.
At that time, the background in the frame was done using scrapbooking paper and if you paid close attention, you could see the joints of 4 sheets.
This time, I used a watercolor paper that I had for a long time and I cut a piece of the correct size to fit the frame.
How to make the background
This post contains some affiliate links for your convenience and at no extra cost for you. Click here to read my full disclosure policy.
You will need
[wc_box color="primary" text_align="left" margin_top="" margin_bottom="" class=""]
- watercolor paper
- Gelato Faber Castel or other watercolor pencils. 3 to 4 colors in the same hues.
- A spray bottle with water
- Glimmer Mist (or another kind of spray paint. The color used is "Coffee Shop." I thought it looked a bit like the color Gold Rose that was already present everywhere in the room)
- Crafter's Workshop Stencil (I used the model "Eternity")
- Paper towels
[/wc_box]
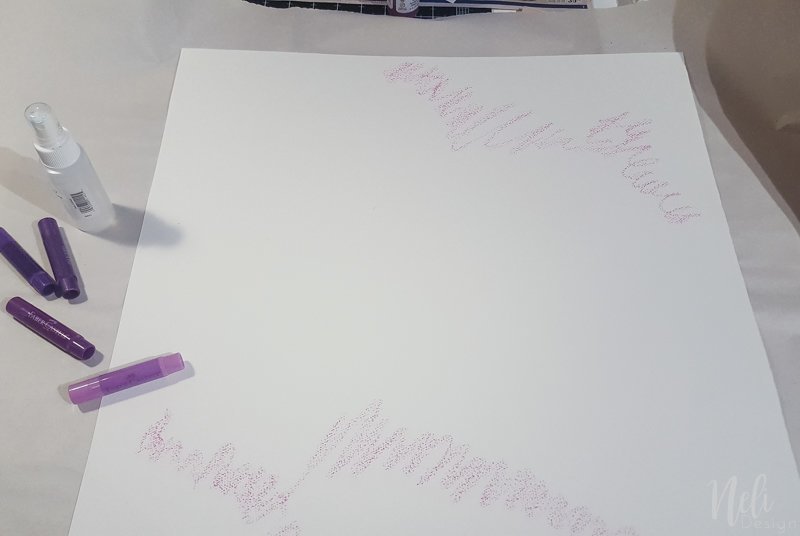
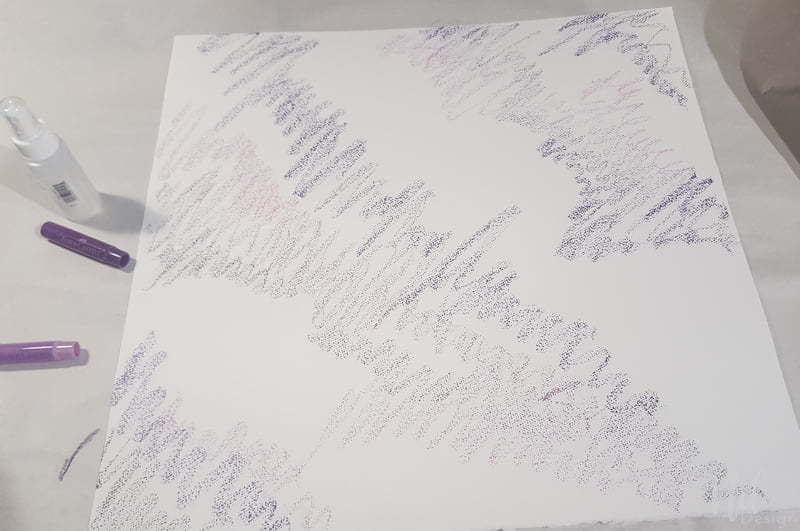
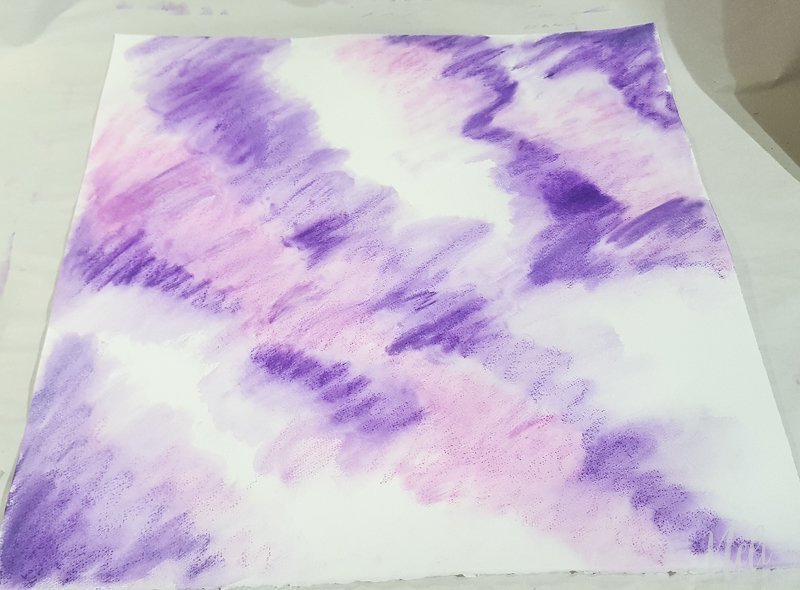
To begin, I colored the watercolor paper with the Gelato.
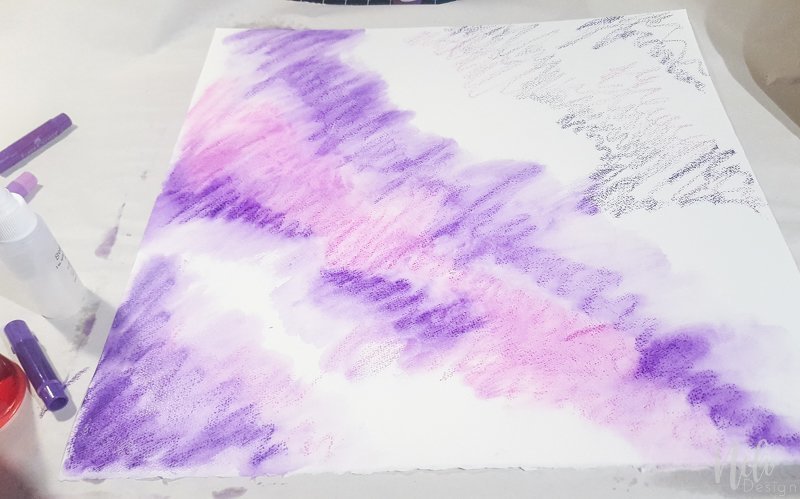
Then I sprayed water and I was careful to mix the colors without crossing from one color to another.
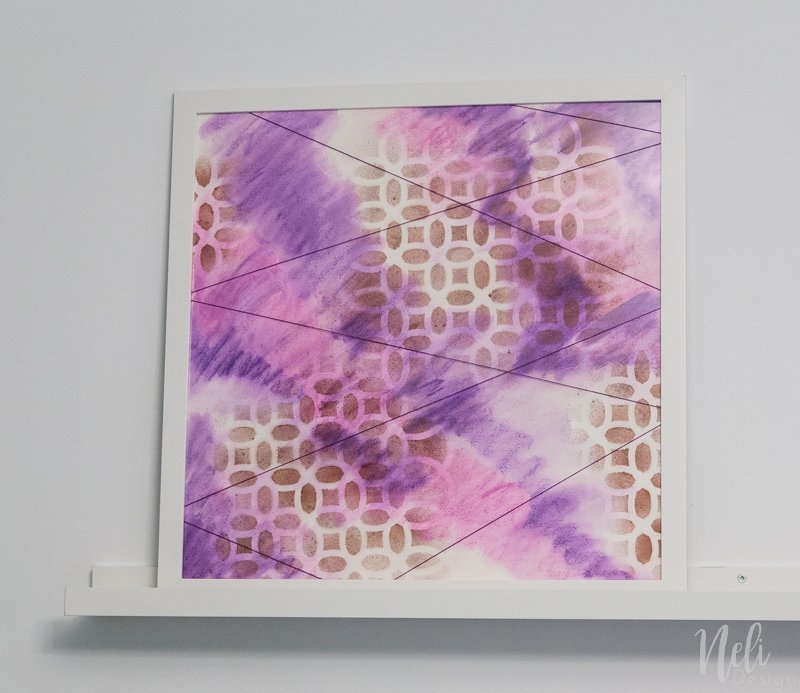
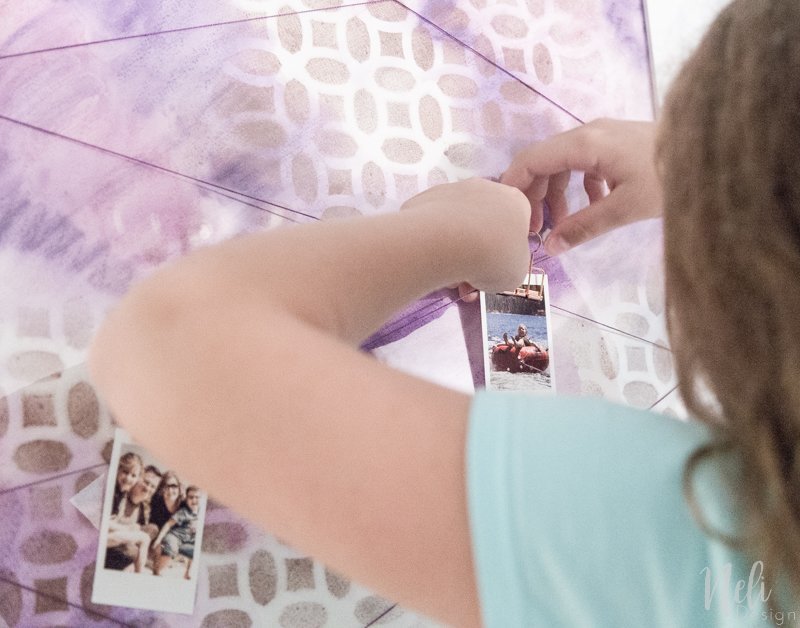
Once everything is dry, I applied the Glimmer Mist using the stencil. The idea is not to cover the entire surface, but only a few places. And as I often say, it doesn't need to be perfect! We need to let go a little!
I also use a paper towel to prevent overflows under the stencil.
Adding the string
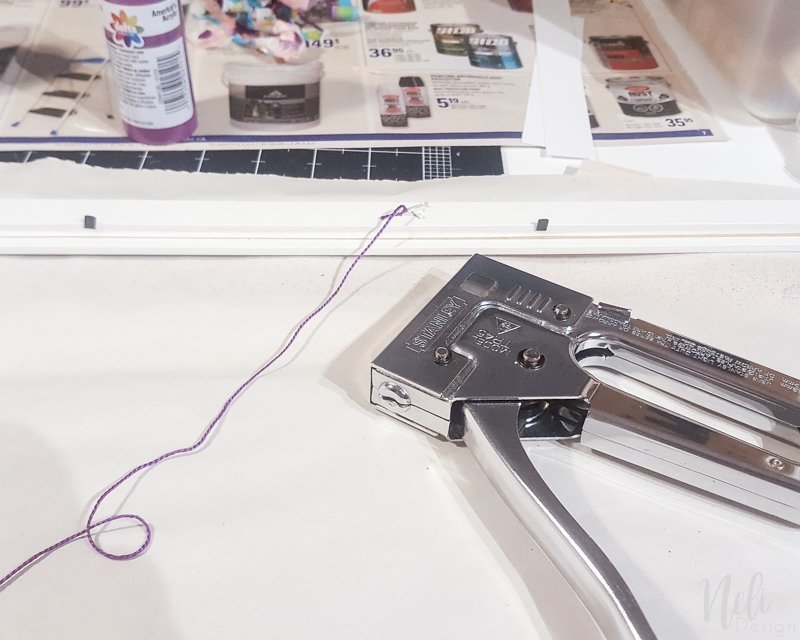
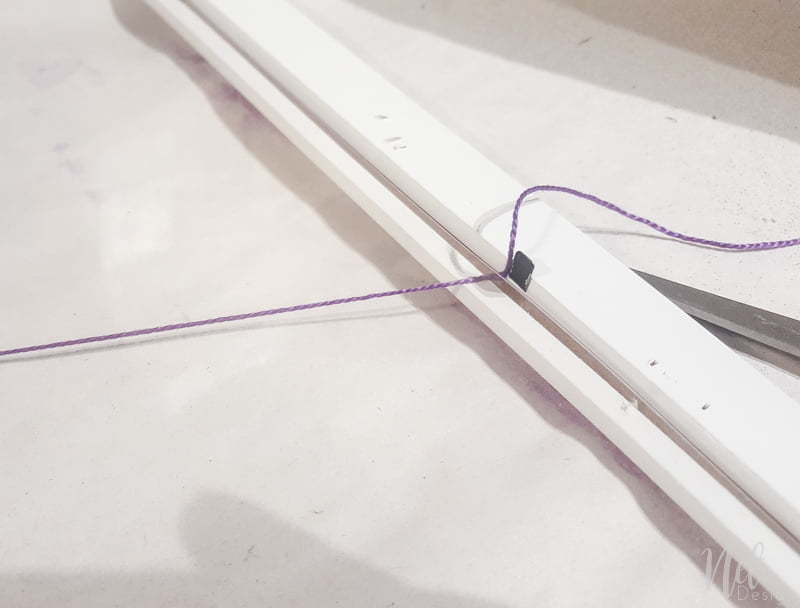
The string is installed above the window and is attached to the frame with a staple gun and short staples
Therefore, it's important to check the tension of the strings like this:
Pictures just like "Instax Mini"
Have you seen the price of an Instax Mini camera? And what about the film for the photos? Too expensive for me!
If you have Photoshop and a color printer, I have an economical solution for you!
I made a very easy template to use (easy enough that my daughter did it herself! Just to put a little pressure on you!!) and your only purchase, if you don't already have it, will be to buy photo quality paper.
Repeat for all 9 photos
Note: If you have less than 9 photos, I suggest you close the unused layers (click on the eye). This will prevent printing a black rectangle and waste ink.
Now you only need to print, cut and voila! You have beautiful photos for a fraction of the price! And a happy girl!
Yes, but Natalie, where's this great template?
It's in Nelidesign's Library! And how can you access it? You just have to subscribe with the link below.
[wc_box color="secondary" text_align="center" margin_top="" margin_bottom="" class=""]
Subscribe to get access to the library full of resources!
[wc_button type="warning" url="https://nelidesign.com/landing-page/" title="Inscrire" target="blank" url_rel="" icon_left="" icon_right="" position="center" class=""]Subscribe me![/wc_button][/wc_box]
Now you'll probably say: "Oh no, not more emails in my inbox!" But I promise you, I'm not very invasive! I'll just keep you posted when I add freebies to the library or for important events. And most of all, you'll see that there are already several other files that might interest you in the library! 🙂
The final result

If you want to see the rest of the room, don't hesitate to see the other posts:
Week 1 | Week 2 | Week 3 | Week 4
Till then, Please Pin it!
See at which Link Party I like to participate here

