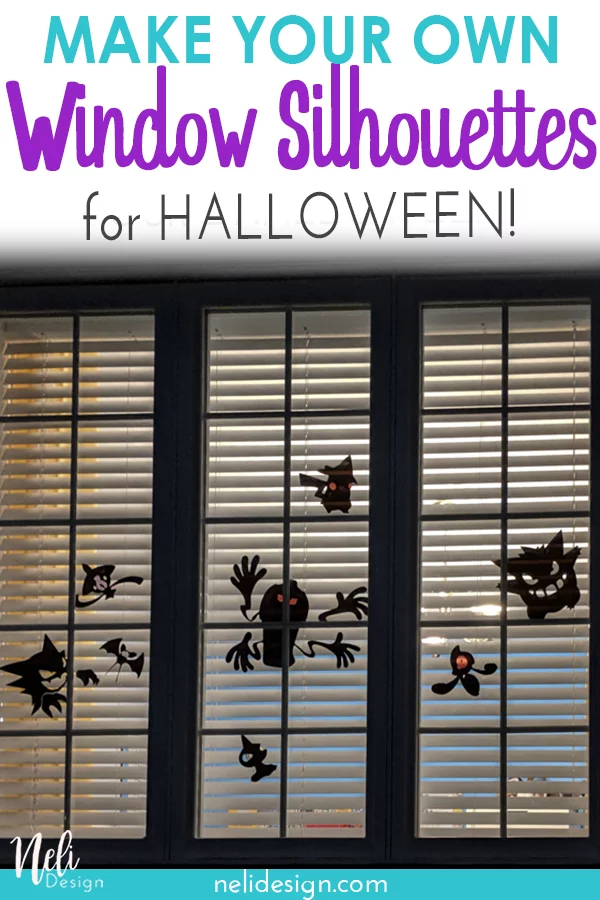
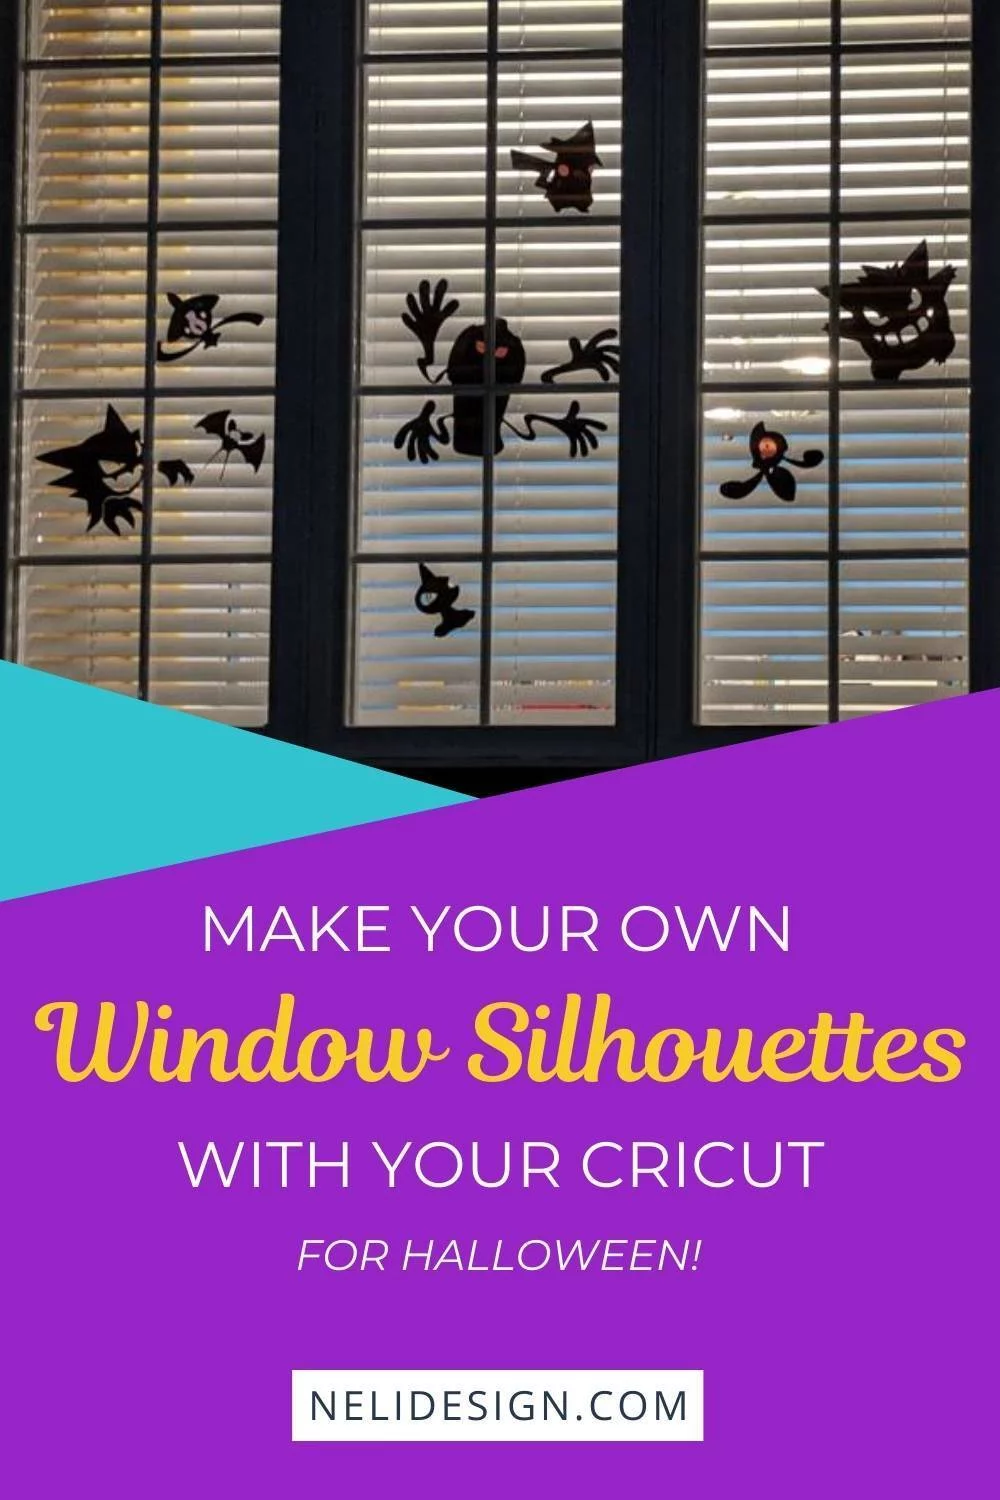
Make these beautiful customized Halloween silhouettes for your windows! You’ll learn how to easily make them yourself with your Cricut.
My son adores Pokemon. You’ll probably notice by the number of crafts related to Pokemon on my blog. There are, for example, the Pikachu party bags, the Ash Ketchum Halloween costume and many more.
For Halloween, I’ve decided to make Pokemon silhouettes for his bedroom window. And since his window is in front of the house, it’s also perfect for Halloween decorations.
Note that what you’ll learn can be made for any kind of silhouette. You just need to choose your favourite images. This post contains some affiliate links for your convenience and at no extra cost to you. Click here to see full disclosure policy.
What you’ll need to make the Halloween silhouettes
- Black Cricut Window Cling
- Green cutting mat, ideally 12″ x 24″ to make bigger images
- A cutting machine (I have the Cricut Maker and the possibilities are endless with it!)
Steps to make Halloween window silhouettes
If you prefer, you can watch the video that will even show you how I added colours to the silhouettes.
Step 1: Find images on Google by using the word “silhouette” in your search. Avoid images with busy backgrounds and a lot of colours. Right-click on the image and save it on your computer where you’ll be able to find it later.
Step 2: Open a new canvas in Cricut Design Space and click Upload.

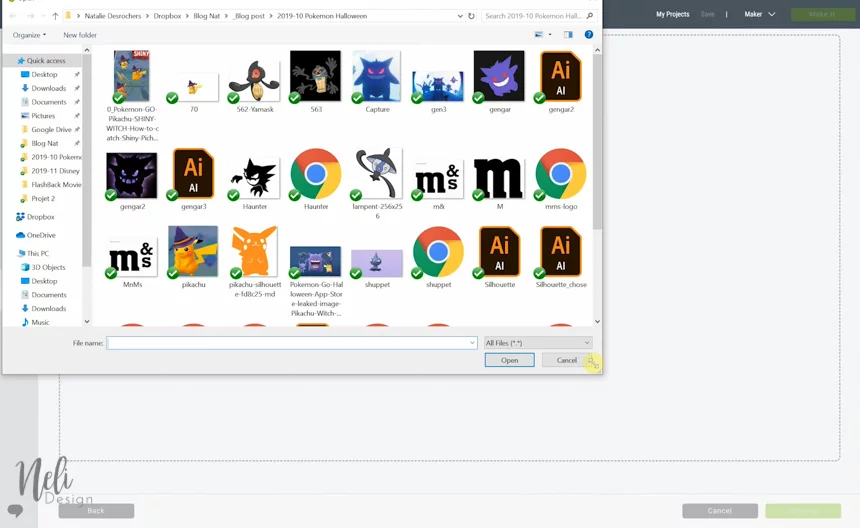
Step 3: Click on Upload image and then on Browse.
Step 4: Find the images you have saved on your computer. Select an image and click on Open.
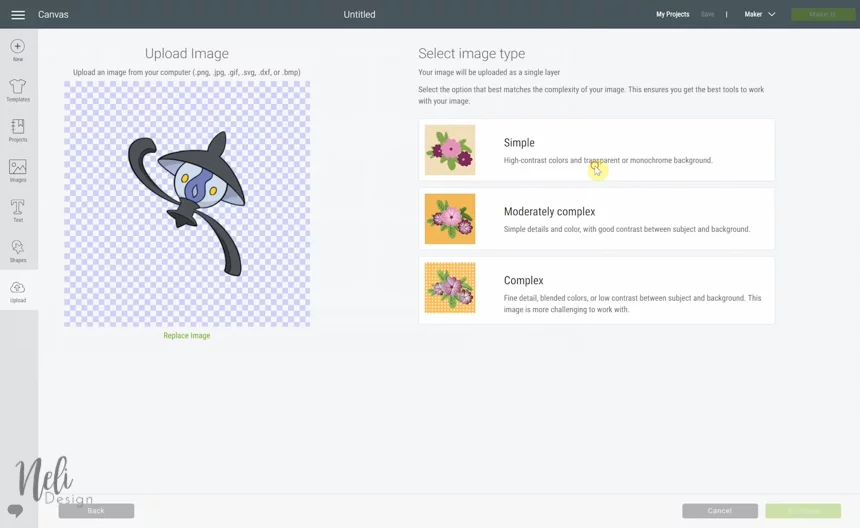
Step 5: Click on Simple and on Continue.
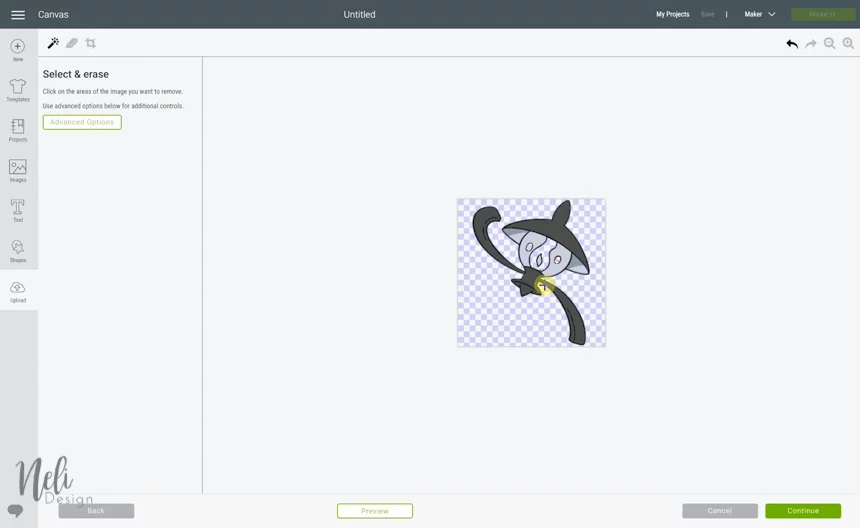
Step 6: Erase the background and anything else you want. (You can click on Preview to see the result). Then click on Continue.
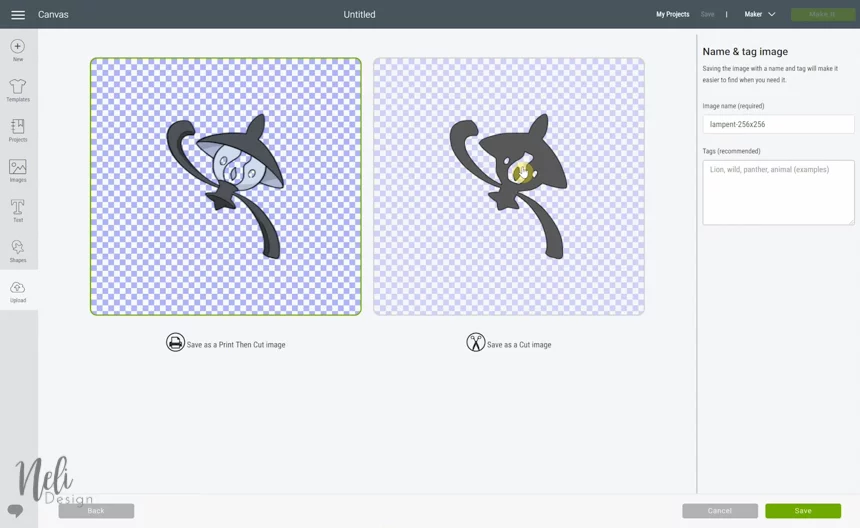
Step 7: Name your image, click on Save as a cut image and hit Save.
Step 8: Select the image and click on Insert images.

Repeat all the steps for each silhouette you want to cut.
How to optimize the placement in order to save material
The next steps are not essential but if you’re thrifty and a bit ecologically friendly like me, you’ll want to minimize the loss of material.
Even though Cricut Design Space optimizes the placement of objects on the cutting mat, there is still room for improvement.
You can click on an image and move it by holding down the left button of the mouse. You can also use the arrow to turn the images.
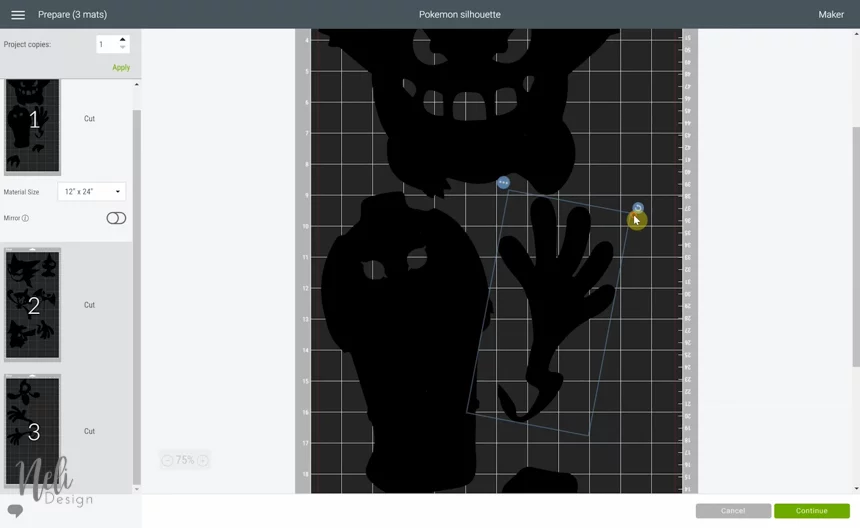
But the best trick is to click on the three little dots and select Move to another mat.
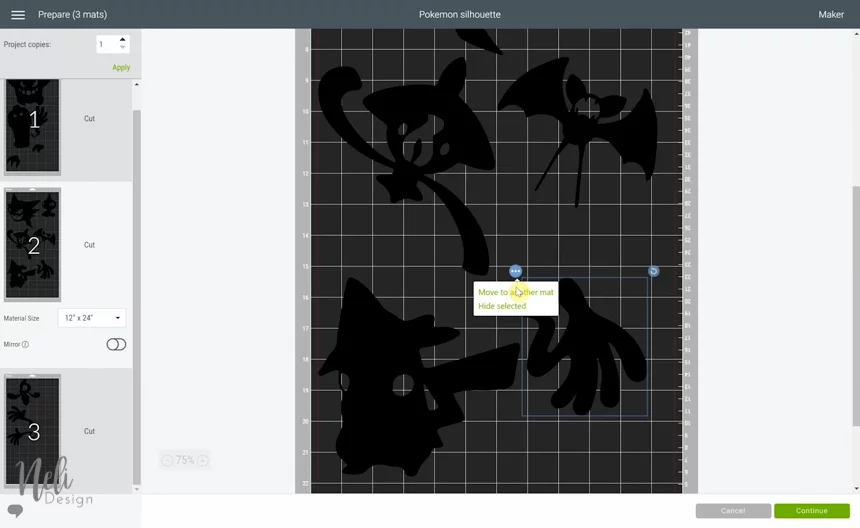
After clicking, you can even choose on which mat you want the object to be moved. Interesting isn’t it?

The difference between Window Cling and Vinyl
You’re going to ask me, I’m certain of it 😉, what are the benefits of using Window Cling? Why can’t I simply use vinyl?
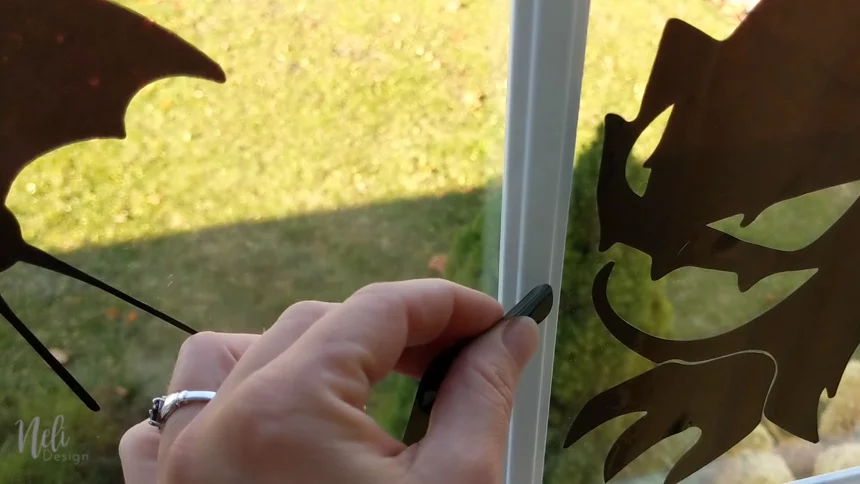
Well, the answer is simple, Window Cling is reusable. It’s non-adhesive and sticks to windows without leaving any residue behind (you can see my demonstration in the video). It also means you can add it to your windows and remove it many times (and let the kids change their minds as many times as they want, without arguing with them!!!)
At night, from outside, the result is rather pleasing. If you want to see how I added colours to some of the silhouettes, check out the video. 😊

Don’t forget to download the Free Cricut Cheat Sheet
Click on the images below to get help on Cricut Design Space functions.
And please, don’t forget to Pin it!
