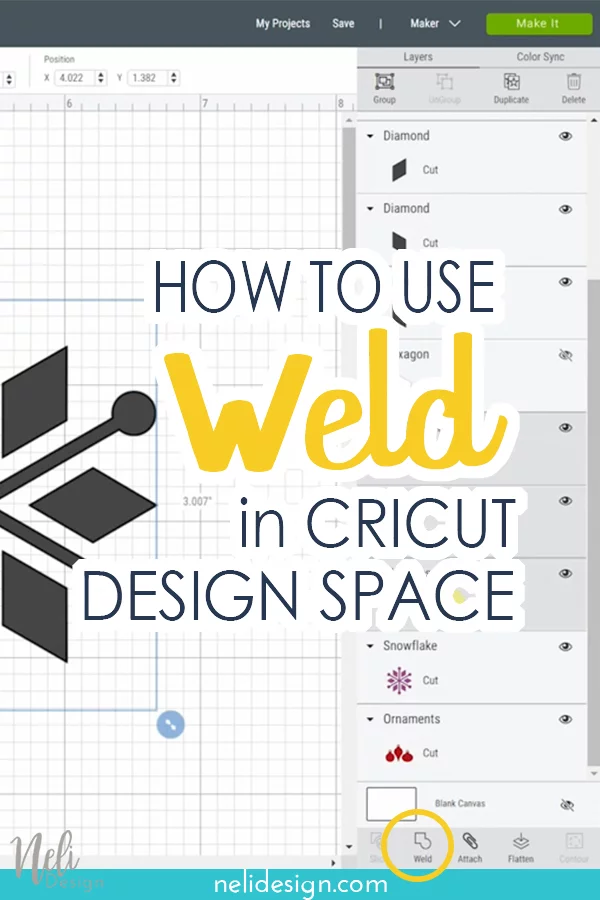
See what you can do with the Weld function in Cricut Design Space and learn how to use it with objects and text.
What does Weld do on Cricut?
The weld function does exactly what its name says: it joins (welds) two completely different objects together to form one single object that will be cut continuously.
Where is the Weld tool in Cricut Design Space?
You can find the weld button at the bottom right of the Canvas.
There are a lot of other functions there and if you’re confused about them all, don’t hesitate to download my free cheat sheet that will make everything clear for you!
How to weld objects
Check out the video to have all the details and subscribe to my channel so you don’t miss anything!
In the example below, I want to weld the rectangle with the two circles so that they are cut as a single object. To do so, I must select the three layers by holding the “shift” key and pressing “weld”.

Unlike Slice that only permits using this function on 2 layers at a time, it is possible to use weld on several layers at once.
It is even possible to weld objects that do not touch.

This is really useful if you want to slice several layers with another layer. If you use Weld before on the group of layers, they will be merged into only one layer and therefore, you’ll be able to slice it in one single action which will save you a lot of time!

How to unweld
Unfortunately, Weld cannot be undone. The only way to unweld is to use the “undo” button to go back. That’s why I always recommend making a copy of your design before welding.
The importance of Weld with text
Since the arrival of “Kerned fonts“, Weld is less useful when it comes to writing with script fonts (cursive letters).
But, if you want to use a font that is not kerned and uncheck the box below, you’ll still need to use Weld in order to have your words cut in one single piece.

You can reduce space by using “Letter spacing” but it’s never equal and exactly what we want.
You’ll need to do what we needed to do E-VE-RY time before kerned fonts arrived. That is to arrange letters one by one by clicking on “Advanced” and “Ungroup to letters”.

That way, you will end up with one layer per letter and you’ll be able to move them individually.

But that’s not all! If you just “Attach” the letters, your Cricut will cut the letters separately. When I change the letters to pink, you can clearly see that they are not joined together.

That’s why you’ll need to select all the letters and press “Weld”.
As shown below, the word “bonjour” will now be cut as a continuous object.

Troubleshooting
The Weld button is greyed out and I can’t use it
To be able to use Weld, you need to select at least 2 objects (layers). You can do this by holding the “Shift” key on your keyboard and selecting the objects on your canvas or the layers in the layer panel. If you’re using the app, long-press on the shape you want to add to the selection.
The letters get filled when I weld text
This is a bug in Design Space.

If you want to fix it here’s a trick: scale everything you want to weld to see it better. Adjust the spacing between the letters (move apart the letters that are being filled)
Click on Weld. Are the letters ok? They should be!
Curious about the Christmas ornament I was designing in the video and at the beginning of this post?
You can see the full tutorial on How to make a balsa wood Christmas ornament here.
And don’t forget to Pin it!

