Paper flowers are extremely fun to make and can be a beautiful home decor project. In this tutorial, I will show you how to DIY paper Chrysanthemum flowers using my free SVG cut file.
I've always loved Chrysanthemums or should I say, mums. I can't really explain why. Maybe it has something to do with fall being my favourite season. All the earthy colours this flower comes in really underline the autumn vibe.

Since I loved them so much I decided I had to find out how to DIY Chrysanthemum paper flowers.
Now, I'll be totally honest with you (am I not always?😆). I'm far from being the expert when it comes to paper flowers but I did research the topic extensively.
Scroll at the bottom of this email, I'll link to my favourite flower crafters. This post contains some affiliate links for your convenience and at no extra cost to you. Click here to see my full disclosure policy.
After my research, I made a lot of trials and errors (you know I always want to find the best and easiest solutions for you!).
I found the secret to easily and rapidly DIY Chrysanthemum paper flowers and bought this paper blossom toolkit.
Before that, I was trying to curve the petals with the handle of a paintbrush. I sincerely thought it would be enough. I did get the petals to curve a bit but it took me forever!
I didn't think the paper blossom toolkit would make any difference. But my mind was blown away!
It's so easy and fast to curve petals!
And a bit addictive and satisfying if I might add!🙈
I'm not here to pressure you into buying this, but if you plan on making more than one flower, you really need this!
You also need a foam mat but while researching the topic, I saw crafters use sponges covered with fabric. Personally, I used my Cricut Easy Press mat and it worked like a charm!
Materials and tools
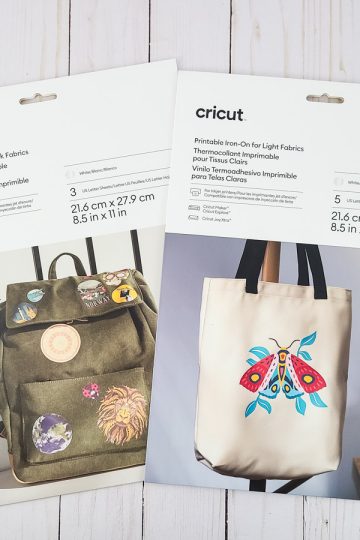
- Coloured cardstock (preferably earthy, Fall colours. Optional: get each colour in a dark and lighter shade)
- Glue
- Jute twine
- Acrylic paint and paintbrush
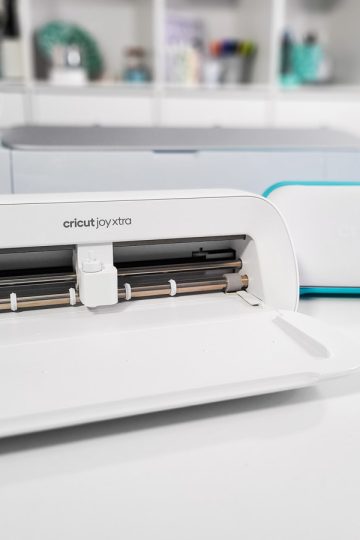
- Cutting machine (I have the Cricut Maker. You'll be able to do it with an Explore Air except for the veins of the leaves)
- Fine Debossing tip of the Cricut Maker (for the veins of the leaves)
- Embroidery needle
- Paper blossom toolkit
- Paper blossom foam mat (I don't have this but I used my Cricut Easy Press mat and it worked perfectly 🙌)
- Free SVG cut file that you can get by subscribing to my newsletter right here 👇
How to DIY paper chrysanthemum flowers
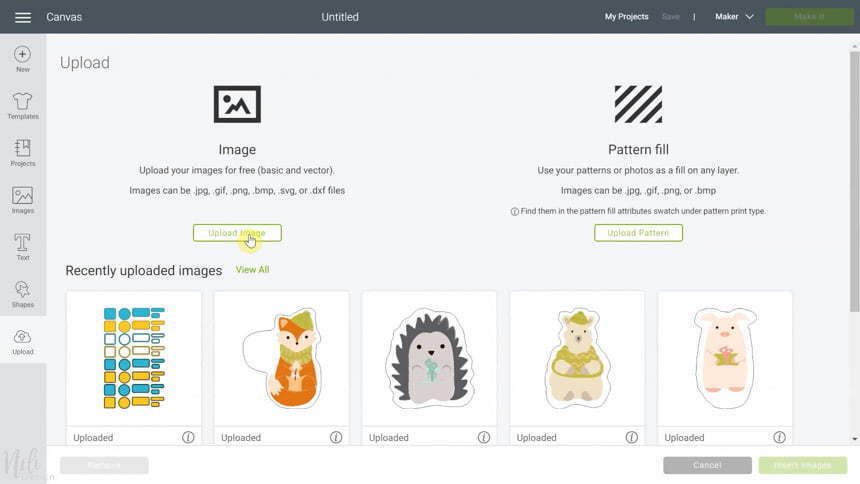
1- Upload the SVG file to Cricut Design Space
First, go to Cricut design space and click upload and go to browse to find the files you have downloaded from NeliDesign's library.
The first thing to do with all of my SVG files is to ungroup so you are left with groups for each flower.

The only thing you need to do with the flowers is to attach everything. Each of the layers your need to attach is already grouped together. Therefore, click on each group and then click "Attach".

Notice that there are two shades of orange? That's because if you look closely at a flower you'll find that the centre of a flower is usually darker than the outside.

Therefore, if you have the materials I suggest you make the 2 smallest petals a shade a little darker than the 2 bigger ones. You'll see how nice the flowers are going to look with that trick.
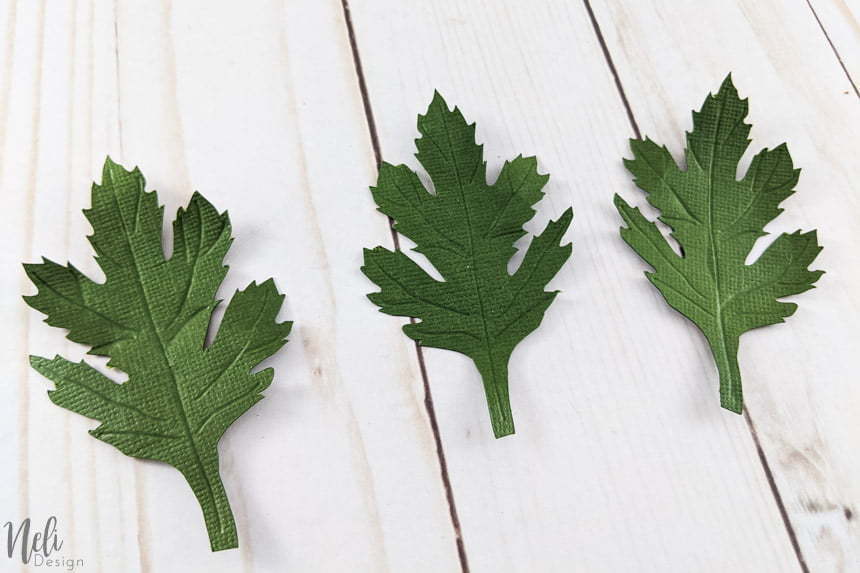
You'll also notice that the leaves have little lines inside.

If you have a Cricut Maker you can use the Fine Debossing tip (#21) to mimic veins in the leaves. Just select the layers and change the "Linetype" from "Cut" to "Deboss".

Note that if you want to know more about all the Cricut blades, wheels and tips available, you can check out this post and download the free cheat sheet.
If you don't have the Cricut maker you can just turn off the layer by clicking on the eye.

2- Curve the petals
The first thing to do is to take a piece of jute twine and make a knot at one end. This will act as the centre of the flower.

Take some paint that is almost the same colour as your flower but darker and paint the knot. By doing this first, it will be dry when you need to use it.
Remove the petals from the mat and arrange them in a pile from the largest one to the smallest ones on top.
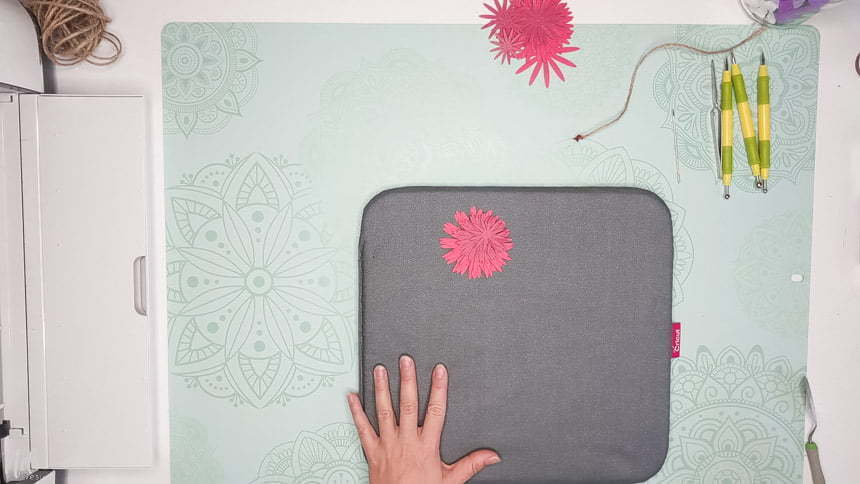
Take the foam mat (I'm taking my Cricut easy press mat because I didn't have the mats that go with the blossom tool, but it worked just as good)
Get the blossom tool that is the same size as the petals.

Apply pressure from the extremity of the petals to the inside of the flower. You'll see the petals curving without any effort.

3- Assemble the petals
In order to insert the jute twine into the petals, I made a little X at the center of each petal. Thread the extremity of the jute twine into the embroidery needle.

Then, insert the needle through the X of the petal. Gently pull so that the knot of the jute twine becomes the centre of the flower. The first petals need to be held very delicately so that the jute twine is inserted without opening the petals too much.

Then continue with the other petals, adding glue between each of them.
Try to overlap all the petals so that it looks prettier. This is going to be more important when you get to the larger petals.
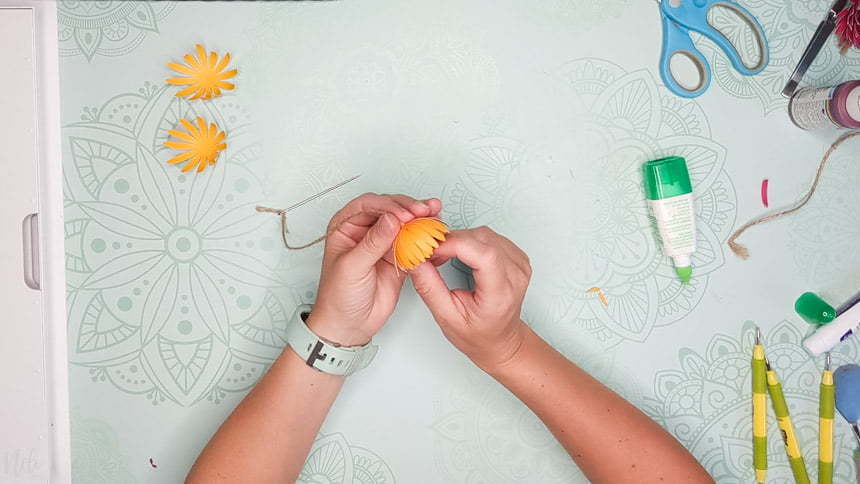
I just love how they turned out!

4- Curve the leaves
As for the leaves, I used the blossom tools to make them curve and look more realistic.

Then I used the handle to bend some parts of the leaves.
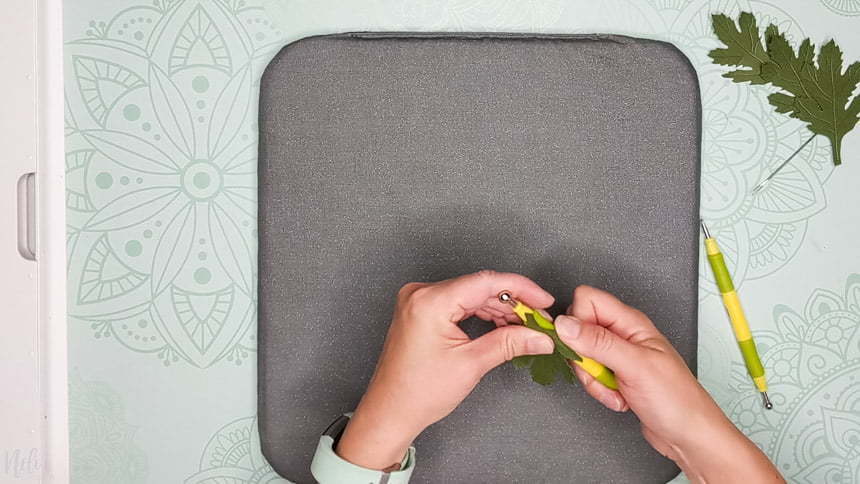
And here's the result
Adding mum paper flowers to a wreath
Tools and materials for the wreath
- Grapevine wreath
- Other flower ornaments
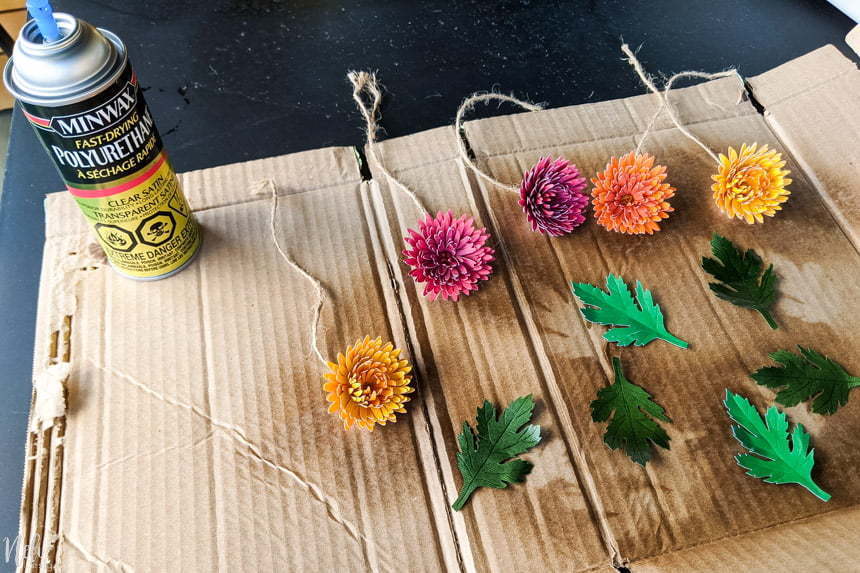
- Minwax polyurethane spray
- Hot glue or floral tape
- Wire and wire cutter
Paper flowers outside?
Having paper flowers on a wreath that I wanted to put outside was a little problem!
I decided to test and spray them with Minwax polyurethane and see how long it lasts. I'll keep you posted right here on how well (or not!) they last!
Decorating a grapevine wreath
I have made a lot of versions of fall and spring wreaths with this grapevine wreath and I must say I really love it and it's still in pretty good shape. This one was the last spring wreath I made with Crocus felt flowers.

You can check out all the other wreaths I made with the same base.
- 15-minute Spring wreath for less than $15
- Turn your Spring wreath into a Fall wreath for $1
- How to make a Spring wreath with terracotta pots
- How to make a Fall wreath with mini terracotta pots
To complement my paper mums, I found some other flower ornaments at Michaels and the Dollar Store to add a bit of colour. I honestly don't even think it costs me $5.
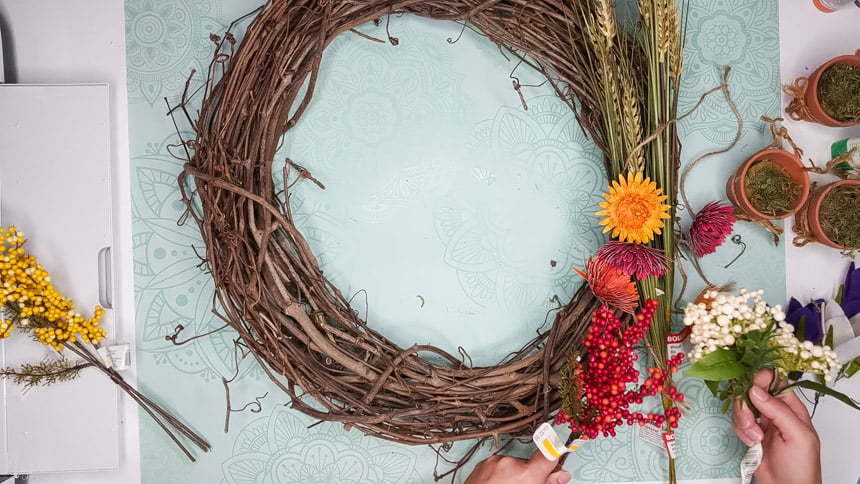
Decorating a wreath is really up to you, I mean there's no recipe for that. It's just a creative process and you stop when you're happy. 😊
How to make a grapevine wreath last
You will notice that I never glue anything to my grapevine wreath and that's why I was able to use it so many times. I only twist and turn the stem of the flowers so that they are really attached inside of the branches of the grapevine.

How to add the chrysanthemum paper flowers to the wreath
Using the tweezers, pass the jute twine around some branches of the wreath and just make a knot. You could also use some flower wire but you would need to cut a little piece of jute twine to make the center of the flower.

I did use wire for the leaves and added hot glue but I think it would have been better with floral tape but I did have some on-hands.

I'm soooo happy with the result! This is definitely my favourite wreath of all the ones I have made!

You can check out this video for all the details on how to DIY Chrysanthemum paper flowers.
Best paper flower crafters
Here are some of my favourite paper flower crafters:
Brianna from Craft your happy place is a good friend of mine that I met at a blogging conference. Her style is fabulous. I'm completely in love with how she decorated her girls' bedroom. In it, she made these paper flower lanterns. They are amazing and so easy to make. Go check them out!

And I have a secret for you: if you ask Brianna for an SVG file of her flowers I'm sure she'll be willing to make it for you! Even though she doesn't own a Cricut, she keeps telling me she'll end up buying one because of me!😆
Another girl I like that makes beautiful flowers is my friend Abbi from Abbi Kirsten Collections. She has a wide variety of them from giant flowers to tiny ones! Go take a look!
I hope you're going to try to make some paper flowers. Tell me in the comments if you do and how you liked it.
If you want the Free Chrysanthemum paper flower SVG file, subscribe to my newsletter right here and you'll also get a free Cricut Cheat Sheet.
And don't forget to Pin it!