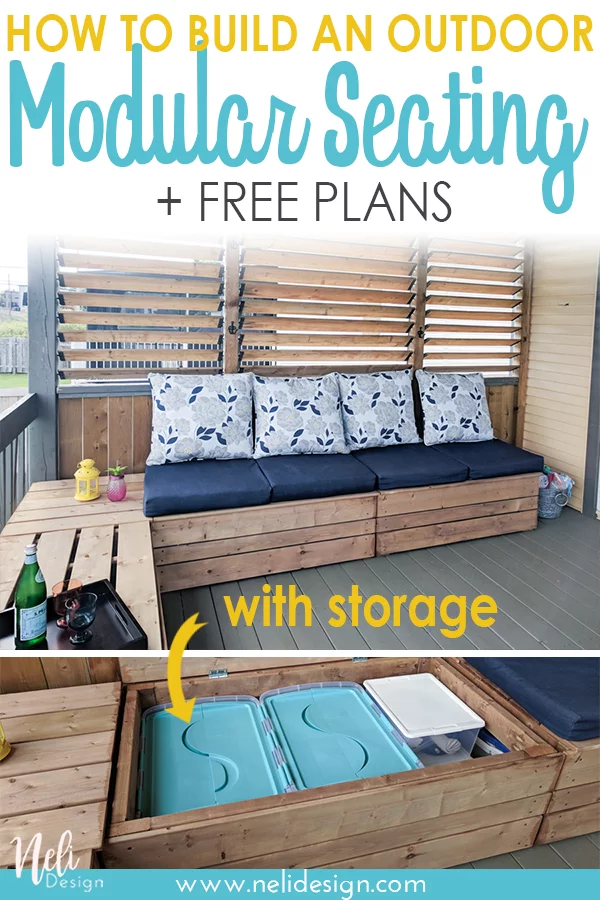
Learn how I made a modular outdoor bench with storage for my deck. You can do the same thing with the free plans included!
Last spring, I showed you how I made a privacy screen for my patio. I was dreaming to build a bench, just below, right there:
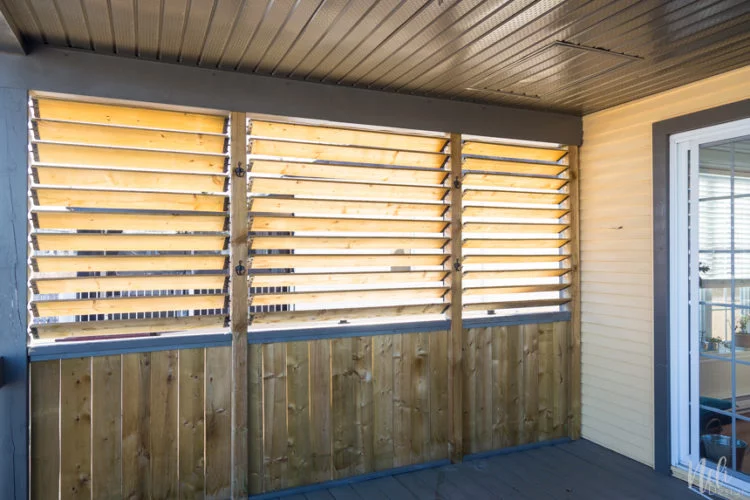
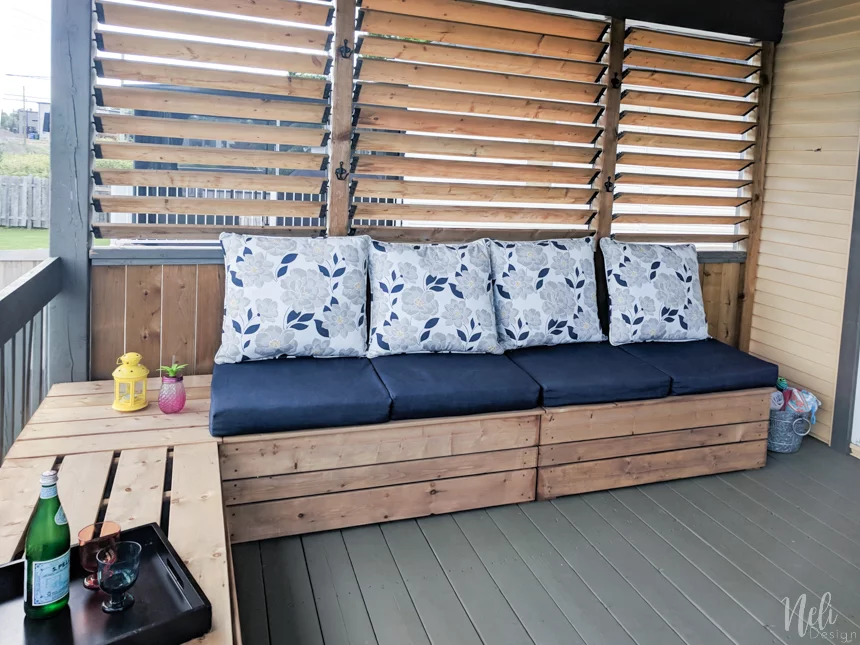
Well, I succeeded! In addition, the benches are also chests that will allow me to store a lot of things! You are surely always looking for storage too, right?
Material required to build an outdoor modular bench with storage
- Kreg jig (I have the K5 model and I love it!)
- 2-1/2″ outdoor screws for Kreg
jig - Drill
- Pressure treated wood
- Screws for treated wood
- End Cut Sealer for Pressure Treated Wood
- Square
- Hinges
- The plans and required quantities are available in my resource library. Just subscribe at the end of the post!
My original plan was to build the structure of the benches with 2×3. Since there was no more at the store, they offered to give me 2×4 at the same price. Since I didn’t want to wait, I had to make a few adjustments but it was worth it!
How to make an outdoor modular bench with storage
You’ll find all the dimensions to precisely cut all the pieces in the plans included in my resource library. Just go to the bottom of this post to subscribe!
Step 1: Cut and drill holes
nce the pieces are cut to the right dimensions, they must be drilled using the Kreg Jig.
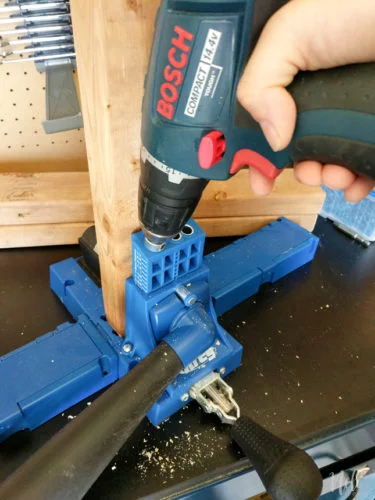
Two holes per end are required. The plans will tell you exactly where to make the holes.

Step 2: Sealing
Then it is necessary to protect the cuts with a sealer.
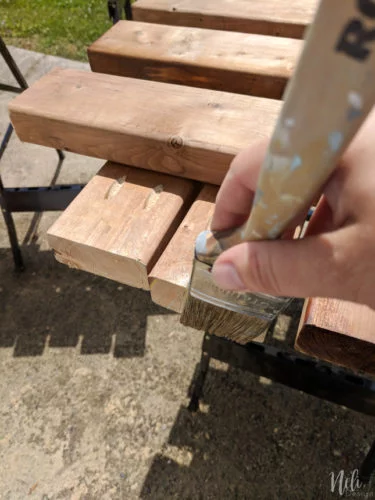
Step 3: Structure assembly
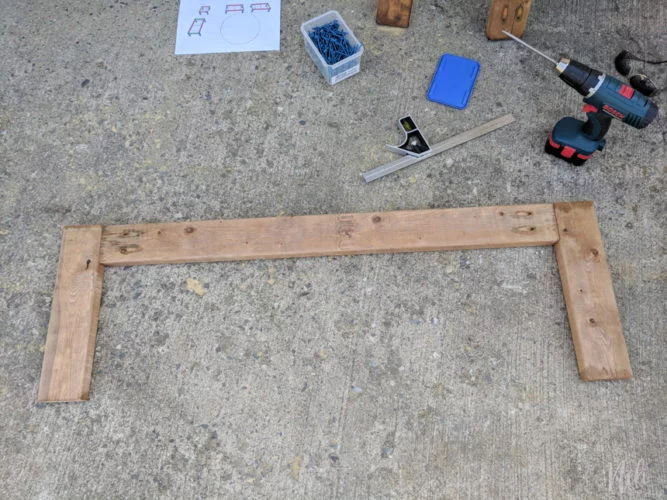
I first assembled the front and back legs, making sure the pieces were at 90 degrees with a square.
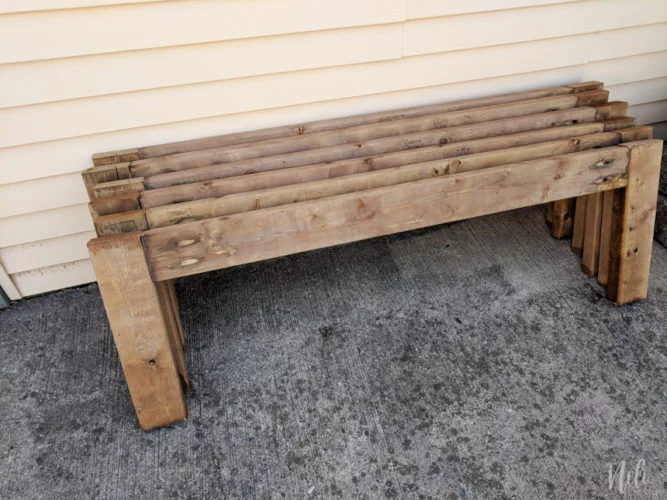
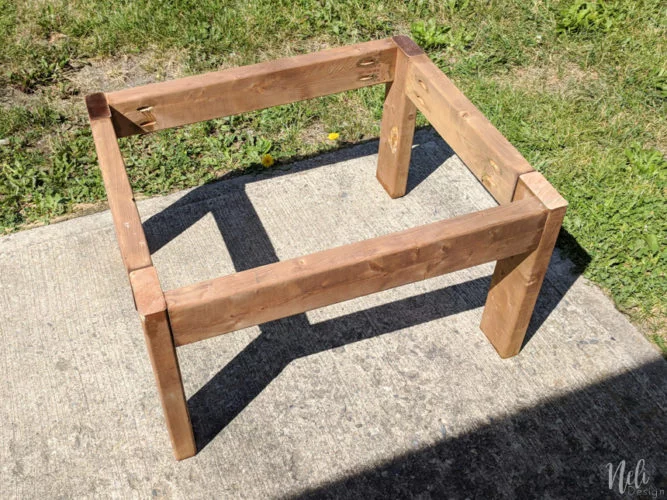
I then added the cross pieces that hold the front and the back. You can see here the corner table.
Step 4: The lid
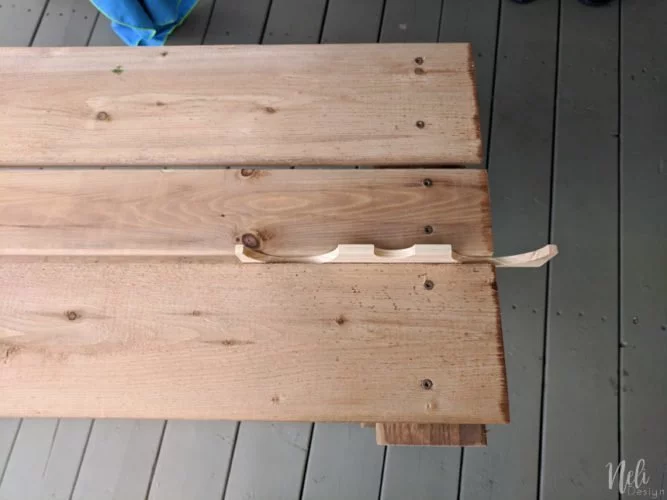
For the lid, I used pieces as spacers to always have the same space between the boards (if you’re wondering what are these odd-shaped pieces … well these are pieces found in wine crates. And if you saw this article (among others) you know that I have “a couple” of them at home !!)
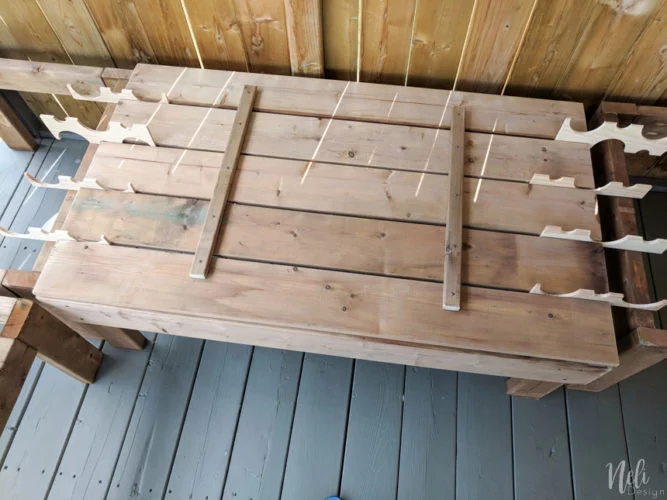
Note that after I finished the plans, I realised that the covers were not solid enough and wouldn’t support the weigh of… hmm hmm, heavier people! I will probably correct this by adding a piece of 2×3 in the centre. I’ll update this post when it’s done! (note that I already corrected the plans!).
Then I added hinges to allow opening. Since I want to put things in there that do not ask for frequent access, I put very small hinges. I probably could not even put some, because the lid is still very much in place.

Step 5: The sides
To make the front and the sides, I used the same pieces from the wine crates. You’ll notice that the leg protrudes a little and it’s normal. I did not want the horizontal boards to rest directly on the patio.
To save money, and because there is a low wall behind, I did not put horizontal boards to close the back of these two benches. But I had to do it for the one who is back to the railings.
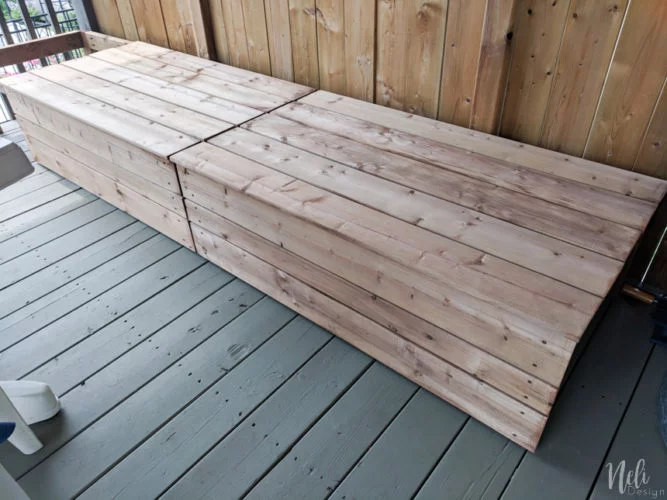
The end result
And here, 3 benches and a table that can serve as storage!
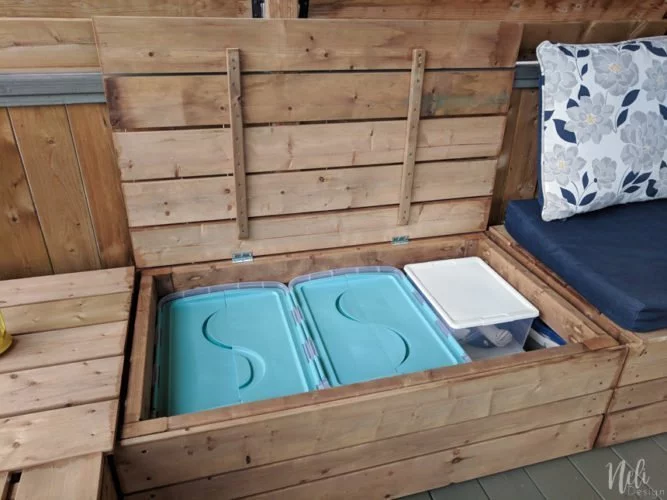
Note that the bench completely to the left is less deep than those with cushions. The reason is that I didn’t want to have cushions for the backrest so as not to hide the view towards the yard.
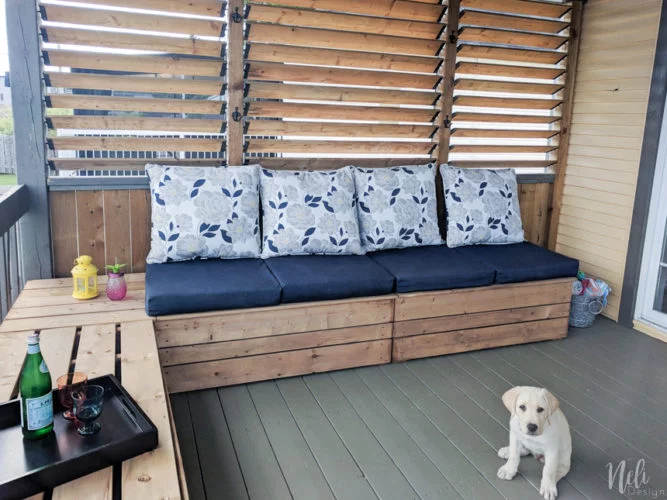
Oh! and did you noticed the intruder on the picture? He is so cute! (and so much bigger now! haha)
The cost
Counting all the pressure treated wood and the screws, the total cost of this project came up just below 200$. As for the cushions, I bought them at Home Depot and they were 65$ each. So the big total is 460$ This is way less than buying a modular bench of that size in stores! And these kind of bench usually don’t have the convenient storage 😉 !
To get the detailed plans
If you want to get the plans or just receive my newsletter, sign up below and you will have access to
And until then, don’t forget to Pin it!

Melissa
Sunday 24th of March 2019
Natalie - this is incredible!!! I'm saving this for later because I really need to build one of these - thanks for the inspiration!
Natalie
Monday 25th of March 2019
Oh Thanks Melissa! Don't hesitate to ask if you have any questions!