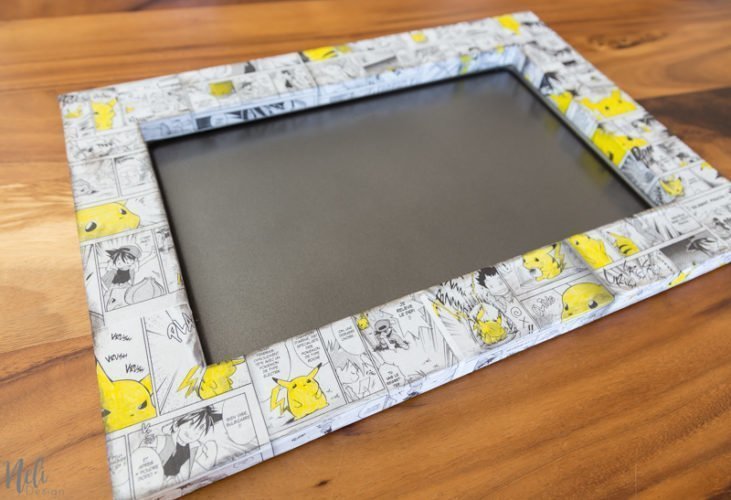
We've seen plenty of magnetic boards made with a cookie sheet. But what if you don't want to hang that on your wall? Well, I offer you a simple tutorial to show you how to make a beautiful frame to hide the cookie sheet. It's easy and very affordable!
In the previous post, I told you that I would make a craft project to help manage my son's video game time. My idea is to make a magnetic board with magnets that would count the number of "15 minutes" available. To do this, I started by buying a cookie sheet at the Dollar store as we see so often on Pinterest. But did you really think I was going to hang a cookie sheet on a wall?
There's no way I'll hang a cookie sheet on a wall in my home!
Make a frame for a cookie sheet
I didn't want to use wood and have to shovel my way to my shed again (Oh yes, there is still snow and it is rather frozen these days!!!)
So I used a proven technique in my architectural training when I had to make models: foam board and a hot glue gun!
This post contains some affiliate links for your convenience and at no extra cost to you. Click here to read my full disclosure policy.
What you need
[wc_box color="primary" text_align="left" margin_top="" margin_bottom="" class=""]
- Foam board sheet (mine was 20 "x 30")
- Utility knife
- Spare blades for utility knife(the blade needs to be sharpened to cut foam boards)
- Cutting mat
- Metal ruler
- Hot glue gun
- Hot glue sticks
- Photocopies of a comic book or manga
- Mod Podge (I use the "matte" version)
- Brush
[/wc_box]
How to make the frame for a cookie sheet
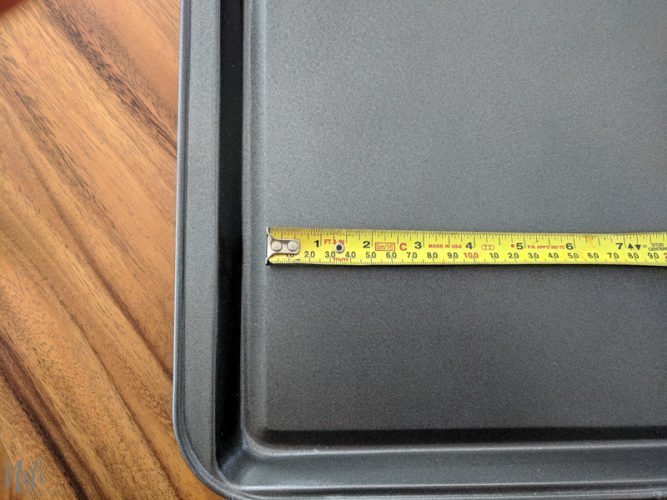
To begin, take the inside dimensions of the cookie sheet. I strongly suggest taking the dimensions a little more inward than too close to the edge.
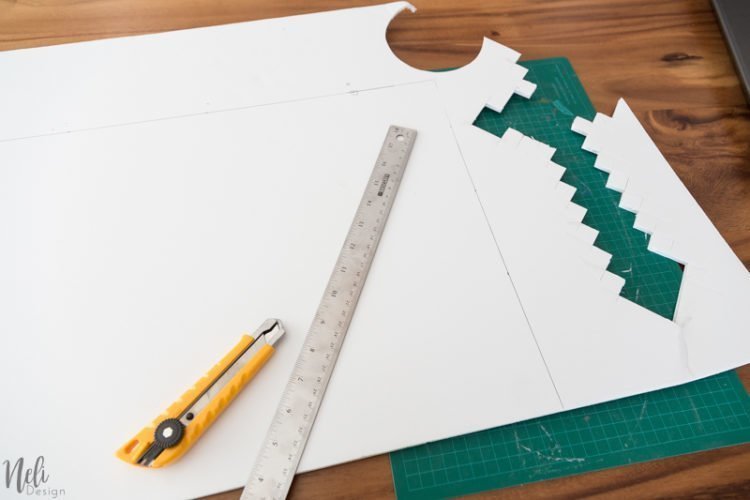
Decide the frame width you want to have. Here, I chose to make a 2-1 / 2 " wide frame. On the foam board, draw the frame like this:
You can see here that I already used this panel for another project! 😉
Remember to always measure and mark 3 times to create a straight line:
Using a utility knife and cutting mat, cut out the frame.
*** Tips for cutting a foam board: Make sure you have a sharp blade. With the metal ruler, cut a first time without weighing too much to only cut the top layer. Then pass a second time to cut the rest of the thickness.
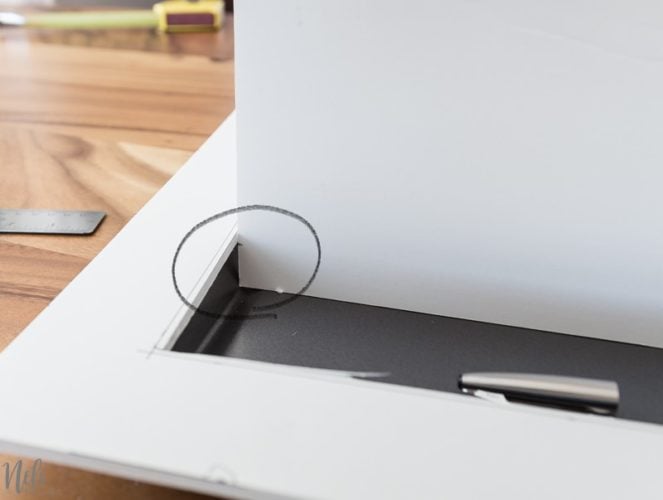
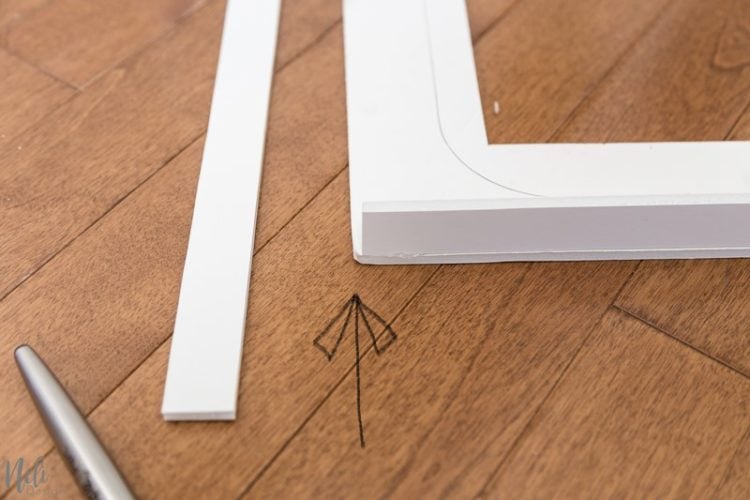
Once the frame is cut, place it on top of the cookie sheet. Measure the distance between the surface and the underside of the frame and cut strips of this width. Do the same thing for the inside of the frame.
It's best to leave the strips a little longer than the sides of the frame to allow for adjustments.
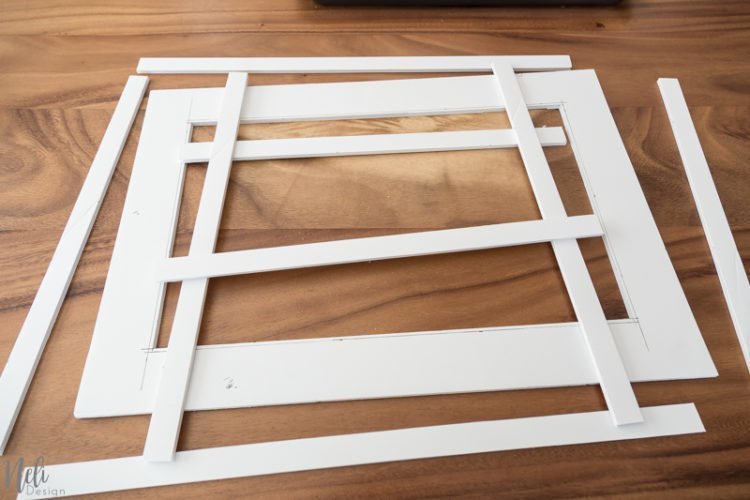
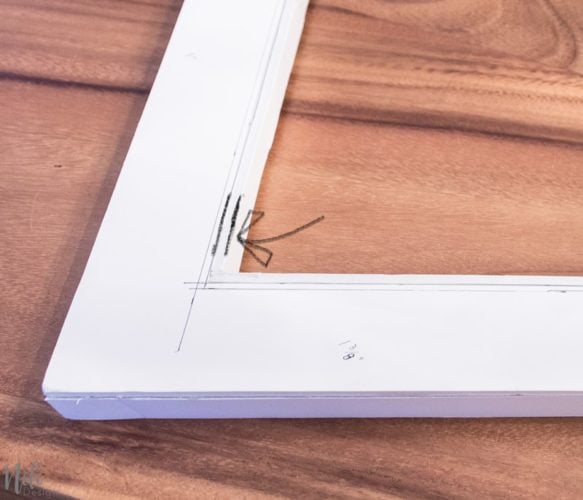
Use the hot glue gun and assemble the frame by assembling the corners this way and cutting the strips one at a time:
Here's what it looks like once everything is assembled! You'll be ready to test if it fits nicely on the cookie sheet.
Ishhhhhhhh !!! When I suggested above not to take the internal dimensions of the cookie sheet too close to the edge, it's because I made this exact mistake. As the inner corners of the cookie sheet are rounded, I was not able to insert the frame. If it ever happens to you, just do as I did and take off the inner edges and simply glue them this way instead!
Decorate the frame
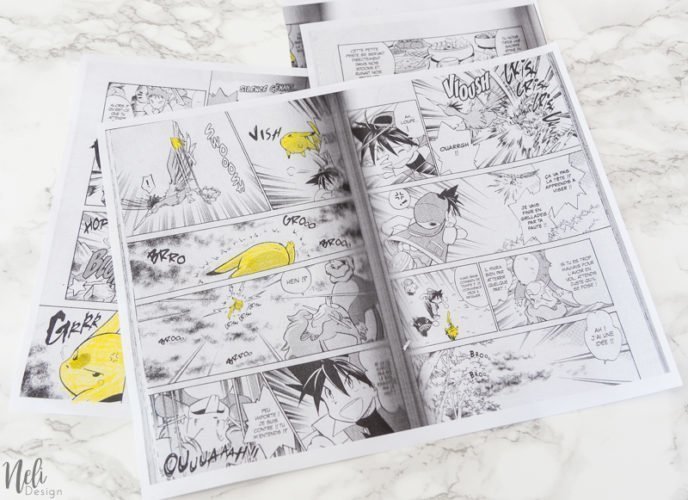
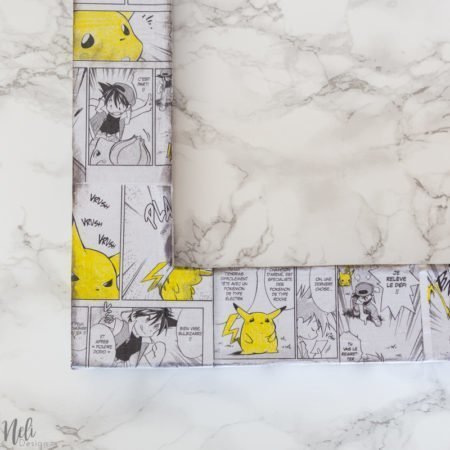
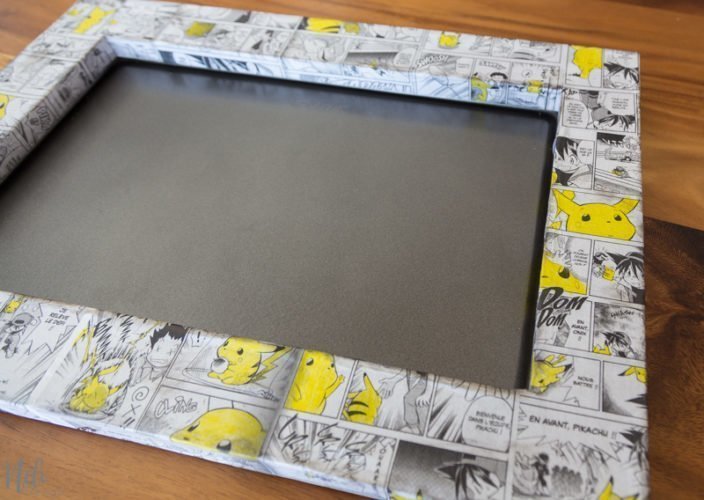
I chose Pikachu and Pokemon to decorate the frame, but you could take any paper. I photocopied a Pokemon manga that my son had and the children coloured the Pikachu in yellow with a wooden pencil to give a touch of colour. If you don't have a book at home, you can rent it from the library or do an internet search and print pages.
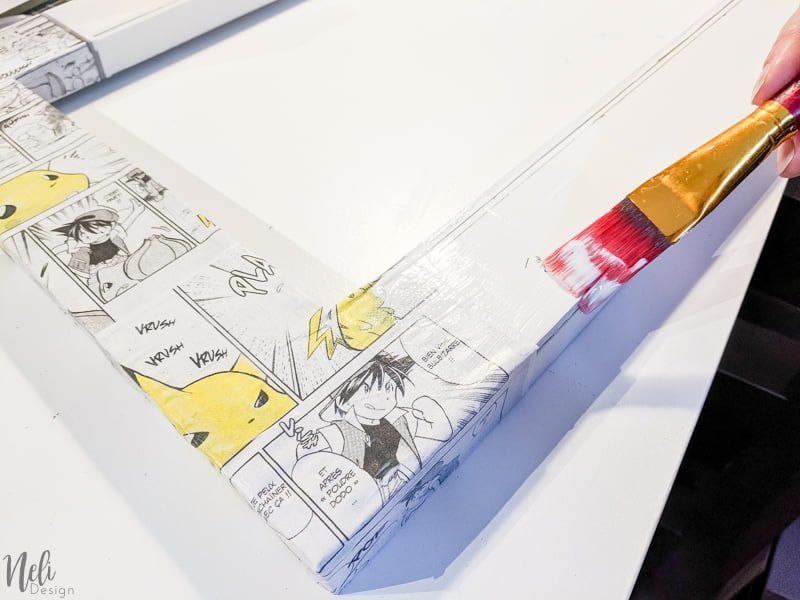
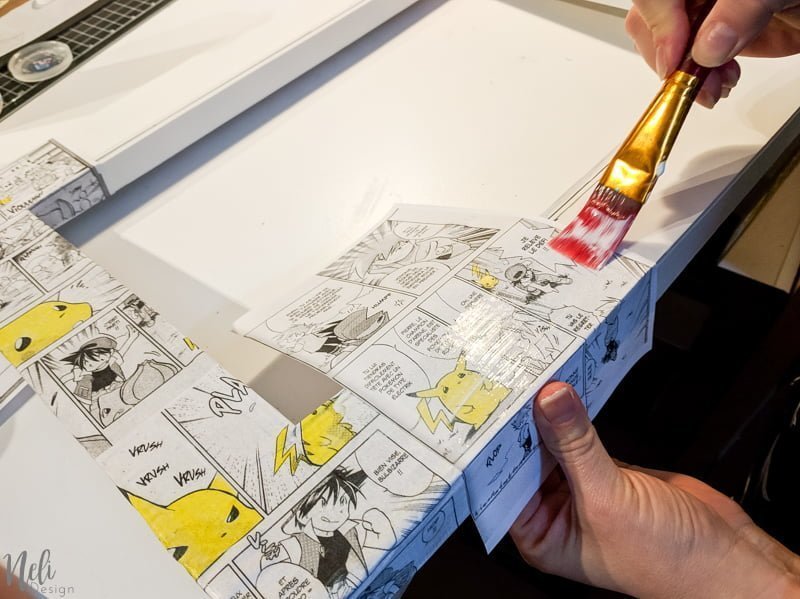
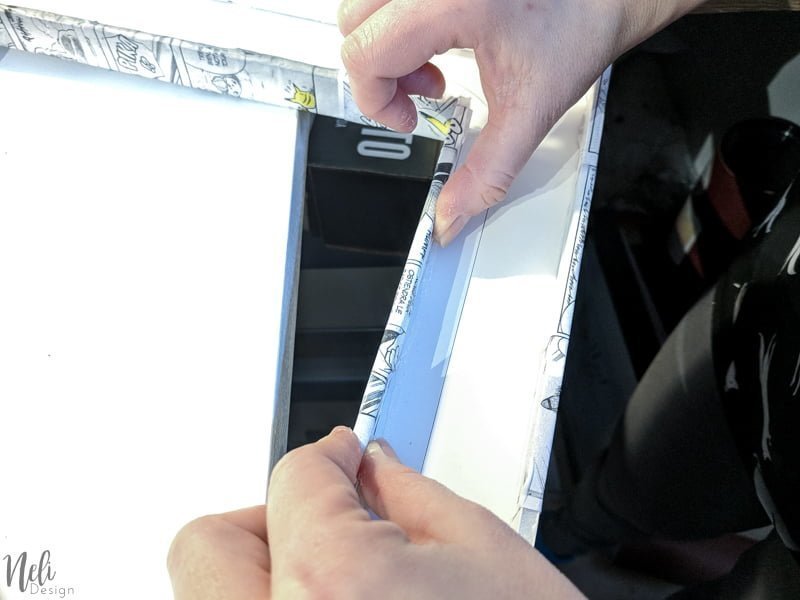
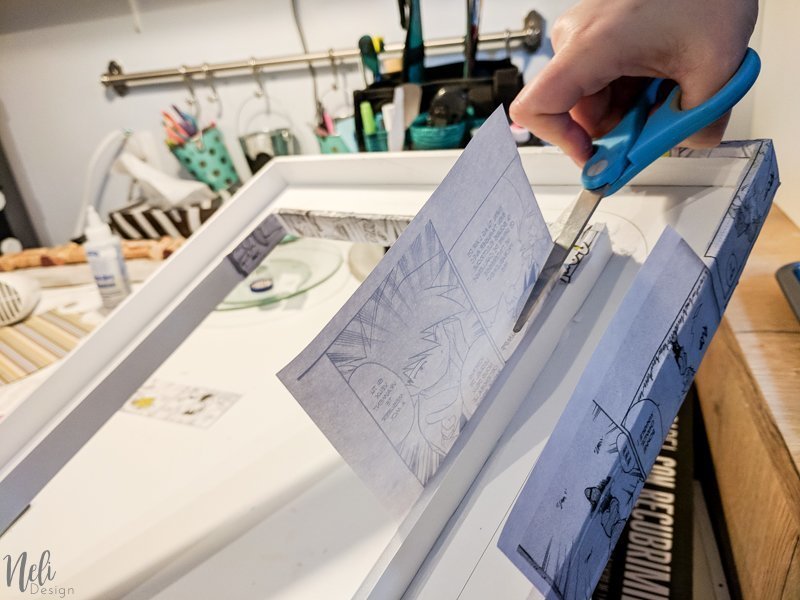
To decorate the frame, just brush the Mod Podge, apply the paper and add more Mod Podge over it. Turn the frame upside down and cut out any excess of paper. Fold the rest of the paper in and glue it well with Mod Podge.
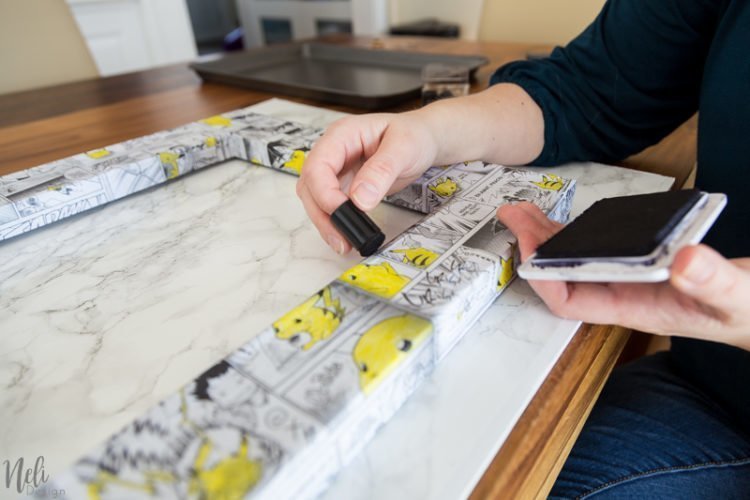
Once everything was dry, I added some ink touches to give an aged effect.
You can see the difference without ink (left) and with ink (right).
And here is the frame on the cookie sheet.
Although there are many steps, the frame is easy to make and gives a so much better look to the cookie sheet!
In the next post
Next week, I will explain how I finalized the bottom of the cookie sheet and also how to made personalized magnets (a freebie will be coming just for NeliDesign's VIPs!!)

