This tutorial will show you how to use your Cricut to make this glass painting technique as you might have seen on TikTok.
I have kids who love to listen to anime. You know, those Japanese animes like Naruto, Haikyuu and Attack on Titan.
I must say that I'm not a super fan myself (a real boring mother!!), but I must admit that the drawings are very beautiful.
A trend on TikTok right now is to take images of these anime, duplicate them on glass and add acrylic paint to the back.
My daughter made several of them and I was very impressed! Look for yourself:


That's when I thought: Why not use my Cricut to make this technique?
Obviously, I took a cute little fox for the demonstration.

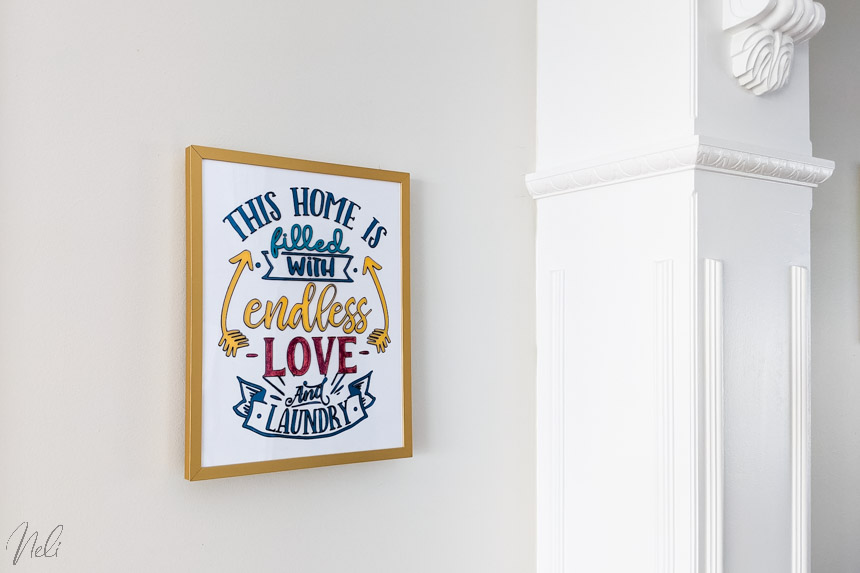
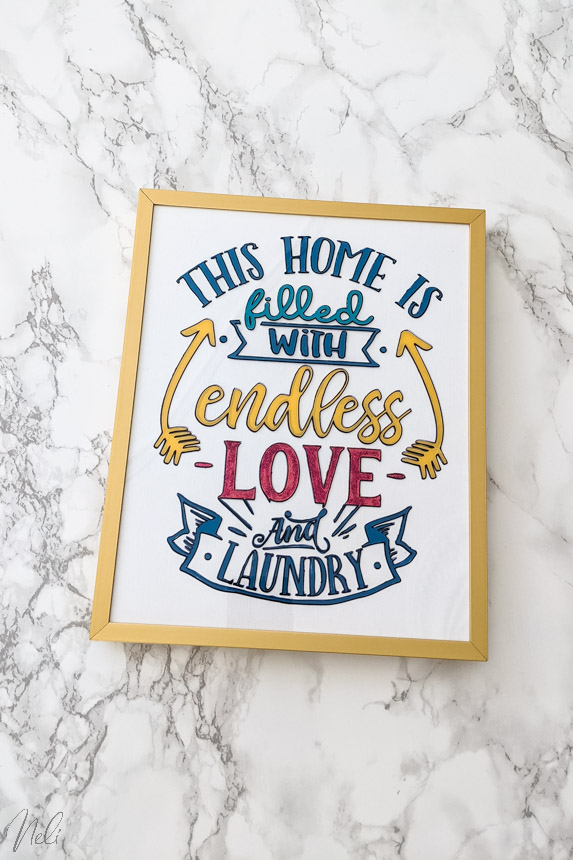
And I also tried with a funny quote.
In addition, instead of using glass, I used Grafix 0.020 plastic. The same one I used for engraving in this tutorial. This post contains some affiliate links for your convenience and at no extra cost to you. Click here to read my full disclosure policy.
Required tools and materials
Note that I also have another tutorial on how to make the same thing with vinyl!
- Cutting machine with the option to draw (I have the Cricut Maker, but the Explore Air 2 can also do)
- Sharpie Oil-based felt adapter (Warning, these don't work with the Cricut Joy)
- Sharpie Oil-based black tip extra-fine
- Craft Plastic - Grafix 0.020 (or a frame with plastic instead of glass)
- Acrylic paint
- Brushes of different sizes
- Toothpicks
- Glitters (optional)
- Mod Podge (optional)
SVG files used
Making glass painting
It is important to understand that not all SVG files are ideal for the "draw" function. Here are some examples I took on Design Space:

By changing to "Draw" we can see the result of each. Thus, the dog, the cat and the young lady end up with a double border.

In the case of our project, it's not the end of the world because we want to paint, but it still means that we will have to fill this border with colour. That's why I chose the single-line fox.
In Design Bundles, to find more single-line files, just select the menu "Crafters" and "Single Line Designs" or click here.
You can also see in the video below where I show you how to find other single-line images directly in Design Space.
Step 1 - download
Download the previously saved image to your computer.

The one chosen is this quote purchased from Design Bundles.

Step 2 - mirror
I usually "Flip" the image immediately if I want my drawing to be drawn or cut upside down. I do not like to do "Miroir" on the mat because by the time I get there, I know I'm going to forget!! (I'm sure it has already happened to you too!)

Step 3 - template
Draw a rectangle that will represent your plastic.

Enter the required dimensions. My plastic was cut to 8" x 10" to fit into a frame of the same size.

Select everything and in the "Operation" menu, choose "Pen" in the "Draw" section.
(Note that this is Design Space's new drop-down menu. Previously, in the classic version, we found the two menus "Linetype" and "Fill" which were merged into the new version to become "Operation")

Resize your quote to the size that suits you and, while everything is selected, choose "Align" and "Center."

Step 4 - position the drawing
Here's my trick to make the pen draw exactly at the right place on your plastic.
Select everything and change the position of (x, y) to (1, 1). Thus, the top left corner of the rectangle is in the position (1", 1").

Then draw a circle.

Change the size to 0.1 x 0.1 and its position to (0.25",0.25").

Without moving anything else, close the eye of the rectangle layer.

Select everything and click "Attach."

Step 5 - create
By pressing "Create" you will see that the small circle automatically positions itself in the upper left corner of the mat so at (0.25", 0.25") from the edge of the mat. This means that if our plastic is installed at (1", 1"), our drawing will automatically be in the right place!

Press "Continue" and choose the material "Acrylic, thin (1 mm)".

Step 6 - install plastic
Install the plastic on the purple mat so that the top left corner is at (1", 1"). You can add a piece of tape to protect your mat when the Cricut draws the little circle that serves as our guide.

Step 7 - adapter
Unfortunately, Cricut does not yet have a permanent pencil (oil-based) that can draw on acrylic or plastic.
So, I used an adapter that I bought from Springbok Craft Supply. (I don't recommend using products that aren't from Cricut if yours is still under warranty, so if you've had it for less than a year).
To install it, the Cricut adapter must be gently removed by pushing gently, but firmly, from below.

Then insert the new adapter and pen into clamp A of the Cricut. Be sure to shake and prime the pen beforehand as the pen has a tip that needs to be pressed to get the ink out.

Step 7 - drawing
Watch your Cricut as it draws. If you see some lack in the ink, press pause, remove the pen and prime it again.
Tip: when the drawing is finished, before removing the mat, press the "Go" button to make a second pass and fill in the gaps if you have too many of them. It's not always required, it depends on the wear of your pen and the size of the drawing.

Step 8 - Paint
The last step: paint! Note that you're going to have to put a very thick layer of paint. I also recommend you dab your paint instead of brushing it to keep it as thick as possible. (See the video below to better understand).

And if you ever exceed the design with the paint, no problem! Simply use a toothpick or cotton swab to remove anything that exceeded.

Put on a lot of Paint
When I mention that you really have to put a lot of paint I'm not exaggerating! You can see here the back of the various drawings made by my daughter and me.


Video tutorial for all the details
I suggest you see the video for all the details as well as, as usual, some bonus tricks like:
- Create shading
- Use glitters
- Layer the paint
I think this technique can be super fun when you don't have a very stable hand (like I do!) to draw a continuous line.
Also, making the Cricut do the base of the drawing and giving the rest to the kids can be a good way to keep them busy. The result is really satisfying!