Wondering what’s the difference between regular HTV and flocked HTV? Want to know what to do with it? I have everything you need to know to be inspired and get started with confidence!
What is flocked HTV?
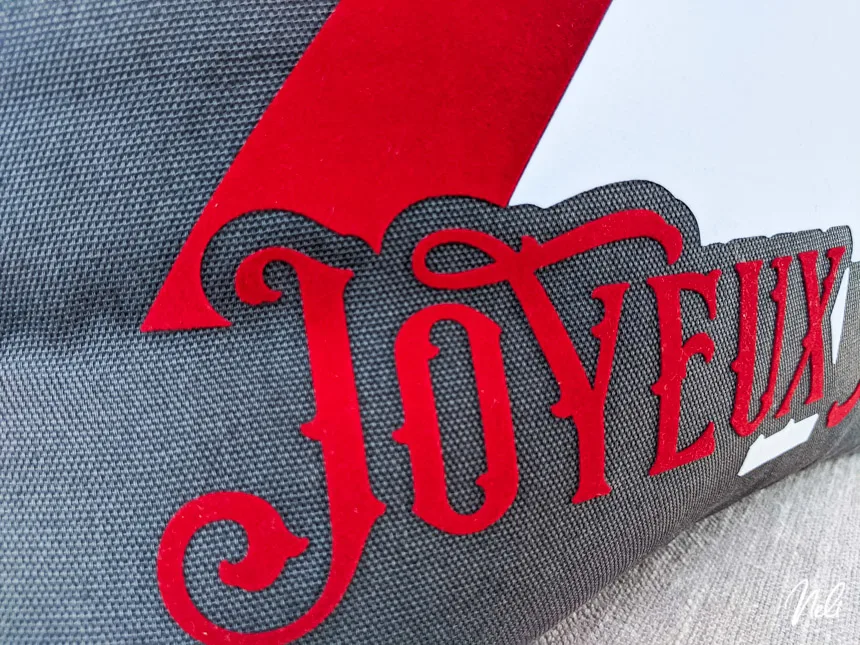
Flocked HTV is not a regular heat transfer vinyl (or Iron-on). First, it is much thicker and therefore will raise your design giving it dimension.
But the best thing about Flocked HTV is the feel. To the touch, it feels like felt or velvet which makes the design look more professional than the vinyl-looking kind.

Where can you get flocked HTV?
You can buy this kind of vinyl on multiple sites especially if you’re in the U.S.
This post contains some affiliate links for your convenience and at no extra cost to you. Click here to see my full disclosure policy.
I found some Flocked HTV on Amazon here:
- Craftables Flocked HTV
- Firefly Craft Flocked HTV (not available in Canada)
But as a Canadian, my choices were more limited.
That’s why I decided to go with a trusted brand: Siser.
Their flocked HTV is called Stripflock and comes in a variety of colours. From what I also learned, it is the only flocked HTV that can be layered and not only as a top layer but also on top of other Stripflock (although, since it’s already thick, I’m not sure how it would look…).
If you’re in Canada and want to buy the Siser brand too, I strongly recommend shopping at ScriptDesigns.
On what base material can you apply flocked HTV?
You can really apply flocked HTV on multiple projects. You should always check the manufacturer’s instructions to make sure. As for Siser Sripflock, you can apply it to:
- 100% cotton
- 100% polyester, elastan
- Poly/cotton blends (not for dye sublimated fabrics)
How to cut flocked HTV with your Cricut?
Once you’re ready to cut your design, you’ll want to make sure you don’t forget to mirror your image.
Like any other HTV vinyl or Iron-on, you’ll need to put the shiny side down (because the shiny side is actually the carrier sheet).
Cricut Design Space setting for flocked HTV
This one is going to be pretty easy! There’s a custom setting especially for flocked HTV right in Cricut Design Space!
If you have a Cricut Explore Air with a dial, use the Custom setting and follow along in Design Space.
Click on Browse All Materials

Type “Flocked” in the search bar and select “Flocked Iron-On” and click Done.

Always carefully read this window before cutting. It will remind you if you need to do anything specific. In this case, as mentioned before, Design Space is warning you to Mirror your design and place the material shiny side down.
If you forgot to mirror, you can click on “Edit” on the left and mirror the design from there.
You can also see that only the Fine-Point Blade is required (which is the regular blade of the Cricut).

This setting worked perfectly for the Siser Stripflock I was using. But it might vary depending on what brand you’re using.
Note that you should always make a test cut, especially when you’re using a new material. Nobody likes to waste precious and expensive materials. Click here to learn how to easily make a test cut.
Heat Press setting for flocked HTV
You should always check the brand’s recommendation. As for Stripflock, Siser recommends 320°F (160°C) with medium pressure for 15 seconds.
They also specify to wait until it’s cold to the touch to peel. You absolutely need to follow this. If you try to remove it while it’s hot, there’s a good chance it will come off.
Make these Christmas pillows with flocked HTV
You could make so many things with this soft material.
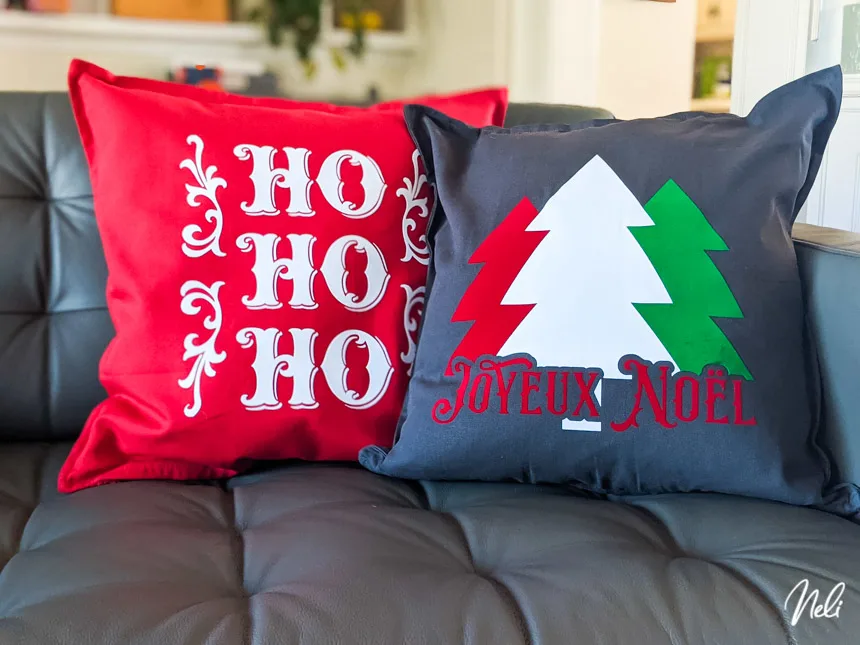
It has especially inspired me to make these cozy Christmas pillows.
I have the free “Joyeux Noël” SVG cut file for you (I will also have the “Merry Christmas” version if you prefer!)

If you’re looking for the “Ho Ho Ho” SVG cut file, you can find it here.
Subscribe to my newsletter so you don’t miss a thing! If you do, I will send you this free Cricut Blades, wheels and tip cheat sheet and also give you access to a library full of free SVG cut files including the “Joyeux Noël / Merry Christmas” file!
Don’t forget to Pin it to your favourite Pinterest board!


