Are you wondering how to layer vinyl with your Cricut? I'm going to show you an easy trick that works for both adhesive vinyl and heat transfer vinyl!
Last December, I showed you how to assemble 2 different layers of adhesive vinyl using a simple trick. This time will be layering 7 colours using my free rainbow SVG file that you can get by subscribing below.

The rainbow SVG will be used to layer multiple colours of vinyl with the Cricut on two different projects. For the first one, we'll make a coffee mug using adhesive vinyl and the second one, we'll be using heat transfer vinyl (HTV) on a tank top.
For the two projects, I'll show you how to use registration marks. The method is similar for both but totally different at the same time.
How to layer vinyl with your Cricut - Adhesive and HTV
Follow this video for the detailed step-by-step on how to layer vinyl.
The following notes are here to help you:
Adding registration marks in Cricut Design Space
A registration mark is a shape that will be use on each layer of the project. The objective is to use it as a guide when applying every layer on top of one another.
I like to use stars as registration marks but you could also use other shapes.
This post contains some affiliate links for your convenience and at no extra cost to you. Click here to see my full disclosure policy.
How to layer adhesive vinyl

Required Tools & Materials
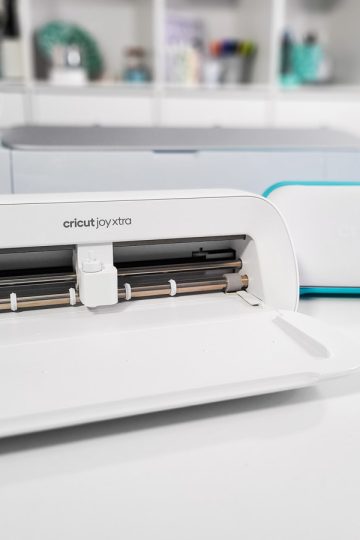
- Cricut Maker (the Cricut Explore Air 2 is also fine)
- Weeding tools
- Coffee mug
- Oracal 651 vinyl in all the colours of the rainbow
- Transfer paper
- Scraper
- Rubbing alcohol
- Free SVG Rainbow file that you can get by subscribing below
Notes on layering adhesive vinyl
- It's always best to limit yourself at one or 2 layers on top of each other** (unless it's an artwork or something that won't be manipulated at all).
- Don't forget to rub the surface with rubbing alcohol to eliminate dust and oil.
- You don't need to mirror your project in Cricut Design space
How to layer heat transfer vinyl

Required Tools & Materials
- A way to cut your HTV (I have the Cricut Maker but the Explore Air 2 is also fine)
- Easy Press (I have the 9" x 9")
- Cricut protective sheet or Cookina
- HTV vinyl (the one I use is Siser HTV stretch and this is where I buy it (great choice and excellent service))
- Free SVG Rainbow file that you can get by subscribing below
Notes on layering heat transfer vinyl
- You can get the Siser Heat Guide here and the Cricut Iron-on guide here.
- It's always best to limit yourself to 2 layers on top of each other. Understand that you could add more but the more you add the bulkier it will feel.**
- Specialty vinyl (like glitter vinyl) can only go on top.
- If you're a beginner, I suggest you use the same kind of vinyl for your entire project (although you can totally vary the colours!)
- Don't forget to mirror ALL your mats after pressing "Make it" in Cricut Design Space.
**There's a method, called the slice method, that enables you to make a design that appears to have multiple layers even though it's only one. This is more of an advanced technique that I promise to show you later! But I want to warn you that, if you're a perfectionist like me, you might have a problem with this technique when it comes to HTV. Since this vinyl expands a bit when heated, it sometimes leaves the layers not matching perfectly together. Consider yourself warned!! 😋
I hope this tutorial helped you in getting your projects with multiple layers as beautiful as you imagine them! As for myself, I am sending the mug and tank top to two of my friends. A little present to remind them that "everything will be fine".
PS: Don't forget to Pin it