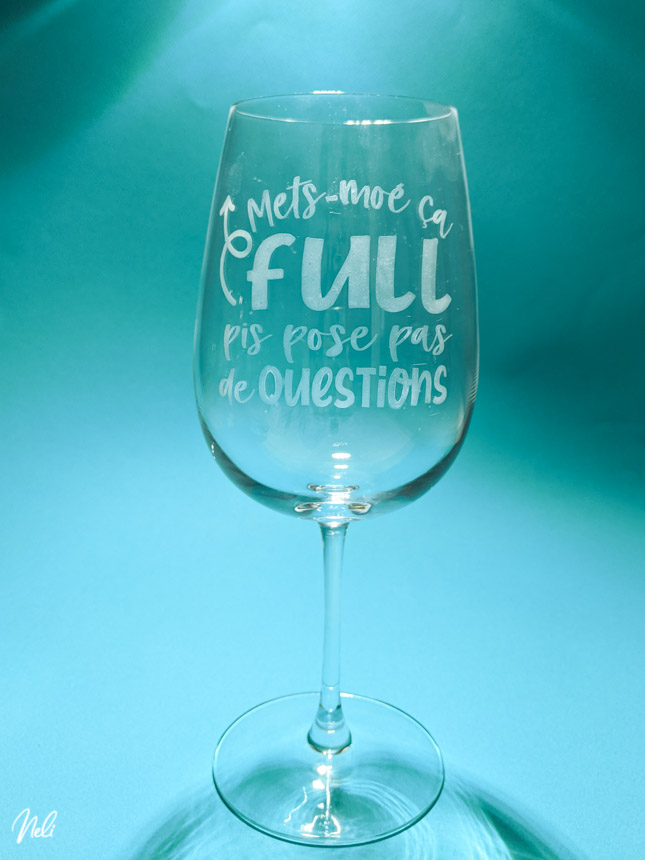
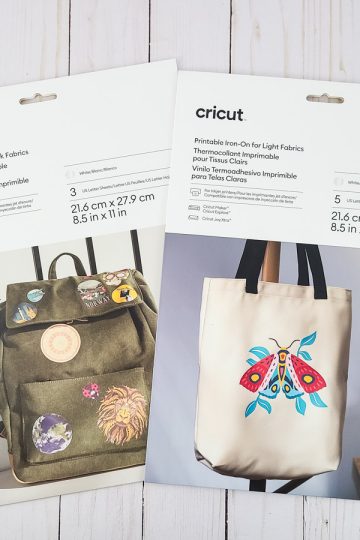
This post will tell you everything you need to know about glass etching and how to use your Cricut to help you achieve awesome projects!
Glass etching is a cool permanent way to personalize all kinds of transparent dishes, pots and glasses. And the best part is that using your Cricut to do so can make this technique so easy.
How to etch glass?
Now it's important to note that the Cricut will not etch the glass. Even the Cricut Maker with the engraving tip will not be able to etch glass.
This glass etching technique is achieved using etching cream. Therefore, your Cricut will be used to make a stencil to apply the etching cream in order to make patterns and designs.
What is etching cream?
Etching cream is a cream that is specifically made to remove tiny bits of glass and therefore roughen the texture leaving a frosted look and coarse feel to the touch.
Is etching permanent?
That's the primary reason why you would like to etch glass: it's permanent and therefore dishwasher safe!
What surfaces can you use etching cream on?
Not all glass is created equal and you might not always have the same results on different types of glass. The best thing to do is to test it on a similar object before if you can.
Pyrex glass also seems to have different results. I found that it depends if you have an old Pyrex plate or a new one. New Pyrex seems to work better for etching. Again, testing is recommended.
How to etch curved surfaces like wine glasses?
Flat surfaces and cylindrical shape glasses are the easiest to make.
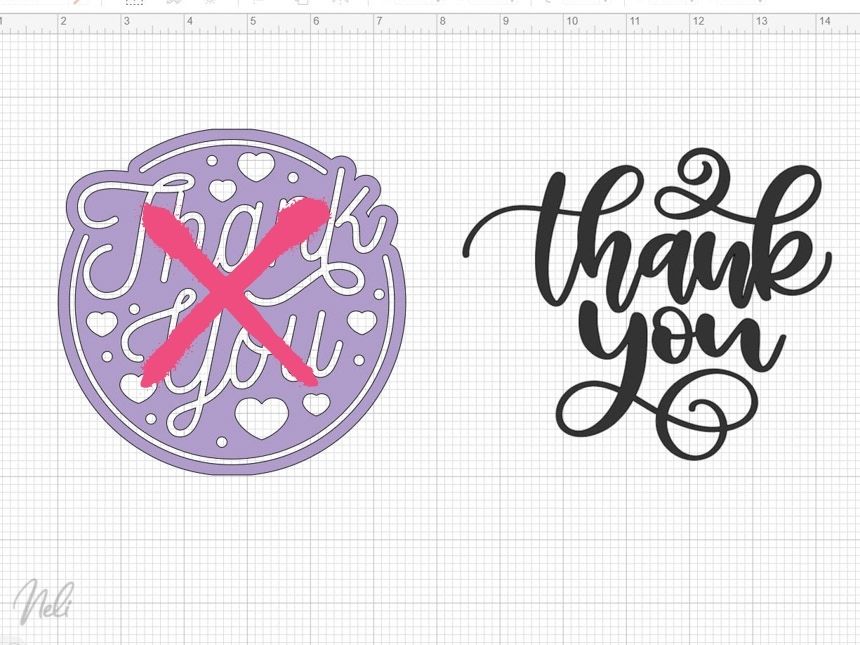
If you're looking to etch a wine glass, for example, try to find a simple design. Avoid designs that have a closed shape like a circle, square, etc. You'll never be able to apply it properly and the shape will then be distorted.
If you look at the image below, you should avoid the left one and instead go for a simpler image like the one on the right.
Because seeing is worth a thousand words, here's a short video I've made showing my best technique to apply vinyl (a stencil) to a curved surface.
What is the best vinyl to use for glass etching?
Honestly, the best vinyl to use as a stencil is the vinyl you have on hand and you think you will not use for a project. It can be either removable or permanent adhesive vinyl, it doesn't really matter.
The vinyl I'm using here is a leftover of Cricut removable vinyl and it worked like a charm!
Glass etching Step by Step
This post contains some affiliate links for your convenience and at no extra cost to you. Click here to see my full disclosure policy.
Materials and tools needed
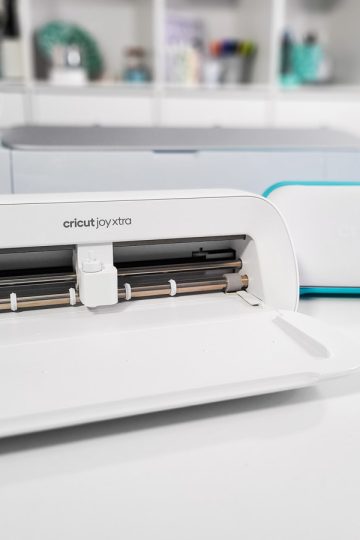
- Cutting machine (I have the Cricut Maker, but any other cutting machine can do. The Explore or even Cricut Joy can be used)
- A glass object of your choice. In the video above, it's these IKEA wines glasses.
- Leftover adhesive vinyl (removable or permanent)
- Transfer paper
- Etching cream (I used Rust-Oleum Speciality Tub & Tile Etching Cream but a lot of people use Armour Etch)
- Small paint brush or popsicle stick
- Scraper
- Weeding tools
- Parchment paper
- Painter's tape
- Old newspapers
- Gloves
- Security glasses
- Paper towel
- Rubbing alcohol
- Scissors
Why did I choose Rust-Oleum instead of Armour Etch?
I honestly couldn't find Armour Etch anywhere. Well, at least not at a reasonable price! The best I found to be delivered to Canada was $26 for 10 oz (295 ml) + shipping. That's why I decided to take my legs and go to Home Depot and buy Rust-Oleum that was around $40 for 948 ml!!!
And just to help you, here's a picture of the Rust-Oleum Cream so you know how big is the container, because, confession, I've searched Home-Depot a lot before finding the container (even though I knew in what aisle it was!!). I don't know why but I was looking for something bigger!!!
If you don't know that hack on how to know exactly where something is at Home-Depot, check out this short video from my friend Lindsay, from A Butterfly House.

Although it does contain so much more than what I'll ever be able to use in a lifetime!! Buy it with your friends if you can!
Step 1: Cut your design with your Cricut and weed it
For this step, I strongly suggest that you make sure your letters are big enough. Look especially at the centers of the letters, like the hole of an "e". If they are too small, the etching cream might seep under it or you might just lose it when you transfer it to the glass.
Confession: this happened to me. Sometimes, you just have to let it go. We were still able to read it perfectly.
To weed, you'll need to remove everything that will be etched. In this case, all the letters needed to be weeded (I found blue letters everywhere for weeks after that! 🤣)

Step 2: Apply transfer paper
Cut a piece of transfer paper the size of your design and apply it to the vinyl using your scraper.

Step 3: Remove the transfer paper
Remove the transfer paper by pulling it perpendicularly as shown in the image below

Step 4: Apply Parchment paper
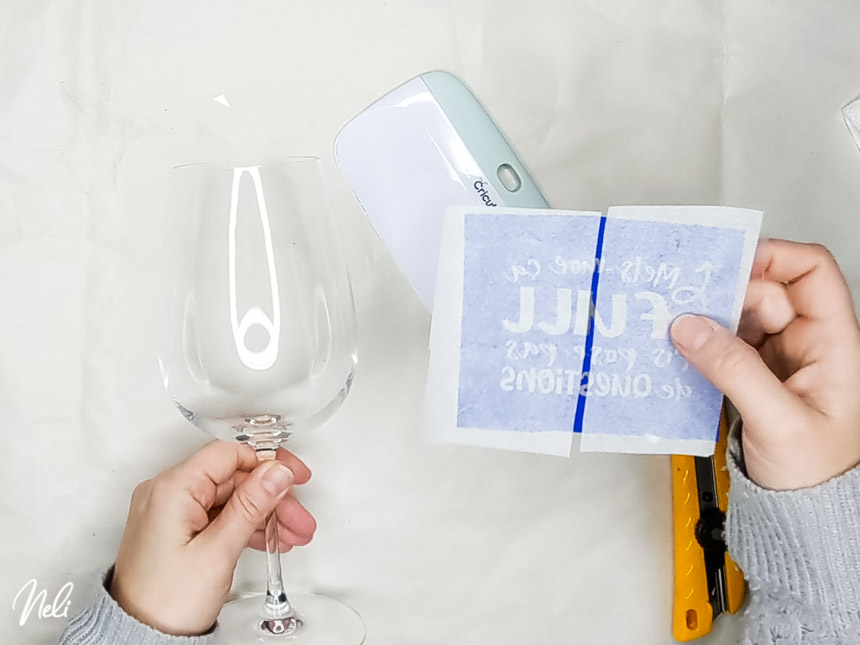
Cut two pieces of parchment paper and apply it to the sticky side of the vinyl, leaving a small space in the middle.
Step 5: Apply the vinyl on the glass
Use a paper towel and rubbing alcohol to wipe the glass clean.
Apply the vinyl. The parchment paper will enable you to move your vinyl until you are satisfied. When you are, press in the middle, so that the vinyl sticks to the glass.

Remove the right side of the parchment paper and cut between the words with scissors so the design can lay as flat as possible. Do the same thing for the left side.

Remove the transfer paper and make sure the vinyl lays flat on the surface, especially where the letters are. You'll want to flatten any crease you see to make sure the etching cream doesn't leak under the vinyl.

Step 6: Protect the glass
Add painter's tape around the design and cover the rest of the glass with newspaper. This is not mandatory, but I know how clumsy I can be and wanted to make sure not the etch something I wasn't supposed to!

Step 7: Add the etching cream
Make sure to use safety glasses and gloves. I used a popsicle stick to apply the cream. Make sure you cover all your design with a thick coat.
Leave it for 20 minutes.

When the time's up, you can put back the overflow of the etching cream into the container. Then wipe as much as you can with a paper towel.
Rinse it under running water and remove the newspaper and vinyl.

Step 8: Don't panic!!!
You might see these white spots appear. Just finish removing all the vinyl and rinse the glass again. They will dissapear.

How long should I leave glass etching cream on?
As I said, you definitely should make a test before if you can! I found that for the Rust-Oleum product, 20 minutes seems to work every time.
If you leave it for less than 20 minutes, you'll have an uneven frosted surface.
On the opposite side, leaving it for more than 20 minutes (I went up to an hour), didn't make the etch better or worse.
What's the difference between Armour Etch and Rust-Oleum?
Now, I haven't used Armour Etch Cream and therefore, this is only what I think.
Armour Etch seems to take less time to etch. I saw people recommend 3-5 minutes. This leads me to believe that the Armour Etch could be more corrosive? Maybe. Maybe not.
I know that the Rust-Oleum doesn't have a strong odour. If you have used Armour Etch and have an opinion on this, please leave me a comment below.
The Rust-Oleum is made for "Tubs and tiles" and therefore for large surfaces. Armour Etch specifies "Not recommended for etching large areas of glass over one inch by one inch".
I hear I need to keep the cream moving (brush it non-stop)
I've tried it both ways with the Rust-Oleum cream and brushing it doesn't make a difference at all. Just leaving it on for 20 minutes worked perfectly.
That seems to be a recommendation for Armour Etch Cream.
How to make etched glass stand out
Glass etching will stand out by itself if your glass is clear and you have something of a darker shade inside. It might not be the best idea to use this technique, let's say, on a jar of flour 😅
I've also seen other tutorials where they added Rub N' Buff to add colour to the etch but I have yet to try it! If you do try it, make sure it doesn't come in contact with food or the mouth since it's toxic!
Are you going to try glass etching? I hope this tutorial helped you gain the confidence to do it!
Don't forget to Pin it!


