NeliDesign

menu icon
go to homepage
  • Projects
    • Cricut Help
    • Home Decor
    • Crafts
    • Organization
  • Materials
    • Adhesive Vinyl
    • Heat transfer vinyl
    • Foil
    • Infusible Ink
    • Paper and Cardstock
    • Pens and Markers
    • Other
  • Free cut files
    • See the free cut files
    • Get the free cut files
      • Get a password
      • Access the Library
  • Shop
  • Français
search icon
Homepage link
  • Projects
    • Cricut Help
    • Home Decor
    • Crafts
    • Organization
  • Materials
    • Adhesive Vinyl
    • Heat transfer vinyl
    • Foil
    • Infusible Ink
    • Paper and Cardstock
    • Pens and Markers
    • Other
  • Free cut files
    • See the free cut files
    • Get the free cut files
      • Get a password
      • Access the Library
  • Shop
  • Français
×
Home » Blog » Home Decor

How to customize this free SVG bowling party invitation

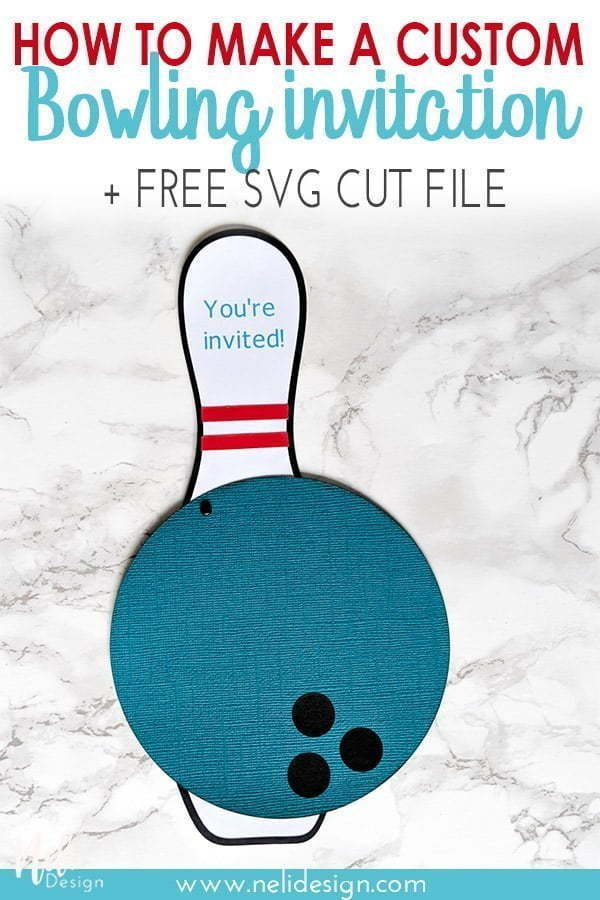
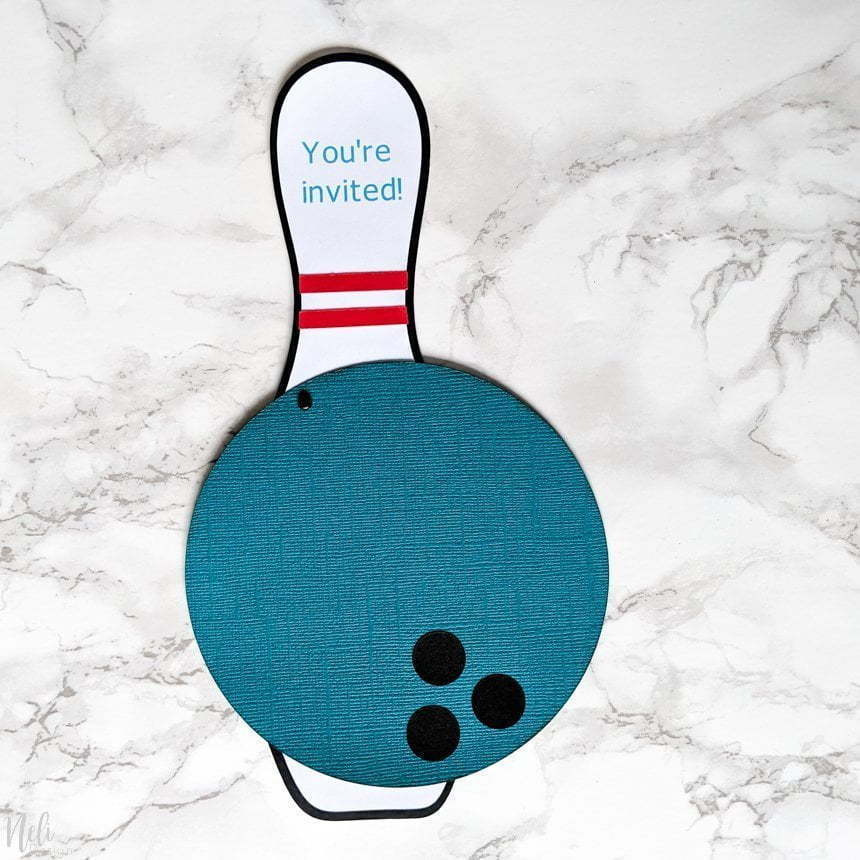
Whether it's for a kid's birthday or just a friendly party, you can easily customize this free bowling party invitation by using this tutorial and my free SVG template.

The free bowling invitation assembled.

I had this idea a while ago and actually made these invitations for the first time for my daughter's 6th birthday which had a bowling theme. But at that time, I had no Cricut and made everything by hand.

Today, I'm upgrading my freebie and offering it to you as an awesome SVG cut file that you can download for free and let your cutting machine do (almost) all the work!

Are you ready to make these invitations in no time? This post contains some affiliate links for your convenience and at no extra cost to you. Click here to see my privacy policy.

Materials for the free bowling party invitation

  • Cricut cutting machine (I have the Cricut Maker and I love it so much!)
  • Coloured cardstock
  • Glue
  • Mini Brads or ribbon
  • Colour printer (or black and white printer could also be fine)
  • My free SVG cut file that is available in my free resource library. Just go to the bottom to get the password to access it!

How to upload the cut file to Cricut Design Space

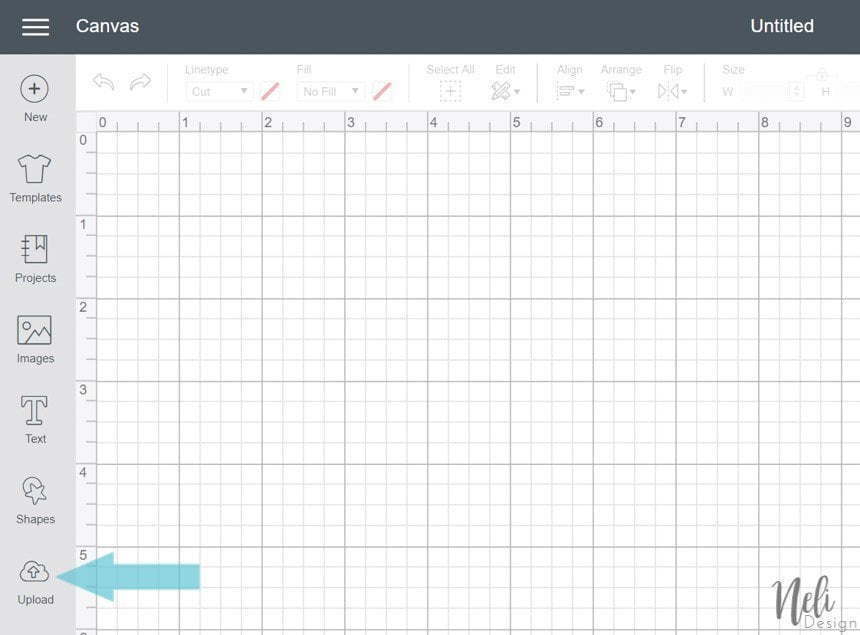
First, you'll need to download my free SVG cut file and save it on your computer. Then, in the Cricut Design Space, click on the upload button show below.

view of the Cricut Design Space Upload button to make the free bowling invitation

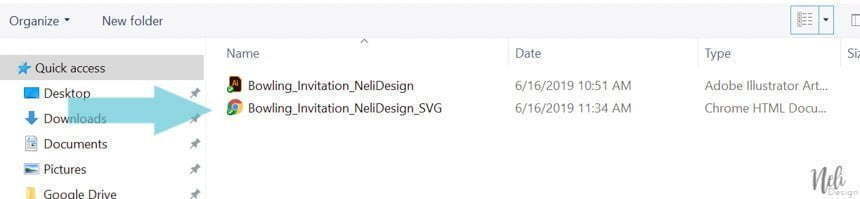
Click on the "Upload image" button and find the SVG cut file that you've previously saved on your computer.

view of the Cricut Design Space Upload image button to make the free bowling invitation

Note that SVG cut files have the Google Chrome symbol. I identify my file with "SVG" at the end so you can't make any mistake.

view of the Cricut Design Space Where to find the SVG file of the free bowling invitation.

How to customize the cut file in the Cricut Design Space

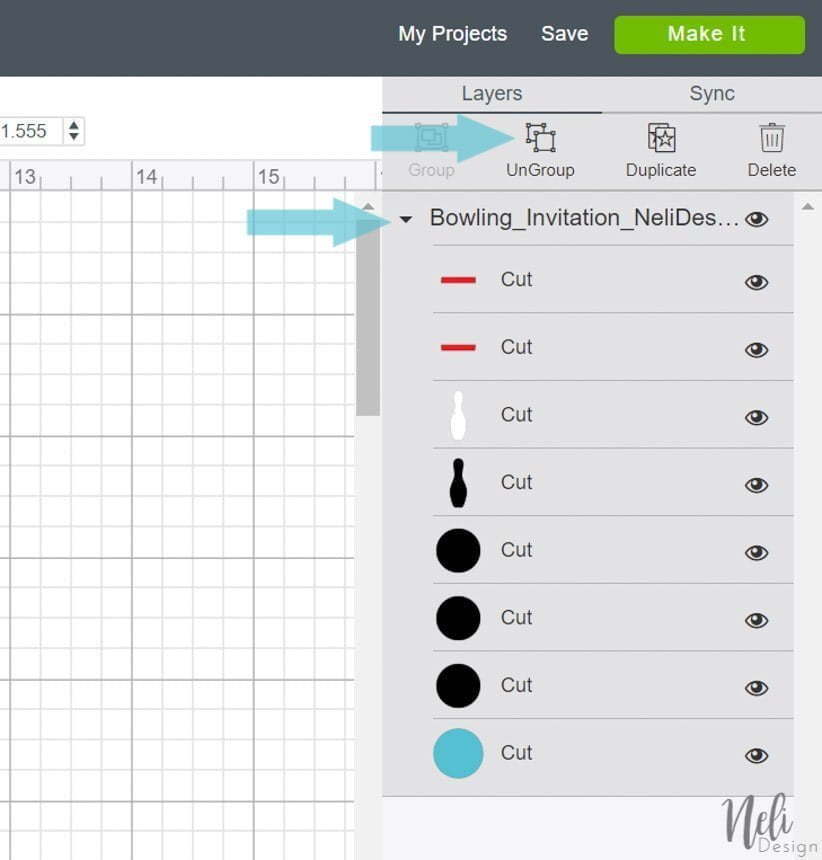
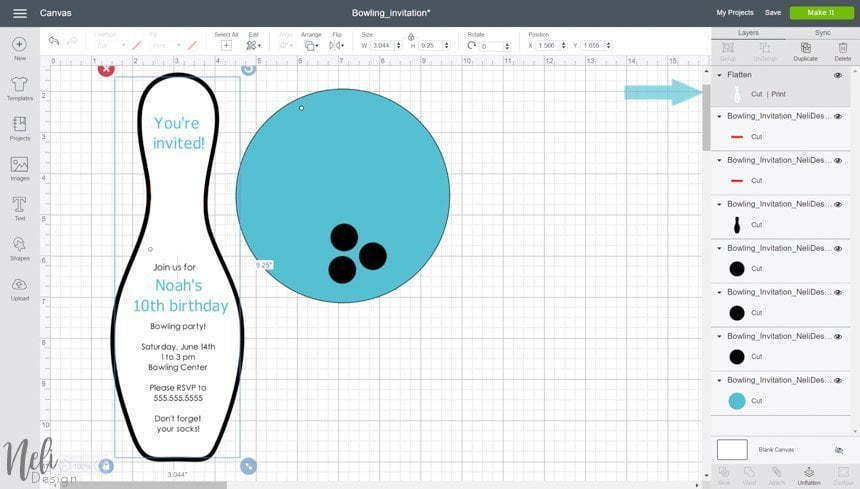
Now, once the file is uploaded to the Cricut Design Space, you'll see the name of the file at the top of the layer panel. That means you need to "UnGroup" it before.

view of the Cricut Design Space, how to ungroup to make the free bowling invitation

Use the "Text" button to type what you want for the invitation.

view of the Cricut Design Space. How to add text to the free bowling invitation.

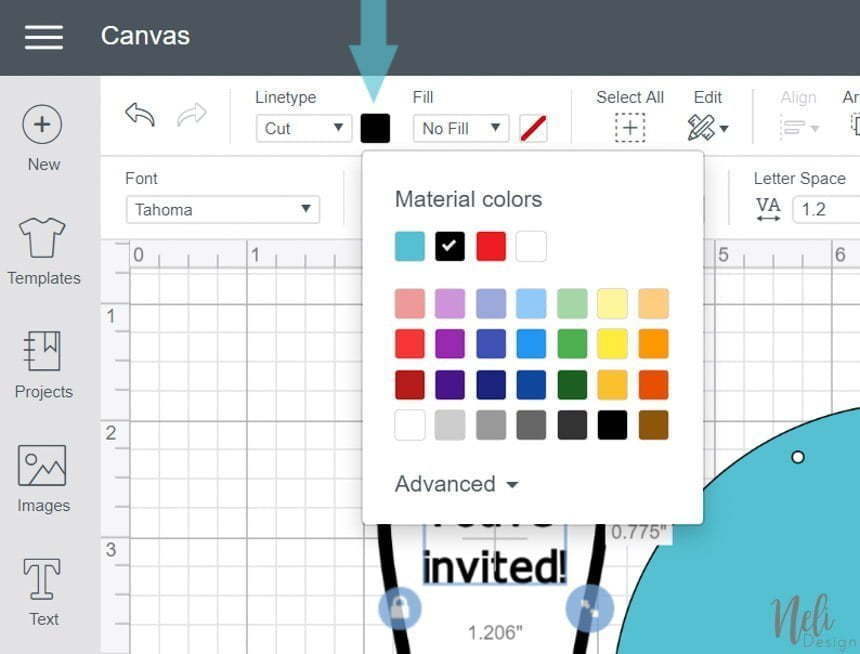
If you'd like to print in colours, you can change it by clicking on the coloured square and choosing a new one, as shown below.

view of the Cricut Design Space. how to change the text colour to make the free bowling invitation.

Now, in order to print and not cut the letters, you'll need to select "Print" in the Fill dropdown menu.

view of the Cricut Design Space. How to set the text to print to make the free bowling invitation.

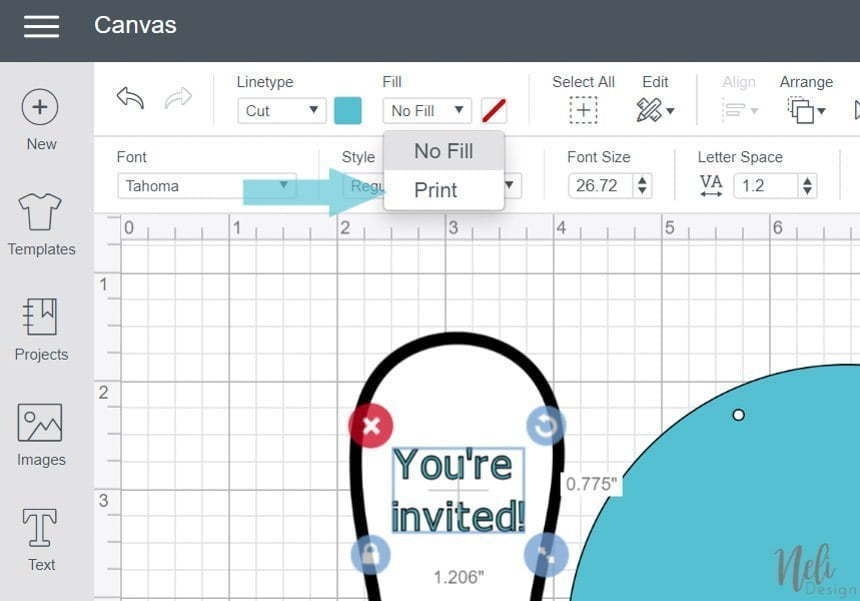
You'll need to do this for all the text you want to print. You can confirm that you're good to go by looking into the Layer panel and making sure "Cut |Print" is next to all your text layers.

View of the Cricut Design Space. How to make sure your text are Cut and print to make the free bowling invitation.

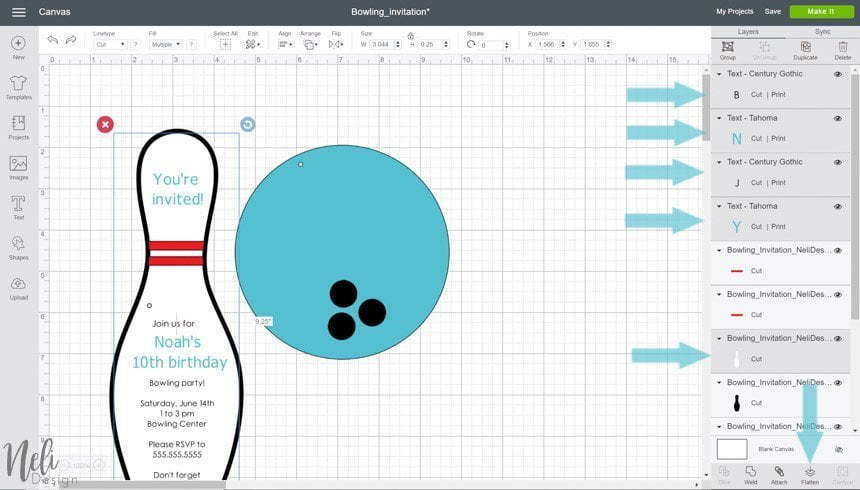
Now, for your text to print on the white bowling pin, you'll need to join them. For that, select all the text layers and the white bowling pin by holding the shift key. Then, click on "Flatten" at the bottom right of your screen.

view of the Cricut Design Space. how to flatten layers to make the free bowling invitation.

This is what you'll see once all the layers are joined together.

view of the Cricut Design Space. What you see when the layers are flatten to make the free bowling invitation.

How to print and cut in Cricut Design Space

Now it's time to click the "Make It" button and see the awesome result 😊! You'll notice that the bowling pin is not showing on the white paper. But don't worry, it's there!!

view of the Cricut Design Space when you press Make it to make the free bowling invitation.

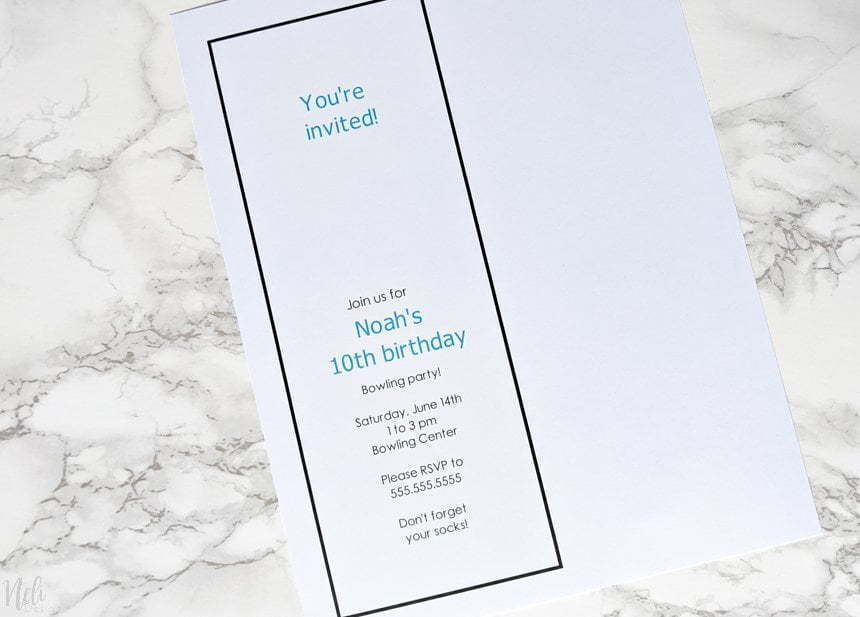
Start by sending the white bowling pin to your printer.

view of the Cricut Design Space. How to send to printer to make the free bowling invitation.

This is the result you'll get. Now, just place this sheet of paper in your Cricut and cut it!

The result of the printed sheet to make the free bowling invitation.

When you're done with all the cuts, this is what you'll get.

All the pieces cut.

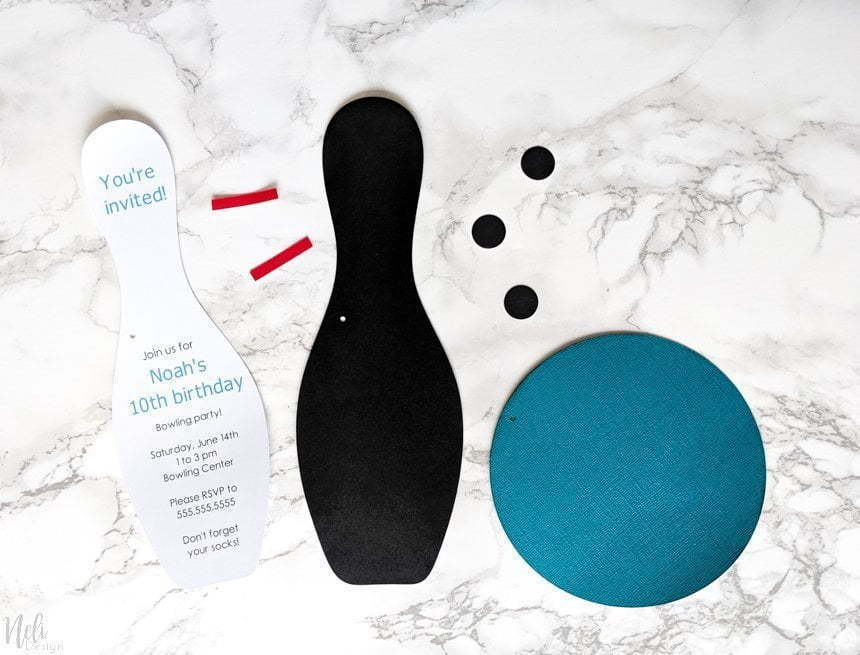
Time to assemble this bowling party invitation!

Get you glue out and assemble everything!

All the pieces of the free bowling invitation assembled.

With a mini brad or a ribbon, join the bowling ball to the bowling pin.

The free bowling invitation assembled.

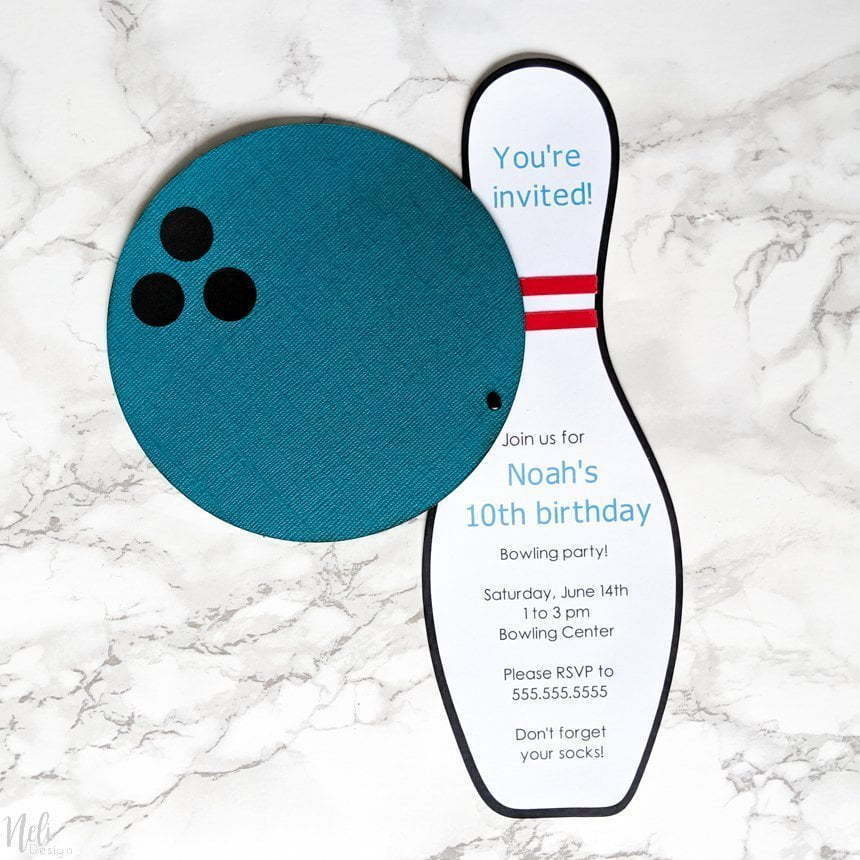
And that's it! A really good looking invitation in no time! Any other kind of invitation you would like me to make for you?

Get my Bowling party invitation SVG cut file for free!

Download my free bowling SVG cut file by subscribing (free) below to get the password to my resource library.

Natalie

Please Pin it for later!

Pinterest image saying "How to make a custom bowling invitation + free svg cut file"
Pinterest image saying "How to customize a bowling invitation in Cricut design splace"

More Home Decor

  • How to cut felt with the Cricut Joy and Joy Xtra
  • Make a 3D Christmas ornaments in cardstock
  • Create felt Scandinavian Christmas ornaments with your Cricut
  • The different types of felt and how to cut them with your Cricut

Hi! I'm Natalie

I help crafters create with confidence, useful DIY and craft projects with their Cricut.

More about me

Popular

  • Cricut Maker 4 and Cricut Explore 4: Everything you need to know about these new cutting machines!
  • Cricut's Value materials
  • How to engrave on a curved surface with the xTool S1 laser cutter
  • Difference between xTool M1 and xTool S1 laser cutters

Seasonal

  • Cricut printable Iron-on for light and dark fabrics - everything you need to know
  • Using Infusible Ink on cotton
  • Buying a Cricut: where to find the best price
  • Make interchangeable candle wraps with your Cricut

Footer

↑ back to top

Informations

  • Privacy Policy
  • Disclosure
  • CCPA
  • Do not sell my personnal information

Newsletter

  • Sign up for emails and updates

Resources

  • Access the library
  • Discount codes
  • About NeliDesign
  • Contact
  • Français

.

As an Amazon Associate I earn from qualifying purchases.

Copyright © NeliDesign

Manage Cookie Consent
We use technologies like cookies to store and/or access device information. We do this to improve browsing experience and to show (non-) personalized ads. Consenting to these technologies will allow us to process data such as browsing behavior or unique IDs on this site. Not consenting or withdrawing consent, may adversely affect certain features and functions.
Functional Always active
The technical storage or access is strictly necessary for the legitimate purpose of enabling the use of a specific service explicitly requested by the subscriber or user, or for the sole purpose of carrying out the transmission of a communication over an electronic communications network.
Preferences
The technical storage or access is necessary for the legitimate purpose of storing preferences that are not requested by the subscriber or user.
Statistics
The technical storage or access that is used exclusively for statistical purposes. The technical storage or access that is used exclusively for anonymous statistical purposes. Without a subpoena, voluntary compliance on the part of your Internet Service Provider, or additional records from a third party, information stored or retrieved for this purpose alone cannot usually be used to identify you.
Marketing
The technical storage or access is required to create user profiles to send advertising, or to track the user on a website or across several websites for similar marketing purposes.
Manage options Manage services Manage {vendor_count} vendors Read more about these purposes
View preferences
{title} {title} {title}
Manage Cookie Consent
To provide the best experiences, we use technologies like cookies to store and/or access device information. Consenting to these technologies will allow us to process data such as browsing behavior or unique IDs on this site. Not consenting or withdrawing consent, may adversely affect certain features and functions.
Functional Always active
The technical storage or access is strictly necessary for the legitimate purpose of enabling the use of a specific service explicitly requested by the subscriber or user, or for the sole purpose of carrying out the transmission of a communication over an electronic communications network.
Preferences
The technical storage or access is necessary for the legitimate purpose of storing preferences that are not requested by the subscriber or user.
Statistics
The technical storage or access that is used exclusively for statistical purposes. The technical storage or access that is used exclusively for anonymous statistical purposes. Without a subpoena, voluntary compliance on the part of your Internet Service Provider, or additional records from a third party, information stored or retrieved for this purpose alone cannot usually be used to identify you.
Marketing
The technical storage or access is required to create user profiles to send advertising, or to track the user on a website or across several websites for similar marketing purposes.
Manage options Manage services Manage {vendor_count} vendors Read more about these purposes
View preferences
{title} {title} {title}