Wasting precious (and a lot of time expensive) materials because the cut didn’t go completely through is really frustrating. I will show you how you can avoid this by making a simple test cut with your Cricut.
Have you ever tried cutting new material with your Cricut, using the recommended setting to only have a major fail? Maybe it wasn’t even new material. You just did the same thing as usual and just ruined your precious vinyl (or paper, or leather, etc)
You’re thinking: but why?? I did everything correctly!
This is particularly true for vinyl where you’re looking for a kiss cut. A kiss cut is a cut that will only cut the material and leave the backing (or carrier sheet) intact.
The truth is that there are so many variables that can affect the cut that it’s impossible to just always use the same setting and hope for the best.
The blade
Whether your blade is new or not can have a major effect on your cut. You might have to change the setting of certain material as your blade wears out.
I always do something before a cut and I strongly suggest you do the same: I take an aluminum sheet that I roll into a ball (I actually always use the same one, over and over again) and I punch my blade into it many times.

This will help clean your blade and make sure there is no dust or tiny pieces of material stuck to your blade (especially sticky vinyl!). (Note that it does not sharpen your blade as some people say!!)
Also, I like to use 2 different blades, one especially for vinyl and one for other materials like cardstock.

First, this assures me that the blade used for vinyl is less worn since it has only cut vinyl. Second, since vinyl has a sticky backing (or carrier sheet), I’m then sure I won’t cut something else with glue residue on the blade and affect the cut.
This post contains some affiliate links for your convenience and at no extra cost to you. Click here to see my full disclosure policy.
The brand of material
Of course, from one brand to another (I’m thinking vinyl in particular, like Cricut or Oracal for example) you could need a different setting.
Even in the same brand, there are different kinds of vinyl (glitter, foil, etc). These can definitely affect the setting of your cut (there are already different basics settings for them in Cricut Design Space).
The colour
Did you say colour? Yes.I.did.
Especially vinyl. Sometimes, from one batch to another, from one colour to another, the vinyl can slightly change thickness even to the point that you’ll need to change the setting of your cut.
I’ll be honest, I don’t test every colour (like for the rainbow SVG in the previous post) but I would if it was something very large that uses a lot of vinyl. You can’t ever be too careful.
Making a test cut with your Cricut
After reading this, I hope you’re starting to understand the importance of making a test cut with your Cricut.
But what’s the best way to do it? Check out this video where I take you step by step on how to make a test cut and how to adjust the blade until you get the perfect cut.
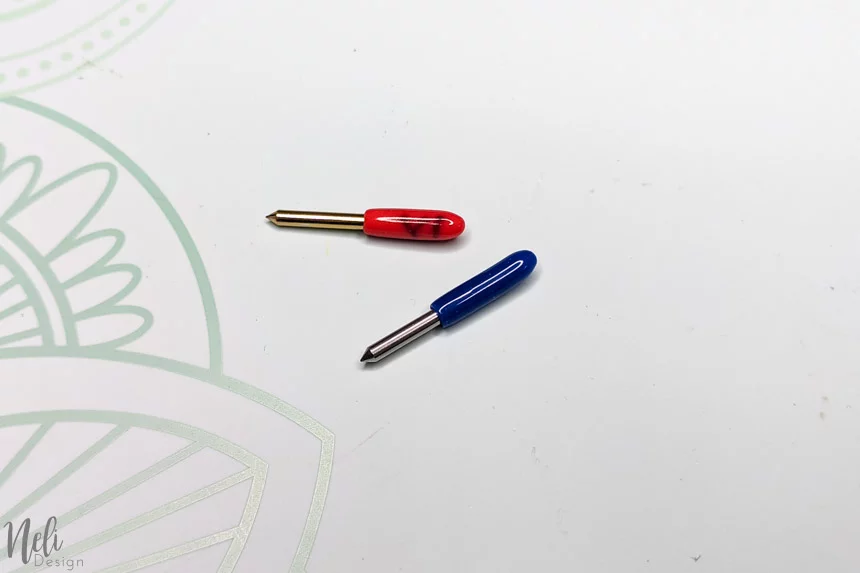
Note that what I use in the video is Oracal 651 and these blades.
Now you know that a lot of variables can influence a cut. I hope I have convinced you to make a test cut for your next project!
PS: Pin it to remember it!

