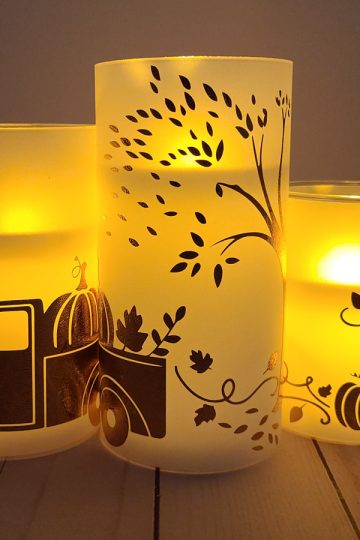
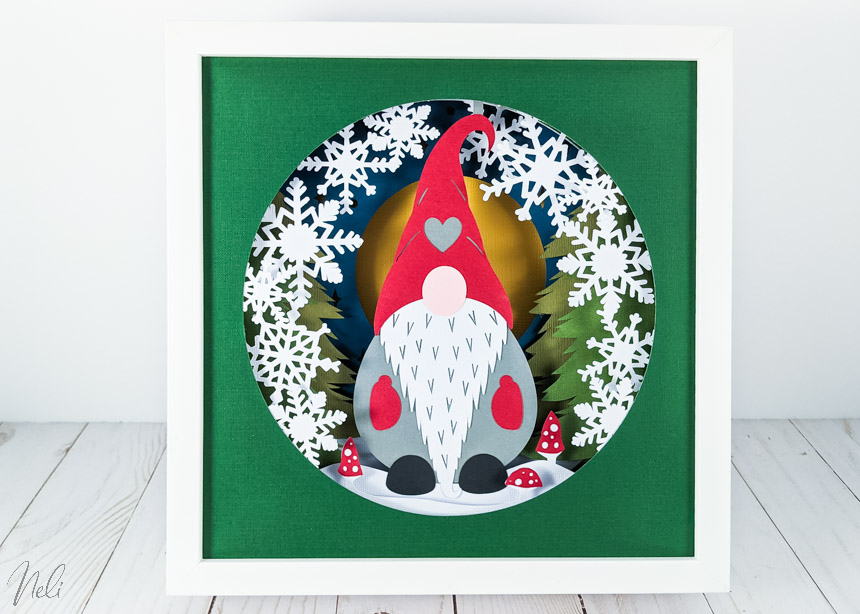
Learn all my tips to help you make this very beautiful 3D shadow box. Ideal for a last-minute Christmas present!
We've seen a lot of shadow boxes lately and I'm always amazed at how simple cardstock can have such a spectacular effect.
I had to make one.
Being so close to Christmas, it's also a nice gift to give and relatively quick to make. In my opinion, it's the Cricut that has to work the hardest on this project!!! This article contains links to affiliated products for your convenience and at no additional cost to you. Click here to read my full disclosure policy.
Do you like 3D projects? Join the challenge!
If you like 3D crafts as much as I do, check out my 3D Papercraft Challenge You'll be able to make 3 incredible projects, (including one from the same designer as this gnome!)
What can be used as spacers in a shadow box
Shadow boxes require more than just small adhesive foam squares.
To give a nice depth effect, it is recommended to use acid-free foam board as spacers in the shadow boxes.

Usually, it is recommended to cut foam board "frames" and insert them between the layers. But this results in a lot of losses and, if you are used to my projects, you know that if there is one thing I hate, it is to waste materials!!
So check out the video below to see my tips on how to save foam board.
What types of lights can be put in a lighted shadow box?
Of course, LED lights are recommended because they do not heat up. Despite this, you should never leave a lighted shadow box unattended. It's cardstock after all!
It is possible to use LED light strips, but you will find that your shadow boxes are expensive!!
What I recommend are Fairy LED lights. They are very small and twisted with a wire that allows easy installation.

How to install the lights in the shadow box
For an easy installation of the fairy lights in the shadow box, simply wrap it around a frame made with foam board.
Again, for more details, you can check out the video below.
Everything you need
First, the file used in this tutorial comes from Design Bundles and the designer is Lindsey from Sea Salt and Samphire.
I completely fell in love with her creations. They are very original and I love their details.
Click here to see the Christmas gnome file used in this tutorial.
I'm really amazed by the details and the effects it gives! 😍


Tools
- Gnome SVG file
- Cutting machine (the Cricut Explore Air 2 or the Maker work. On the other hand, the Joy is not wide enough to achieve a frame of 9-¾" x 9-¾")
- Glue (I like Aleene's tacky glue or Tombo glue)
Materials
- 3D frame (I took mine from IKEA)
- Fairy lights (here are the ones I bought (Canada) and other similar available in the US)
- Foam board (there are some at the store for $1)
- Cardstock
- cardstock leftovers: red, skin colour and black)
- 1 cardstock 12 x 12 dark green
- 4 cardstocks 12 x 12 white
- 1 cardstock 12 x 12 grey
- 1 cardstock 12 x 12 medium green
- 1 cardstock 12 x 12 darker medium green
- 1 cardstock 12 x 12 dark blue
- 1 cardstock 12 x 12 metallic / yellow
See all the steps in the video
I really loved this project and you will also surely love it too. I will surely do more of them very soon!
Don't forget to Pin it!