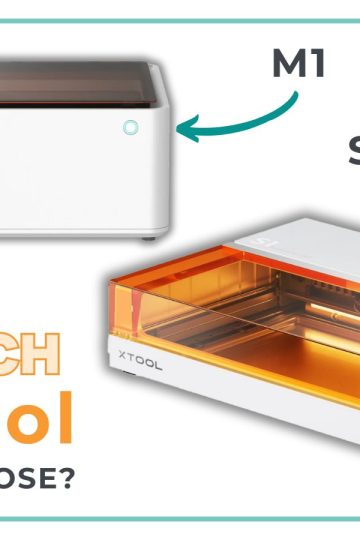
Using the xTool S1's curved surface function to engrave on objects such as a wooden spoon may seem complex, but here you'll see the essential steps to make your project a success.
Disclosure: Thanks to xTool for providing me with the product to review. I am not paid or sponsored by xTool to write this post. All opinions are 100% my own and honest.
This post contains some affiliate links for your convenience and at no extra cost to you. I get commissions for purchases made through links in this post. Click here to see my full disclosure policy.
If you'd like to know more about what the xTool S1 laser cutter and engraver can do, check out this other article.
When writing this article, only the xTool P2 and xTool S1 laser cutters can engrave curved surfaces.
And I'm not talking about using the RA2 Pro extension, but about a feature specific to these machines.
This feature is found in xTool Creative Space (XCS) and is called "Curve process" in the right-hand menu.

Required materials
To test the curved surface feature, I decided to use a wooden spoon I'd found at Dollarama. That's really all you need.
Test first
Making a test arry is really the secret of success with a laser machine. As I didn't want to buy a spoon just for testing purposes, I used a leftover of 1.5 mm basswood.

You'll notice that my matrix has only one row. This is because the ability to engrave on a curved surface is limited to a speed of 30 mm/s.
So, keeping the speed at the maximum, I used different power percentages. There's no point in going higher than 15%. Wood burns at 20%, so be careful.
If you'd like to get this test array (and the SVG files for the spoon quotes), simply register below and you'll find them in the free library!
File preparation in xTool Creative Space
I'm using version 1.7.8 of xTool Creative Space. If you're using beta version 2.0, your visuals may not be exactly the same.
To begin, go to "Import an image" to load the SVG file.

You don't need to resize the design precisely at this stage. However, I suggest that you immediately set the processing type to "Engrave".

Project preparation
When engraving on a curved surface such as a wooden spoon, it is crucial to position the engraving area correctly.
When writing this post, the feature for engraving curved surfaces does not allow you to identify the shape of the surface other than with a rectangle.
So, to center the quote, I suggest drawing a rectangle on the spoon, marking dots at the top left and bottom right with an erasable pencil. These points will serve as markers for the laser.

Then use magnets to attach the spoon to the xTool's honeycomb. Make sure the laser can move without touching the magnets. To do this, I suggest putting the spoon handle down. If you don't have a honeycomb base, use a double-sided adhesive to prevent the spoon from moving.

Curvature measurement
Place the laser on the points marked with a pencil and measure the curvature. Click on "Measure curve" and follow the instructions to place the laser on each point.

The default measurement density is 5 by 5. You can increase this number for greater precision, but it will take longer. I didn't find it was necessary for the spoon.
Design and Settings
Once the surface has been measured, insert your design within the defined area. Make sure the design does not extend beyond this area.
As mentioned above, the maximum speed for curved engraving is 30 mm/s. For this wooden spoon, I used 10% power and a speed of 30 mm/s.

Engraving
Once the parameters have been set, press "Process" and start engraving. The laser will follow the curve of the spoon.
Make sure air assist is activated for best results. Leaving it on "Automatic", the airflow of the Air assist will be done automatically on the xTool S1.
Results
Engraving took about 12 minutes. The result is a clean, dark engraving, perfectly centred on the spoon.
Do I need to apply a protective coating over the engraving?
These wooden spoons are sold to be used without protection.
It's certain that once the spoon has been engraved, you can smell the engraving. This smell will disappear after a few days.
I took care to wash the spoon well, and the colour of the engraving has faded a little (in the photo, the one on the left is washed, but not the one on the right).

There's no smell at all and the engraving gives no particular taste (yes, I've tested it, hihi!).
I'd feel comfortable using it as is, but it's up to you to use your good judgment!
Conclusion
Following these steps will enable you to engrave curved surfaces efficiently with the xTool S1. For those who would like to try out this project, the engraving files are available in the free library. Simply register below.

