People often think that installing new fonts into Cricut Design Space is complicated. This post will show you how to do it with a PC or Mac and you will see how simple it is!
If you're looking at how to add glyphs (you know, those little swirls) to your words, head to this post instead.
Where to find free fonts
There are several sites on the Internet that allow you to download new free fonts. A very popular site is Dafont.com.
A small warning, however, is required.
The fonts found on these sites are mostly for your personal use only. Meaning that you can't create a product from these fonts to sell it (such as writing a quote, cutting it into vinyl, applying it on a t-shirt and then selling it).
For more details, read this post on copyrights. This post contains links to affiliated products for your convenience and at no additional cost to you. Click here to read my full disclosure policy.
Since I create SVG files for you (I don't sell them, but it's not for my personal use either) I often turn to Design Bundles and its sister site for fonts, Font Bundles.
The benefits of these two sites are in my opinion:
- Their Premium license that comes with any purchase allows the sale of derivative products. See all the details here.
- The quality of files and fonts is much higher.
- The $1 Deals Event once a month
For the 3rd point, if you don't know about the $1 Deals Event,this is really something you shouldn't miss. These are 30 products (SVG, images, Bundle, fonts) put on sale for $1 each.
The only problem is that the sale is once a month and lasts only one hour. So you need to be ready! But I'm here for you! Sign up for my newsletter below 👇 and I'll remind you every month, I promise!!! (in addition, it will give you access to my free library which includes several free SVG cut files for your Cricut!)
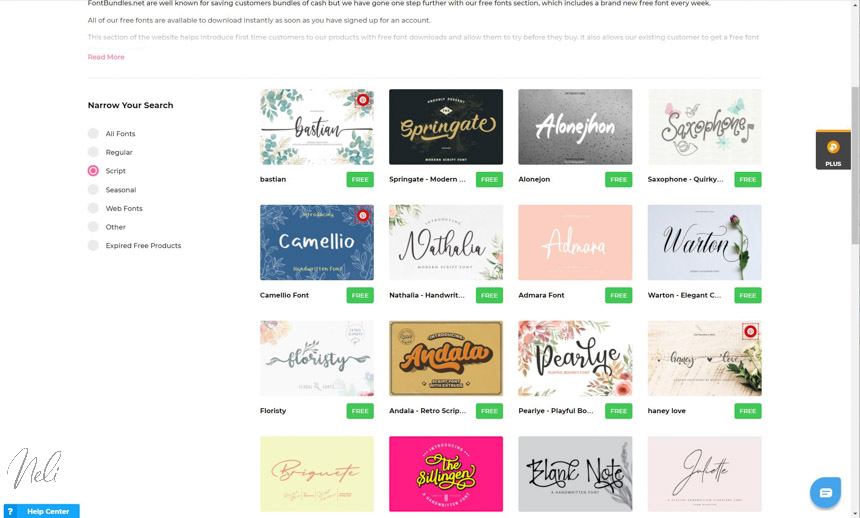
While waiting for the $1 sale, you can always check out the free fonts section on Design Bundles' site. 🙌
Install fonts in Cricut Design Space
People think that installing fonts in Cricut Design Space is very complicated. The truth is that it is the same process that if you wanted to install a new font on your computer to have access to it in Word, Excel or any other software.
In other words, what I show you below will allow you to have access to your new fonts with the majority of the software on your computer, including Cricut Design Space.
In Design Space, in the "Fonts" menu if the word Cricut is in green, you have access to Design Space's exclusive Fonts.
In addition, by clicking on "Filter" and "My Fonts" you will only see the fonts you have access to. Thus, if you are not a Cricut Access member, you will only see the free fonts and those you have already purchased. (This feature seems to be missing in the 6.10 version of Cricut Design Space. I hope it comes back).
On the other hand, if you are a Cricut Accessmember, you will see all the fonts with the green "a".

If you click on "System" you will see all the fonts that you personally have on your computer. These are the same fonts as if you open Word or other software.
It is also here that the new installed fonts will be found.

If you have a PC
If you prefer, feel free to scroll down to see the video!
I show you here as an example, how to install a free font from Design Bundles.
First of all, you need to register and create an account. This account will be valid for both Design Bundles and Font Bundles.
Click "Download Free Now".

In Chrome and Microsoft Edge, your download will appear at the bottom left.

Press the small arrow and select "Show in folder".

You will then find a folder with a zipper. It is a ZIP, a compressed folder.

To unzip it, select it, press the right button of your mouse and select "Extract All".

Choose where you want to save the file and press "Extract".

You can delete the folder with the zipper and keep only the "normal" one.

By clicking on it, you will find all these elements. The font file to install is the "OTF" or OpenType font file.

Right-click on the "OTF" and click "Install for all users". (You can also double-click on the "OTF" and click on the "Install" button)

Your new font is installed!

If you have a Mac
Follow the same steps to download the folder to your computer. Open the folder and double click on the "OTF".

This window will appear. All you have to do is click on "Install Font".

After installation, your "FontBook" font manager will open and confirm the installation.

Don't forget!
In either case, to see the font appear in Design Space, you must close it if it was open during installation.
Also, you need to be in "All" or "System" to see your new font. You won't see it if you're in the "Cricut" section of Cricut design space's fonts menu.
Check out the video for all the details!
Don't forget to sign up to have access to NeliDesign's free library AND be notified of the $1 sale of Design Bundles and also many other deals!
Do you have a favourite font that you downloaded yourself? Leave it in the comments below!
P.S. Please pin to Pinterest