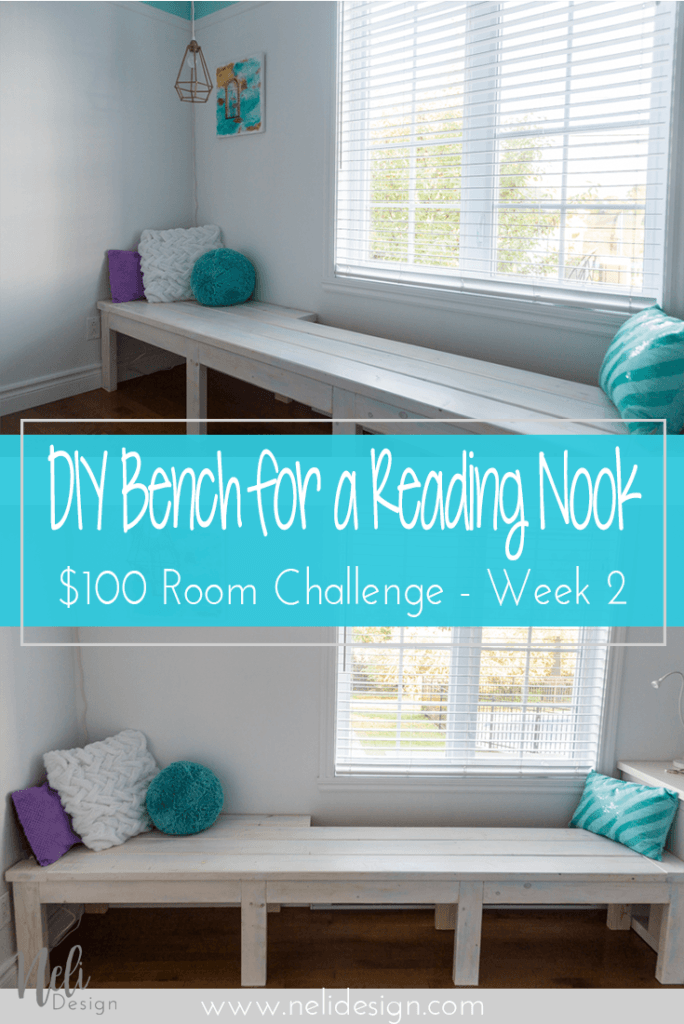
[wc_box color="inverse" text_align="left" margin_top="" margin_bottom="" class=""]For the second week of the $100 Room Challenge, find out how to make a DIY Farmhouse style bench to make a cozy reading nook.[/wc_box]
So here we are, the second week of the $100 Room Challenge. What a week!
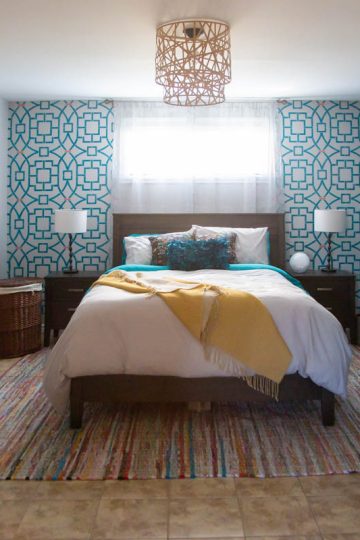
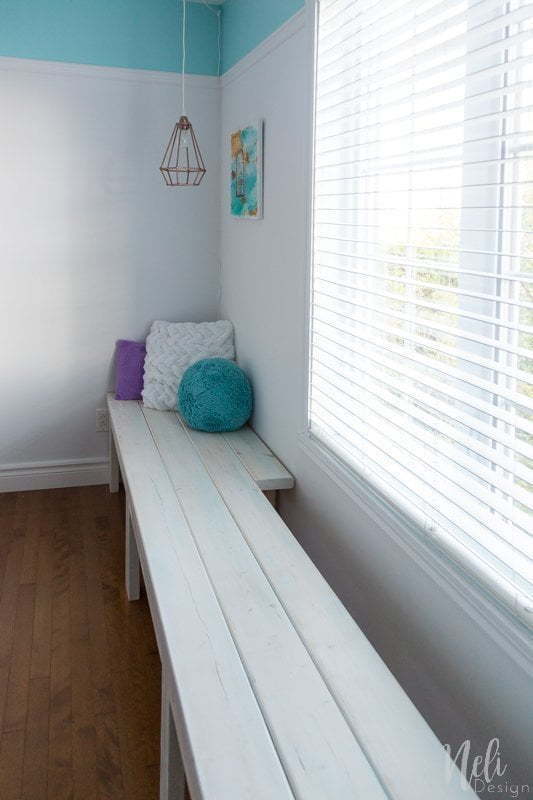
As you may have read in the first week's post, I had planned to make the reading nook with a beautiful bench and a lamp. Well, I succeeded !! At least, for the majority of it! I still have the curtains to shorten. I decided to keep them for the last week, so you have a surprise for the reveal! (it's mostly because I didn't have time, but don't tell anyone!) You can see the lamp here as well as a recap:
Week 1 | Week 2 | Week 3 | Week 4
A first
Aside from a birdhouse and a few other projects in high school, this is the first time I've built something so big by myself! It was so easy and fun that it's not the last time for sure!
I must admit I got some help. My husband came to buy the wood with me which earned me a ride on the back seat:
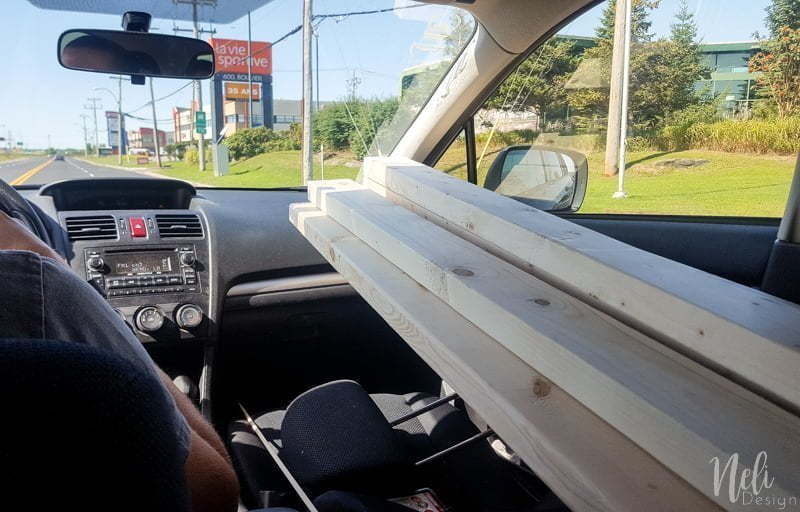
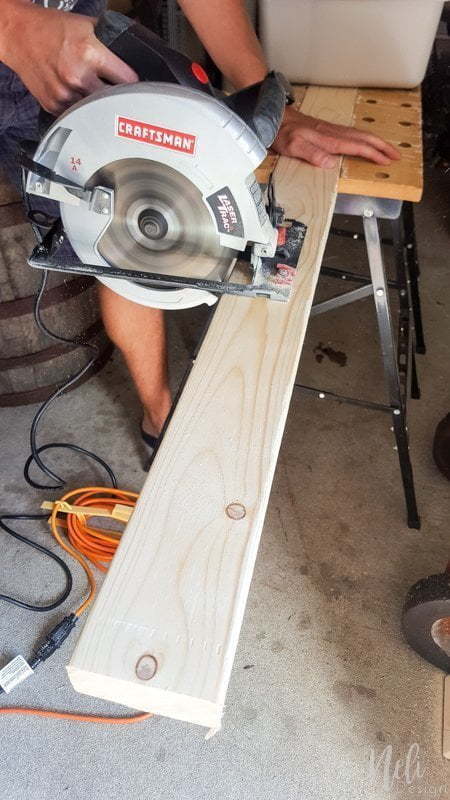
And he also cut the pieces of wood, because we are really badly equipped. With only a circular saw, you need to be two people to handle the cuts (not to mention that it is way too heavy for little me!). With a mitre saw, I would have done it all alone !! So guess what I'm asking for Christmas? 😛
Ok, enough jokes! Let's talk about serious things!
Building a bench for the reading nook
The bench I decided to create is inspired by a model made by Shanty 2 Chic. You must seriously go see their video. These girls are just awesome!
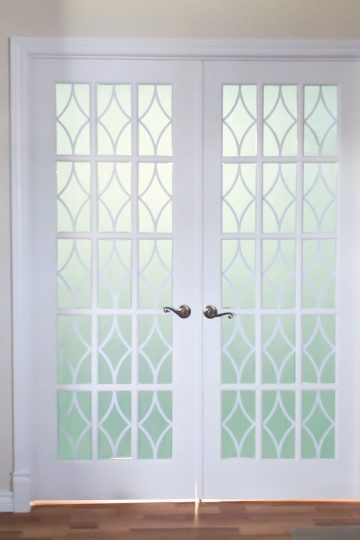
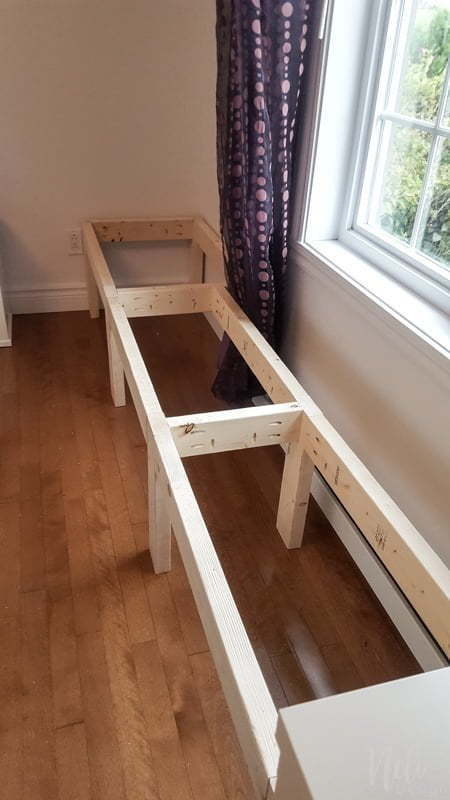
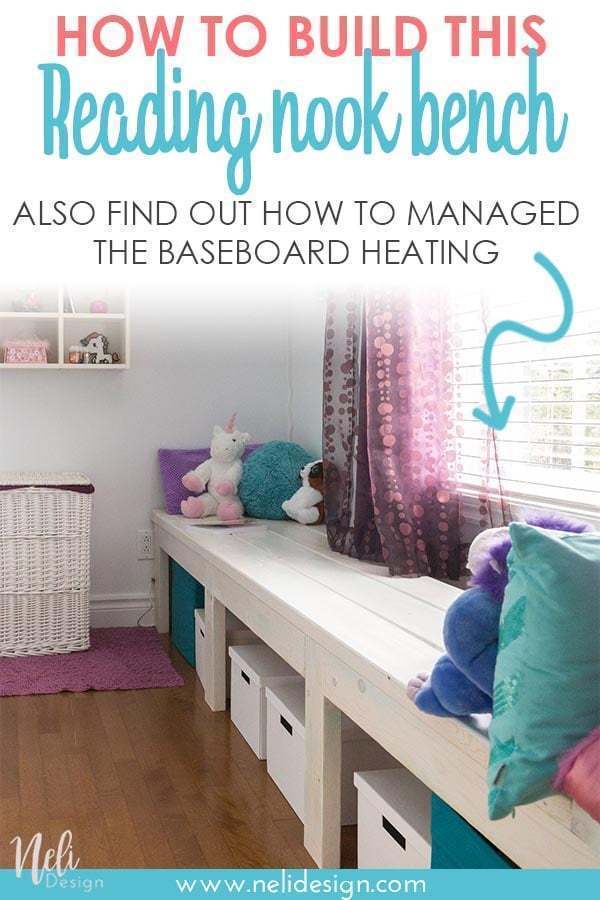
I needed to make some modifications because the bench is placed in front of a window where there is an electric baseboard and I wanted to let the heating circulate.
Here's the model that I made:
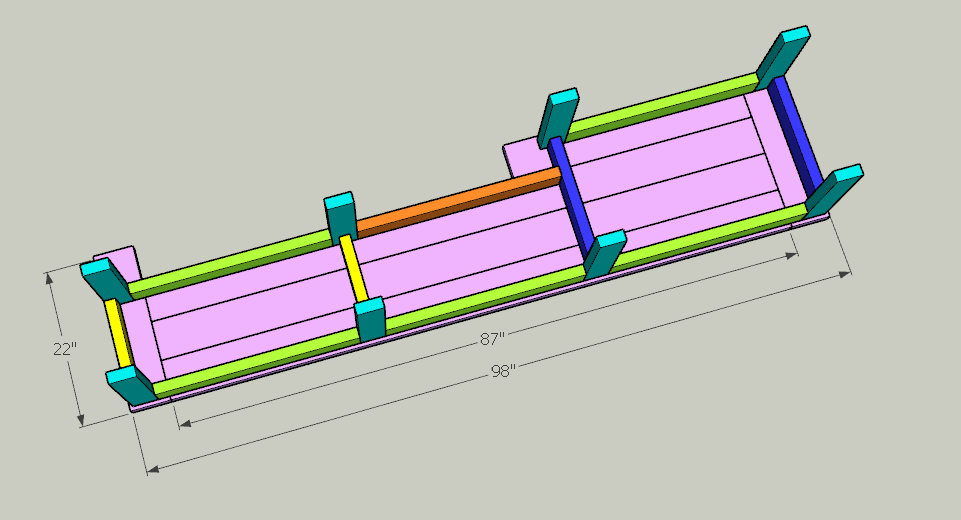
I used SketchUp to make the plan (as well as those of week 1). It allowed me to calculate the cuts I had to make, have less leftover and avoid many mistakes! Each size is illustrated in a different colour to help me sort them out. I hope you did not think it was the colour I wanted to paint the bench!!!

This post contains some affiliate links for your convenience and at no extra cost for you. Click here to read my full disclosure policy.
What you'll need:
[wc_box color="primary" text_align="left" margin_top="" margin_bottom="" class=""]
- 4 - 2 "x 6" x 8 '
- 4 - 2 "x 4" x 8 '
- Kreg Jig (for pocket holes- I have the K5 model)
- 2-½" pocket holes screws
- Paint or dye of your choice
- Polycrylic (for the finish - I took the "satin" version)
[/wc_box]
I have to take a short break to talk to you about the " Kreg Jig ". Seriously, I have never used a tool as well thought out and so easy to use! (and I'm not even sponsored to tell you that!!!)
If you want to build furniture or even small objects, in my opinion, this is the investment to make (ok, that and a mitre saw!) In addition, when you receive your Kreg Jig, you have a link to videos that show you how it works. Within 5 minutes you are ready to start !!!
How to make the bench
I'll explain to you generally how I made it and invite you to watch the video of Shanty 2 Chic for more details.
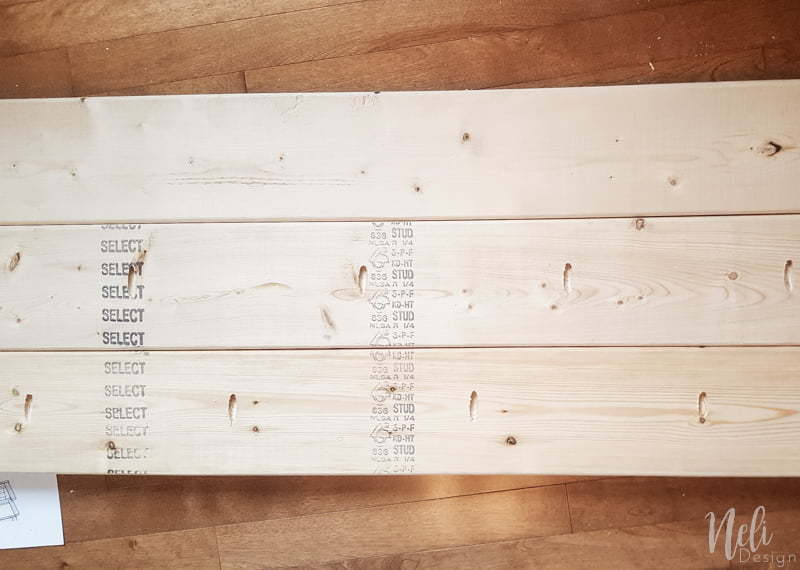
First, "I" (thanks, Honey!) Cut all the pieces and identified them (you don't want to end up with a longer leg than the others !!).
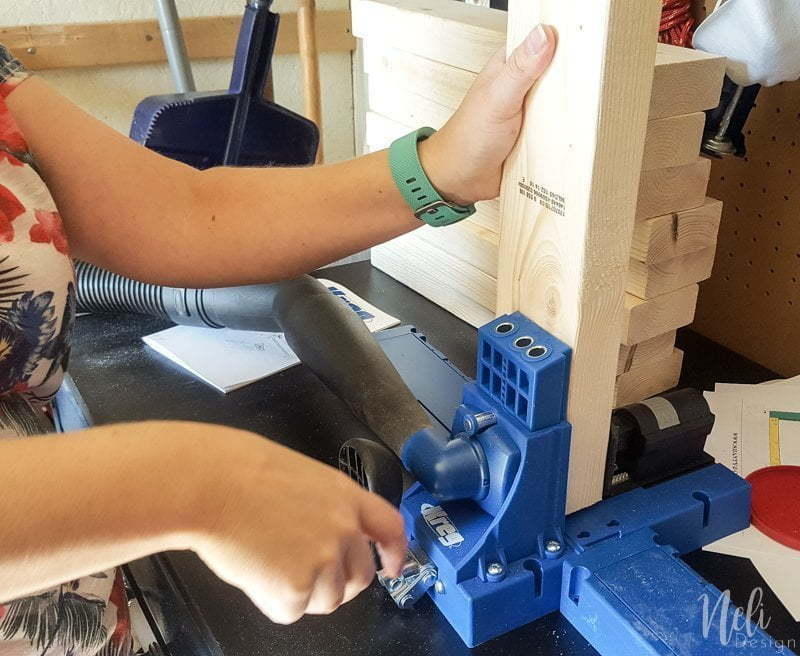
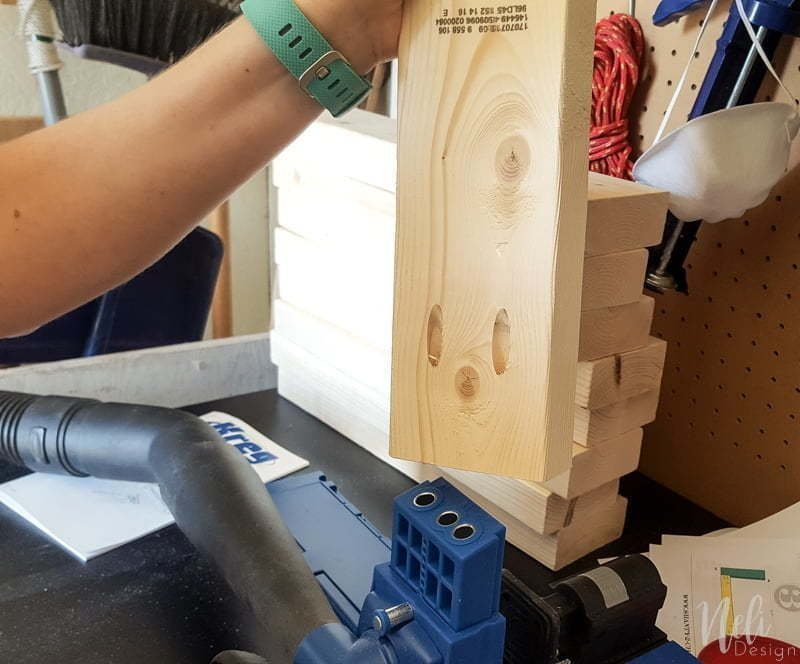
Then, armed with my classy glasses and my Kreg Jig, I made all the pocket holes.
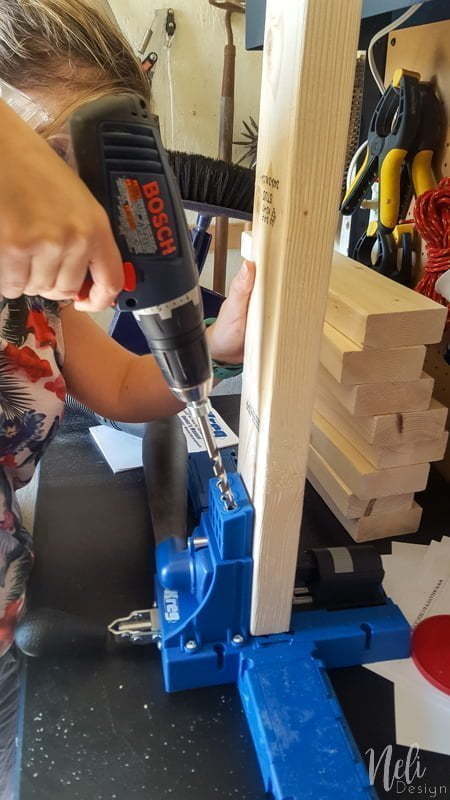
This is seriously very easy to do and quick to use.
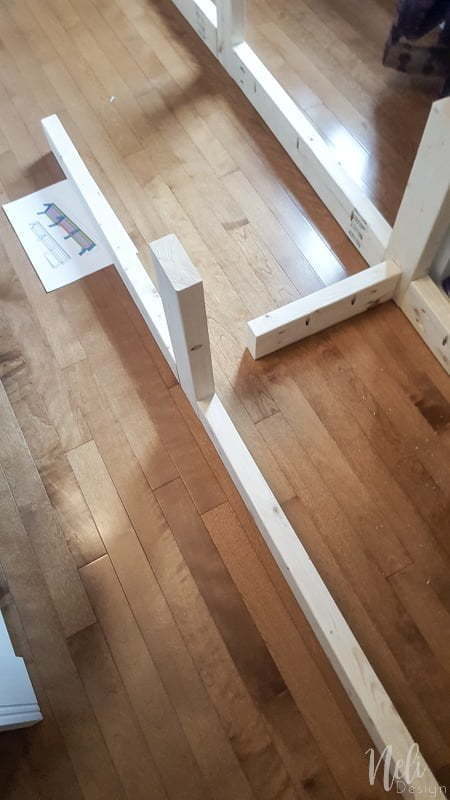
Then it was time for the assembly. I did it right in my daughter's room because I was afraid I'd have trouble getting the bench through the door because of its length!
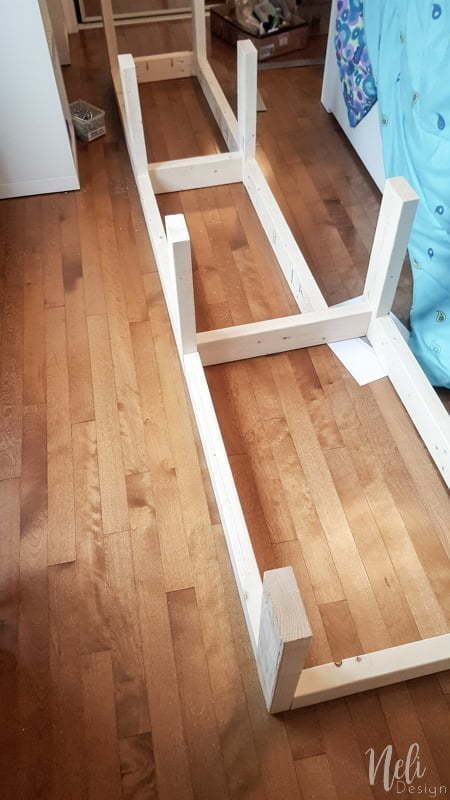
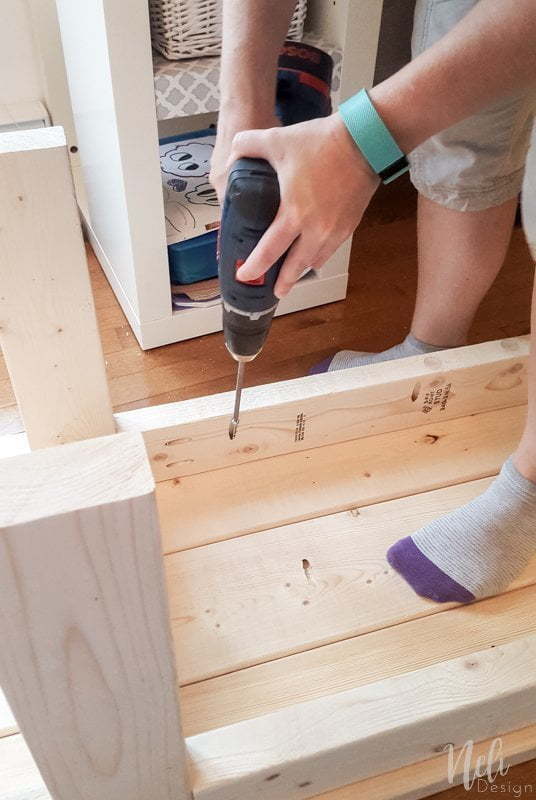
Afterwards, I assemble the 2 "x 6" which serve for the top of the bench.
And finally, I brought it all together! Come on, you can say it: "Wow, nice socks Natalie" and my daughter could answer you: "These are my socks that I gave to my mother because they are now too small for me!" And yes, that's where we are right now and she's just 11 years old!!!
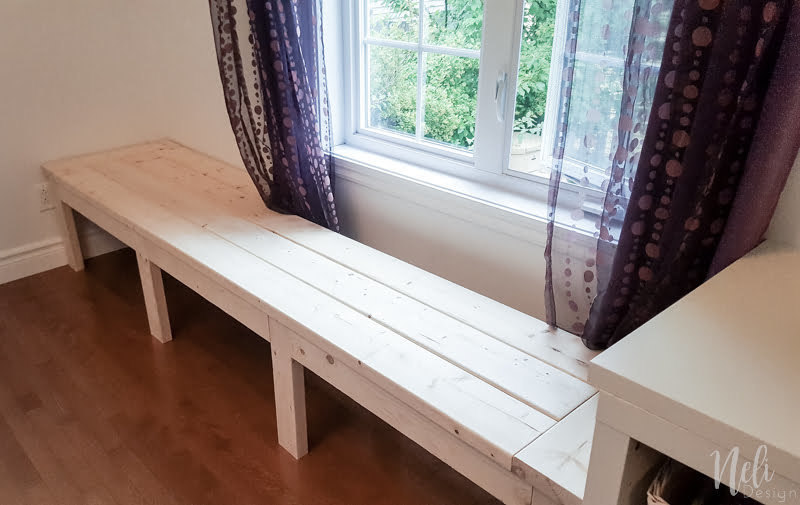
And the almost final result:
Painting the reading nook bench
It's still the $100 Room Challenge so I used paint leftovers from my daughter's room. There wasn't a lot of white paint left, but since I wanted to do a wash, I added as much water directly to the paint and had enough.
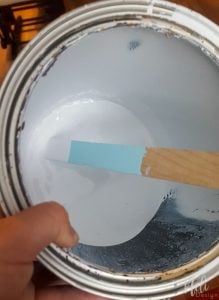
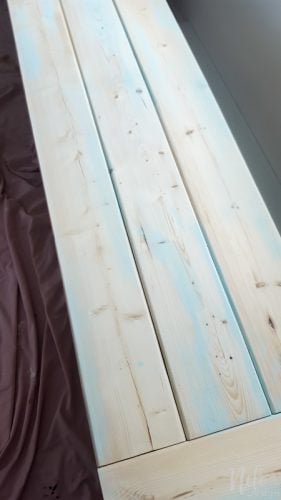
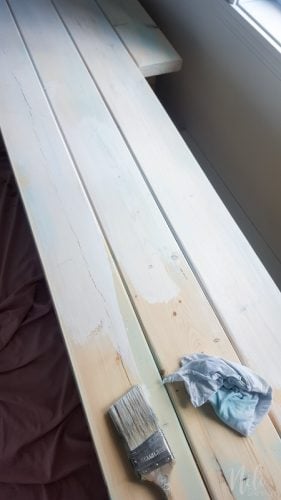
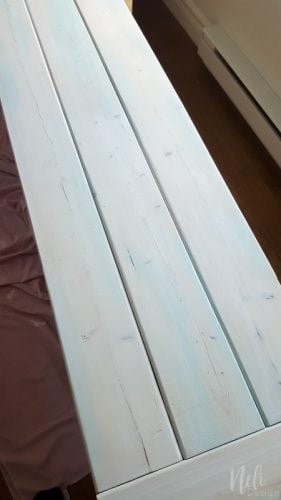
I started applying some stain with blue paint also diluted with water and wiping right after. Then I painted the whitewash with a brush and by wiping lightly. I put two layers that way and lightly sanded to give a slightly worn look. Finally, I applied the Polycrylic as directed on the container.
It was the first time I used this product and I really liked it. It is very easy to apply and dries quickly. It gives a nice soft finish. I applied two layers and I don't even think I used the 1/16 of the container! Many other projects to be done with it !!! 😉
I have a little secret for you: do you think I painted underneath the bench? No way! My blog is not called "Projects for a busy life" for nothing !!!
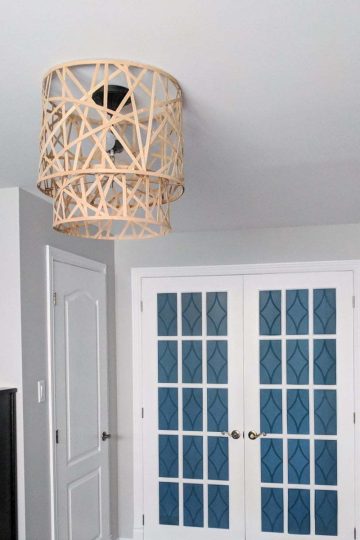
And here's the real end result. You can see here how I made the geometric pendant lamp.

Budget
I told you that I would make the conversion from $100 USD into 125$ CAD, so here is how my budget is doing:
Bench :
| CAD $ (for one) |
CAD$ (total) | USD (total) | Where | |
| 4- 2" x 4" x 96" | $3.66 | $14.64 | $11.71 | Home Depot |
| 4- 2" x 6" x 96" | $5.79 | $23.16 | $18.53 | Home Depot |
| Minwax Polycrylic | $18.69 | $18.69 | $14.95 | local hardware store (Canac) |
| $56.49 | $45.19 |
Lamp :
| CAD $ (for one) |
CAD$ (total) | USD (total) | Where | |
| Dowel ¼" x 48" |
$0.94 | $0.94 | $0.75 | Home Depot |
| Spray Paint | $6.31 | $6.31 | $5.05 | Michael's (with 50% coupon) |
| $7.25 | $5.80 |
So in total, I have about half of my budget spent, but it should slow down from now on!
This week, I'm working on the desk corner! Be sure to join me next week!
Week 1 | Week 2 | Week 3 | Week 4
You can also subscribe, so you don't miss anything and get access to exclusive freebies!

Please Pin it so you don't forget it for later!

See at which Link Party I like to participate here
Now let's see what my friends did this week:
[inlinkz_linkup id=736975 mode=1]