Learn how to upcycle a vintage trunk with old newspapers. This DIY makeover is a great way to add personality to your space without spending too much.
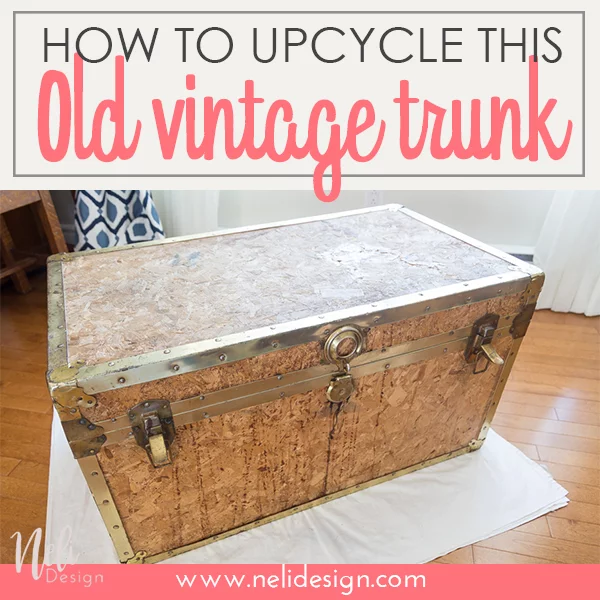
It all started when I spotted this old trunk on my neighbour’s yard. They were giving it away for free! Ok, it was in bad shape but I was sure there was something I could do to restore it!
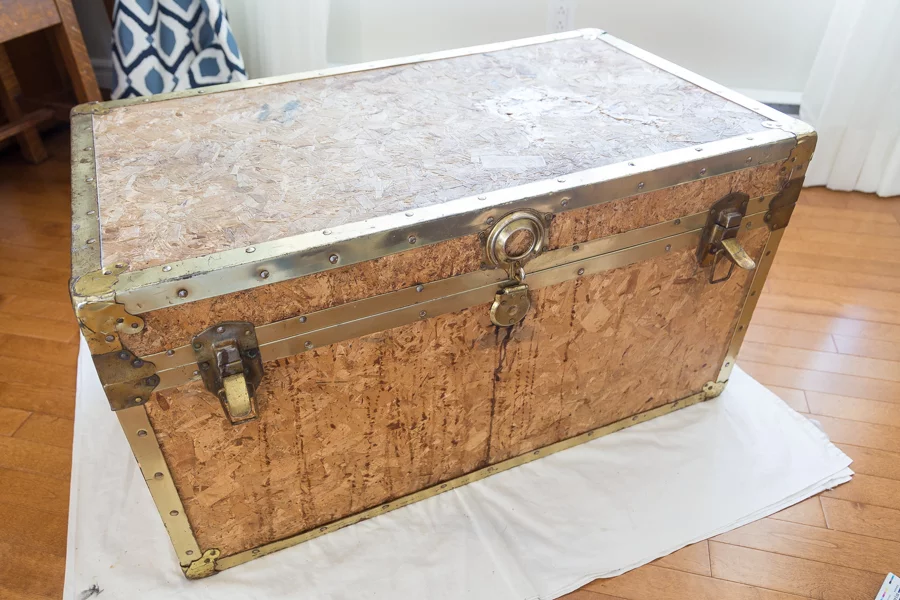
Since the trunk was made of plywood and the cover was pretty broken, I had to find something to cover it up.
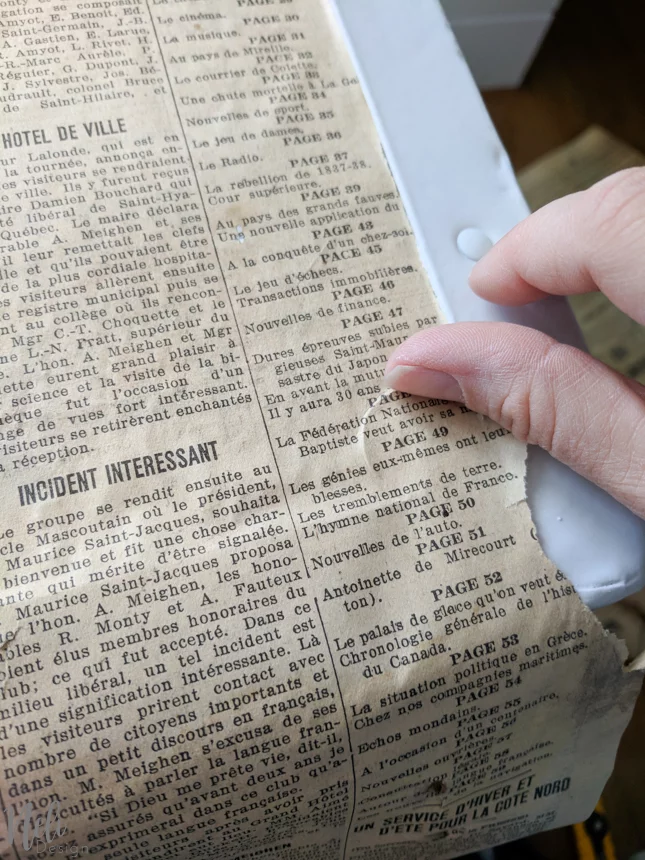
Then, my sister in law gave me these old newspapers she found in the walls while renovating her house in Montreal. It was pretty standard to do that back then to add insulation. You can even see the holes the nails made.
My sister in law knew I liked
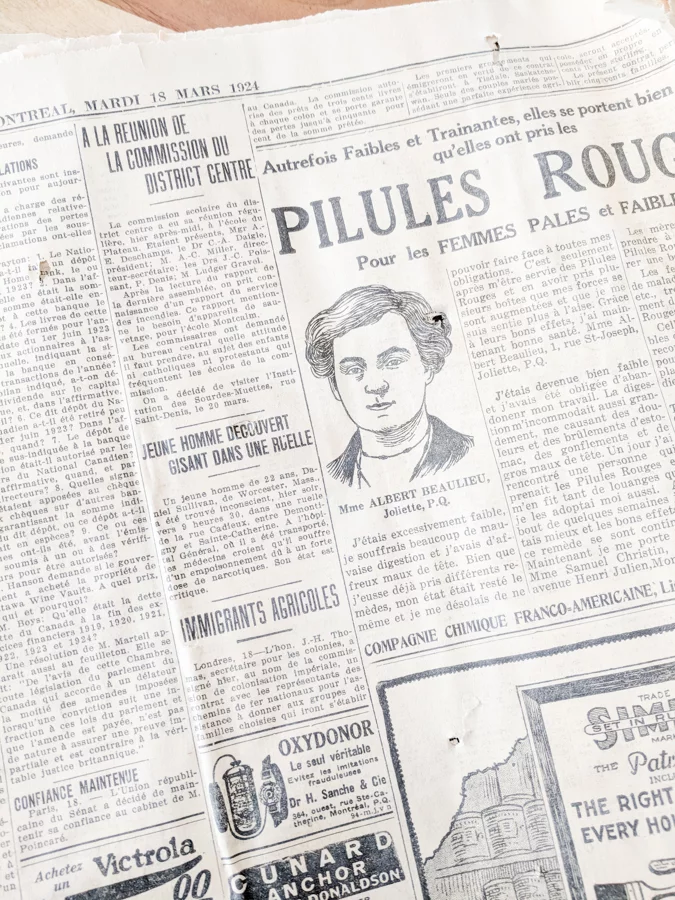
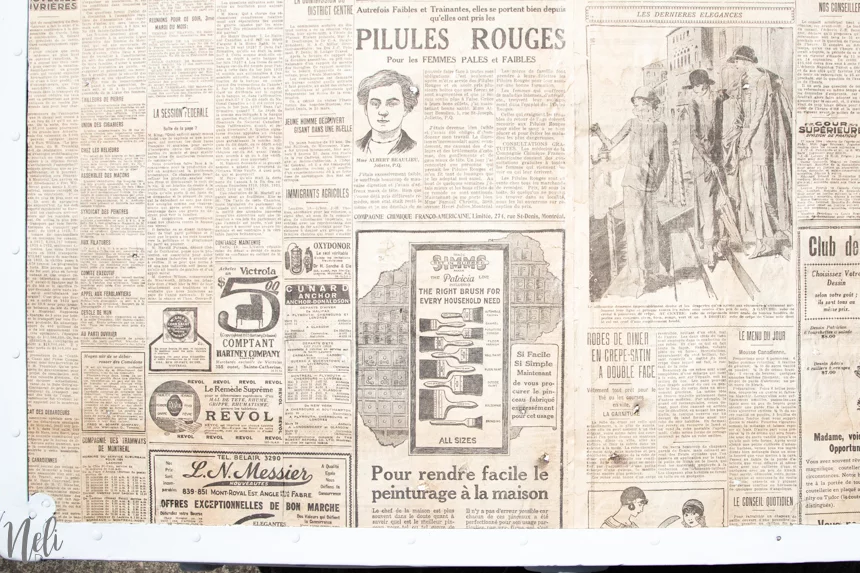
Notice the title above the woman’s head? It says “Red Pill, for the pale and weak women”. Thankfully times have changed! You should see other articles of the journal (more on that at the end of this post).
Upcycle a vintage trunk with old newspapers
Materials you need
- An old trunk
- Old newspapers, maps or memorabilia
- Clear Zinsser B-I-N Primer Stain Blocker Odour Sealer
- White Chalk spray paint
- Mod Podge
- Sponge brush
- Scraper or an old credit card
- Utility knife
Painting to get rid of a bad smell!
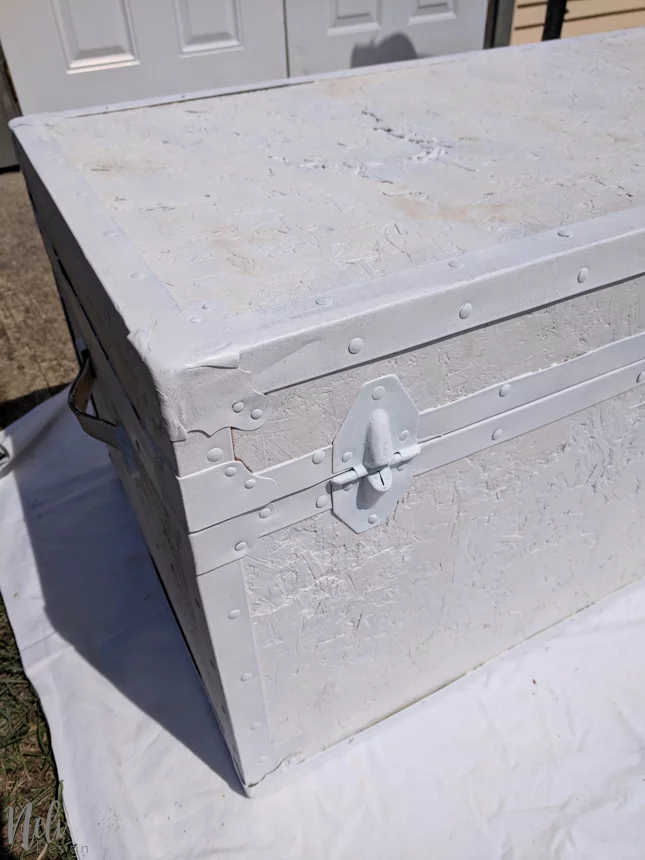
I have to be honest, not only was this trunk in bad shape, and it was also smelling pretty weird. Especially inside. But I found the best product for that. After wiping the trunk and scrubbing the hardware, I applied 2 coat of Zinsser B-I-N Primer. It’s also an odor sealer and I must say, it does work pretty well!
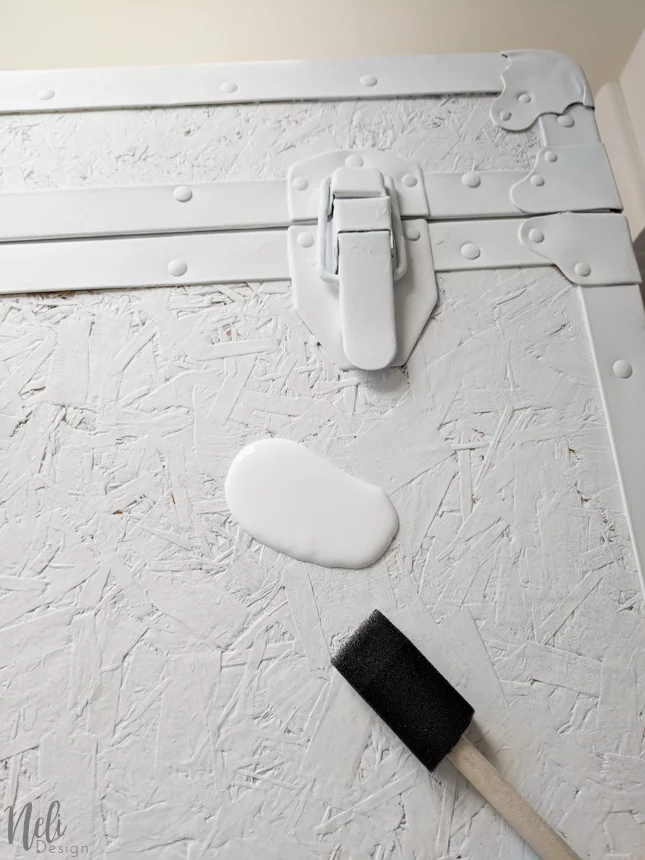
Next, I spraypainted the hardware using White Chalk spray paint. I had to apply 2 coat while letting it dry between each one.
Old newspapers
Now the fun part! 😊 It’s easier to glue the newspapers on an horizontal surface, so I laid the trunk on the back and changed its position for each face I was working on.
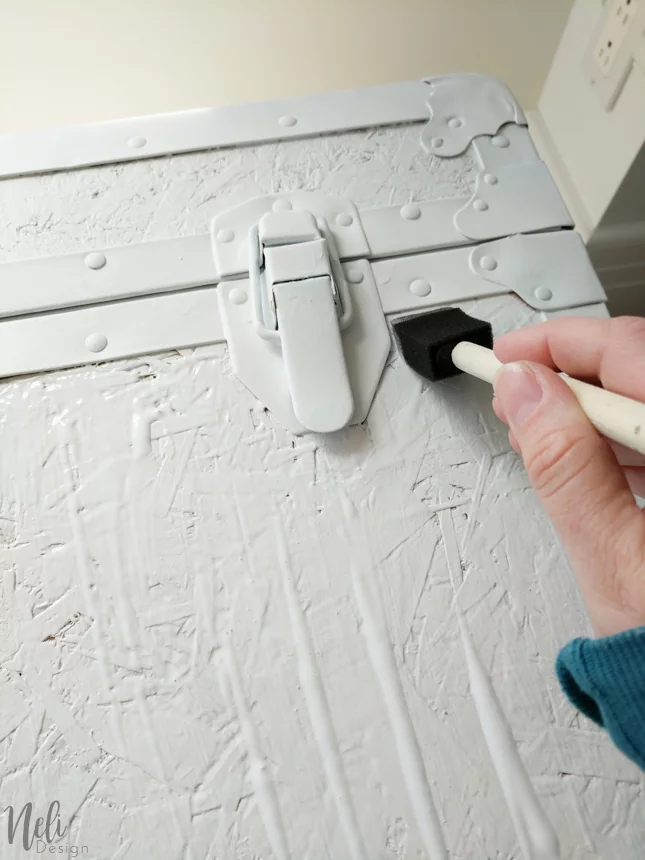
I poured Mod Podge on the surface and brush it with a foam brush, making sure not to put any on the hardware.
I then applied carefully the newspaper, scraping it gently with an old card.
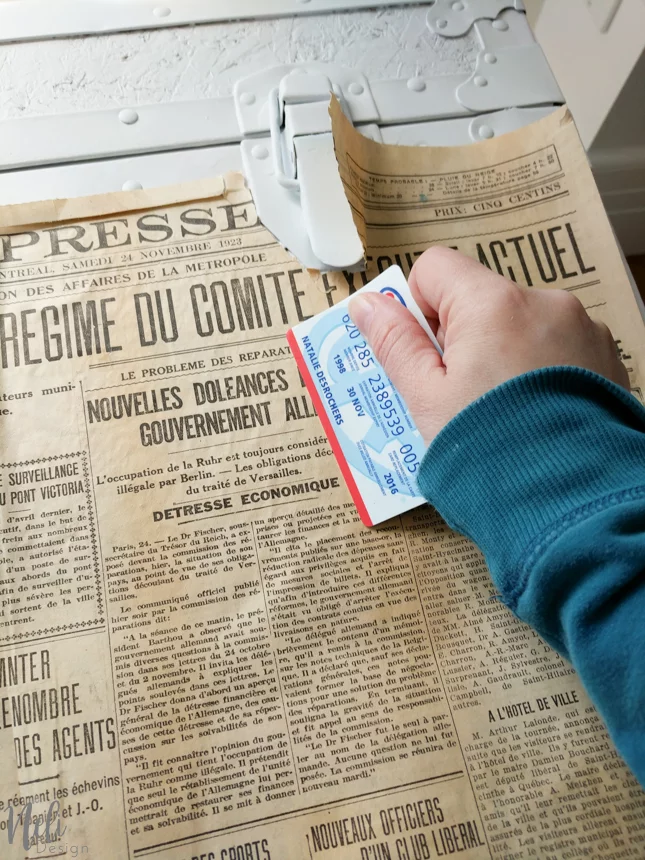
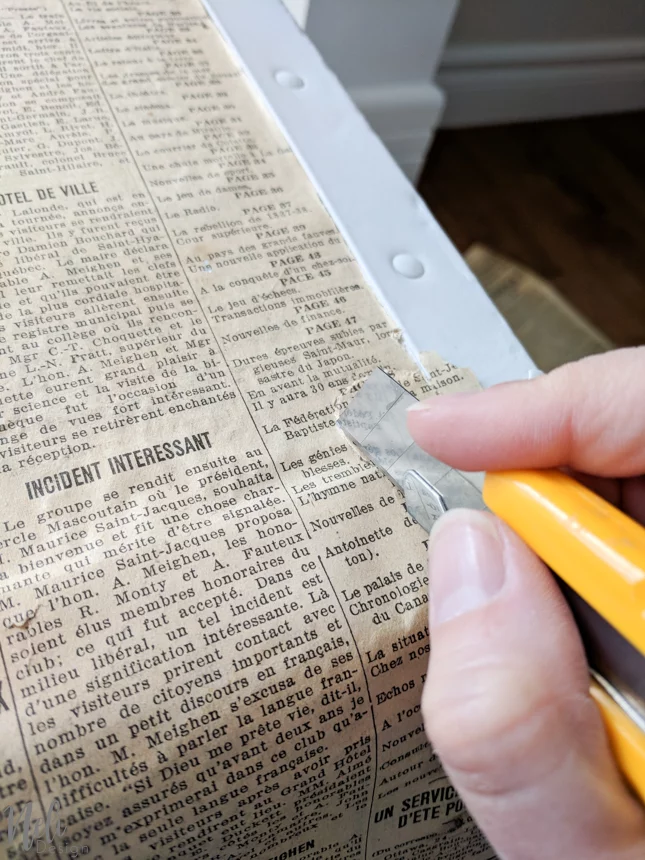
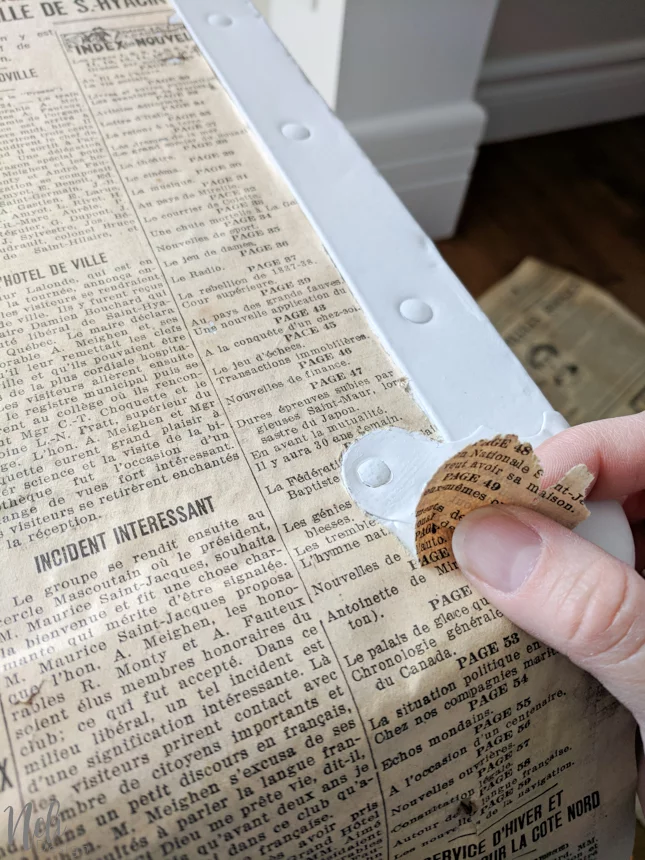
Using a utility knife, I cut the newspaper around the hardware. By pressing with my fingers on the newspaper, I was able to see exactly where the hardware was. Then, I just needed to cut around and peel off the paper.
Final result
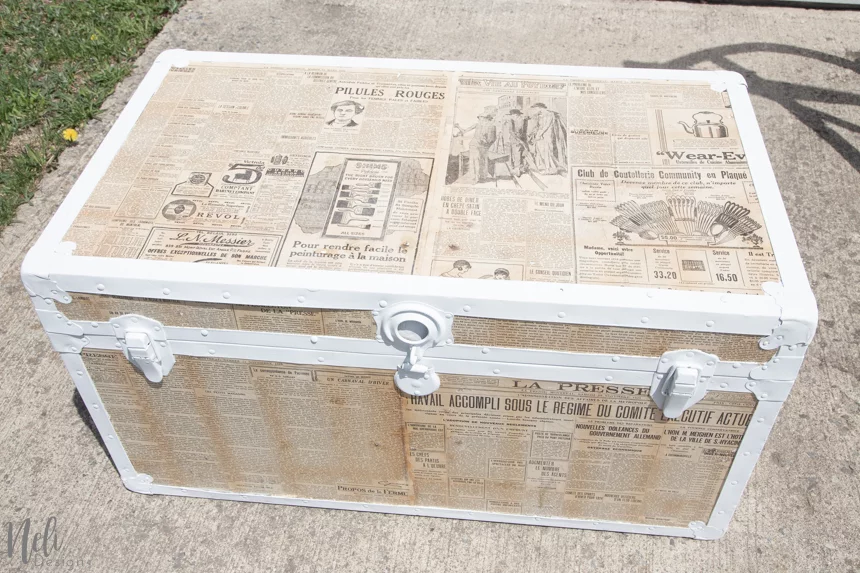
After carefully choosing which page to glue on the trunk (yes, I’m crazy like that!) and a lot of gluing and cutting, here’s the final result :
This side has a crochet tutorial on how to make a baby hat. Isn’t that cool?
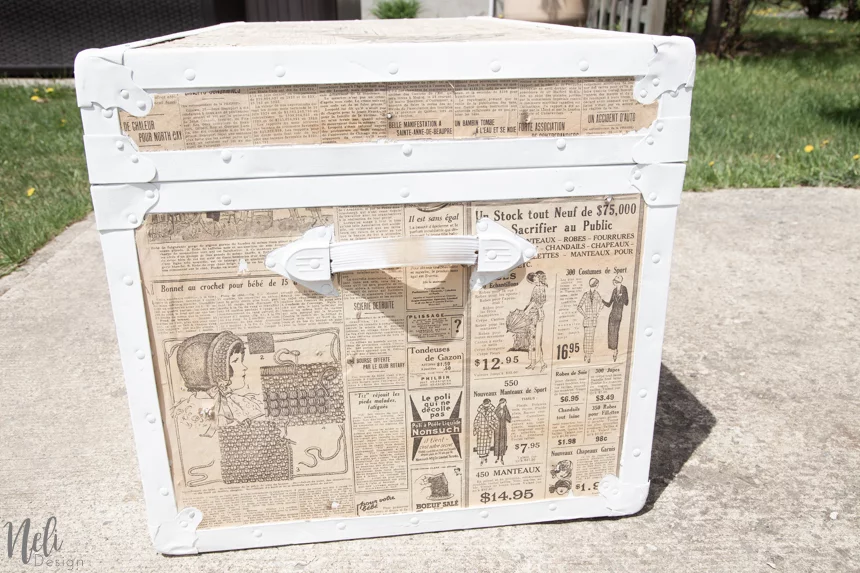
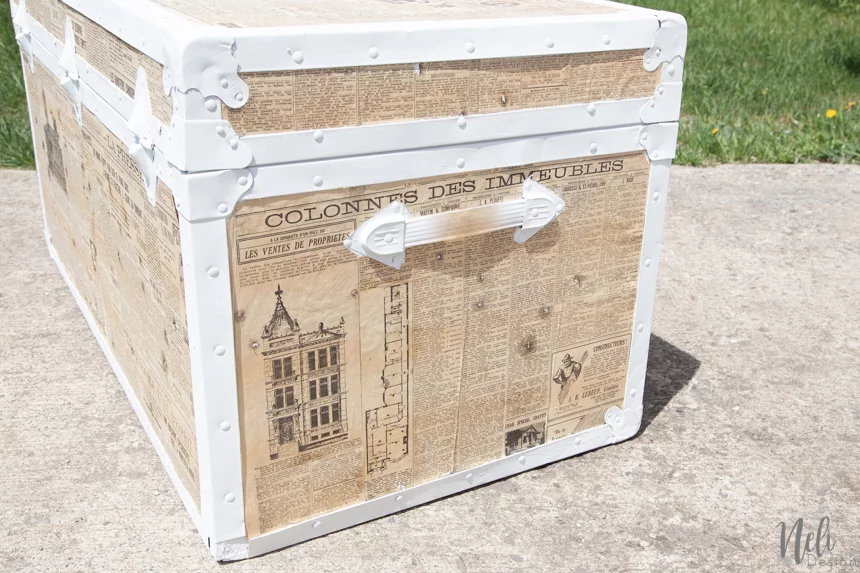
On these papers, you can clearly see the holes made by the nails that were used for building the walls. I love how it tells a story!

I even found a house plan. As an architect, I really wanted to include it. I had to cheat a bit but it doesn’t really shows!
On the cover of the trunk, I used the “Red pills” article I was talking about at the beginning of this post. Right below, there’s an ad about all the sizes available of Simms’ paintbrush. It says (I translate) “The head of the house is more often in doubt as to which is the best paintbrush…”. Yep, “the head of the house”! I really love to read these articles. Some make us laugh, others frown.
Still to come
I have more plans for this old vintage trunk. I’m thinking of whitewashing it. Just a bit because I still want to see the writing, obviously. Also, I’d like to:
- Add wheels (to avoid scratching the floors) and change the look of the handles;
- Paint a protective coat on top of the whitewash;
- Add a lining of some sort inside.
Any idea on what I should do with the handles or what I could do to upgrade the inside of the trunk? Don’t hesitate to leave me a comment below!
Pin it so you can find it later

Ann @ Live The Old Way
Thursday 14th of February 2019
This turned out really great! Thank you for sharing it with us at the Homestead Blog Hop!
Rita
Saturday 9th of February 2019
Nice work! I did a trunk which was painted the old 40's soy green. Removed all the paint and restrained it. I ordered rolls of cedar lining, which we glued inside after cutting to size. We added wheels. It has a lock but I had no key. Took the lock out and went to Flood's locksmith in Berlin, Nj. and he had the key for a couple of dollars. Then my wonderful husband made a little pouch out of leather the size of the key and attached it to the underside of the trunk. The key is handy and no one looks under the trunk for the key. People will look now!!
Natalie
Saturday 9th of February 2019
Wow, these are great ideas! Thanks Rita! Your trunk must be beautiful!
angie
Thursday 7th of February 2019
what a great idea, love the idea of the vintage paper Thanks for sharing
Chas Greener
Wednesday 6th of February 2019
What a great upcycle, turned out great! Thanks for sharing.
Christine @ Rustic-Refined.com
Sunday 3rd of February 2019
You did a wonderful job, it looks great!
Natalie
Sunday 3rd of February 2019
Thanks Christine! This is so nice of you!