[wc_box color="inverse" text_align="left" margin_top="" margin_bottom="" class=""]
Final week of the $100 Room Challenge so it's time for my Tween's bedroom reveal! You'll found out everything that was done to make this room beautiful.
[/wc_box]
Here we are already into the final week of the $100 Room Challenge. If you don't know already, it's a challenge initiated by Erin from Lemons, Lavender and Laundry where everyone has to complete the renovation of a room, in 1 month and investing a maximum of $100 (USD!) 😛
If you missed the other weeks, go take a look:
Week 1 | Week 2 | Week 3 | Week 4
The plan
The plan made in week 1 was to:
- Change the layout of the room;
- Create a smaller work area, but with an efficient and practical storage wall;
- Make a reading nook near the window;
- Decorate the wall above the headboard.
Looking back, I think I was in over my head!! I need to remember to not get overexcited next time (cause, of course, there will be a next time!!) and think a bit smaller. It was hard to get everything done in time, especially with a full-time job.
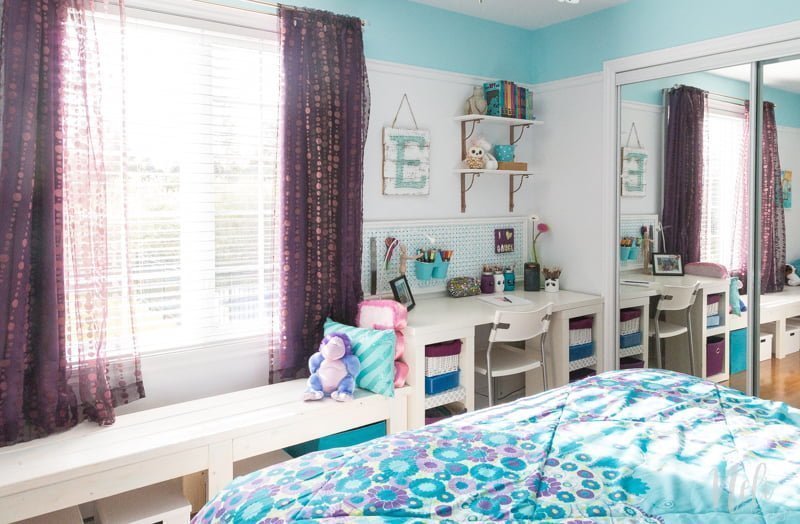
Change the layout of the room
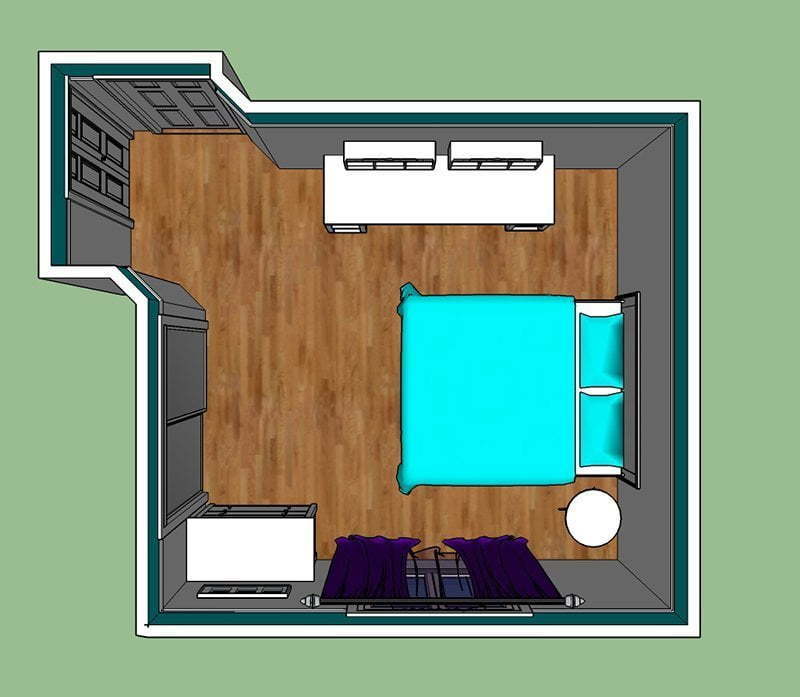
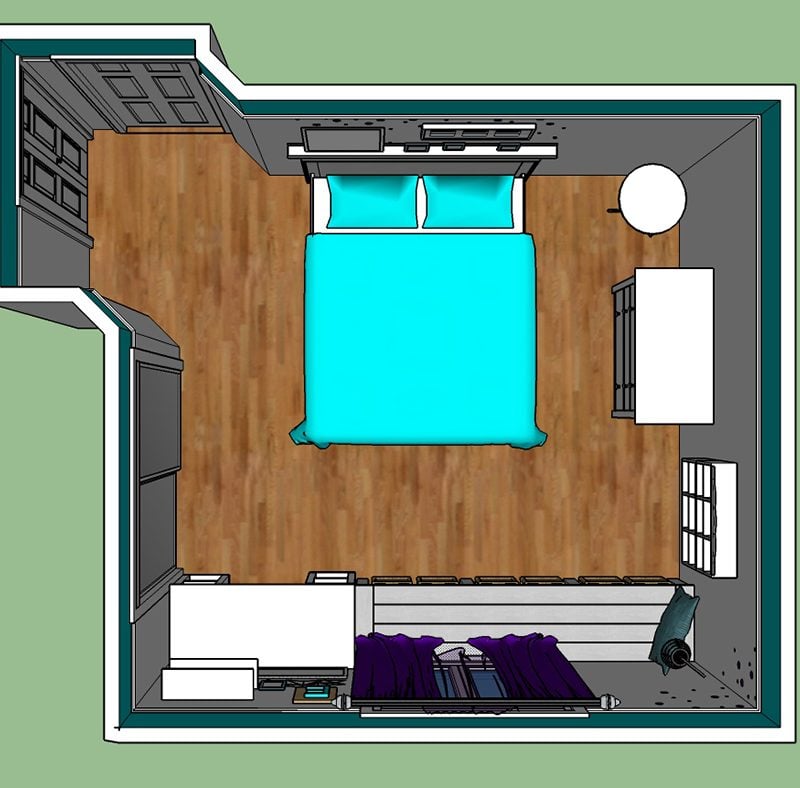
The layout of the room was changed for the layout you see on the right. That way, there's less loss of space.
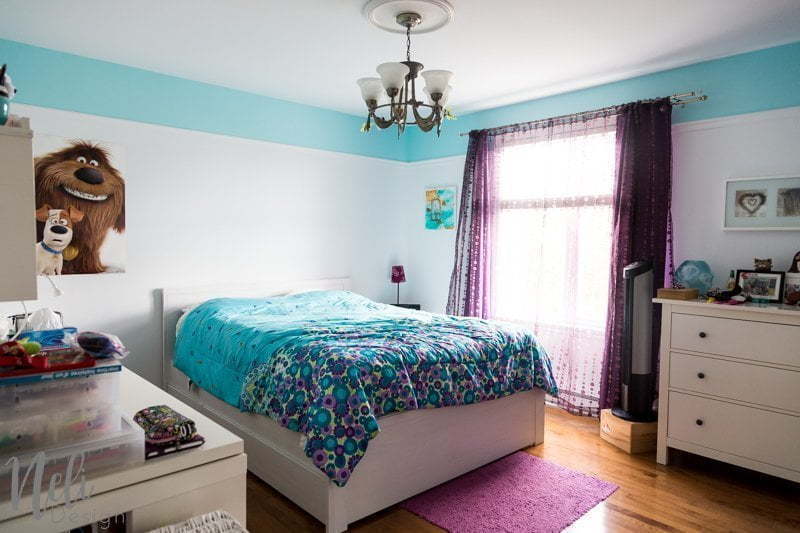
Before
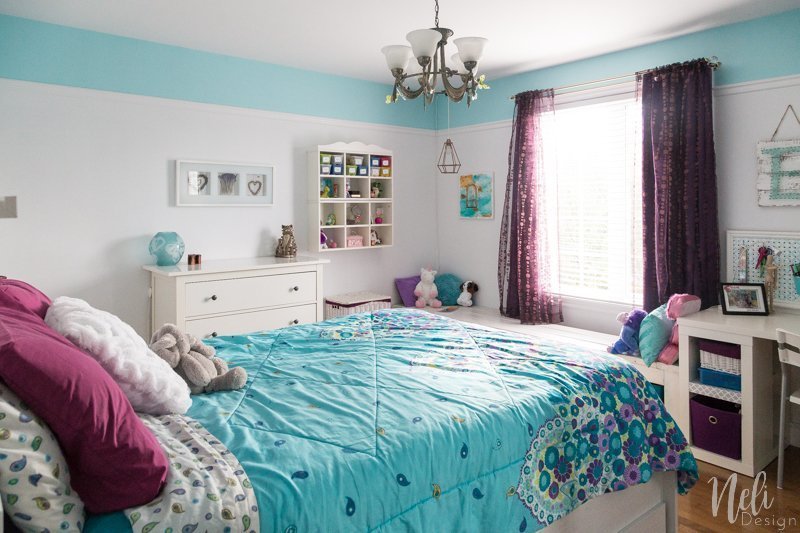
After
Make a reading nook near the window
My first real construction! I am so proud of myself! It creates a beautiful atmosphere in my daughter's room and she loves it!
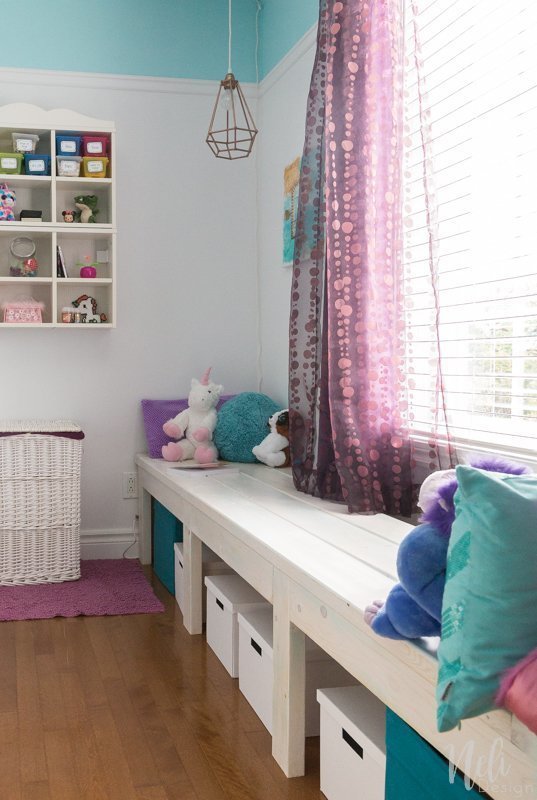
I found the blue bins in the bottom of the wardrobe. The white boxes come from IKEA. I bought them before the bench was built and I might have taken them a little bigger if I had known the size of the bench at that time. So I don't know if they will stay there. I also wanted to decorate them, but it will be for another time.
Create a smaller work area
The desk my daughter had was really big. It just made her have all sorts of things laying around. Now, with this smaller desk, I hope it stays cleaner (fingers crossed!). But it also helped to free more space in the room.
Before
After
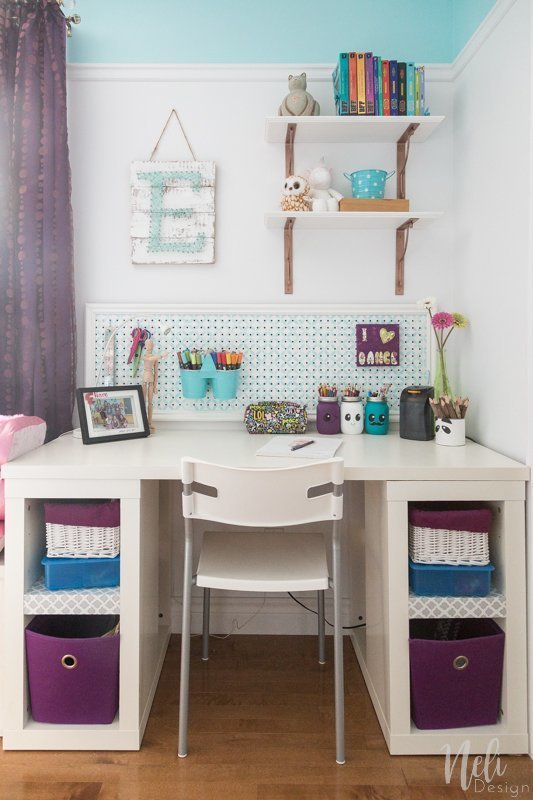
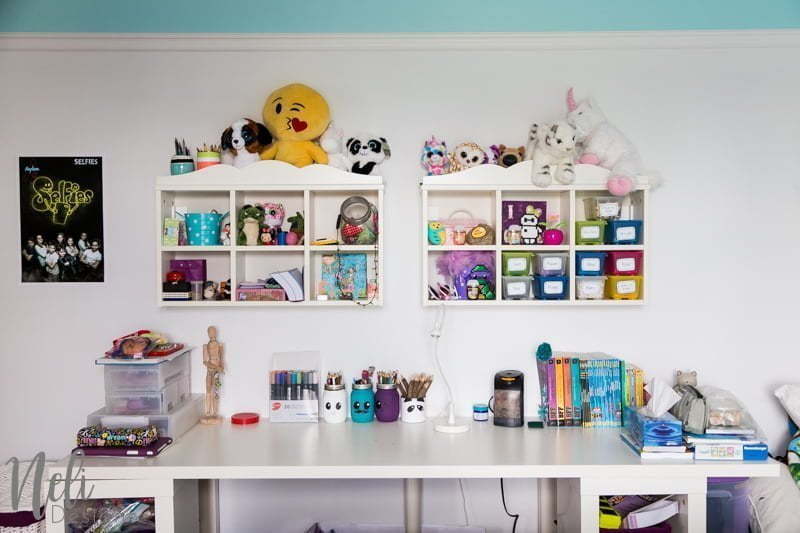
Storage has been added to the wall above the desk and I have improved the storage of the desk. I also found the two large purple baskets in the wardrobe (too many things in there!!) I had completely forgotten that we had these !!!

The bookshelves that were above the desk are now on top of each other, next to the reading nook.

Decorate the wall above the headboard
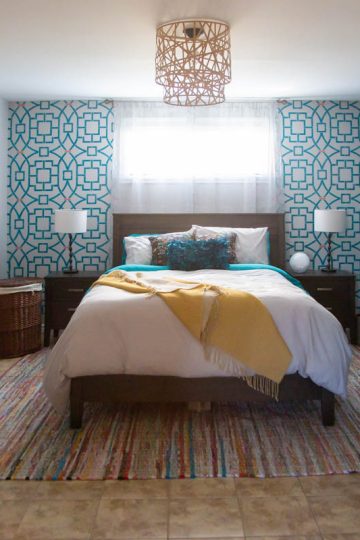
Finally, the last project I carried out during these 4 weeks was the wall above the headboard. What was previously empty and lacking interest is now joyful and colorful.
Before
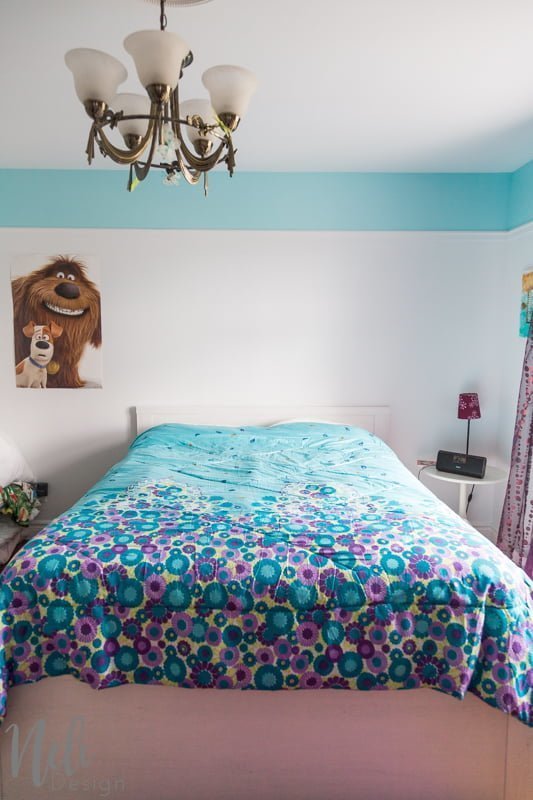
After

I already had the picture ledge from IKEA from a while back. It used to be in my dining room it the other house. Again, another thing that was never installed.
This post contains some affiliate links for your convenience and at no extra cost for you. Click here to read my full disclosure policy.
Recovering a Broken Frame
I recovered a frame that I already had and that was slightly broken. I used my super gold pink spray paint that I used in the other week's projects. I had so much for my money with this bottle, it doesn't even make sense !!

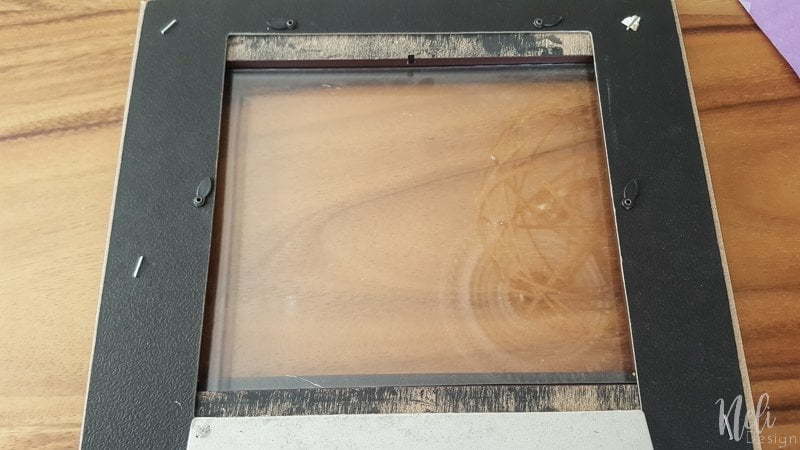

Just to have a hard time in an oh-so-simple project, I wasn't able to remove the glass so I inserted newspaper to protect the glass from the pain. A few layers later, a beautiful frame!
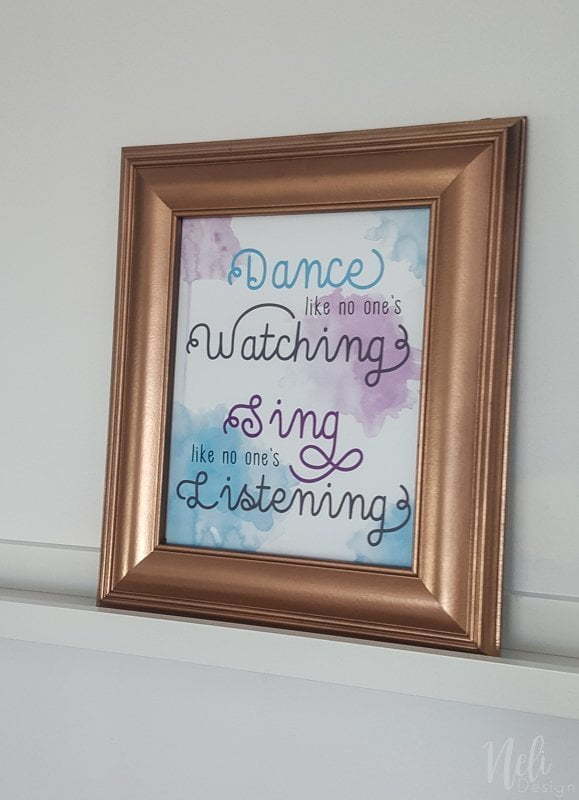
Quote
I created this quote myself using Photoshop and I printed it on photo quality paper. I used the English version, but I also made a French version.


If you want to get the file for printing, you just have to register here to get access to the free library, where you'll find these files and much more freebies!
[wc_box color="secondary" text_align="center" margin_top="" margin_bottom="" class=""]
Don't miss any new freebies. Subscribe to get access to the library full of resources!
[wc_button type="warning" url="https://nelidesign.com/landing-page/" title="Inscrire" target="blank" url_rel="" icon_left="" icon_right="" position="center" class=""]Subscribe me![/wc_button][/wc_box]
Recovering another frame
Money being limited for this challenge, I also recovered another frame. This one was not broken. You may have even seen it in the post about a burlap box to hide electronics.
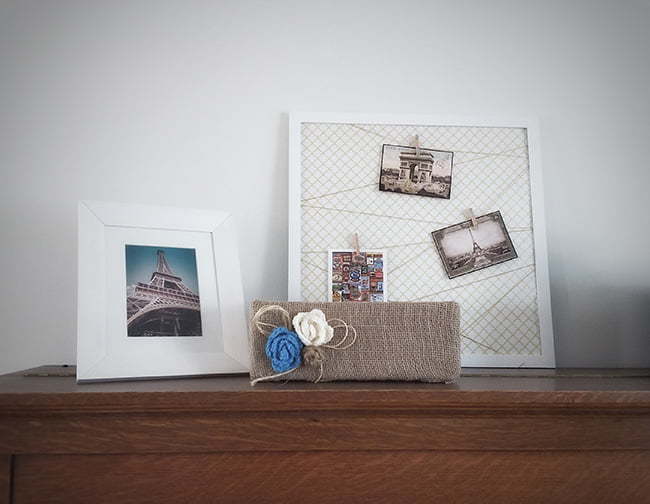
Details on how I made the new background of the frame is to come. Also, note that I will have for you a free template to easily make pictures just like an Instax mini camera but for much cheaper than the original ones. Another good reason to subscribe and have access to the library!
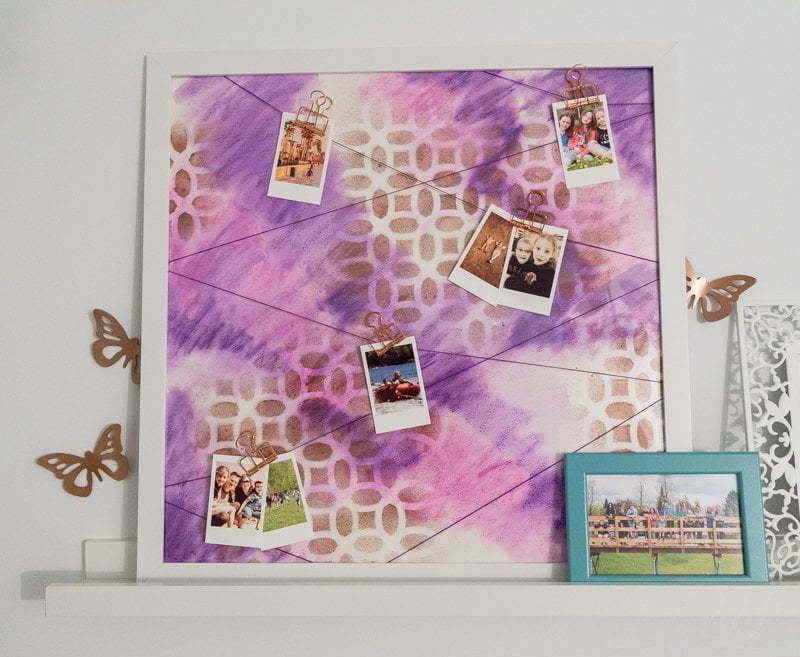
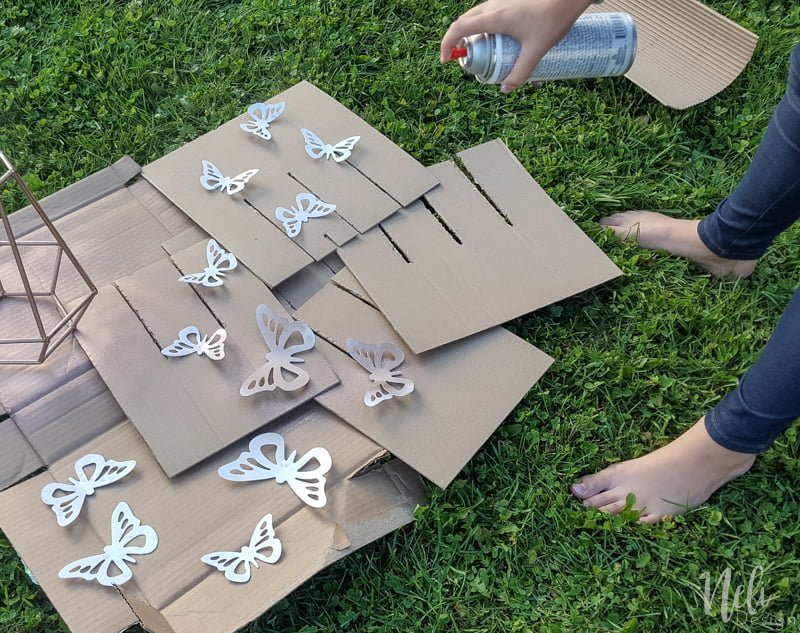
The butterflies
These butterflies were in my daughter's room in our old house. They come from the Dollar Store so are not very expensive. Since the walls of my daughter's room are white in the current house, we have never installed the butterflies. White on white, it's not very great!
Again, comes to the rescue my super bottle of spray paint. And voilà, beautiful gold pink butterflies!
I waited until the end before installing them on the wall. I was not sure where to put them. What do you think?

Things I didn't do
My plan included some purple polka dots on the walls, but honestly, I don't really feel like they are needed.
I would have loved to decorate the white IKEA boxes
And finally, I wish I had time to spray paint the pendant lamp. There's even paint left in my bottle of gold pink spray paint! It will for sure be another post!
Cost recap:
For this week:
| CAD$ (for one) |
CAD$ (total) | USD (total) | Where | |
| 4 Tjena box with lid |
5,74 $ | 22,96 $ | $18.37 | IKEA |
| 1 Frosakull frame | 6,89 $ | 6,89 $ | $5.51 | IKEA |
| 1 Fiskbo frame 5 x 7 |
2,86 $ | 2,86 $ | $2.29 | IKEA |
| 2 Fiskbo frame 4 x 6 |
2,29 $ | 4,58 $ | $3.66 | IKEA |
| 37,29 $ | $29.83 |
Other weeks:
| CAD$ (total) | USD (total) | |
| Bench for the reading nook | 56,49 $ | $45.19 |
| Lamp for the reading nook | 7,25 $ | $5.80 |
| Desk area | 24,72 $ | $19.78 |
Total:
| CAD$ (total) | USD (total) | |
| Money I have spent | 125,75 $ | $100.60 |
| Money left | -0,75 $ | - $0.60 |
Note: to be fair and to show exactly the total I have spent, all prices include taxes.
Can you forgive the 60 cents over? 😛
[ctt template="6" link="k3ab7" via="yes" ]Makeover of a tween's bedroom for 100$ in a month #100roomchallenge Wow, what a change![/ctt]
If you liked it, please don't forget to Pin it!

Don't hesitate to go check out the other weeks:
Week 1 | Week 2 | Week 3 | Week 4
I can't wait to see everyone's reveal. You should go take a look too! For my part, I will go sleep for a week! 😉
[inlinkz_linkup id=739664 mode=1]

See at which Link Party I like to participate here